
Sending An Envelope
In order to send an envelope through the AssureSign for Salesforce Lightning configuration, first navigate to where the entity the AssureSign configuration has been added.
Next, open the record of the client who will be the recipient of the envelope.
On the AssureSign for Salesforce Lightning integration, click New:

Populate the values on the Select Template screen and click Next:
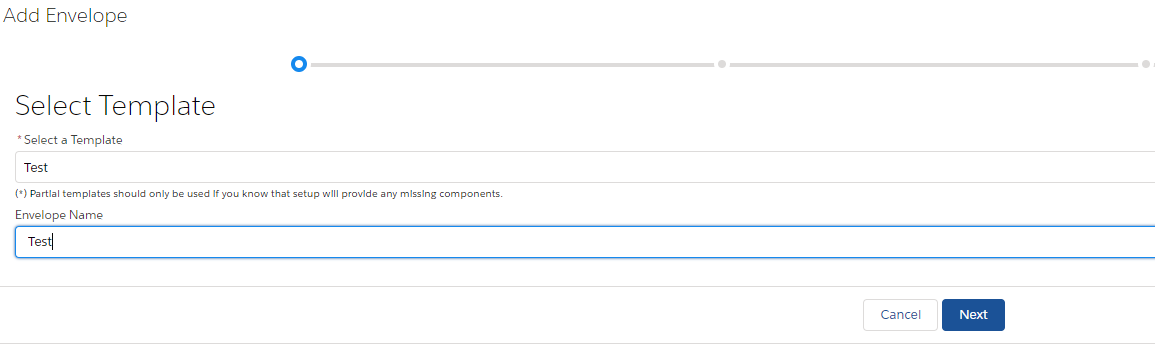
Select a Template: Select the name of the Simple Setup Template from your AssureSign account you wish to use for the envelope
Envelope Name: This will pre-populate with the envelope name given to the template in the AssureSign environment, but is editable if needed.
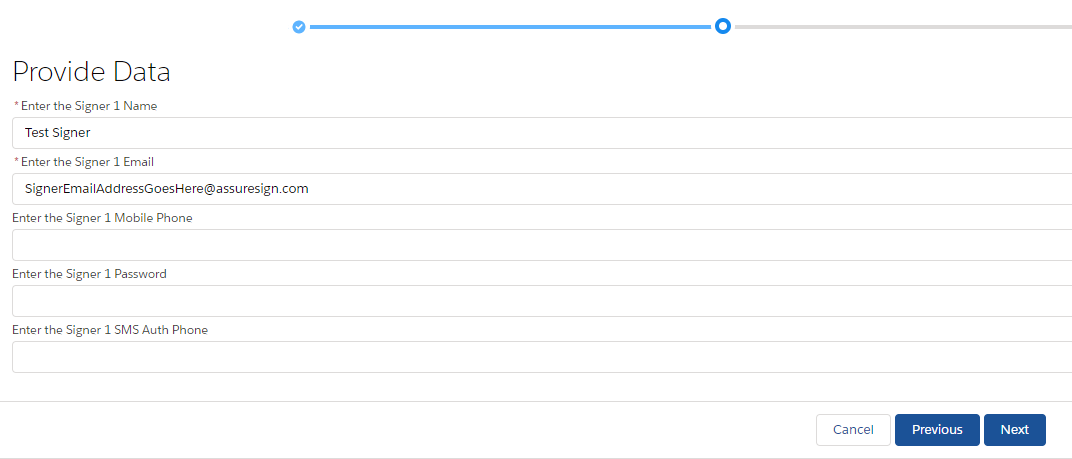
Populate the Values on the Provide Data screen and click Next. Required sender input fields will be denoted by a red star at the beginning of the field name. Note: These fields will match the Sender Inputs you have setup for your AssureSign template.
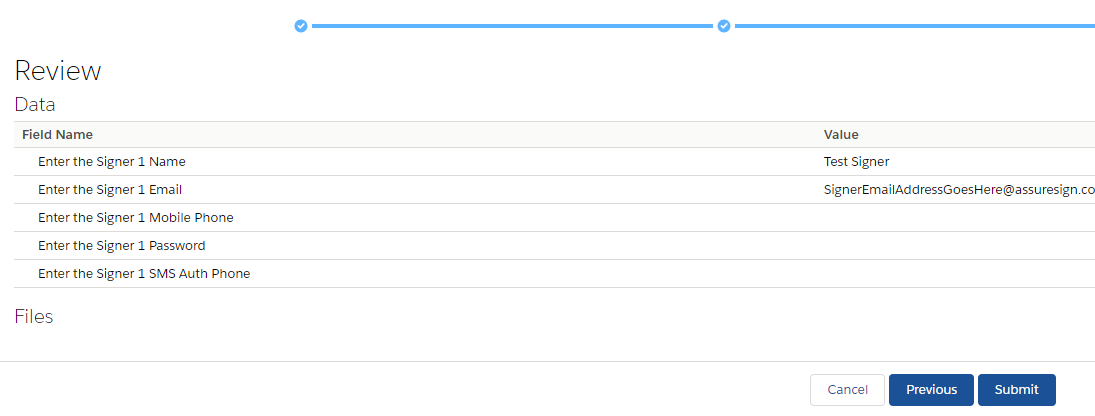
Review the values entered on the previous screen on the Review screen. Click Previous if any values need to be modified and correct them. Otherwise, click Submit:
Checking The Status Of An Envelope
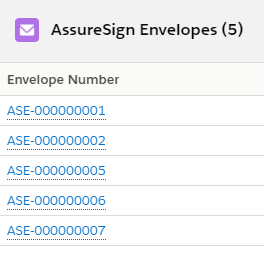
Once you have sent the envelope, the envelope will be stored in a list on the record.
To check the status of a particular envelope, click the hyperlinked Envelope Number:
This will reveal two tabs, Details and Completed Files and Histories, and at the far right of the screen, a box with AssureSign Envelope Actions:


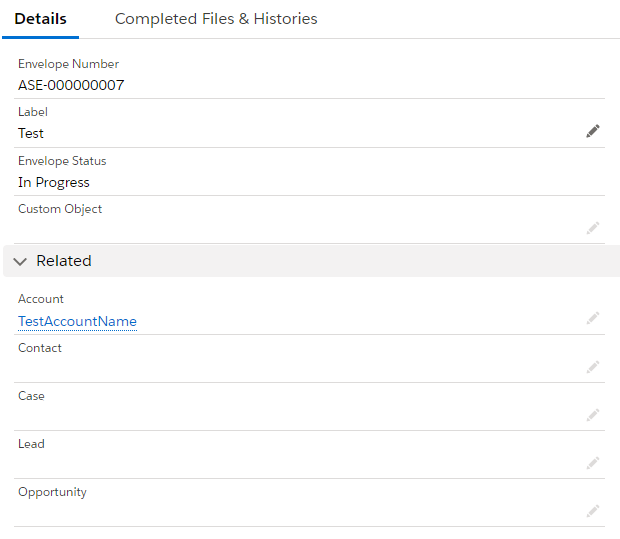
Details
The Details tab contains information about the envelope, including Status, the Envelope ID, and when it was created and and last modified.
Completed Files & Histories
The Completed Files & Histories tab includes the Files for completed documents if your administrator has elected to store the completed document in Salesforce. The files will appear under the files header:

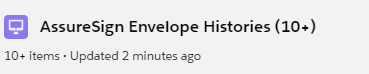
The Audit History of the envelope will appear under the AssureSign Envelope Histories Header:
AssureSign Envelope Actions
The AssureSign Envelope Actions are contained at the far right of the screen, and look like this:

The cancel button will cancel the envelope in AssureSign. Cancellation of an envelope is permanent, and the envelope will need to be resent if it has been cancelled but is still needed.
To cancel the envelope, click Cancel and a prompt will present asking for the cancellation reason:
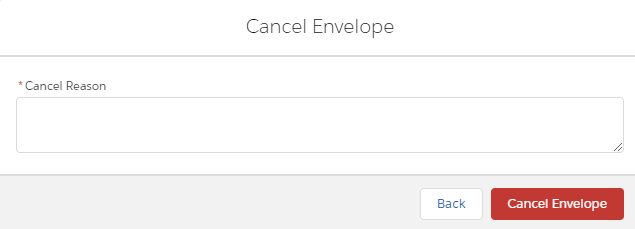
Type a reason for the cancellation and click Cancel Envelope to finalize the cancellation.
Immediate Presentment
In order to immediately sign an envelope with a signer, first navigate to the record for that signer that contains the envelope that was sent.
Then, on the AssureSign for Salesforce Lightning Envelopes section, click the hyperlinked Envelope Number that needs to be signed:

On the far right of the screen, you will see AssureSign Envelope Actions:

To proceed with Immediate Presentment, click Sign Now.
You will see this popup, which will contain a blue hyperlinked copy of the Signer's email address below the instructions box:
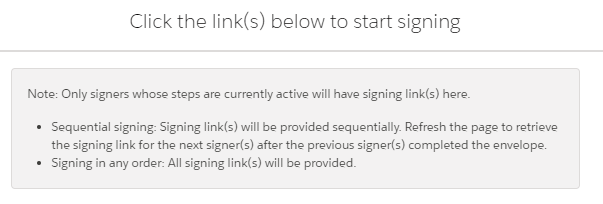
Click the hyperlink to proceed with the signer. A new tab will open that will guide the Signer through the envelope signing process.