
Follow these steps to configure the AssureSign for Salesforce Lightning solution to work with any custom object.
Adding A Lookup Field For The Custom Object
To add a lookup field for the custom object, click the Settings icon, then click Setup.
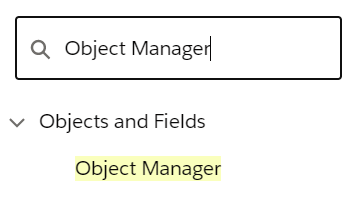
Next, in the Quick Find menu, search for Objects, then click Object Manager.
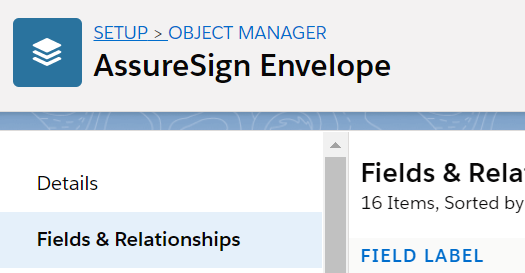
Click the blue hyperlink of the AssureSign Envelope object. Note: It is critical the relationship is created from AssureSign Envelope rather than from the custom object to AssureSign Envelope.
Click Fields and Relationships in the left hand panel:
Click New in the center of the page, next to the Quick Find header.
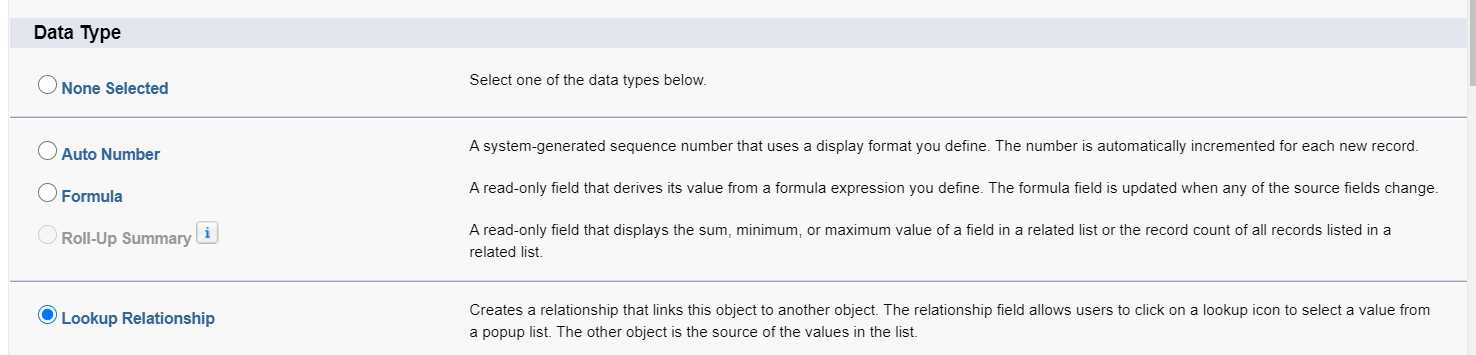
For Data type, select Lookup Relationship:
Click Next.
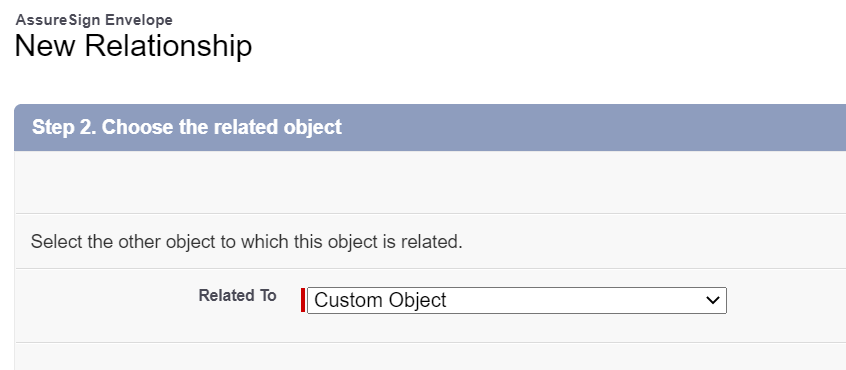
For Related To: select the name of your custom object:
Click Next.
Click into Field Name to prepopulate the field name, and add a Description and Help Text if you wish. Note the Field API name of the field. You will need this, and your custom object's API name in the latter half of this help set.
Click Next.
Modify the permissions on the next page as necessary for your organization structure.
Click Next.
Click Next again.
Click Save.
Adding An AssureSign Object Mapping
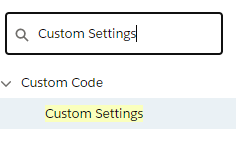
In the Setup Quick Find Menu, search for and click Custom Settings:
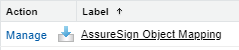
Click Manage next to AssureSign Object Mapping:
Click New.
Populate the screen that appears with the Object Name, Field API Name, and Object API Name:
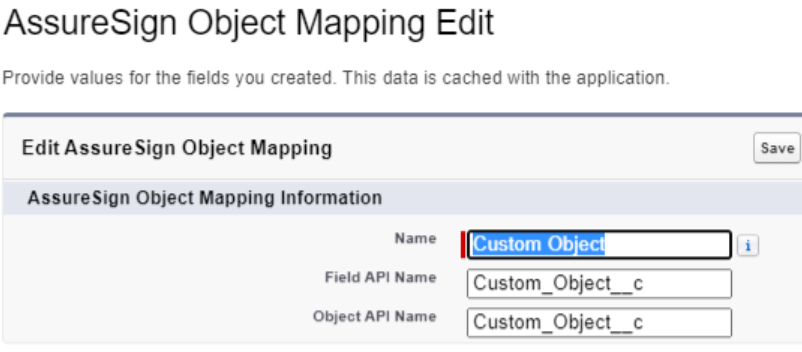
Click Save.
Finally, navigate to your custom object and send a test envelope.