
Adding An Additional Configuration
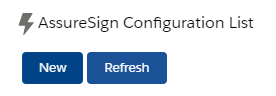
To add an additional configuration, from the AssureSign Lightning Setup object, click New under AssureSign Configuration List:
Next, fill in the required information for the Configuration prompt:
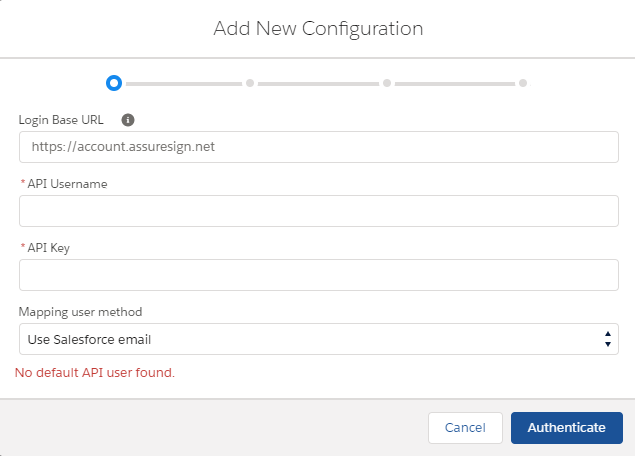
Login Base URL: For most accounts, this will be https://account.assuresign.net
API Username: The API Username created by following the Creating API Users process
API Key: The API Key created by following the Creating API Users process
Mapping user method: Choose "Use Salesforce Email" if the email address the user will be logging in with will match their AssureSign username. Choose "Use AssureSign Email" to specify an AssureSign user that all users using the configuration will authenticate as, such as a service account.
Once the above fields are populated, click Authenticate
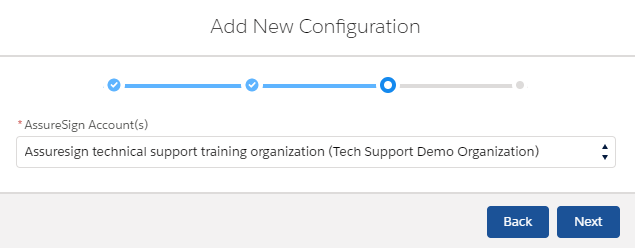
If multiple accounts are available to the API user/username, you may be prompted to choose an environment. Select the applicable environment from the drop down menu, and click Next:
On the final screen, populate the required values, and click save:
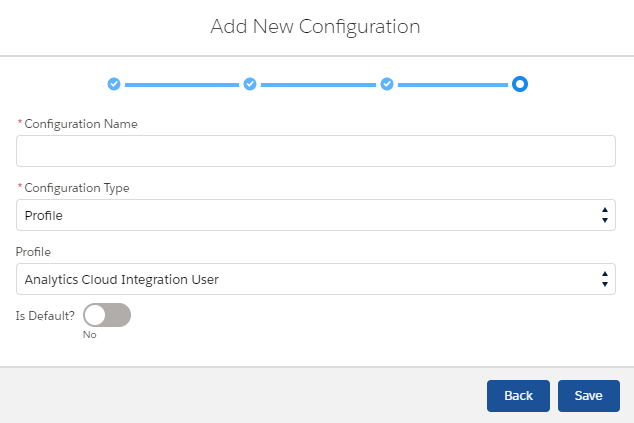
Configuration Name: Choose a name that will identify this configuration for you.
Configuration Type: Choose profile to assign all users with the same profile these settings. Choose user to create a user specific configuration where only the user selected will be able to utilize the configuration.
Profile: This field is only available when configuration type is set to profile. Select the Salesforce Profile that should be assigned to this configuration.
User: This field is only available when configuration type is set to user. Select the Salesforce User that should be assigned to this configuration.
Is Default: Toggle this on if users without specified configurations should use this configuration.
Once the required information is populated, click Save.