


Prior to upgrading workflows you must activate the migration tooling for your O365 tenant. See this article for instructions on how to do so.
Upgrading O365 workflows
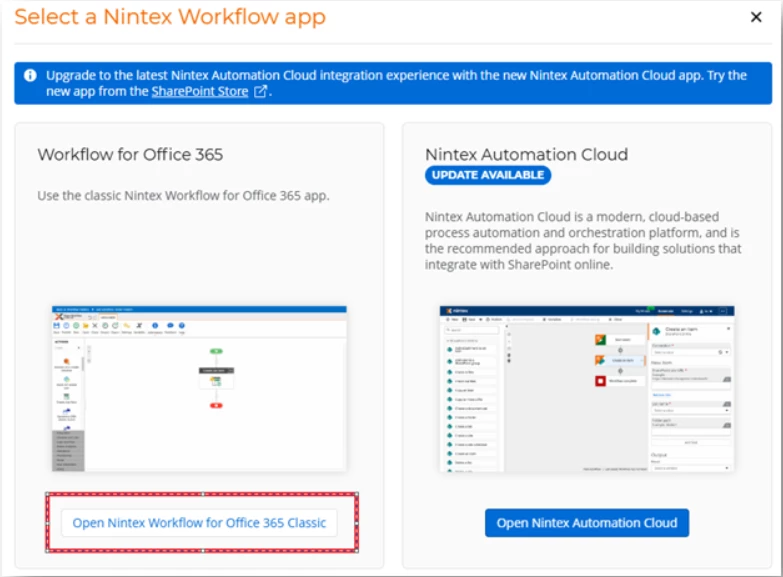
The first step to upgrading a workflow to Nintex Workflow is to open the classic workflow app on the list or site where the workflow resides.
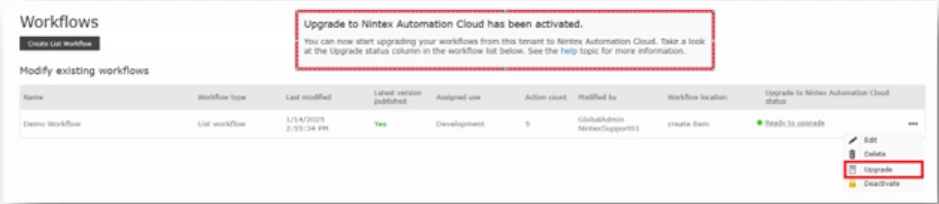
At this point, your tooling should be activated on the site for the workflow upgrade. To verify this, you can check that the “Upgrade to Nintex Automation Cloud has been activated” banner is present when viewing the workflow inventory. If not, refer to the article above to activate the tooling for the site.
By selecting the three ellipses next to the workflow you want to upgrade, you can select the upgrade option:
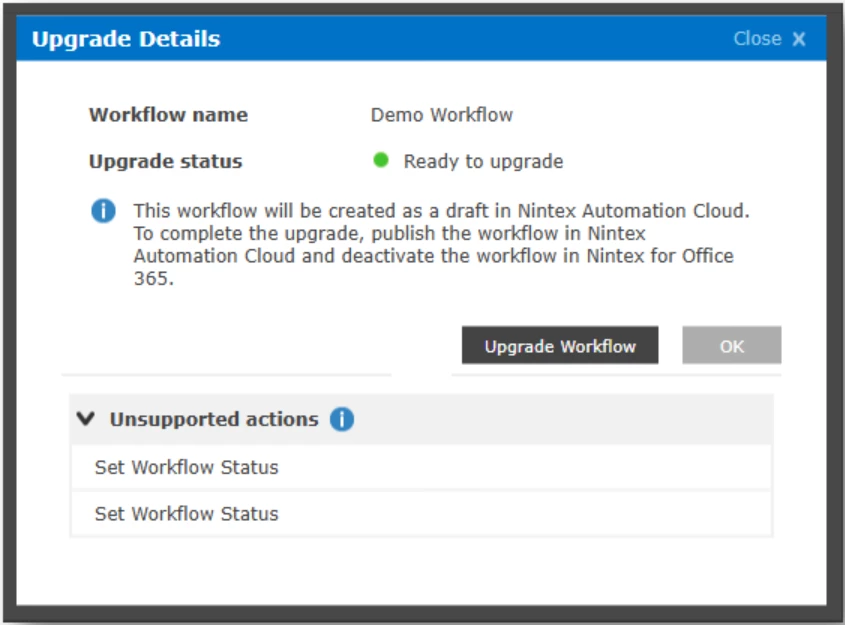
This will pop up a window with the upgrade details. The details include the option to upgrade along with general information about the workflow to be upgraded such as unsupported actions. To start the upgrade, click the Upgrade Workflow button.
If you receive an error message, check that you’ve properly set up your SharePoint Integration referenced in the article to activate the migration tooling linked above. This is the most common error at this point in the process.
After a short time, you should see a draft created in Nintex Workflow Cloud and the workflow will be ready for remediation. If you reload the classic app in O365 you should also see an Upgrade status of Draft Created in Nintex Workflow. Clicking this status will take you directly to the workflow in the Nintex tenant.
