As a follow up to the previous blog post I created about using AssureSign with Nintex Workflow Cloud to capture data and get electronic signatures, this post is will show if you are using Document Generation in your Nintex workflows how you can send that generated document to AssureSign for signature. You may want to use document generation to create the document to send to AssureSign in cases where the documents may be more complex, you need to combine multiple documents into on document, you have a repeating section that you want to include in the document.
Creating Your Template in Nintex AssureSign
When using document generation in Nintex Workflow Cloud you will still need to have a template within AssureSign but instead of having to create all the jotblocks and sender inputs all we will need to do in this case is create a blank template and add the jotblocks to it for the initials and signatures we need to capture.
To start click on View Templates in the left hand navigation
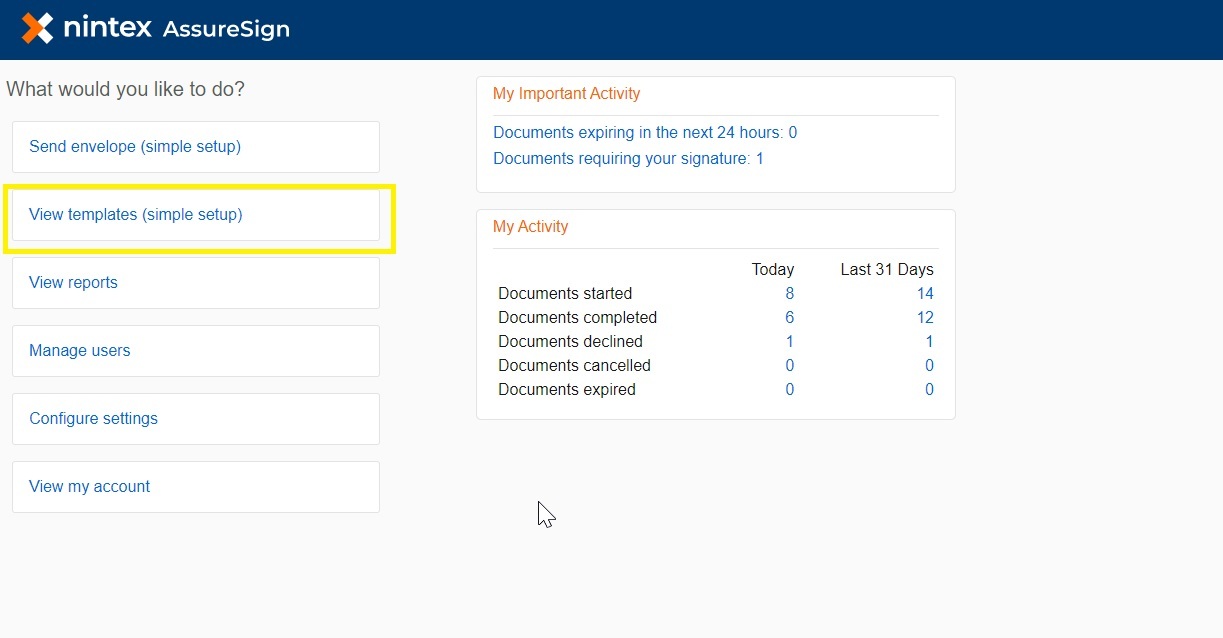
Then on the next screen you will want to click on create template and give your template a name and click continue

Then you will drag and drop your blank word document into AssureSign

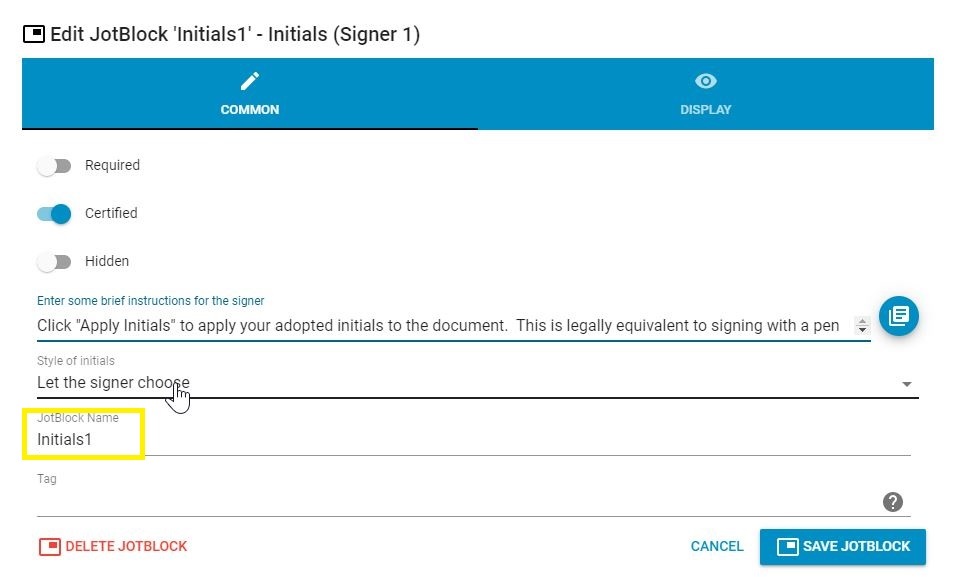
Now we can start to build out our template, in this case after we add a signer all we need to add to the template is the initials/signature jotblocks. In my case I have 8 initials that I need to capture in the form and 1 signature, so I will just need to add those jotblocks to the template.

Note: make a list of the names that you gave the initials/signature jotblocks as we will need these to create the tags in our document generation template.
Using the AssureSign Connectors in your workflow
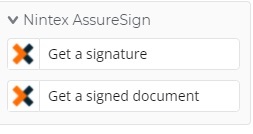
There are two connectors available in Nintex Workflow Cloud for AssureSign. The Get a Signature action will allow us to create our connection to AssureSign and send the generated document to AssureSign for signature. The Get a signed document allows us to get the signed document back so we may use it in the workflow to email out or maybe save to a system of record other than AssureSign.
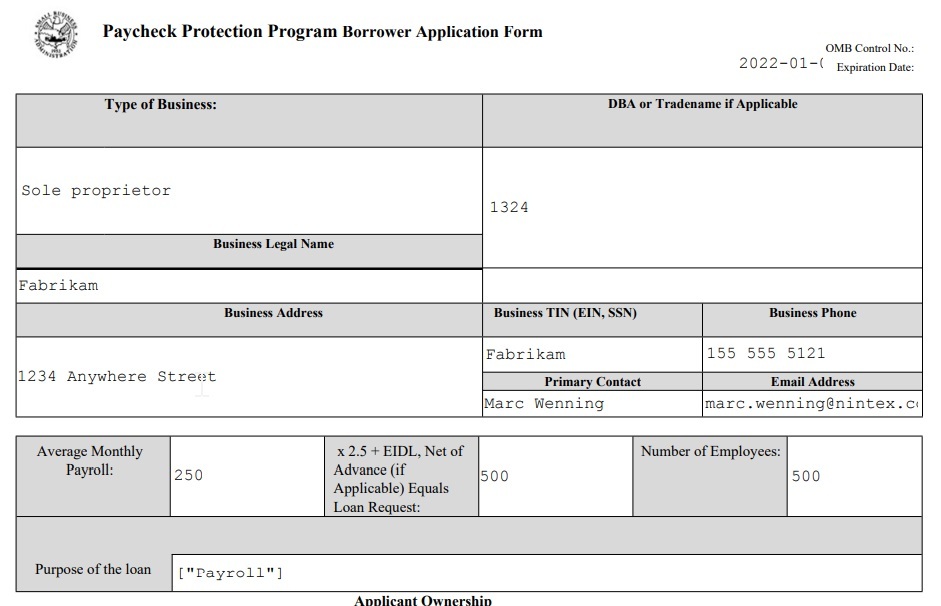
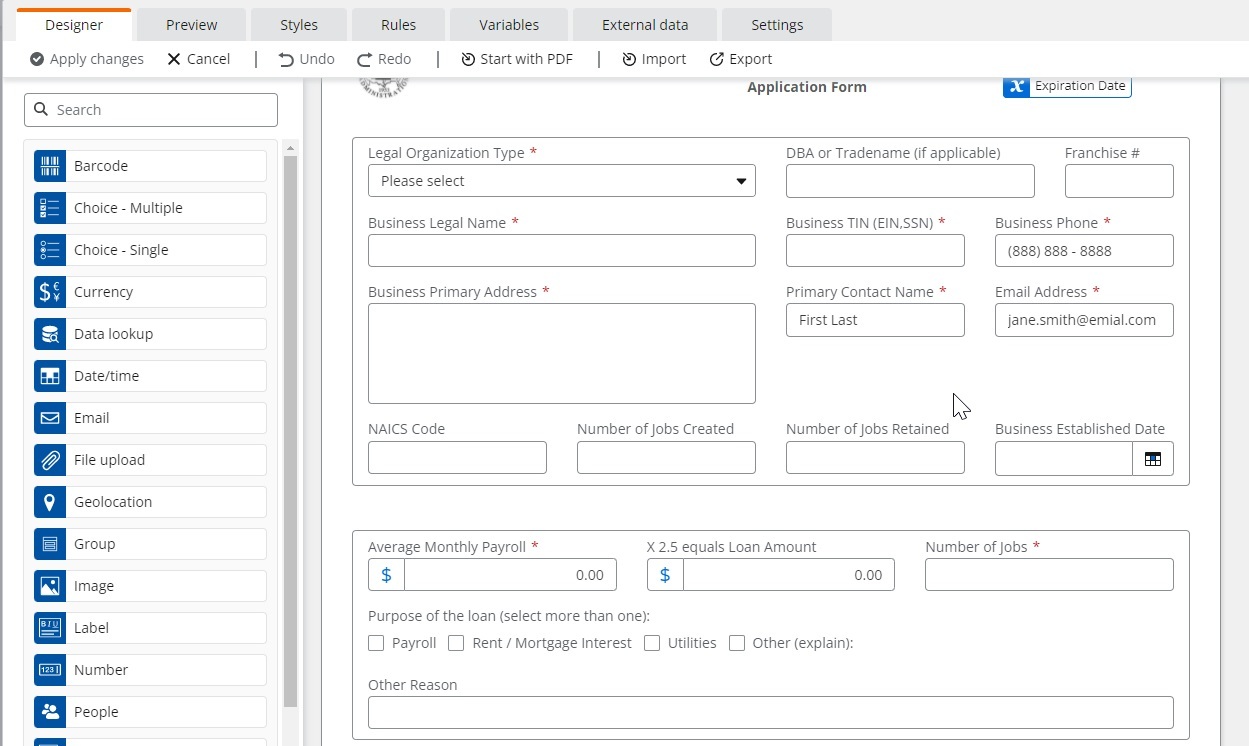
I am not going to get into form creation in this post, but we will need to create our form that will capture all of our information that we need to populate the template before it is signed.
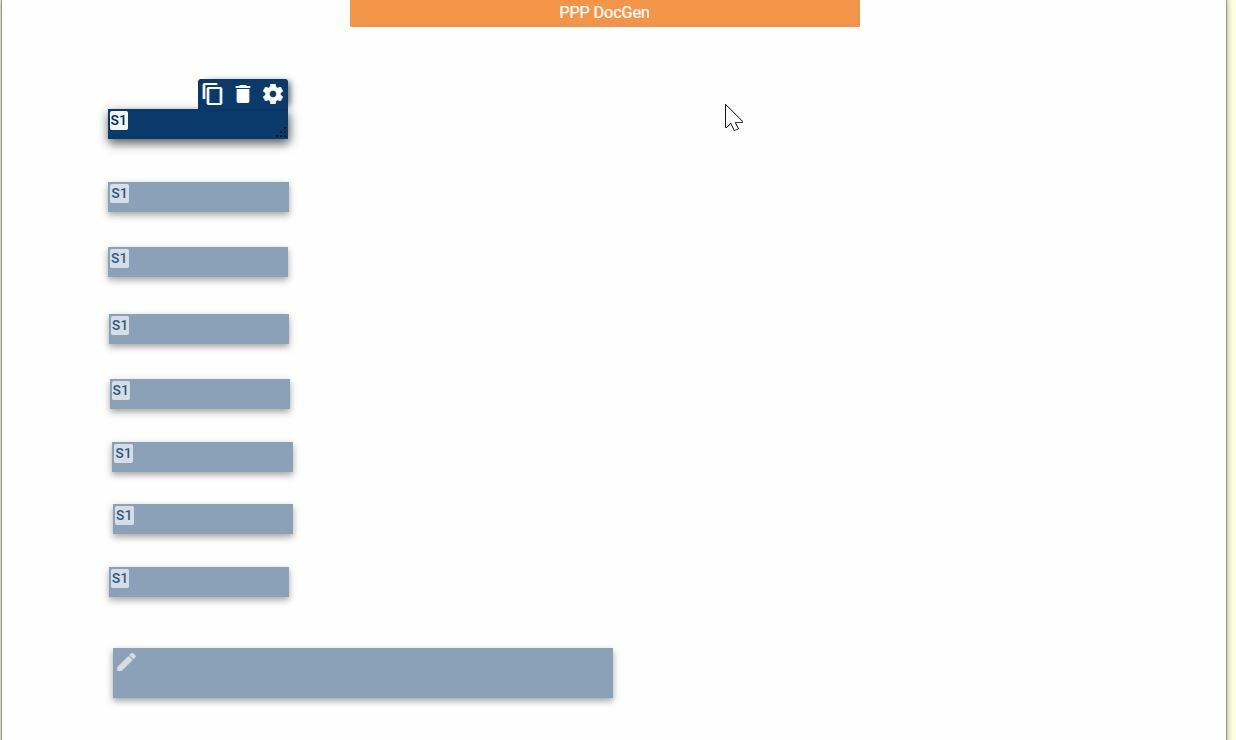
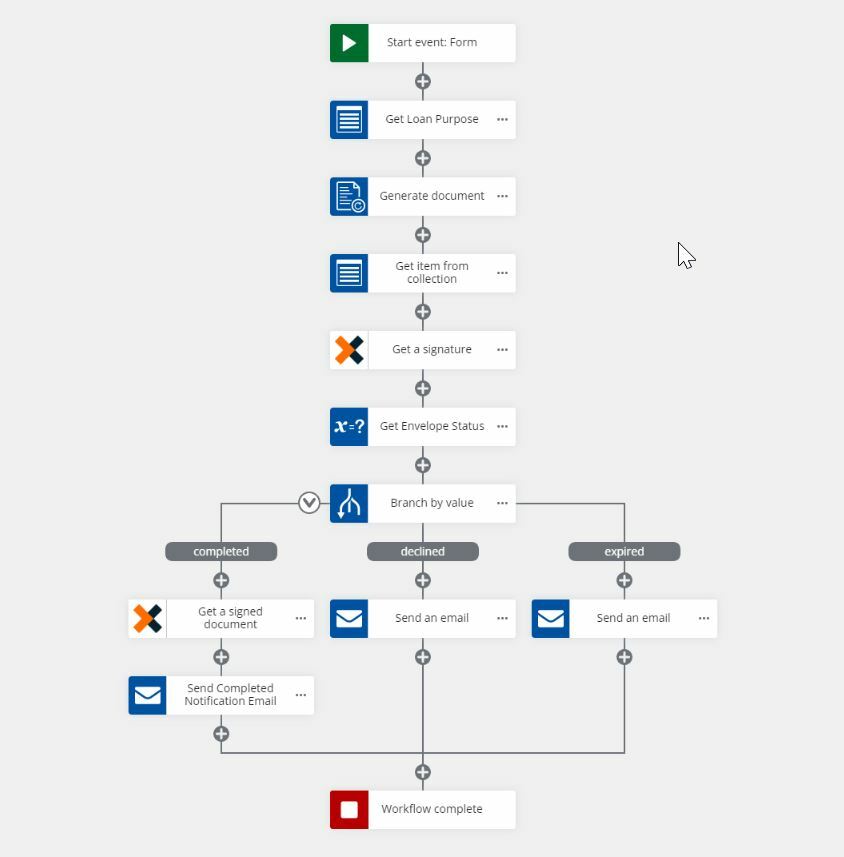
Once we have the form finished, we can create our workflow. In this example I am just capturing the data on the form and then using the document generation action to generate a document incorporating that data and then sending that document to AssureSign to get a signature. We are then checking the envelope status to see if it was actually signed or if it was declined by the signer. If it was declined, we are sending an email to the initiator to let them know. If it was signed we get the signed document back and send an email with it attached.
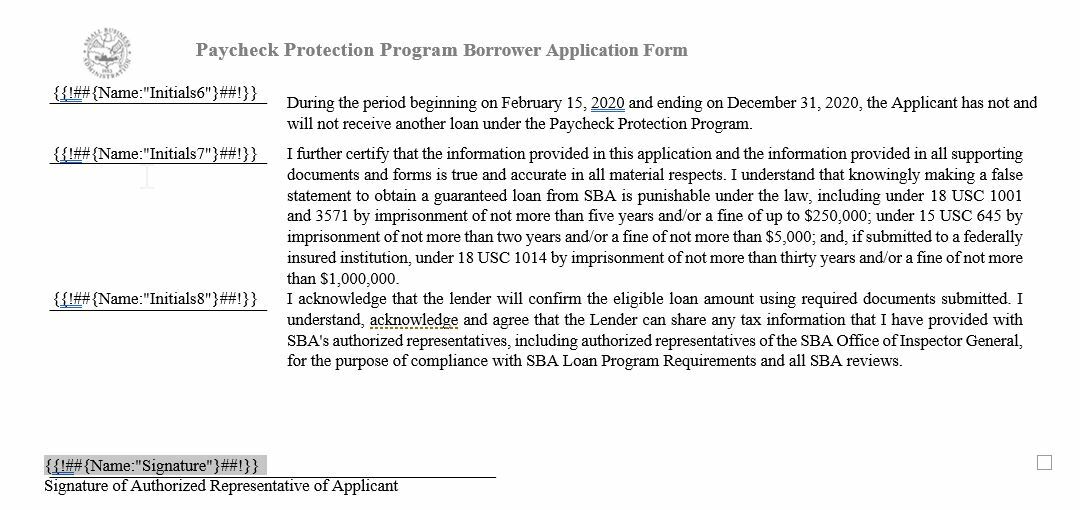
The first thing we will need to do is create the template for the document generation action to use. I am not going to go into how to tag the template with the Nintex document tagger I will just show how to create the tags we will need to be placed in the template for AssureSign. For this example we will need tags for the initials we want to capture along with the signature. Here is where we will refer back to the list of names of the jotblocks in the AssureSign template that we created earlier. This support article for AssureSign tells us how to format the tags we will need to create and add to our document generation template. Here is an example of a tag for one of our initials {{!##{Name:"Initials1"}##!}} the section that I have underlined here needs to match the name of the jotblock in your AssureSign template.
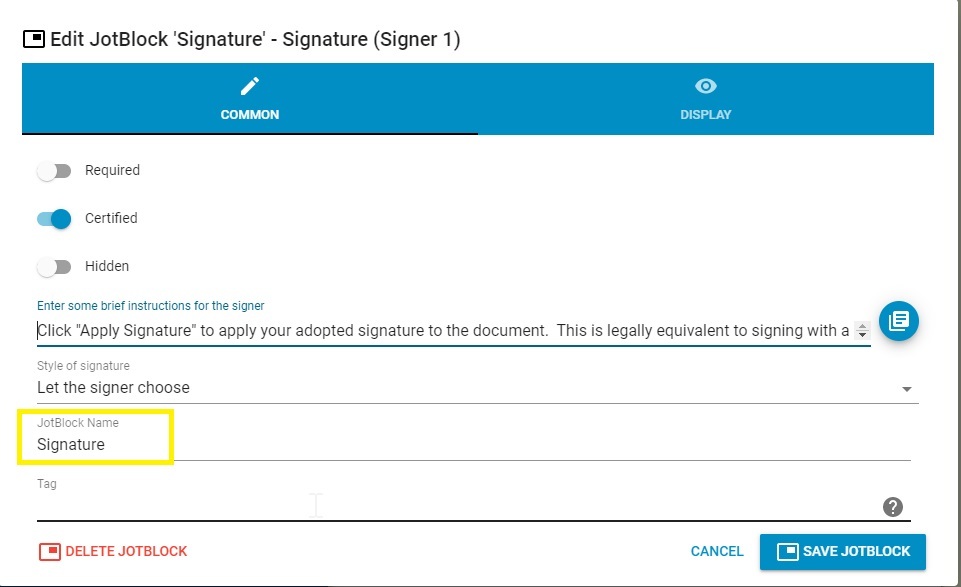
Here is an example of the tag for the signature {{!##{Name:"Signature"}##!}} again the underlined section here will need to match the name of your signature jotblock.
After creating all the tags for the corresponding jotblocks in the template, they will just need to be placed in the word template where we would like them to show during the signing process. The example below shows where I placed the tags for a few of the initials and for the signature.
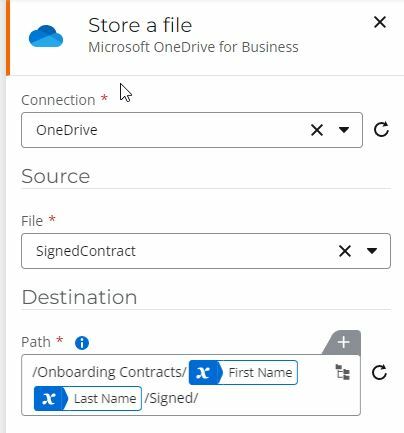
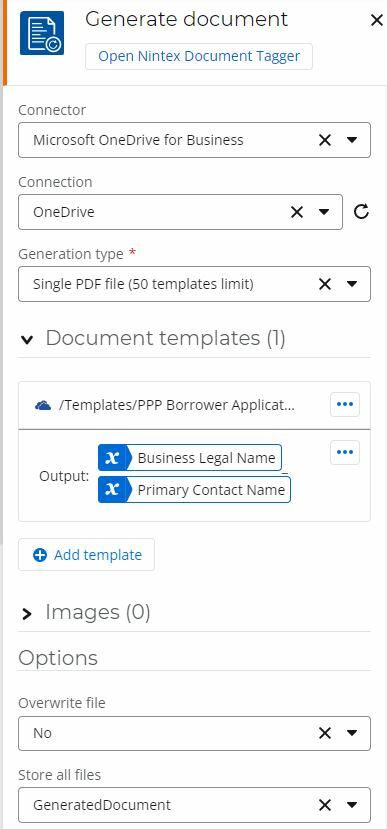
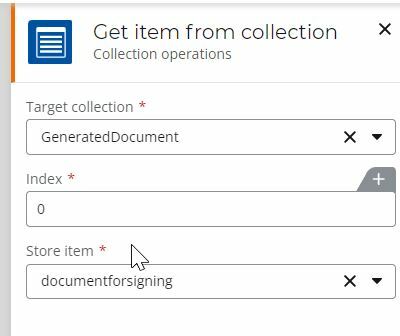
Now that we have added the necessary tags in the template for the document generation action, we can save that template in the location where we will be getting it for the workflow. In my example I am using OneDrive for Business, but this could be SharePoint, Box, Google Drive, etc. From here when the document generation action runs it will build the document and place the content from the original form into it and save it into a collection where we can use the get item from collection action to retrieve it and save it to a file variable for use in the Get a Signature Action.
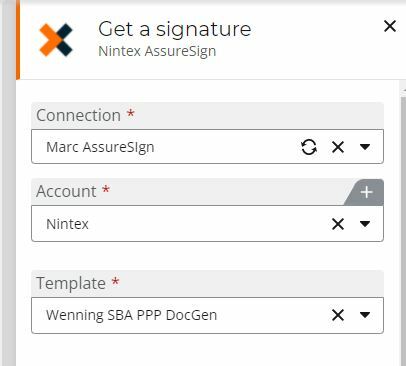
Now lets’ take a look at how the AssureSign connectors are configured differently since we are sending a generated document to AssureSign instead of mapping the sender inputs.
We will first need to create our connection to AssureSign, select the account if there is more than one available, then select the template we created earlier in the blog.
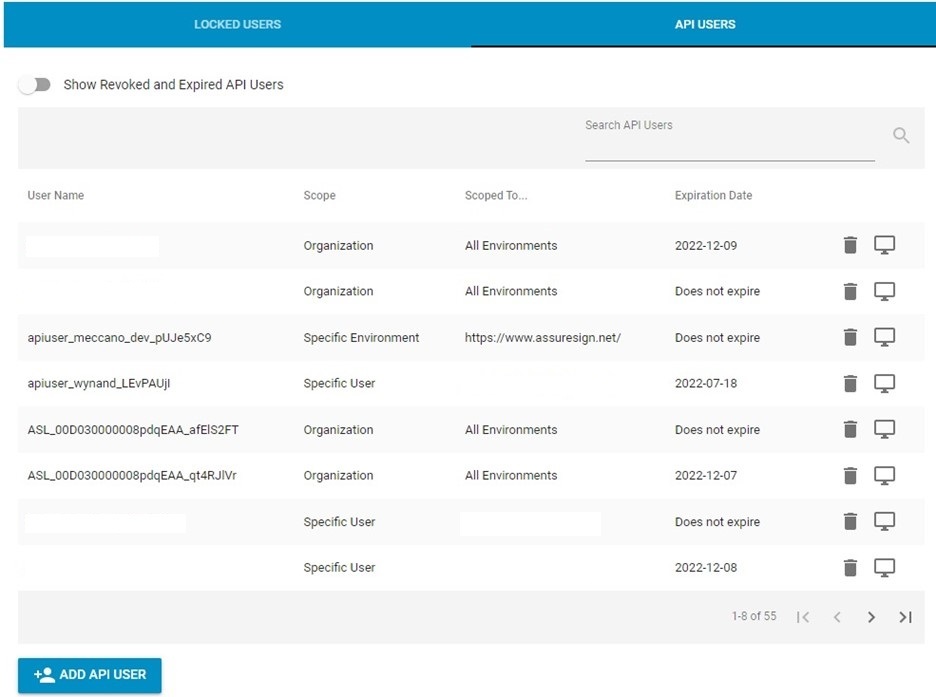
If you haven’t done so already you will need to create an API user for your connection. When created it will give you an API Key and API Username. Make sure to note in case you need them again later.
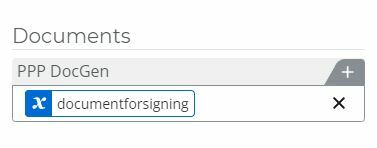
After creating your connection and selecting your template we will need to select the file variable for document we generated so it can be sent over to AssureSign for signature.
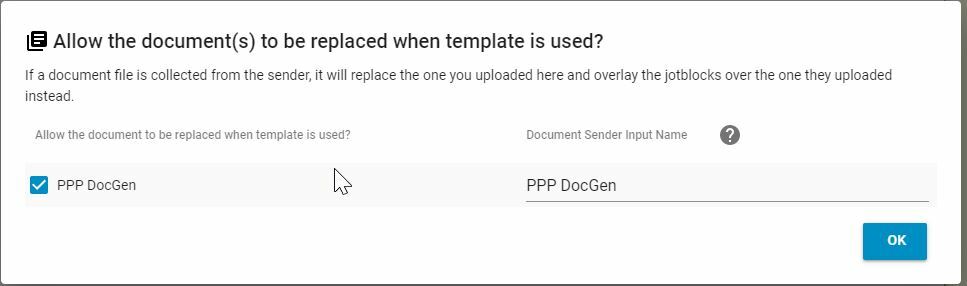
We did not do this in the first blog post as the document was not being generated in the workflow but from within AssureSign from the variables/sender inputs we passed to it.
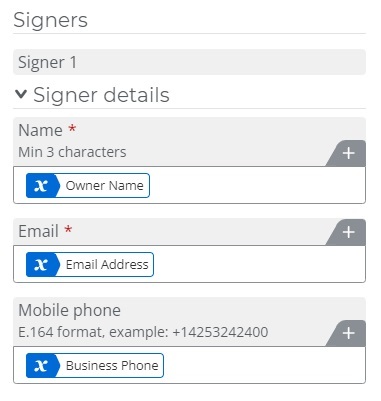
Now we will need to add the signer details. In my case I am populating these with data collected on the form, but you could hardcode them if you like as well. AssureSign does offer mobile e-sign so if you populate the Mobile phone the signer will also receive a text asking for permission for AssureSign to send them the signing information, if they reply YES they will receive that info and be able to complete the signing from their mobile device.
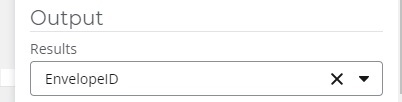
Again the last step we need to do is set a variable to capture the output of the action which we will use later to get the signed document.
That’s it! The Get a Signature Action is now configured.
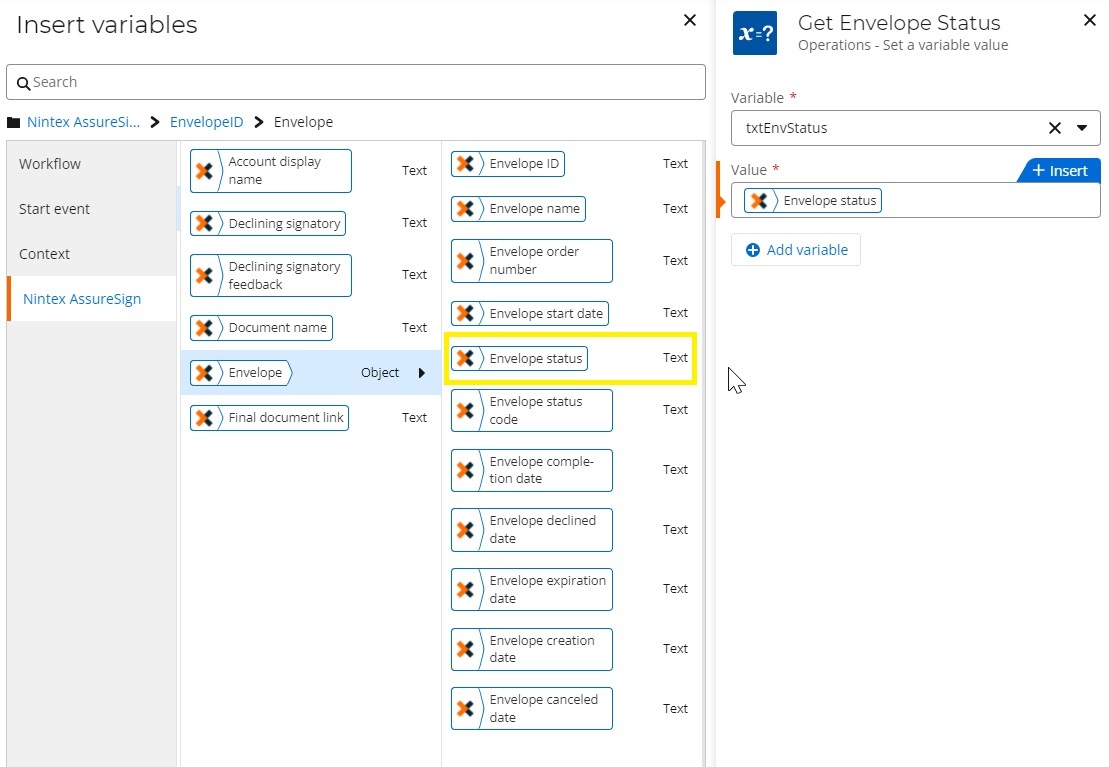
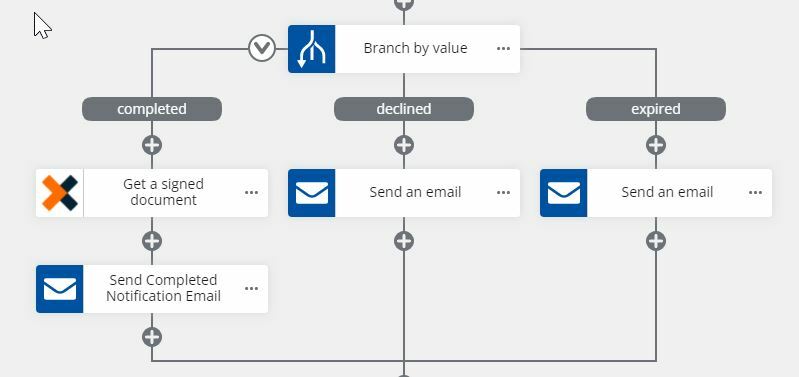
In this workflow I am retrieving the envelope status and saving it to a variable that I am then using to determine if the document was signed(completed), declined, expired, etc.
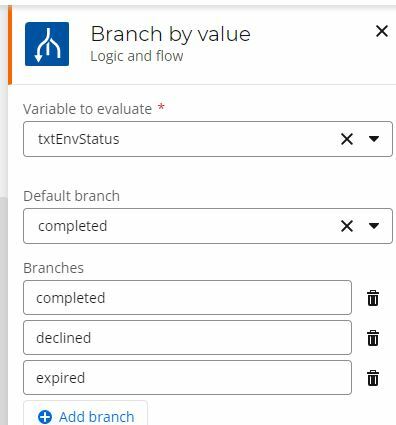
I am then using a branch by value in my workflow to get a signed document if it was completed and sending an email with the document attached. If the document was declined or expired I send an email back to the initiator to let them know that as well.
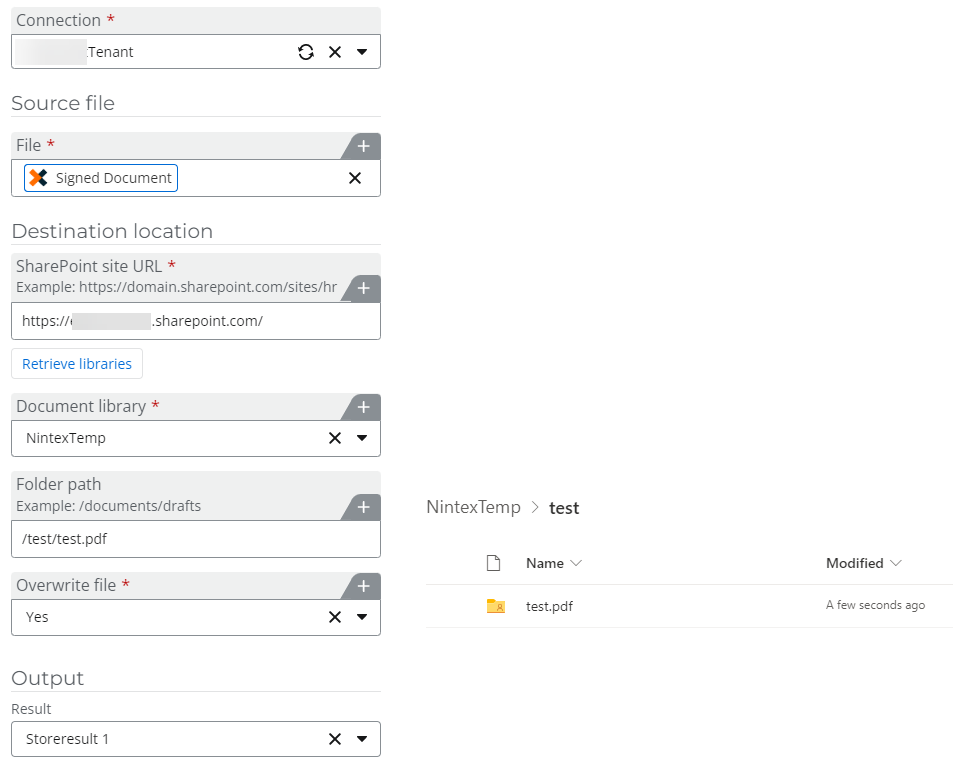
Now lets setup the Get a signed document action to retrieve the signed document from AssureSign. We will set our connection, account and template just like we did in the Get a signature action. Then we will select the document to return and also pass in the envelope id so we get the correct signed document back.
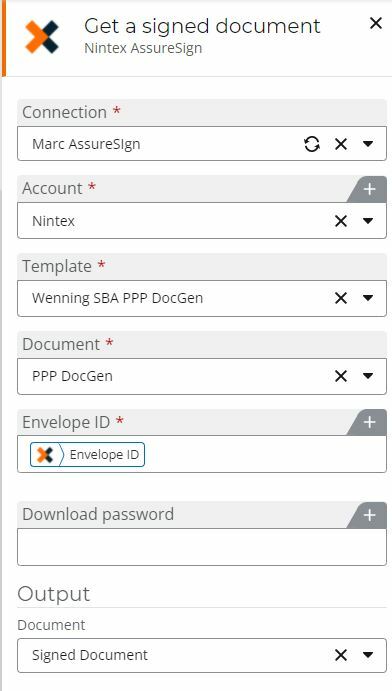
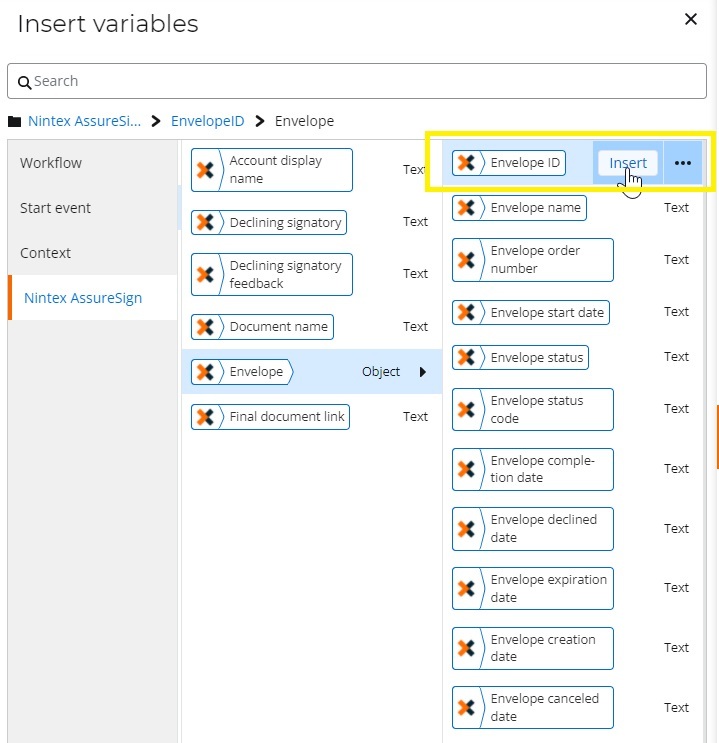
To get the envelope ID we use the output variable we configured in the Get a signature action.
Then we will want to save that signed document into a variable that we can use in the workflow to email the signed document or maybe save it to another system of record.
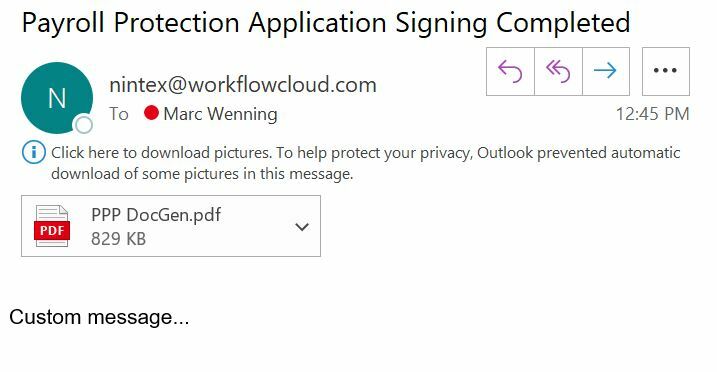
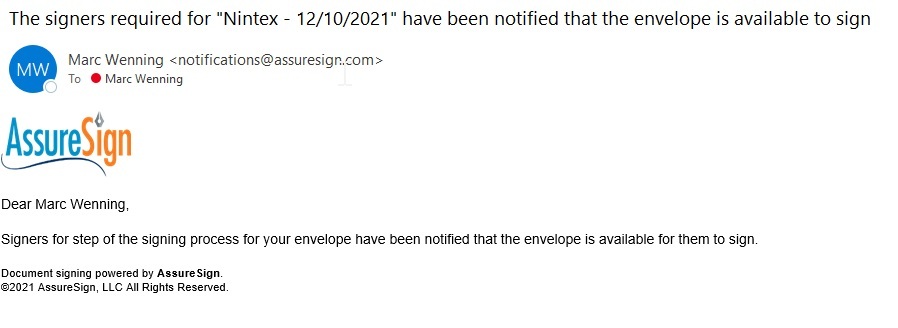
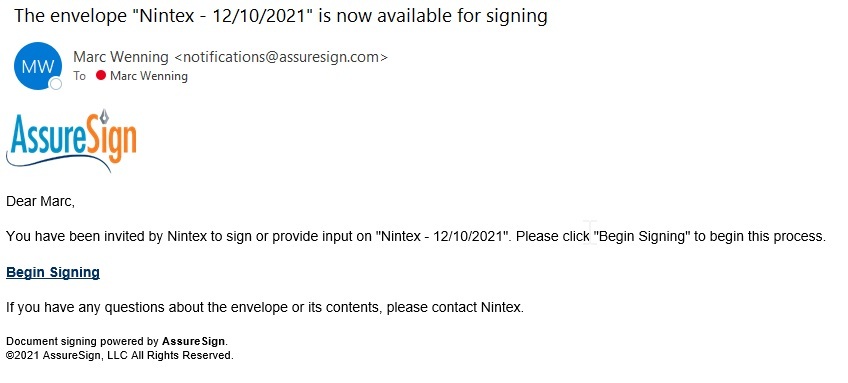
Ok now that we have both connectors configured, we can test our workflow. Once we fill out and submit our initial form we will receive an email that the envelope was sent to the signers for them to sign. These emails can be customized to include your company logo and other information you may want to send.
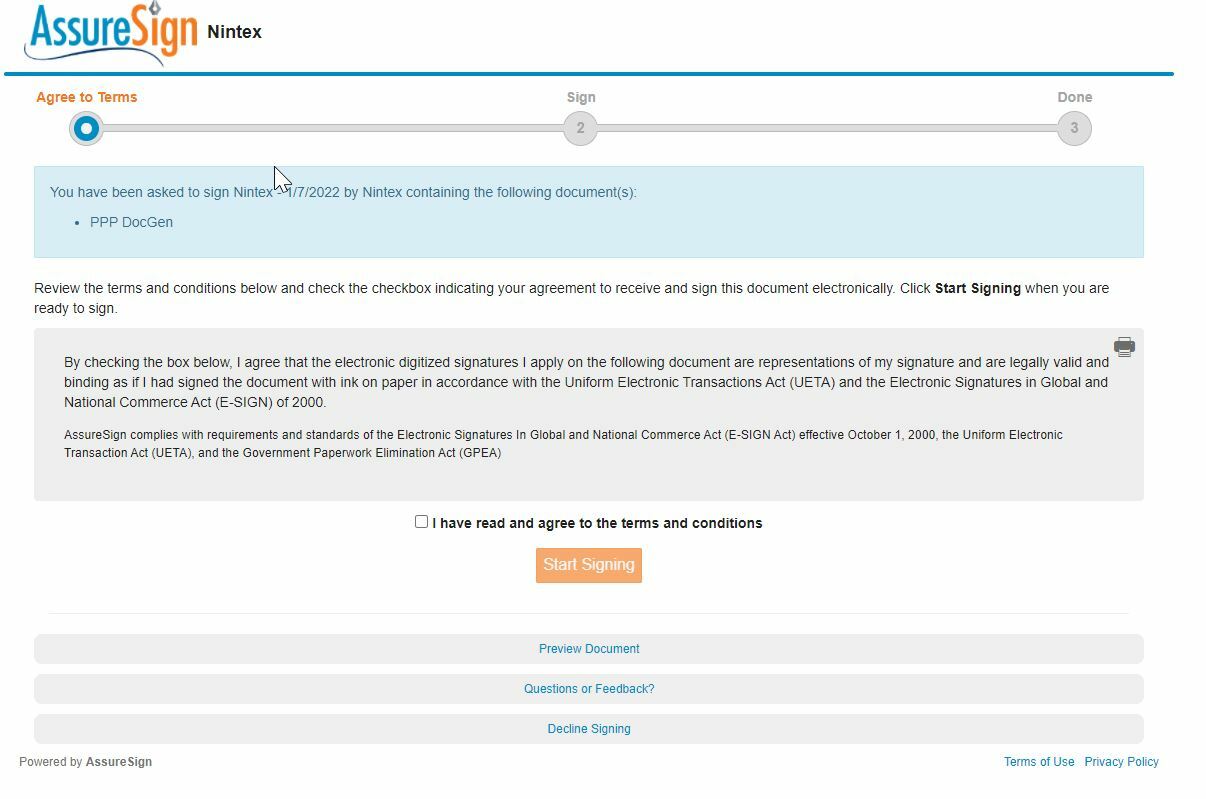
To begin the signing process, check the box saying you have read and agree to the terms and conditions and click start signing.
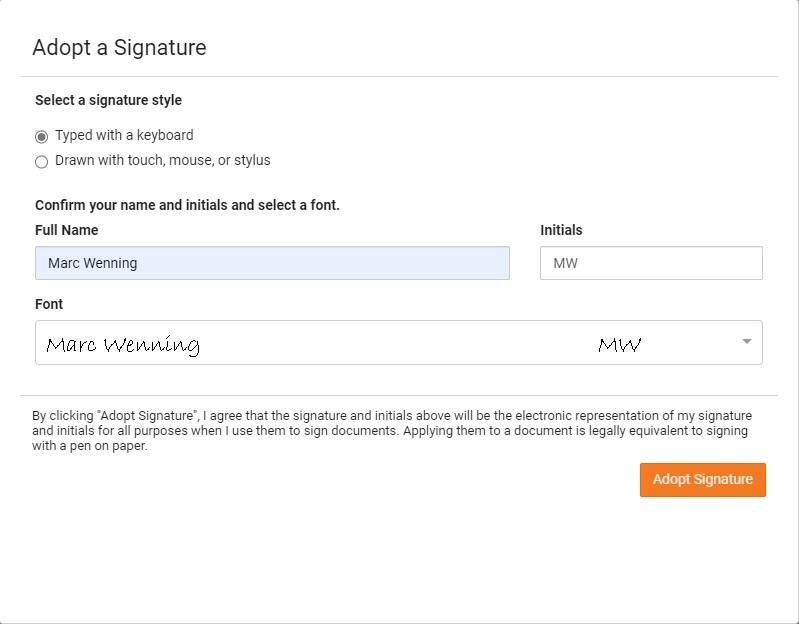
Setup your signature by either typing it in or using your mouse or a stylus to create it and your initials and click adopt signature.
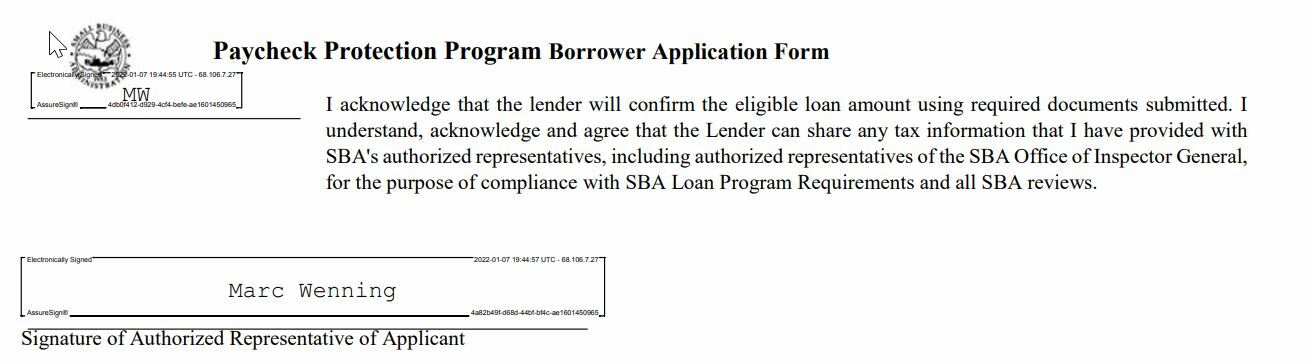
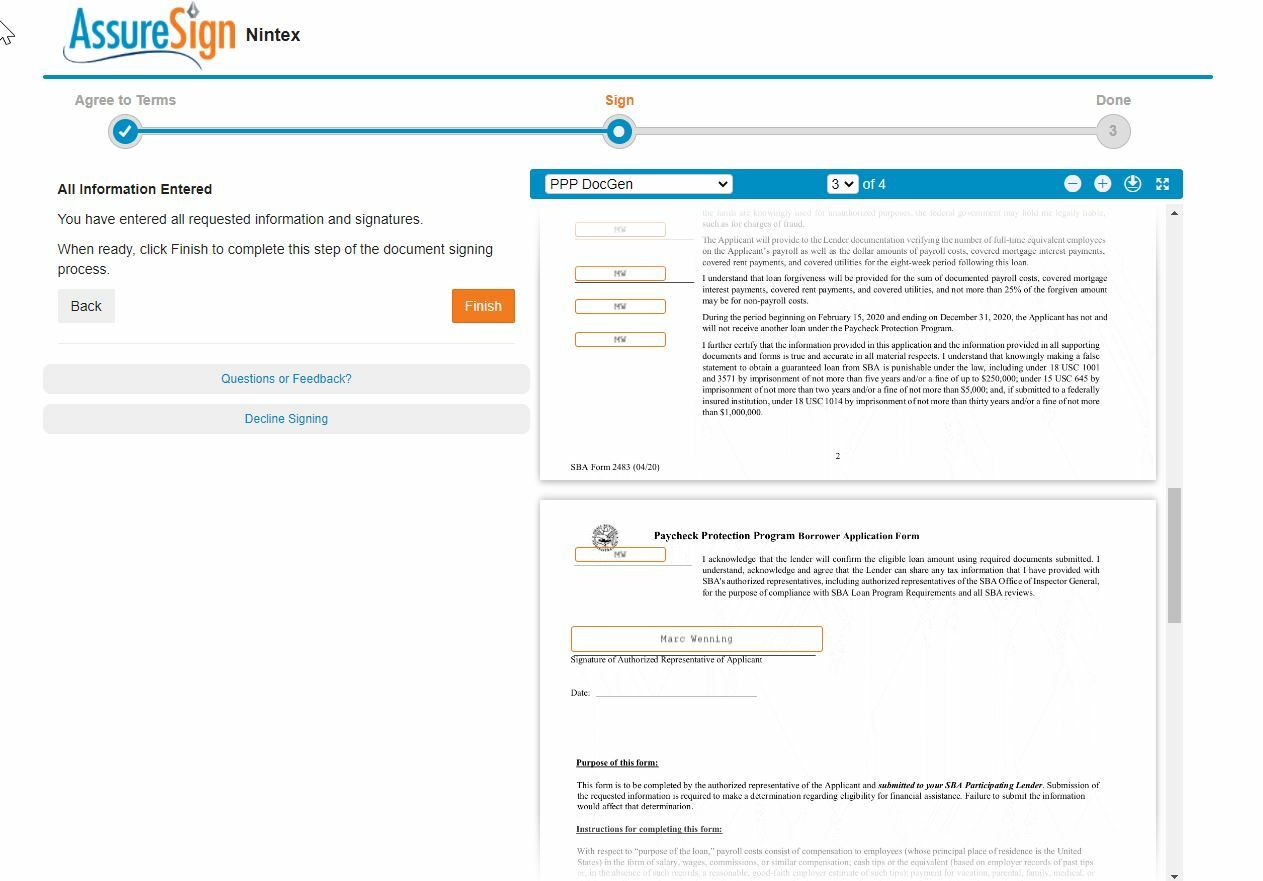
Now we can review and sign the document.
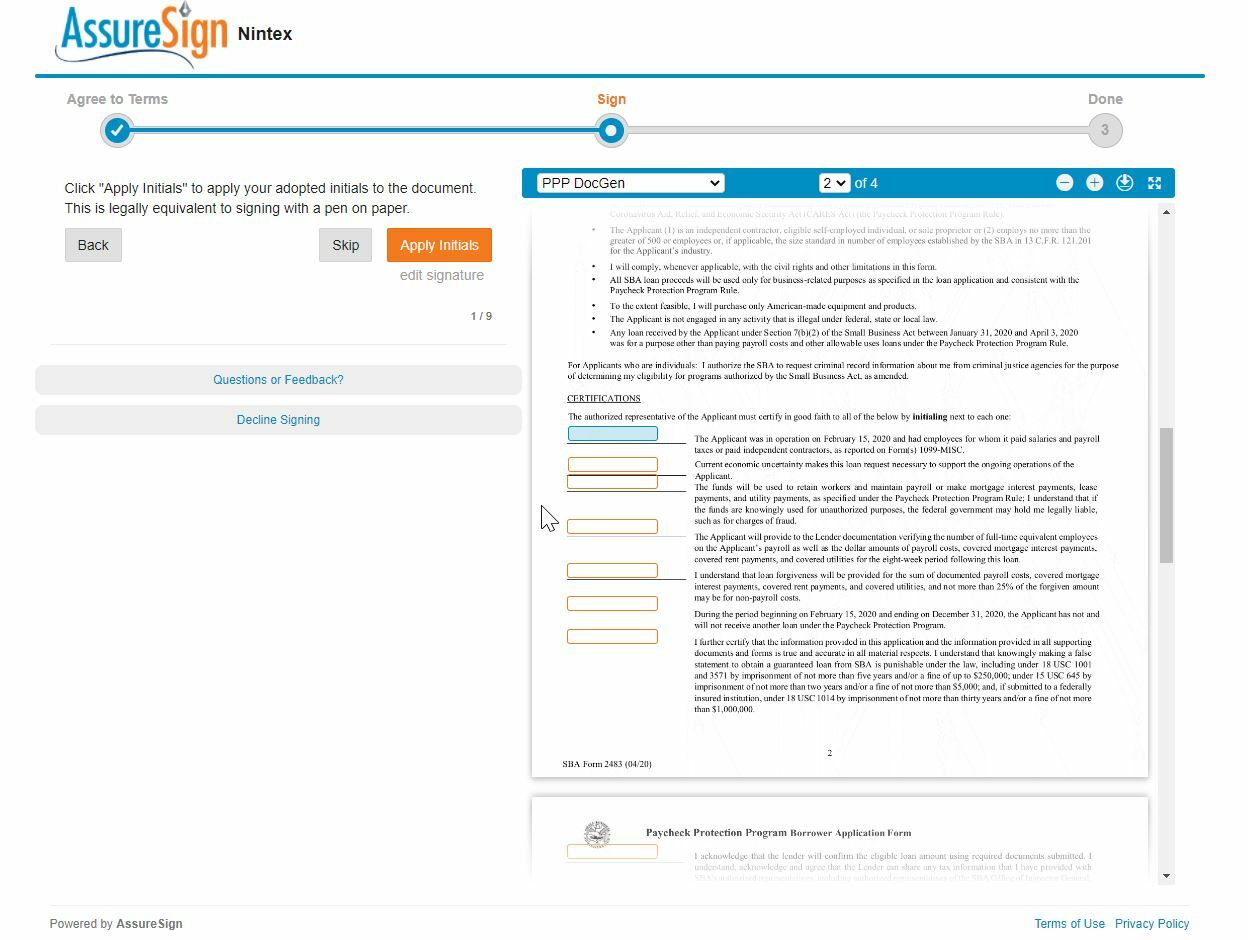
Click Apply initials and signature and then click finish to sign the document
We now have a signed document that will be saved in the envelope in AssureSign and returned to the workflow by the Get a signed document action and emailed to us.