The workflow and document template I am walking through in this blog and video is available to download from our Nintex Gallery at this link.
Creating Your Template in Nintex AssureSign
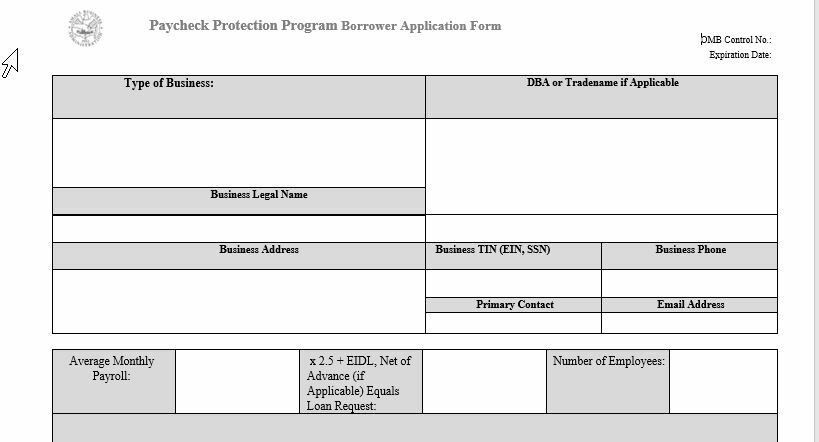
The first thing we will need to do is create the template in AssureSign that we will be passing data to from Nintex Workflow Cloud. I am using a word document, which I will upload into AssureSign in order to create the template
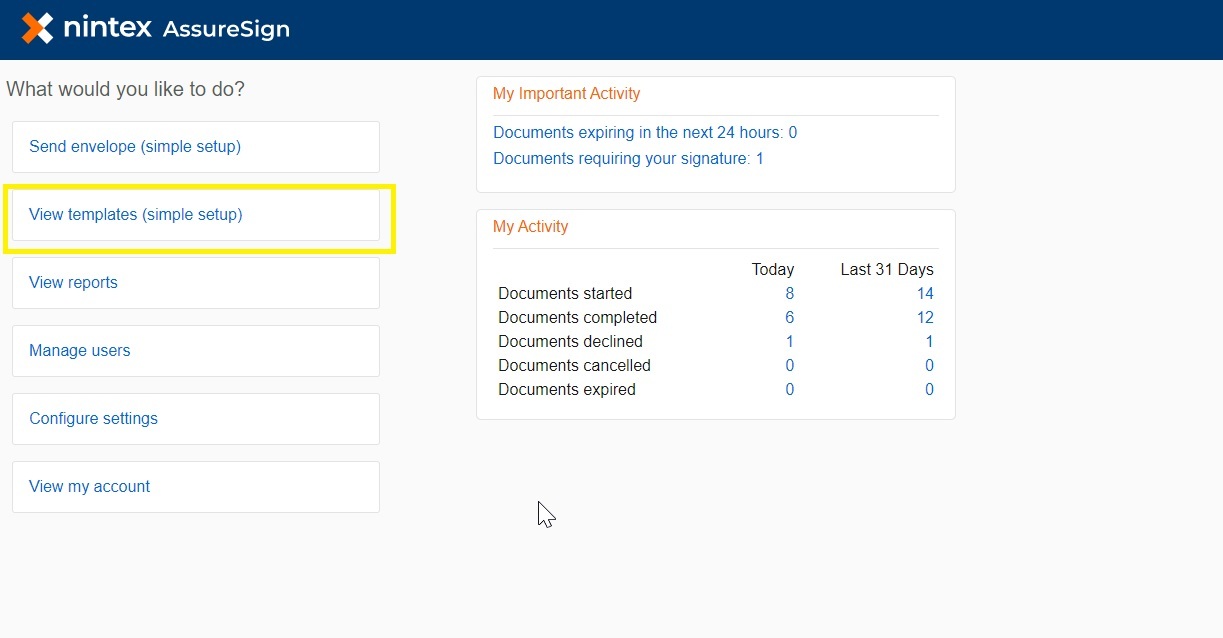
To start creating the template click on View Templates in the left hand navigation
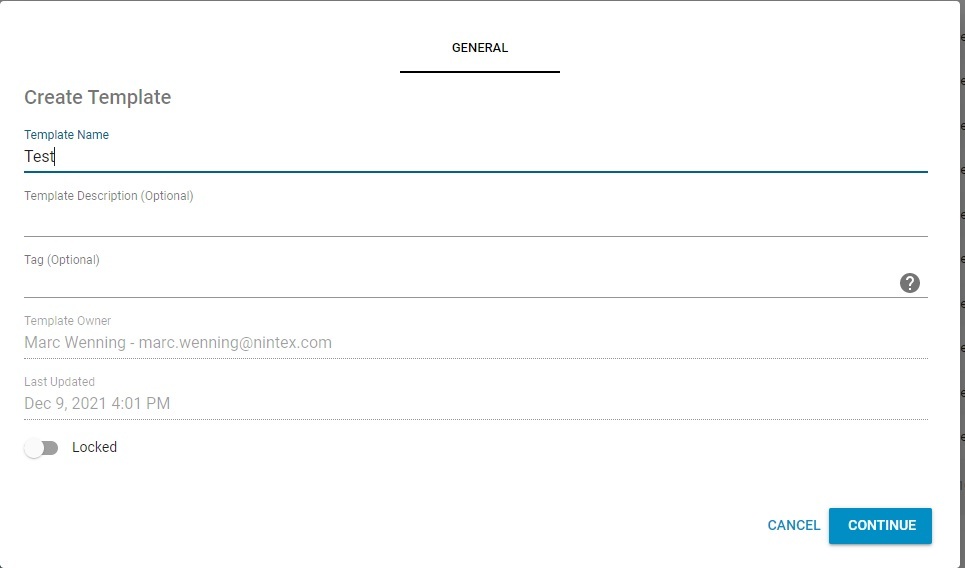
Then on the next screen you will need to click on create template, give your template a name and click continue
Then you need to drag and drop your word document into AssureSign
Now we can start to build out our template, we need to add a signer and then we will have the ability to create our JotBlocks on the template which is where the information we collect in Nintex Workflow Cloud will be passed into.
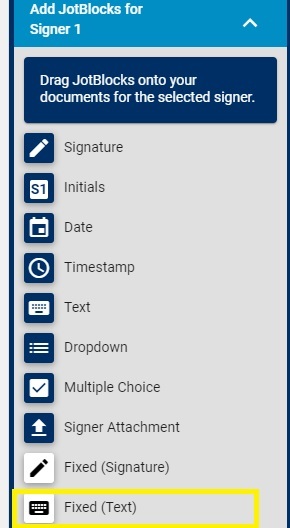
In order to do this, drag a JotBlock from the right hand menu onto the template where you want to have the information placed.
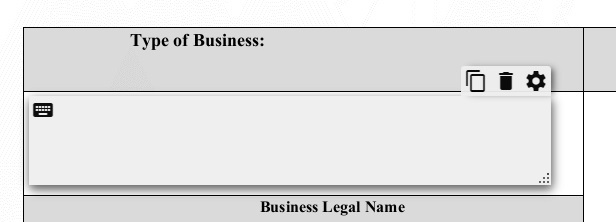
The JotBlock can also be resized by grabbing the bottom righthand corner of it and dragging it to the size you want it to be on the template
After dragging the JotBlock onto the template you will get a popup that will allow you to configure it, you will need to give it a unique name before saving it.
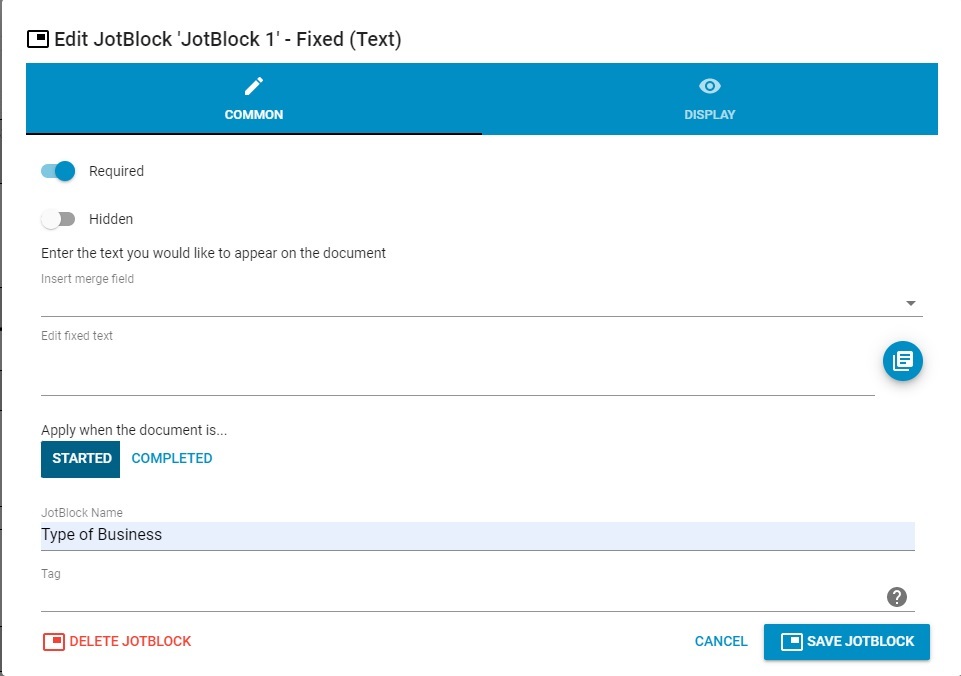
Now since we will be passing the information to the JotBlock from Nintex Workflow Cloud we need to configure a sender input for it. These can all be created ahead of time, or you can create them when your adding the JotBlock to the template by clicking on the blue circle located in the Edit Fixed Text line.
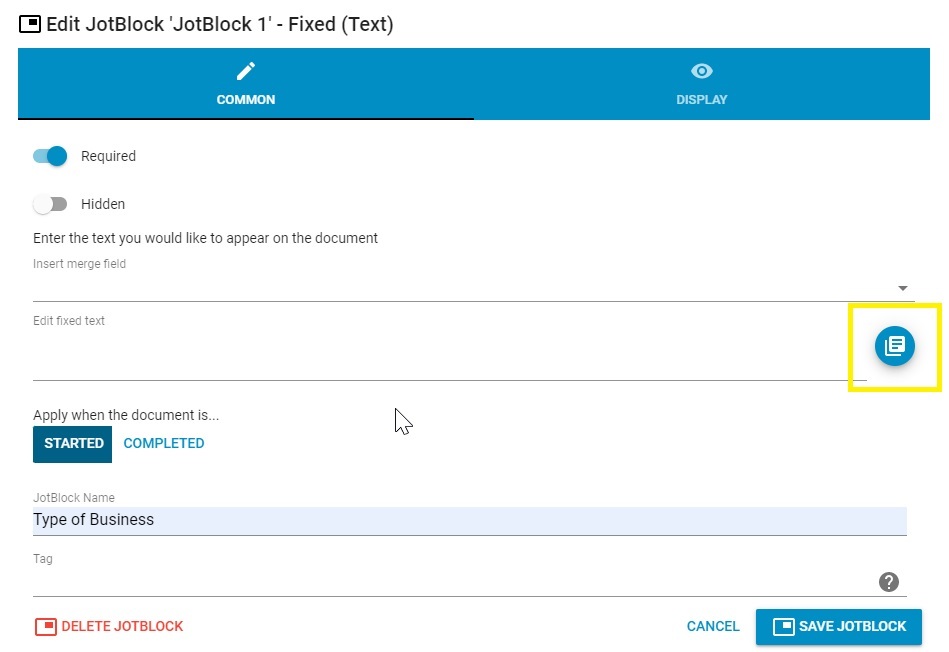
This will popup another window allowing you to configure the sender input for the JotBlock. Give it a name and click Save Sender Input.
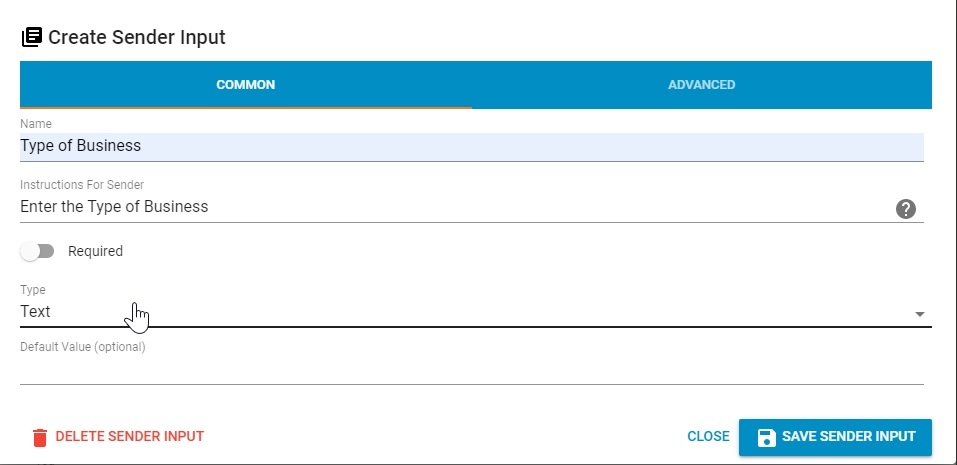
Now we can click on Save JotBlock to close the configuration of the JotBlock. You will see the JotBlock with the sender input listed in it on the template.
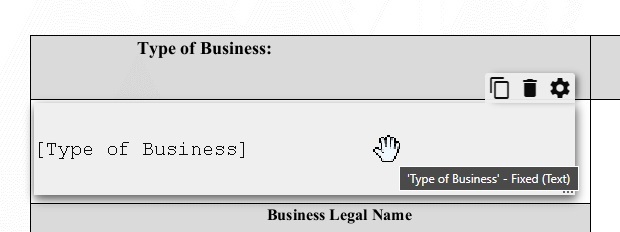
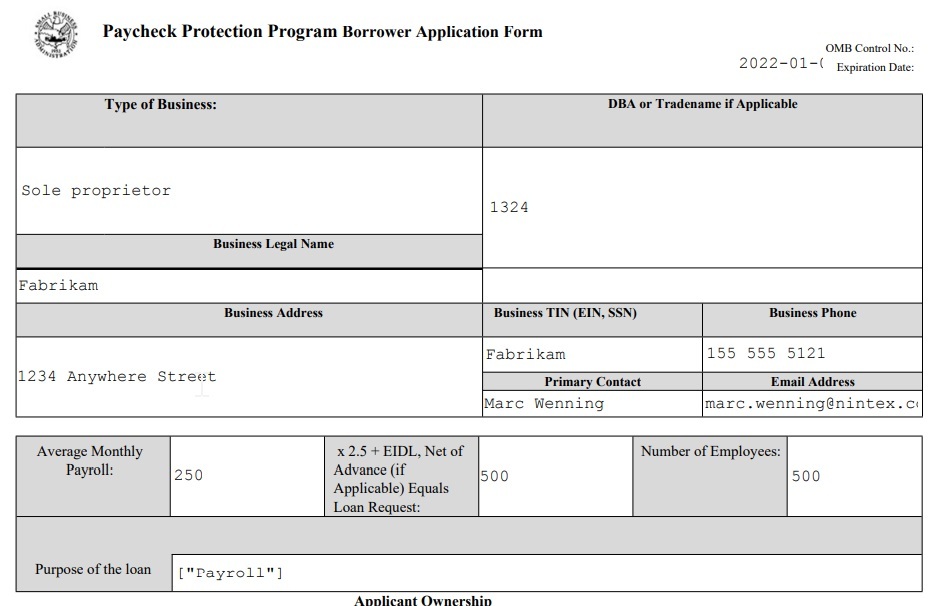
Repeat this for all fields on the form that you want populated from Nintex Workflow Cloud. Your template will look something like this after you populated all the fields with JotBlocks.
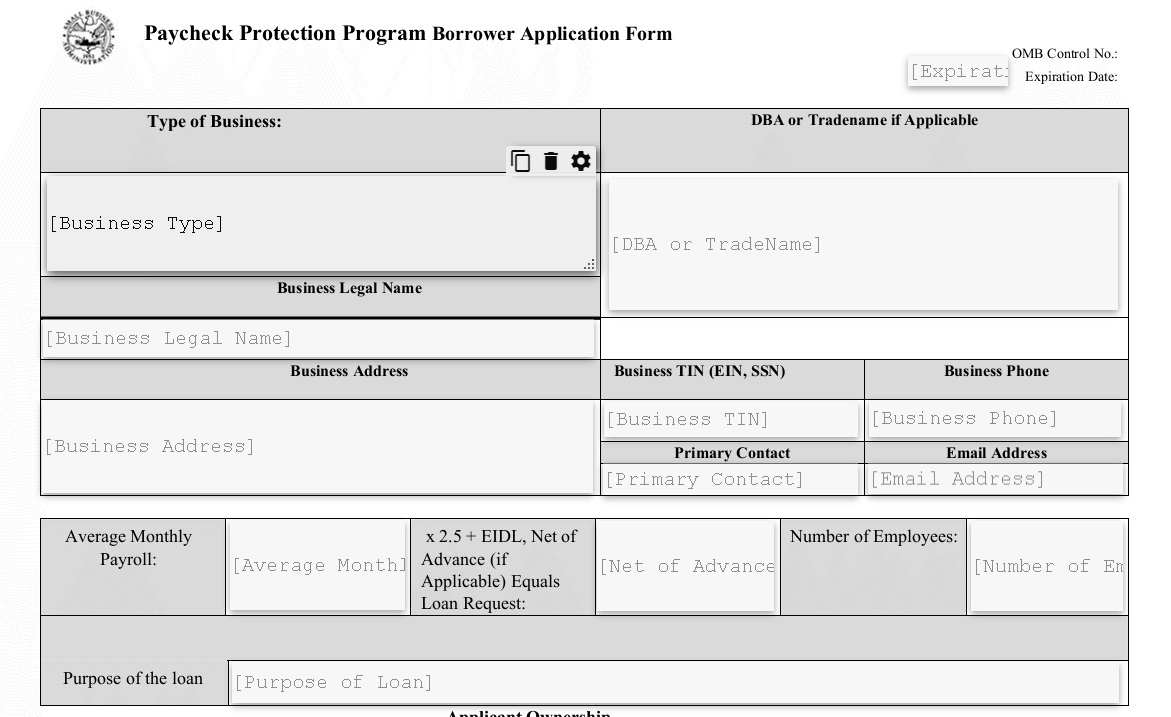
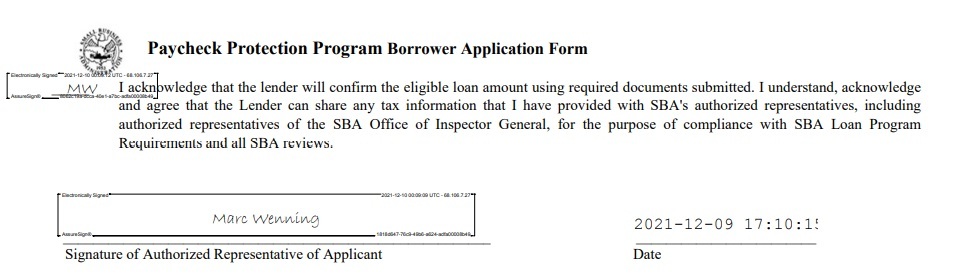
The last step in the template creation is to add the signer/initials JotBocks to the template. This is done by grabbing the Signature or Initials JotBlocks and placing them on the template where we want these actions to happen

The image here shows one initials JotBlock and the signature JotBlock on the template. Now we have completed our template and we can move to Nintex Workflow Cloud to configure the connectors.
Note: If you want to allow the users to update information in the document during the signing process use the blue JotBlocks. If you just want the signer to only be able to sign and initial the document, you need to use the fixed JotBock.
Using the AssureSign Connectors in your workflow
There are two connectors available in Nintex Workflow Cloud for AssureSign. The Get a Signature action will allow us to create our connection to AssureSign and map the fields from the workflow to the sender inputs in AssureSign. The Get a signed document allows us to get the signed document back so we may use it in the workflow to email out or maybe save to a system of record other than AssureSign.
I am not going to get into form creation in this post, but we will need to create our form that will capture all of the information that be used to populate the template before it is signed.
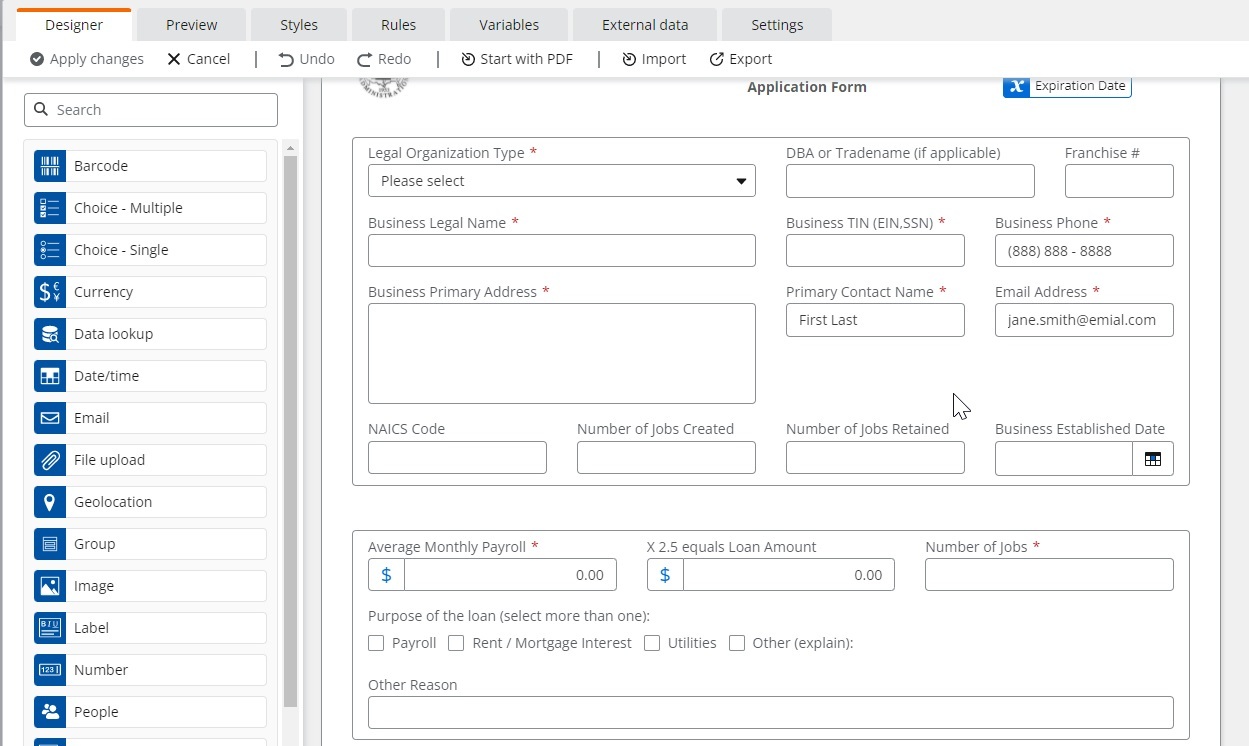
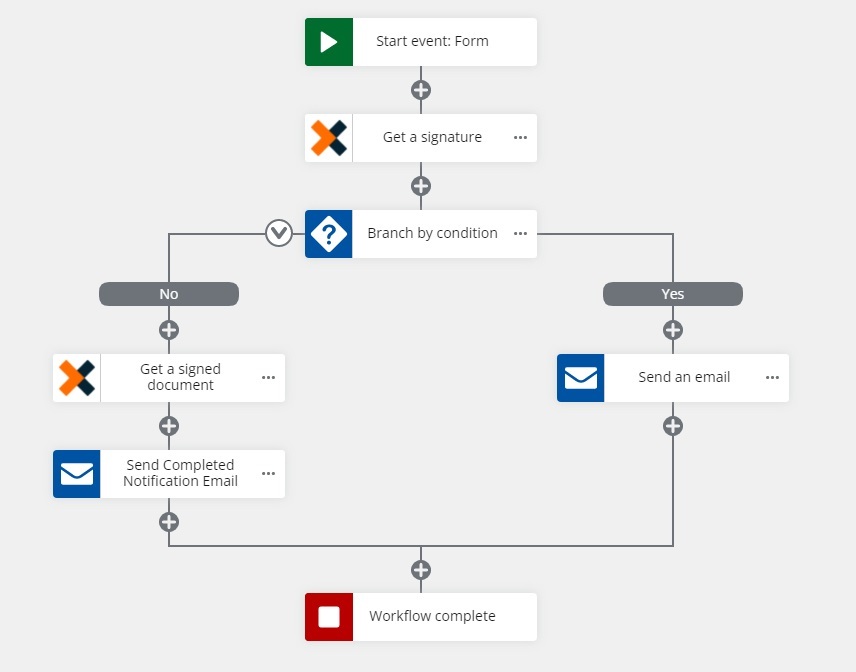
Once we have the form finished, we can create our workflow, in this example I am just capturing the data on the form and sending it to AssureSign to get a signature then I am checking to see if it was actually signed or if it was declined by the signer. If it was declined, I am sending an email to the initiator to let them know it was declined and if the document was signed I am getting the signed document back and sending an email with it attached.
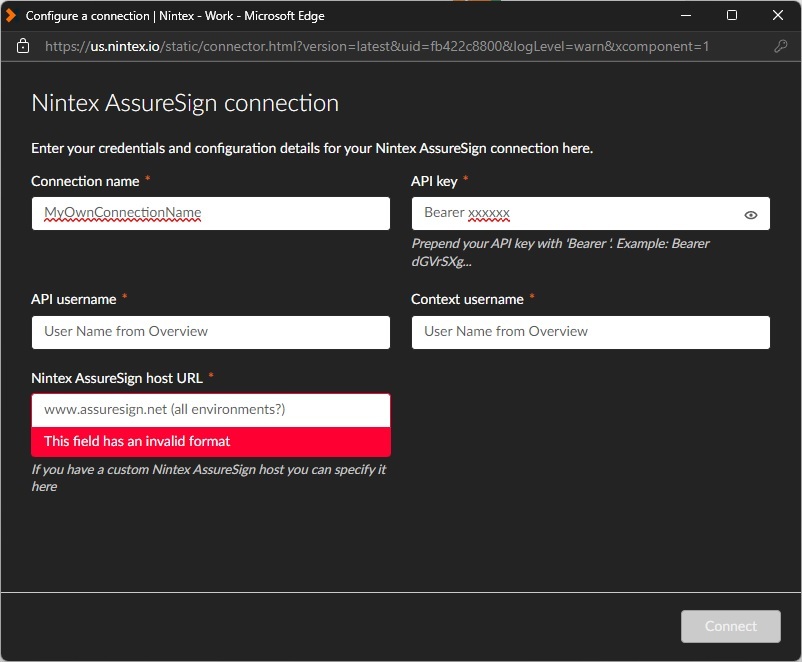
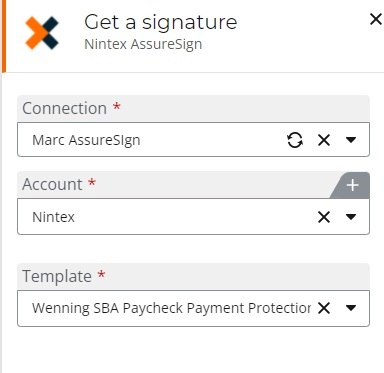
Let’s take a look at how the AssureSign connectors are configured. We will first need to create our connection to AssureSign, select the account if there is more than one available, then select the template we are going to be using.
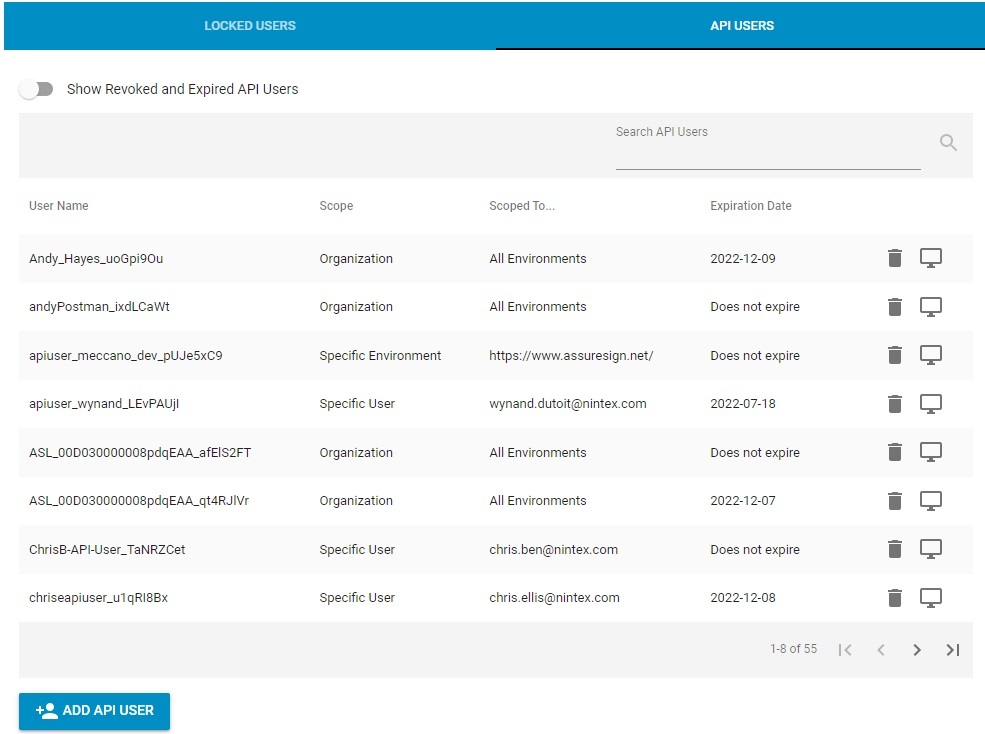
You will need to create and API user for your connection, when created it will give you and API Key and API Username, make sure to copy and keep both of these in case you need them again later.
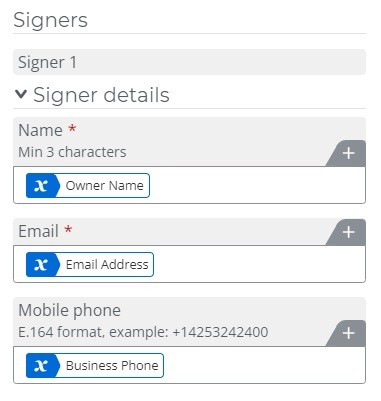
After creating the connection and selecting the template we will need to add the signer details. In my case I am populating these with data collected on the form, but they could be hardcoded as well.
AssureSign does offer mobile e-sign so if you populate the Mobile phone the signer will also receive a text asking for permission for AssureSign to send them the signing information, if they reply YES they will receive that info and be able to complete the signing from their mobile device.
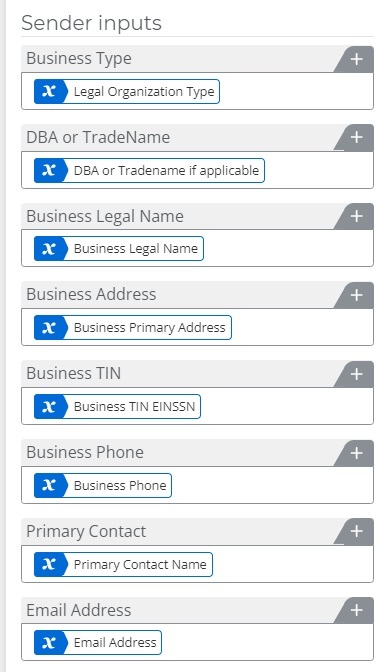
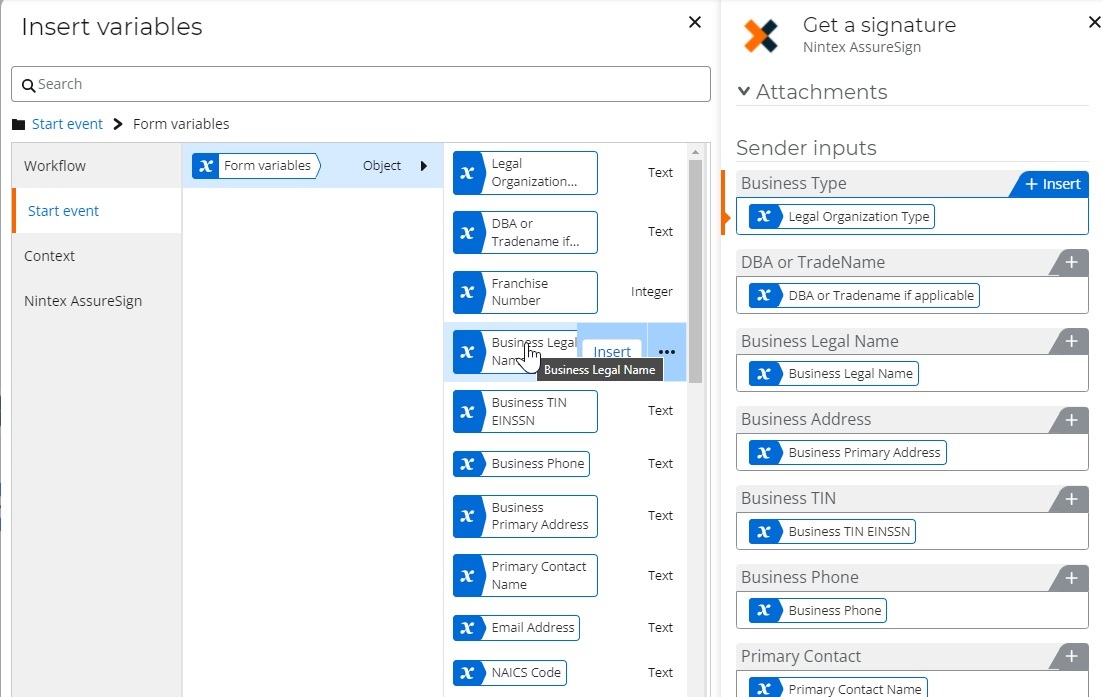
The next thing we want to do is map the sender inputs to the form fields, so the data will get passed to the template
I am using the Start event Form Variables to map the form fields to the sender inputs
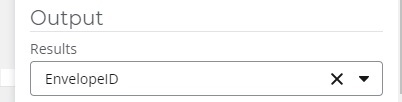
Once your done mapping the form fields to your sender inputs the last thing we need to do is set a variable to capture the output of the action which will be used later to retrieve the signed document
That’s it! The Get a signature action is now configured.
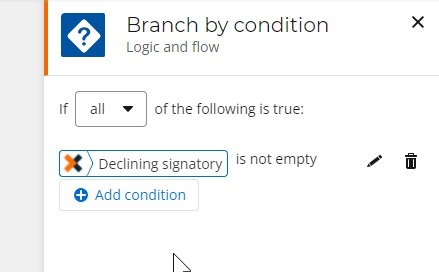
In the workflow I created I am checking to see if the document was declined using a branch by condition and checking for a Declining signatory, if one exists it was declined if not then the document was signed.
You could also check the envelope status as well and branch by status. The available statues for the envelope are
- in-progress
- expired
- completed
- cancelled
- declined
- signer_authentication_failed
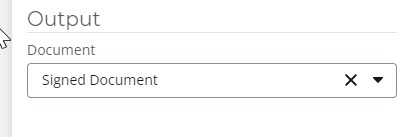
Now lets setup the Get a signed document action to retrieve the signed document from AssureSign. We will set our connection, account and template just like we did in the Get a signature action. Then we will select the document to return and also pass in the envelope id so we get the correct signed document back.
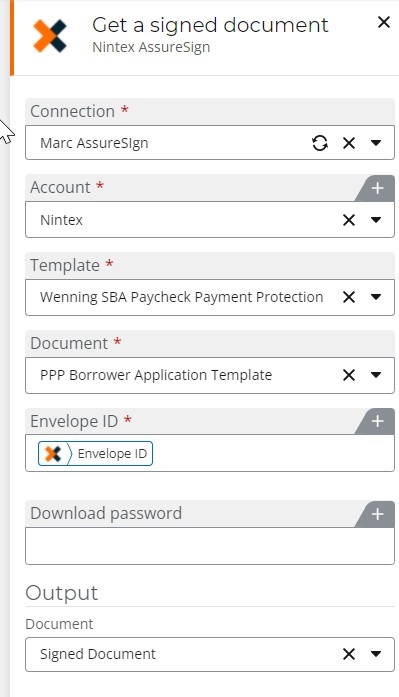
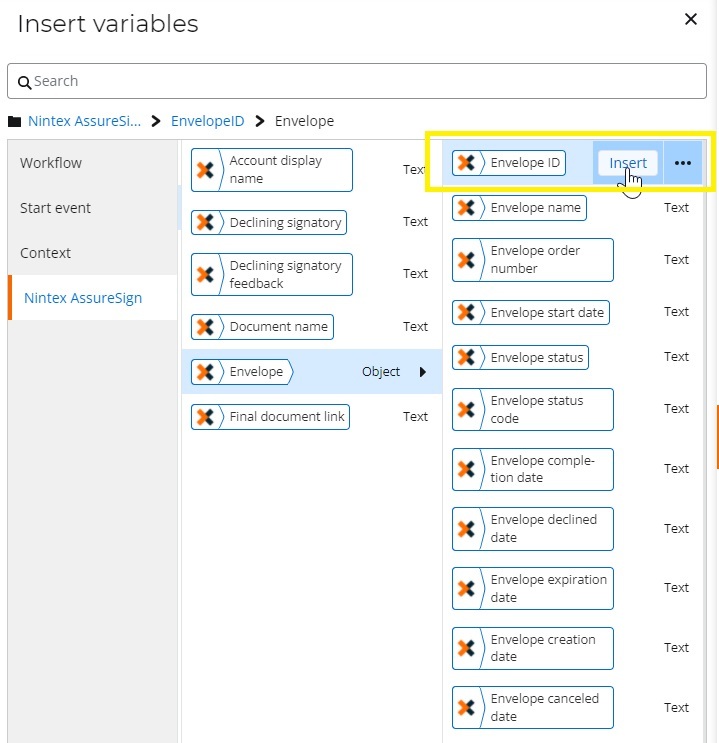
To get the envelope ID use the output variable that was configured in the Get a signature action
Then we will save that signed document into a variable that can be used in the workflow to email the signed document or maybe save it to another system of record
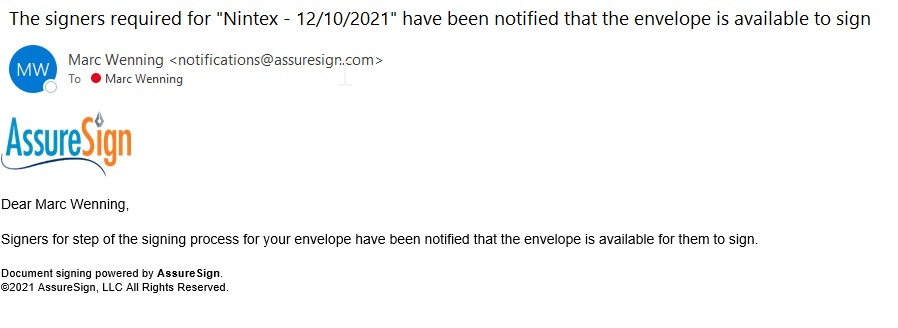
Ok now we have both connectors configured, lets test the workflow. Once we fill out and submit our initial form we will receive an email that the envelope was sent to the signers for them to sign. These emails can be customized to include your company logo and other information you may want to send
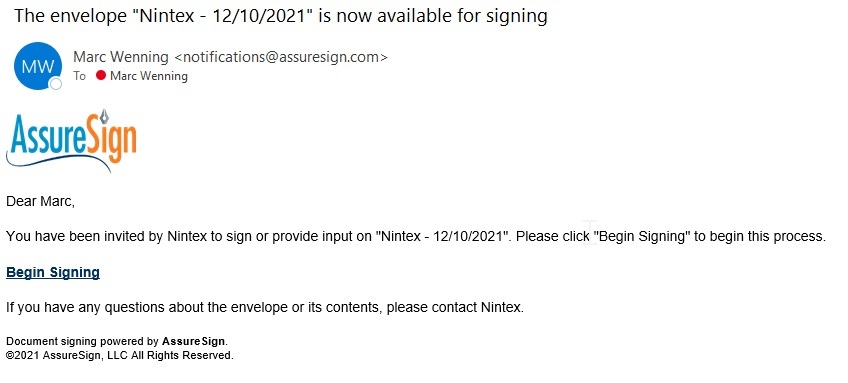
The signers will receive an email saying they have a document that is ready to be signed with a link to begin signing
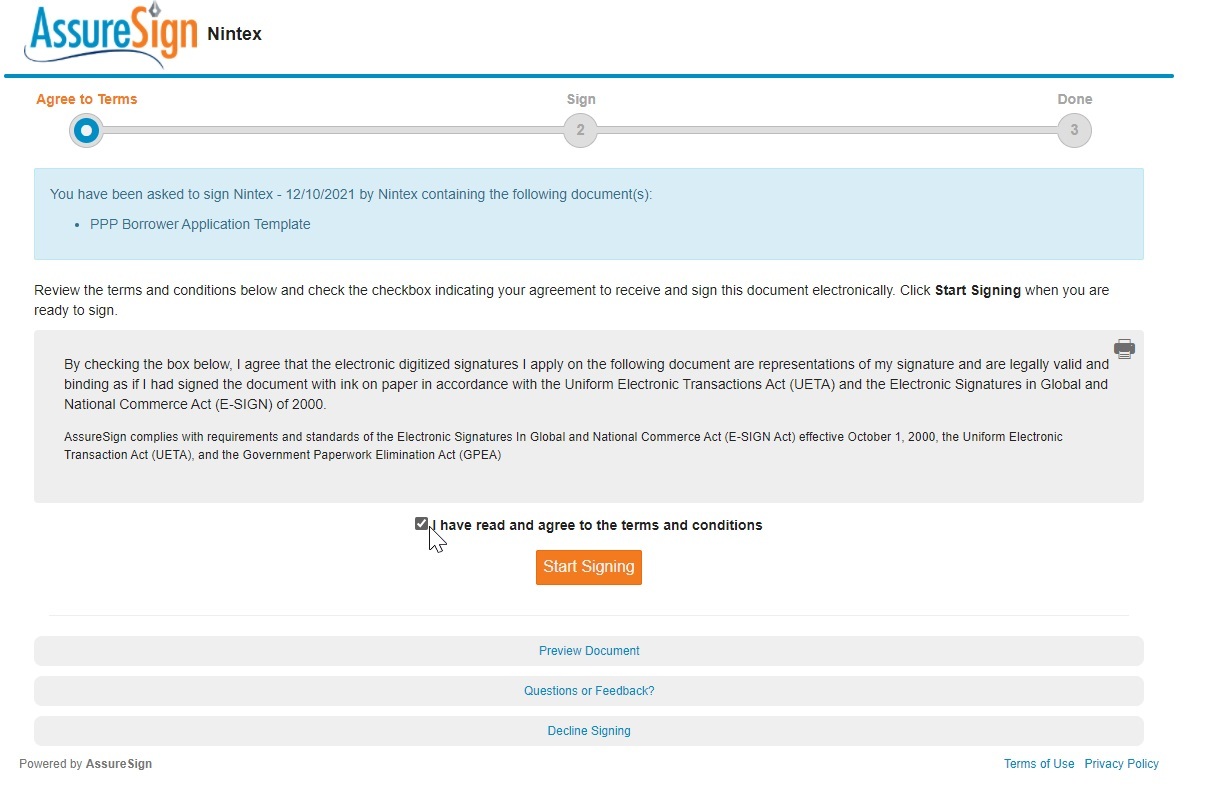
To begin the signing process, check the box saying you have read and agree to the terms and conditions and click start signing
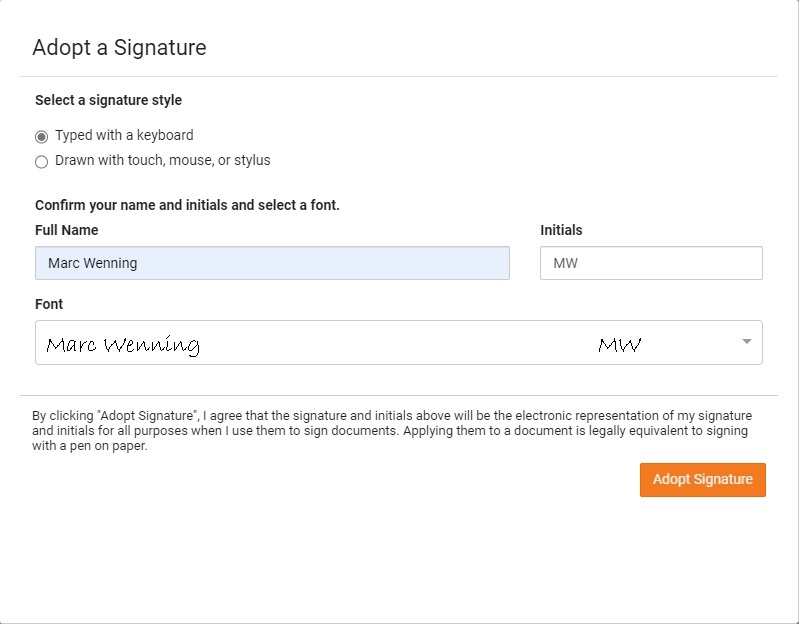
Setup your signature by either typing it in or using your mouse or a stylus to create it and your initials and click adopt signature
Now we can review and sign the document
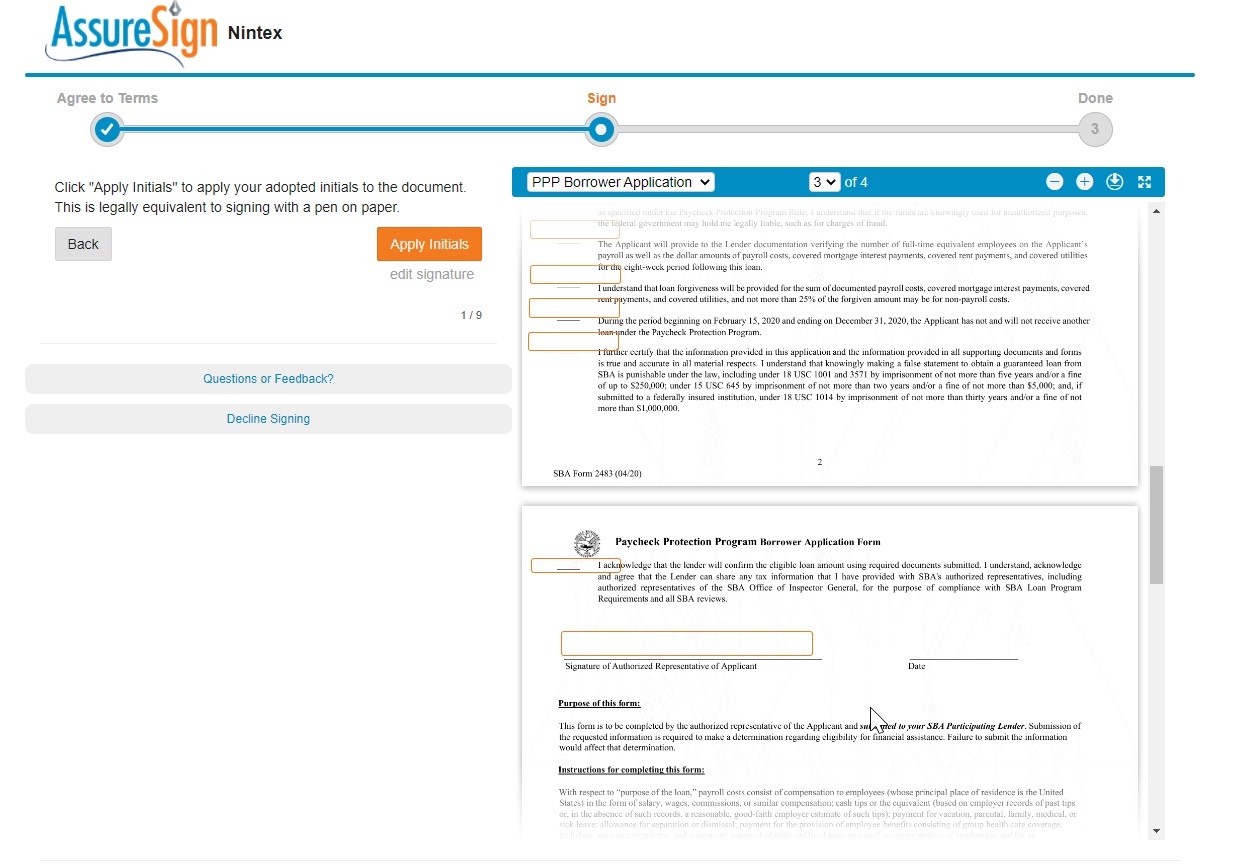
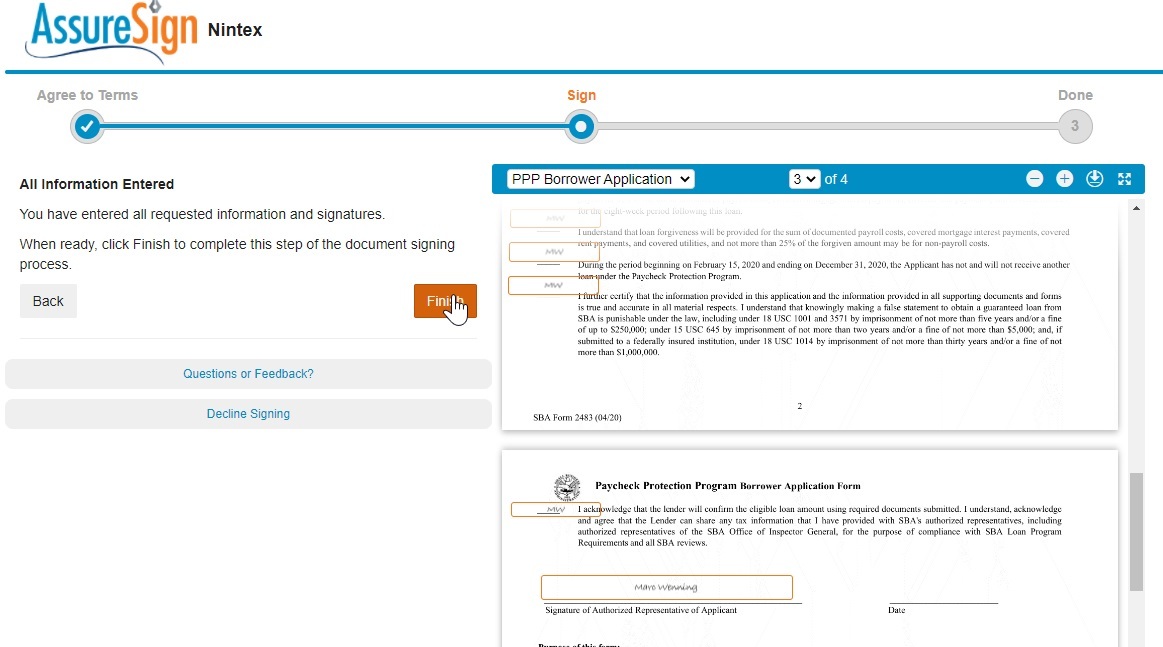
Click Apply initials and signature and then click finish to sign the document
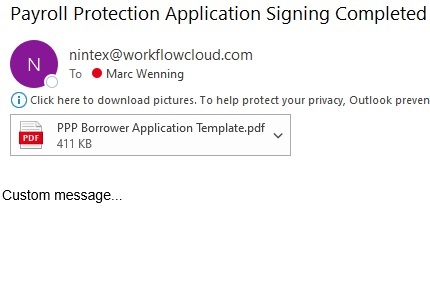
We now have a signed document that will be saved in the envelope in AssureSign and returned to the workflow by the Get a signed document action and emailed to us
If you have any questions or would like to see a demo of Nintex Workflow Cloud and AssureSign please reach contact your account manager or sales@nintex.com