


Overview
Managing and troubleshooting workflow instances in Nintex Workflow is crucial for ensuring the efficiency and accuracy of automated business processes. The Instance Details and Events pages provide essential insights into workflow execution, allowing users to resubmit workflows, terminate instances, troubleshoot issues, and analyze workflow events.
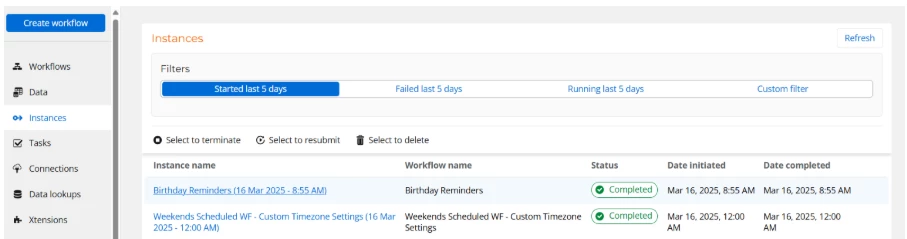
Accessing Instance Details
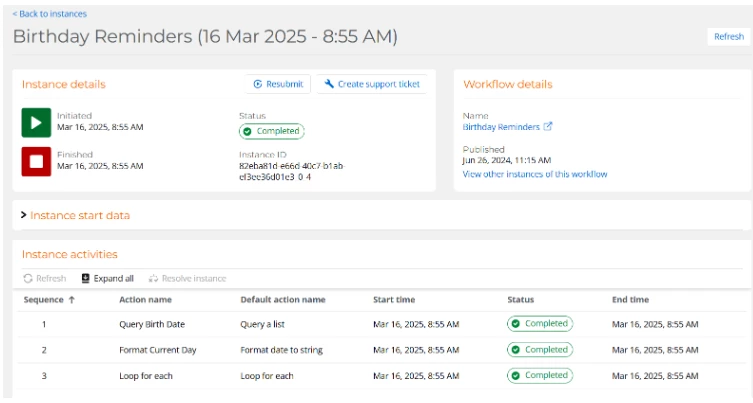
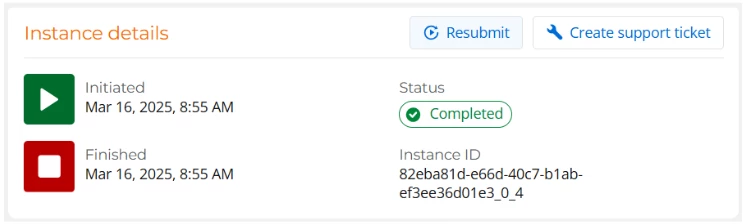
The Instance Details page provides a detailed view of a workflow instance, including its status, history, and any logged information. Users can also perform actions such as resubmitting, terminating, or creating support tickets for workflows.
Steps to Access Instance Details:
-
On the top navigation bar, click Automate.

-
On the left, click Instances.

-
Click the name of the instance you want to view.
-
The Instance Details page is displayed.
Viewing and Managing Workflow Instances
Viewing the Workflow
Users can directly access the workflow design from the Instance Details page:
-
In the Workflow details section, click the Name of the workflow.
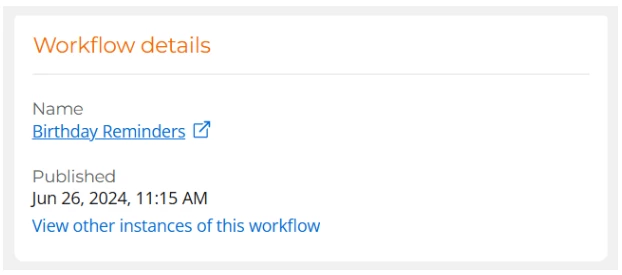
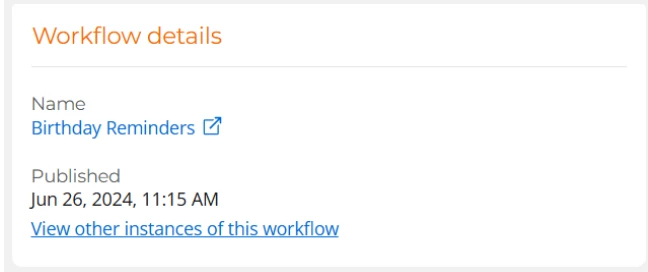
Viewing Other Instances
-
Click View other instances of the workflow in the Workflow details section.
Resubmitting a Workflow
Workflows that are Failed, Completed, or Terminated can be resubmitted with the same start data, creating a new instance.
Steps to Resubmit:
-
Open the instance from the Instances page.
-
In the Instance details or Instance history section, click Resubmit.
-
Confirm the action.
-
A new instance is created.
Note: Only the latest instance can be resubmitted.
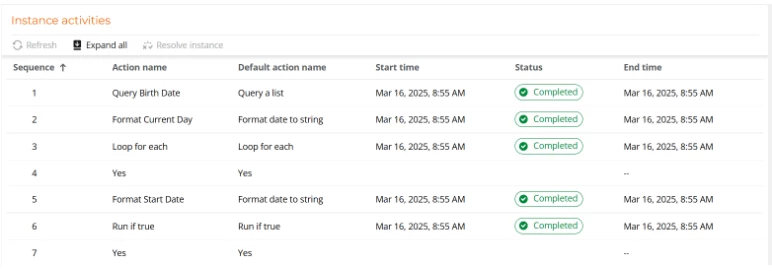
Viewing Instance Activities and Logs
Steps to View Logs:
-
On the Instance details page, navigate to Instance activities
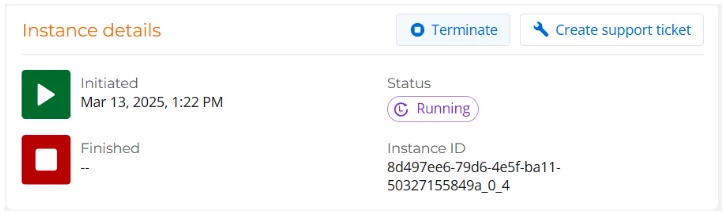
Terminating Running Instances
Users can terminate running workflows directly from the Instance details page.
Steps to Terminate an Instance:
-
On the Instance details page, Select Terminate.
Creating a Support Ticket
If issues arise, users can create a support ticket from the Instance details page.
Steps to Create a Support Ticket:
-
Click Create support ticket.

-
Follow the prompts to submit the instance details.
Error Handling and Resolving Paused Instances
If a workflow encounters an error, it can either fail or pause, depending on workflow settings.
Steps to Resolve Paused Instances:
-
Open the paused instance from the Instances page.
-
In the Instance activities section, click Resolve instance.
-
Choose an action:
-
Resume instance: The workflow continues from where it paused.
-
Fail instance: The instance is marked as failed.
-
-
Add a comment and click Apply.
Note: Failed instances cannot be resumed.
Understanding Workflow Events
The Events page provides details on workflow start events, helping users troubleshoot and diagnose issues in Nintex Workflow.
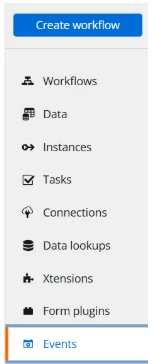
Accessing the Events Page
-
On the top navigation bar, click Automate.

-
On the left, click Events.
Finding and Filtering Events
Administrators can find events within a 14-day retention period.
Filtering Options:
-
Time received (last 1 hour, 12 hours, or 24 hours)
-
Event status (All, Error, No Error)
-
Custom filters for additional parameters
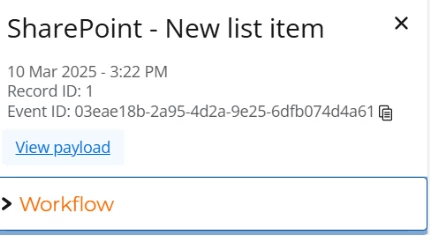
Viewing Event Information
Users can view detailed event data, including record IDs, payloads, workflow outcomes, and error messages.
Steps to View Event Details:
-
Click an Event name.

-
Click View payload to inspect event data.
-
Expand the Workflow section to view messages.
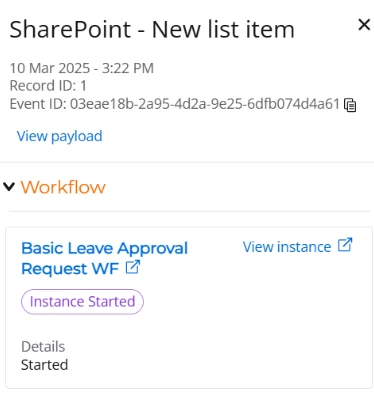
-
Click View instance to examine workflow details.
The Instance Details and Events pages are essential tools in Nintex Workflow for monitoring, managing, and troubleshooting workflow processes. By understanding how to access and utilize these pages, users can ensure seamless workflow execution and effective issue resolution.