Scenario
How to upgrade a Nintex for Office 365 workflow to Nintex Automation Cloud that uses the action, Check In Item.
After Upgrade
-
Your start event Connection property must be updated with an existing connection to SharePoint in your NAC Nintex Automation Cloud environment.
-
The Check In Item action will become SharePoint Online - Check in files in Nintex Automation Cloud.
-
The new action must be completely reconfigured including pointing it to your SharePoint site, specific document library, and specific document(s).
Differences
-
The action, Check In Item, in Nintex for Office 365, only worked within the context of the list item that started the workflow instance.
-
Moving forward, the action, SharePoint Online - Check in files, in Nintex Automation Cloud, works by allowing you to selectively check in one or more files in a library by using conditions.
-
You can now configure conditions using the condition builder to point to the specific document or multiple documents you would like to check in.
-
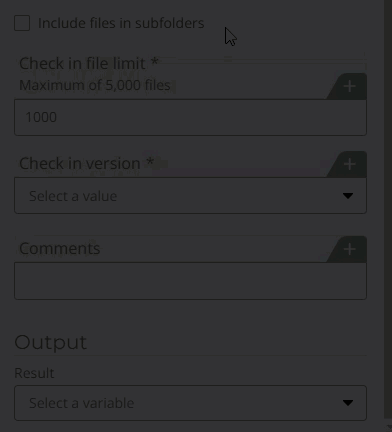
The check in file limit property allows you to set the maximum number of files the workflow action can check in at once when it executes. Note: The system maximum is 5000 files.
-
You can select to include files in subfolders if you would like to check in files recursively.
-
The Check in version property allows for Major, Minor, and Overwrite only.
-
You can store the result of the action in an object variable that contains boolean values indicating whether your files were successfully checked in.
Configuration
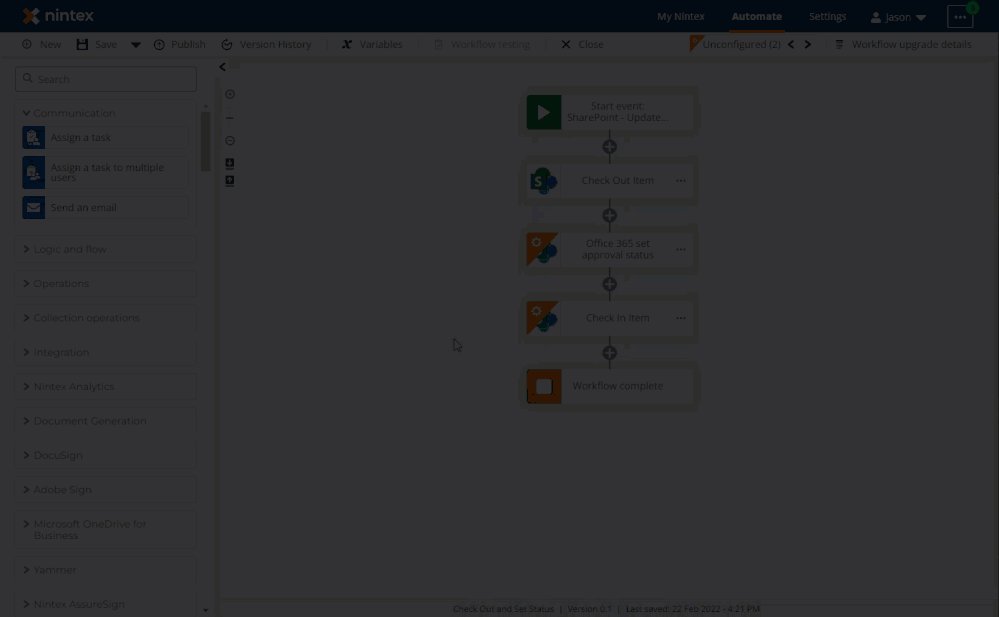
- Reset the Connection property in your start event to point to an existing SharePoint connection. By doing this first, other SharePoint-related actions may automatically use this connection later in the workflow when you reconfigure them.
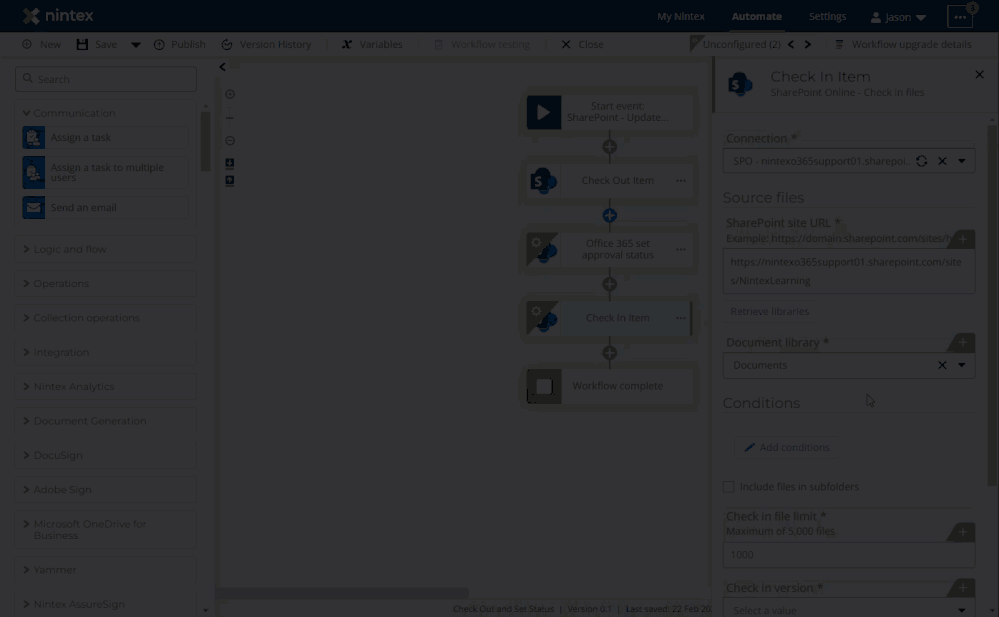
- Under the Source files section, copy and paste a link to the SharePoint site that your document library lives in inside the SharePoint site URL property. Then click the Retrieve libraries button to populate the Document library lookup list property. Notice upon first selecting this action on the design canvas, the connection property automatically sets itself to the same connection from the Start Event.
- Under the Conditions section, select Add conditions to open the Conditions builder. In this example, we use the ID variable from the SharePoint start event that points to the document that starts the workflow instance. The action will only check in that specific document with this condition.
- Configure the options to Include files in subfolders, Check in file limit, Version, Comments, and the output result variable based on your needs. Note: You can insert variables in place of specific text in these properties for more dynamic capability.
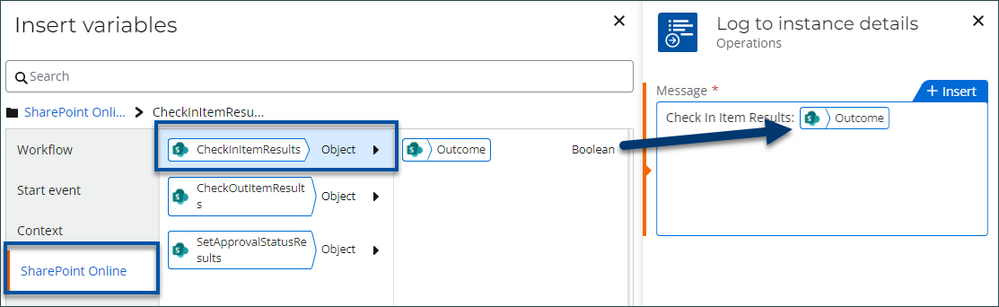
- You can access the contents of the result variable later in other actions of the workflow. In this example, we can use the action, Log to instance details, to show the value for the Boolean status variable to ensure it successfully checked out our item.