


Topic
The styles tab in the Nintex form editor provides the ability to define themes of custom color and font formatting on start event and task forms in a workflow. For more “advanced” styling control, you can also apply your own customized cascading style sheets (CSS) to these forms.
Please see the Custom CSS Guide in the Workflow Automation user guide for more information on how to work with CSS in your forms.
Example
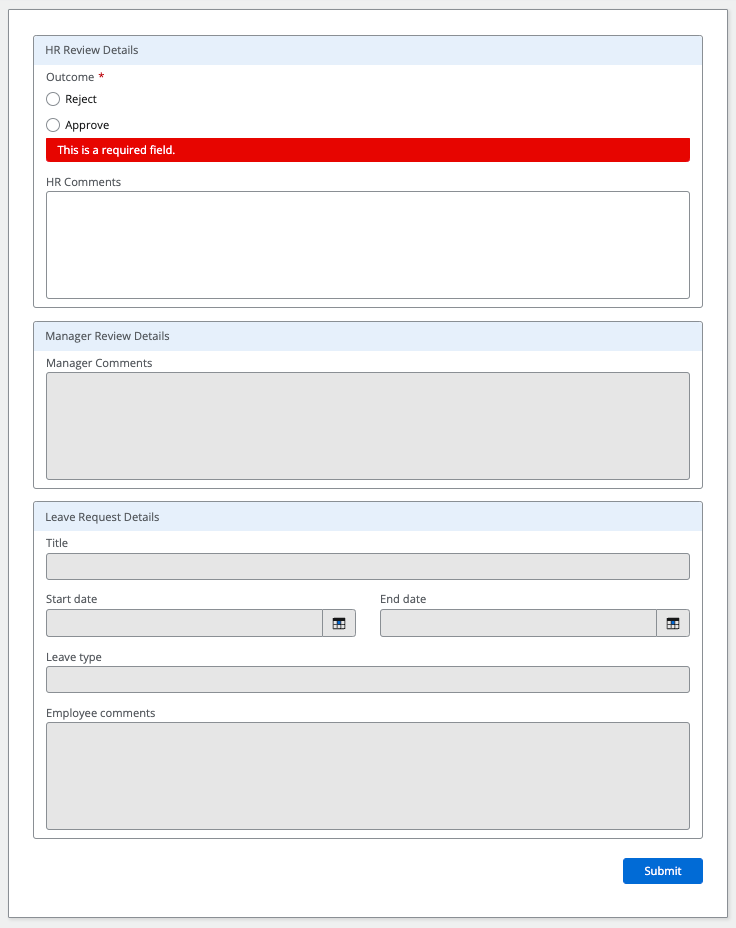
The following example shows before and after views of a task form that a human resources manager might use to approve leave requests from employees of an organization. You can watch the video below for more information on how this works.
 |
|
Configuration
Important Applying custom CSS styles involves acceptance of potential risks, such as incompatibility with future form upgrades, interfering or conflicting with accessibility of the Forms or Nintex’s platform, and is excluded from Nintex support services.
- Select the Styles tab to access the Advanced Styling section in the Nintex Forms editor. Open that section in the lower right properties pane. Be sure to review the Custom CSS help topic as well as the Terms and Conditions link that appears here.
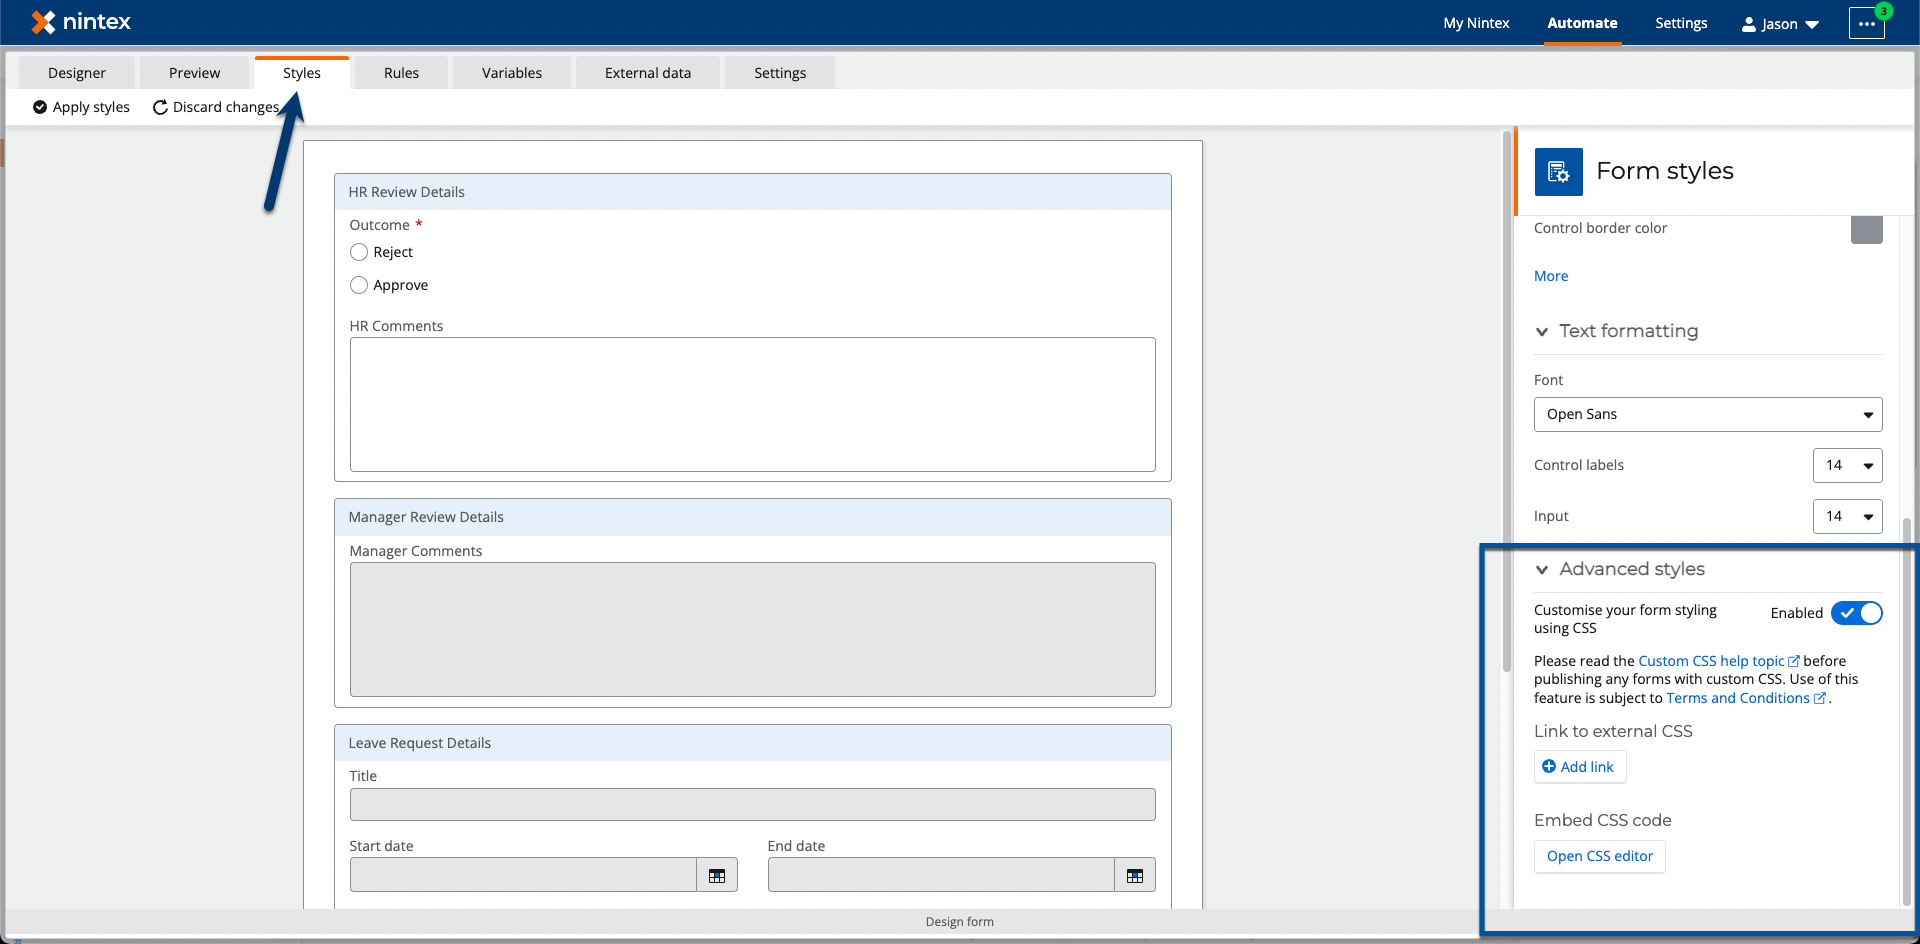
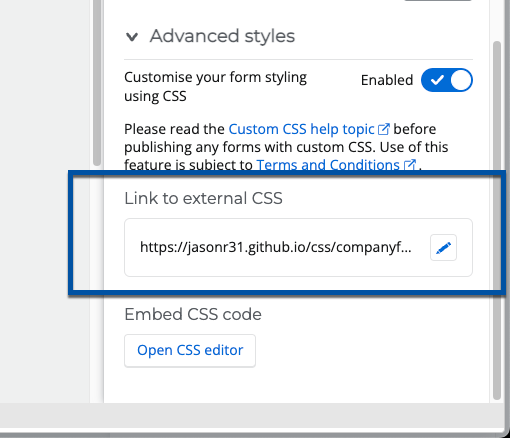
- Use Link to external CSS to point the editor to an externally hosted CSS file via a URL.
- Embed CSS code directly in the CSS editor by clicking the button, Open CSS editor. Note, code added directly in the CSS editor will take precedence over the CSS file that comes in from the link to external CSS option when both options are used.

Video
The following video will show you how to apply CSS to your Nintex Form by using the styling CSS editor, or by linking to an externally hosted file by url.