To allow your users to use Conditional Logic in Simple Setup envelope templates, you must first enable it in your account's settings. Select the "Enable Conditional Logic" setting and set it to Yes. You may want to keep this feature disabled if you will not use it, as it adds additional choices in the Simple Setup designer.
The purpose of Conditional Logic is to allow you to enable or disable JotBlocks when they only need to be presented based on a certain condition.
With Conditional Logic, you can:
- hide a JotBlock that was initially displayed
- display a JotBlock that was initially hidden
- make a JotBlock not required that was initially required
- make a JotBlock required that was initially not required
You cause those actions to happen by testing the input of another JotBlock.
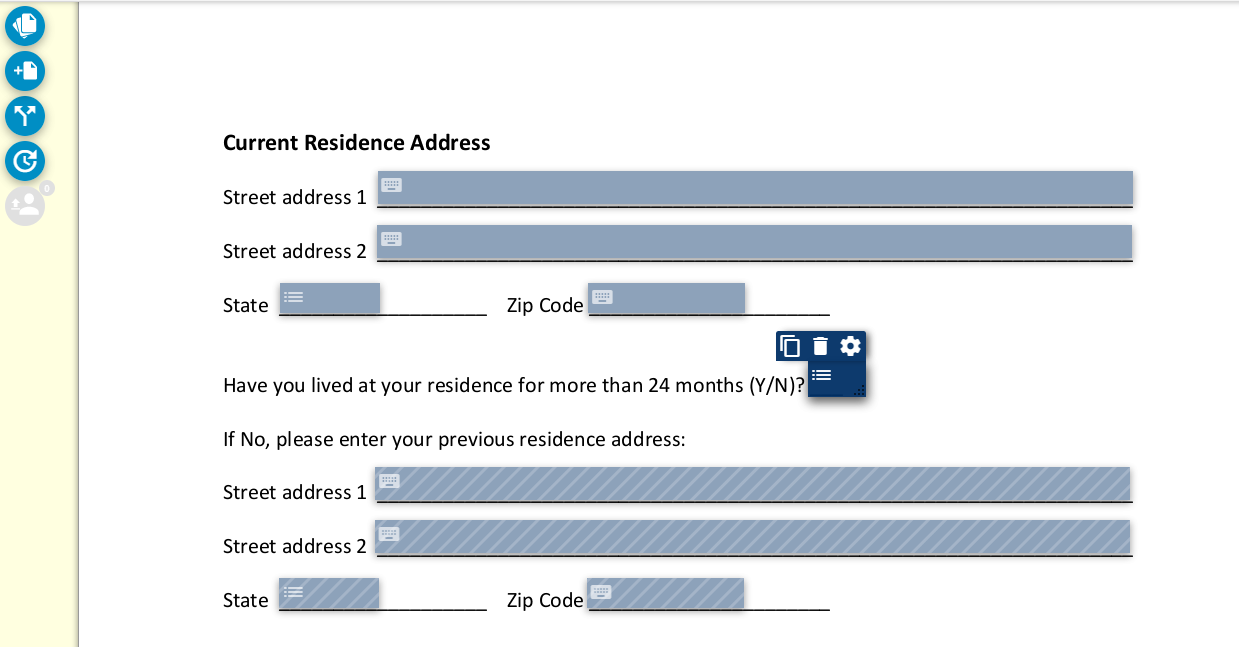
For example, in the following example, we only want the signer to enter their previous residence address if they select that they have not been at their current address for more than 24 months.
To accomplish this we must do the following:
- first, set every JotBlock that should only be presented under certain conditions to be hidden
- then, create a Conditional Logic check that makes changes when the user selects "No" to "Have you lived at your residence for more than 24 months (Y/N)?"
- and, finally, add actions that should take place when that condition is true
The interface is adjusted to provide visual hints that items have been set to be hidden. Note that the items below the Yes/No drop down selection are all highlighted with diagonal stripes. When you set a JotBlock to hidden, the display of the JotBlock will change.
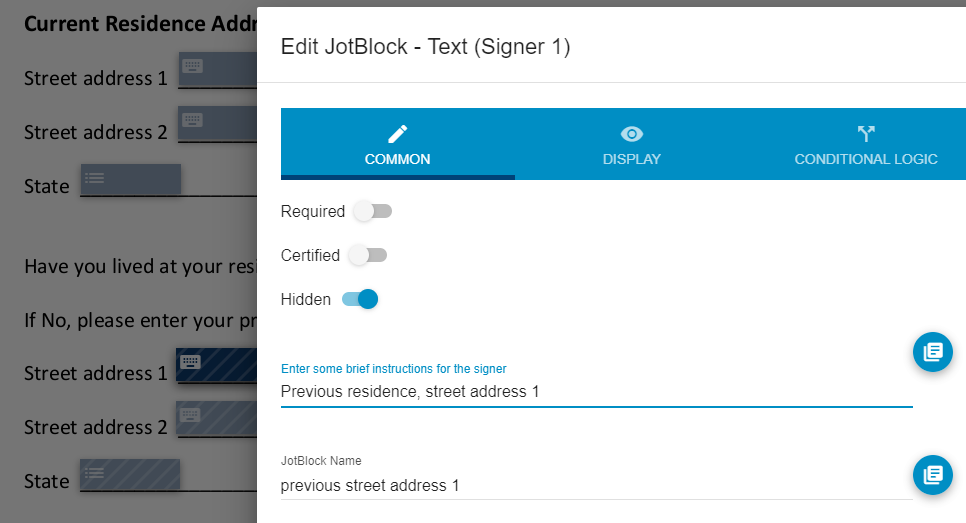
On the items to be hidden, we have initially set "Hidden."
You may not create conditions that check Fixed Text, Timestamp, or Signature JotBlocks.
The easiest way to create a check for a condition is to open the properties for the JotBlock to be tested (in this case, our Yes/No dropdown), select the Conditional Logic tab, and click "Add Condition." It is also possible to start from the properties of a JotBlock that will be changed by a condition.
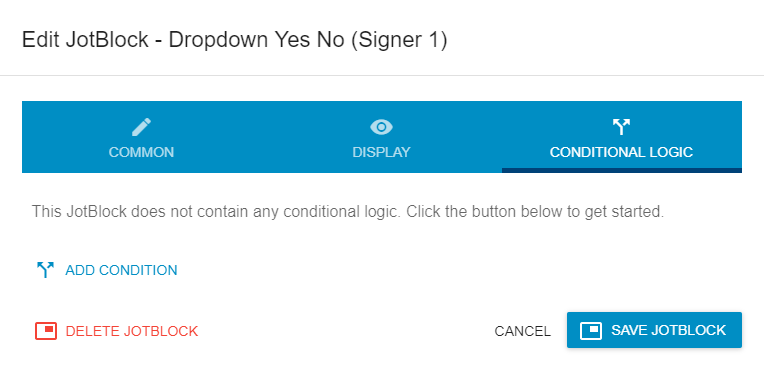
Create the condition to check for the state that changes the other JotBlocks. In this case, if the signer selects "No" they must enter additional information.
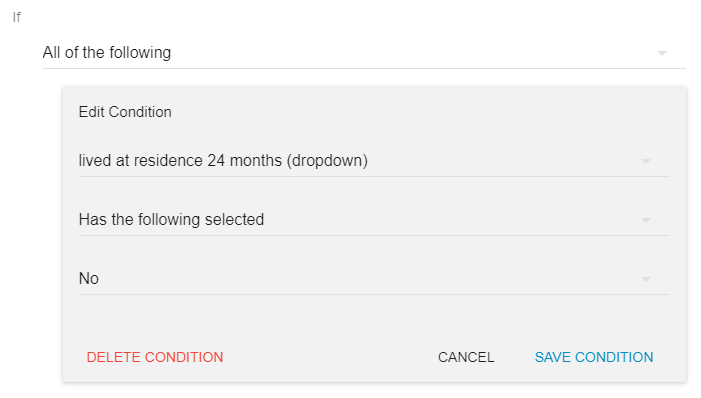
Save the condition.
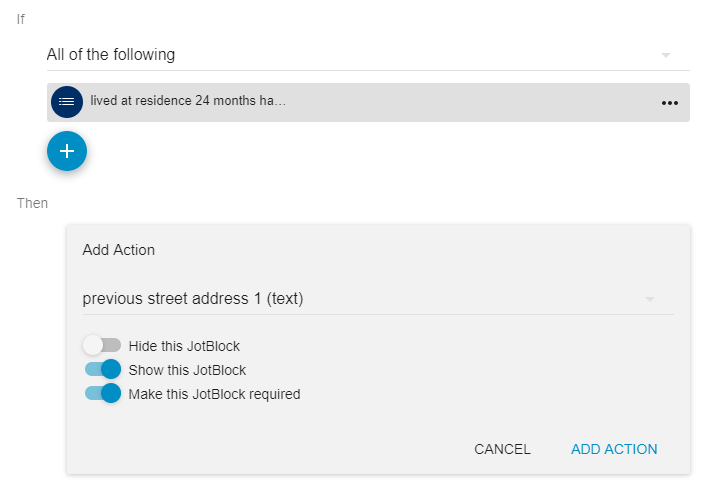
Now we add actions to change the dependent JotBlocks. For most of the items, we change the state to show the JotBlock and make it required. Since "address line 2" is often optional when addresses are entered, we only set that JotBlock to show so the signer may skip it if it is not relevant to them.
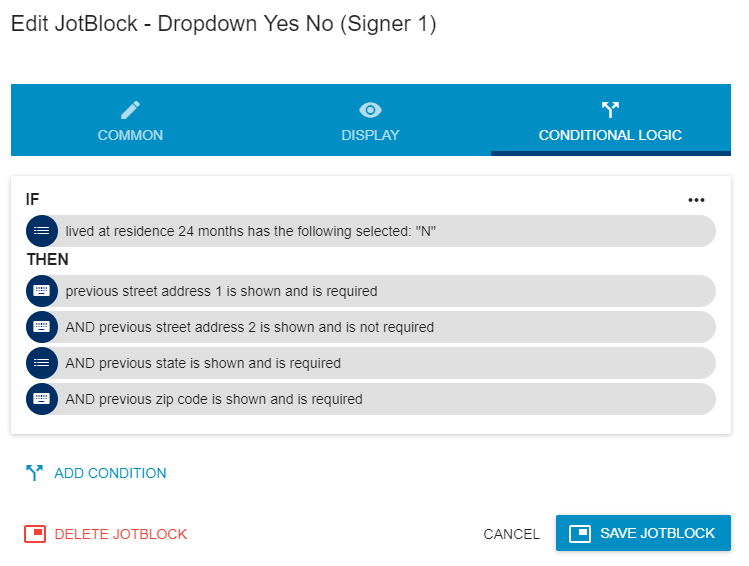
When Conditional Logic rules exist, you may review and edit them from the Conditional Logic tab on JotBlocks.
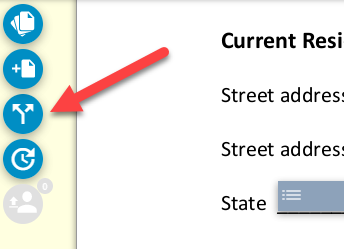
The sidebar "Conditional Logic Summary" button will also be enabled now, and it will also show all Conditional Logic rules.
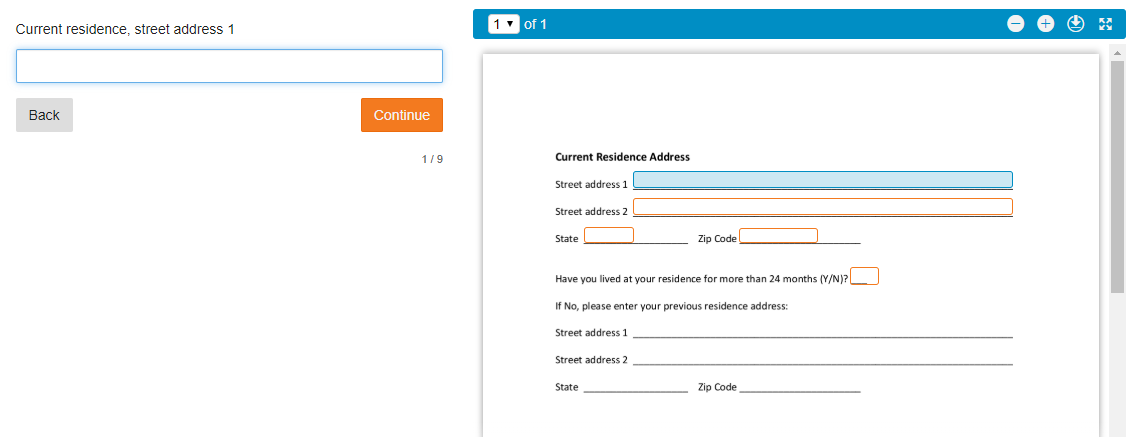
When the rules have been correctly configured, the signing experience will work as intended. The signer will be presented with only the JotBlocks that are required. The signer will be presented with additional JotBlocks when they answer a certain question "No".
The initial view when entering the form shows that the previous residence questions are not highlighted on the document, because they are hidden.
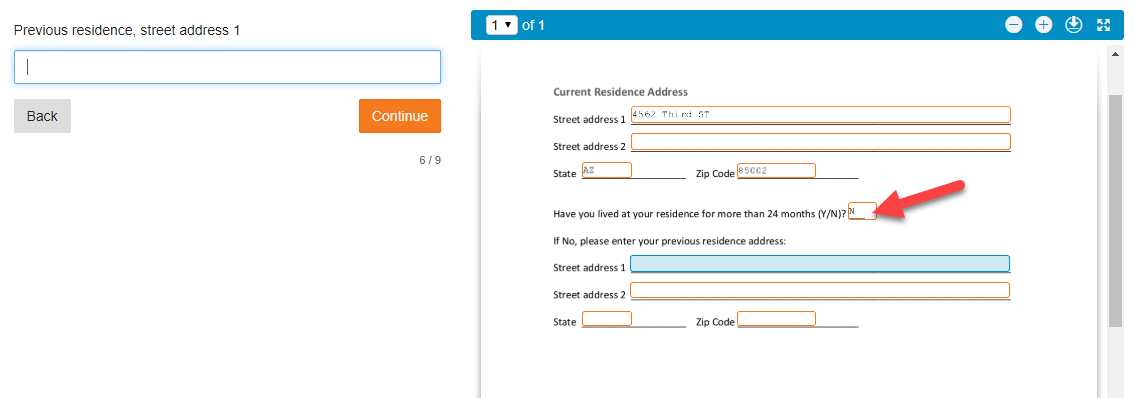
If the signer selects "No", the additional items are now displayed and will be presented to the signer to provide input.
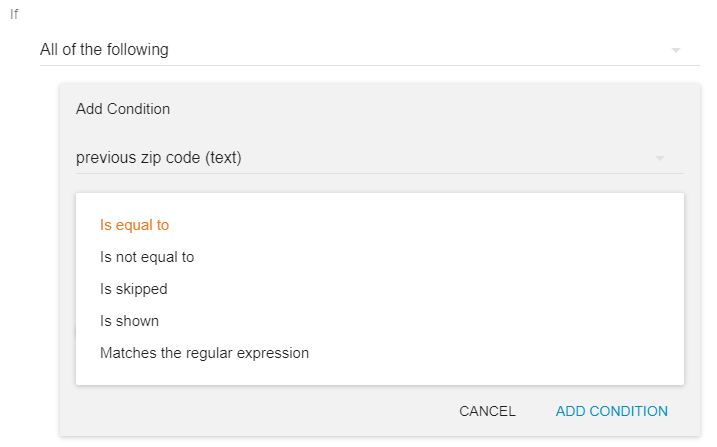
Other types of value checks are made available based on the type of JotBlock being tested. For example, you could check the text entered in a text JotBlock to see if it matches a specific value needed to trigger some change in other JotBlocks. You may also choose to perform case sensitive comparisons, and clean up extra white space that the user may enter.

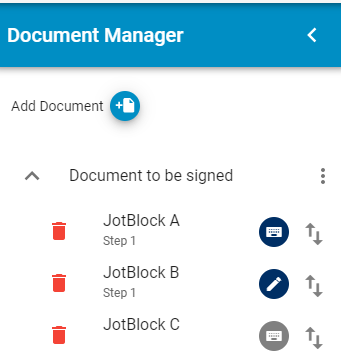
It is important to remember that for dependencies between JotBlocks to be correctly enforced, the JotBlocks must be presented in the correct order to the signer. If what a user enters in JotBlock A determines whether JotBlock B is shown, JotBlock A must be presented to the signer before JotBlock B. You can always change the order JotBlocks are presented to signers by opening the Document Manager from the left toolbar, expanding the document to see the JotBlocks, and dragging them into a new position.
To change the JotBlock order, click on the order icon to the right of the listed JotBlock ...
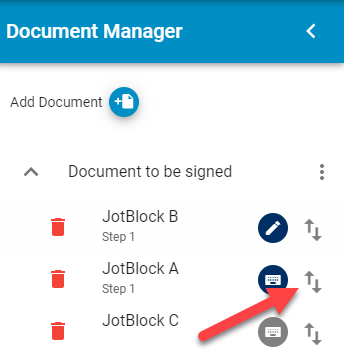
... drag the JotBlock to the new location ...
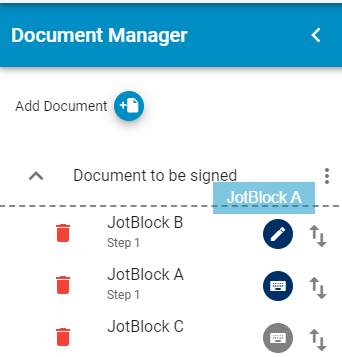
... and release the mouse button.
