


Prerequisites:- Need to have MS office and PDF viewer tool to verify input and output - Kryon studio access
Steps:
Using Powershell code
How to utilize above code in Kryon
Using Powershell code
1- First of all there are other ways we can achieve this but we selected Poweshell because this utility is already available on each Windows OS. So user doesn't have to do further changes in wizard on other machines (like robots) to achieve the result.
2- Below is the code snippet which we will be using in our Kryon Studio wizard:
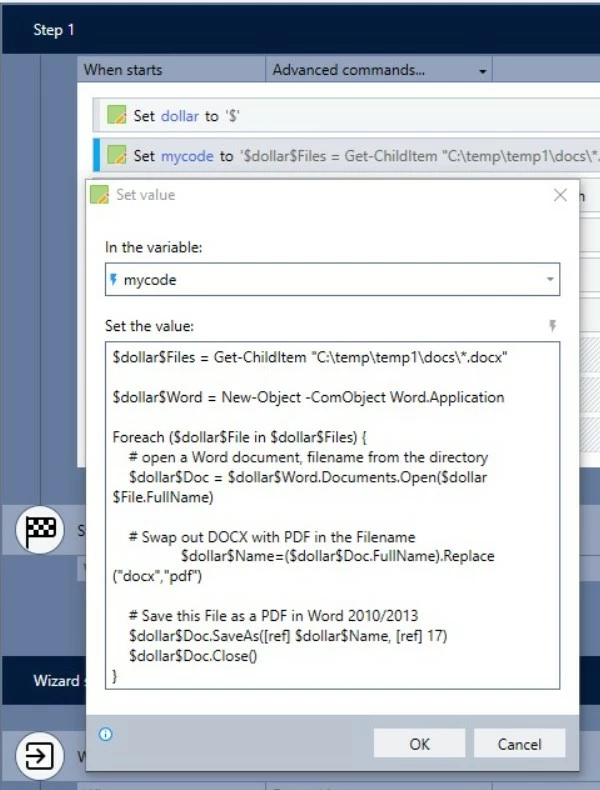
$Files = Get-ChildItem "C: emp emp1docs*.docx" $Word = New-Object -ComObject Word.Application Foreach ($File in $Files) { # open a Word document, filename from the directory $Doc = $Word.Documents.Open($File.FullName) # Swap out DOCX with PDF in the Filename $Name=($Doc.FullName).Replace("docx","pdf") # Save this File as a PDF in Word 2010/2013 $Doc.SaveAs([ref] $Name, [ref] 17) $Doc.Close()}
3- Short Explanation of code:
- in $Files variable, we are getting all "*.docx" files present in folder "C: emp emp1docs""
- $word variable is to store an instance of word application
- in foreach loop we are converting all docx files to PDF files.
4- For detailed explanation please follow below link :
https://devblogs.microsoft.com/scripting/weekend-scripter-convert-word-documents-to-pdf-files-with-powershell/
How to utilize above code in Kryon
Note: In above code please notice "$" sign, which Powershell uses to denote a variable. Now in Kryon also we use it to utilize declared $Variable_Name$. So we will have to take care of it during wizard creation.
Wizard creation steps:
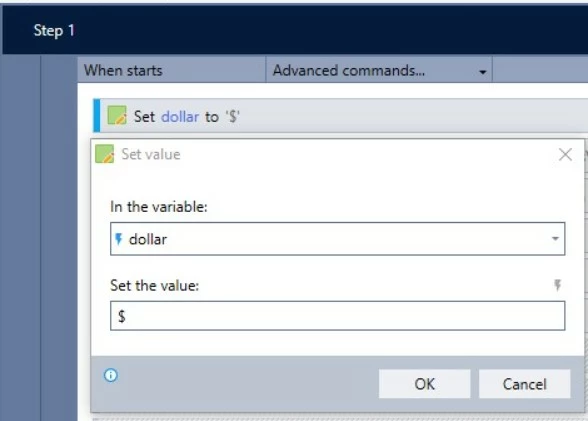
1. Assign "dollar" variable a "$" sign.
2. Take code mentioned in section 1, into a variable "mycode".
Notice that all dollars sign from above code in section 1 are replace by our variable like this "$dollar$".
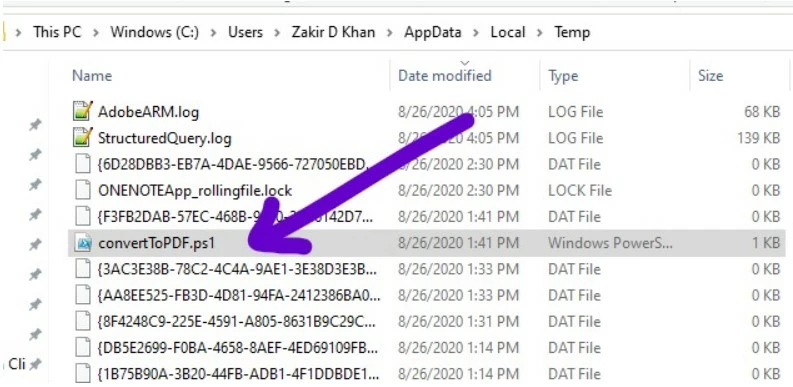
3. Now create new text file with custom file extension i.e. "ps1". This is nothing but we are creating a powershell command script file.
once you will execute the whole wizard this will be saved in %temp% folder. Please check 2nd screen shot in this point.

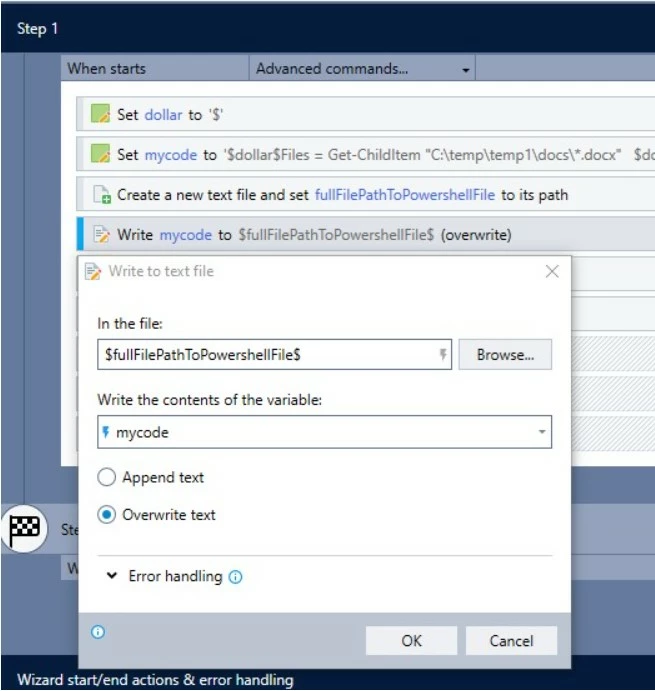
4. Now write "mycode" into newly created "ps1" file.
5. Use RUN advance command to run powershell script as follows. Please note here to check
"Wait for program to finish".
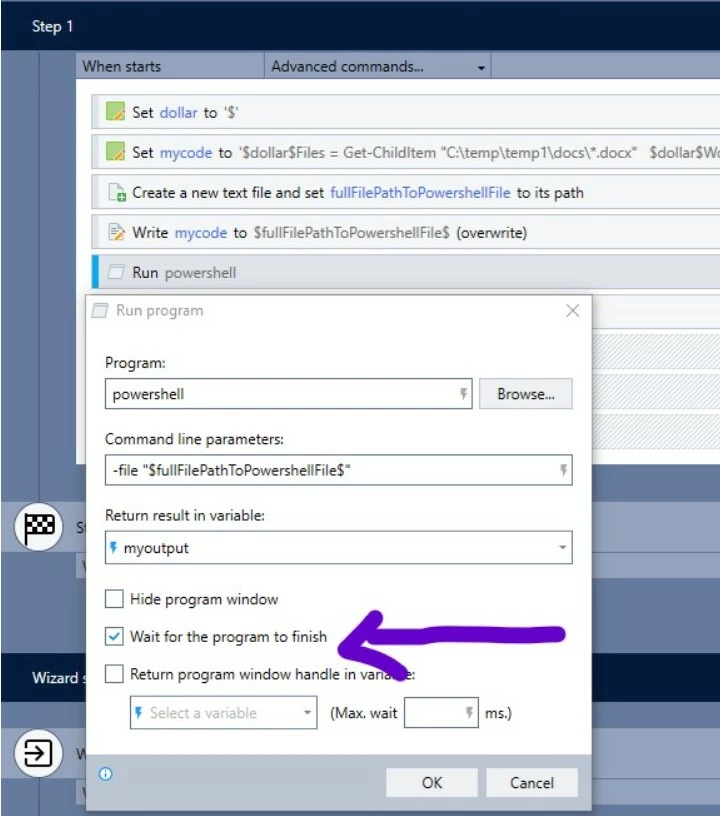
6. Take the result in a variable "myoutput" is shown in above pic and use Message box AC to show the output.
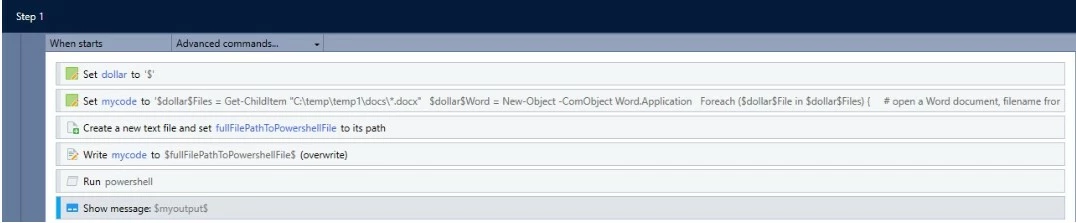
7. This is how your full wizard will look like.
8. Now when you will run the code msgbox should show "0", this means code ran successfully.

9. Once code execution finished go and check your folder, you will be able to see all docx files now having their PDF version.

More Information: https://devblogs.microsoft.com/scripting/weekend-scripter-convert-word-documents-to-pdf-files-with-powershell/