


Product: Kryon RPA Product Version: 19.x.x Components: Database
Article Contributors: Kryon CS
In order to connect to an Access DB (*.mdb or *.accdb), you need to define a System DSN either in your development machine & on each Robot machine, or in your server machine a define the query in the Admin tool.
Prerequisites: MS Access, SQL
Steps:
Connect to an Access DB
In order to connect to an Access DB (*.mdb or *.accdb), you need to define a System DSN either in your development machine on each Robot machine, or in your server machine a define the query in the Admin tool.
Step 1 - Define System DSN in ODBC
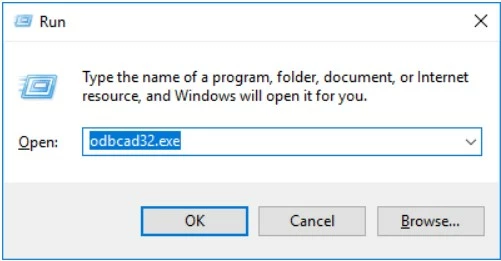
1. Open ODBC Data Source Administrator (Press the Win+R and type in odbcad32.exe):
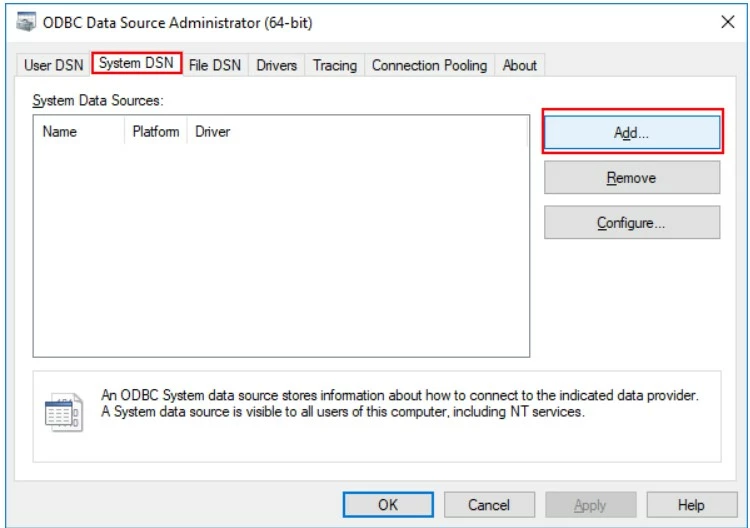
2. Go to "System DSN" tab & click "Add…"
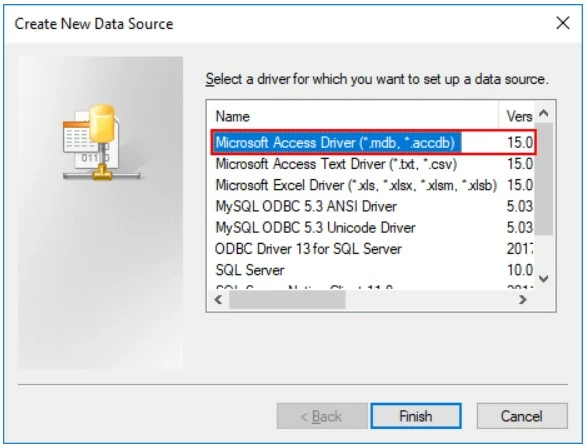
3. Select "Microsoft Access Driver (*.mdb, *.accdb)" Version 15.0 & click "Finish"
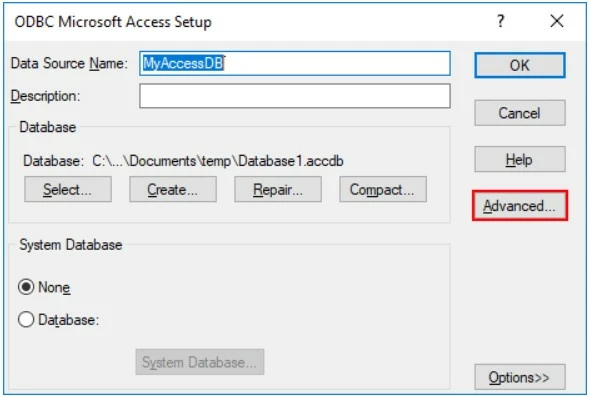
4. Enter the name for the new DSN & click "Select" to choose an existing database:
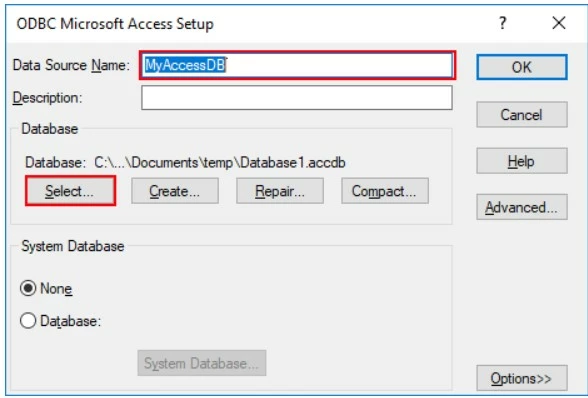
5. After selecting the database, click "Advanced…"
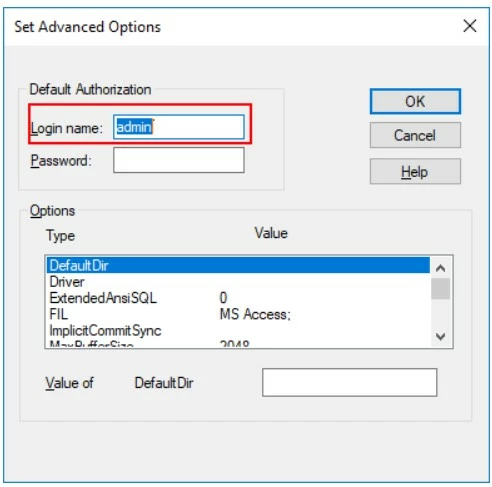
6. Provide a login name & click Enter:
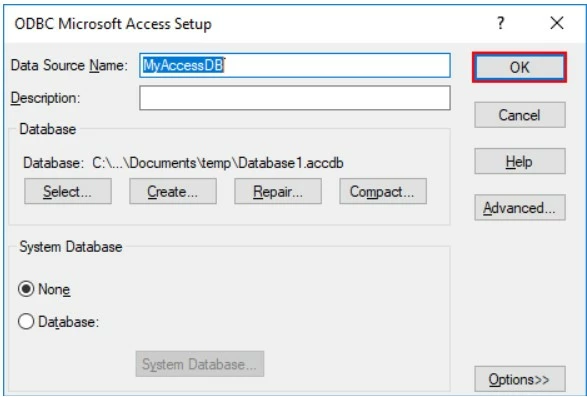
7. Click "OK" to close the form:
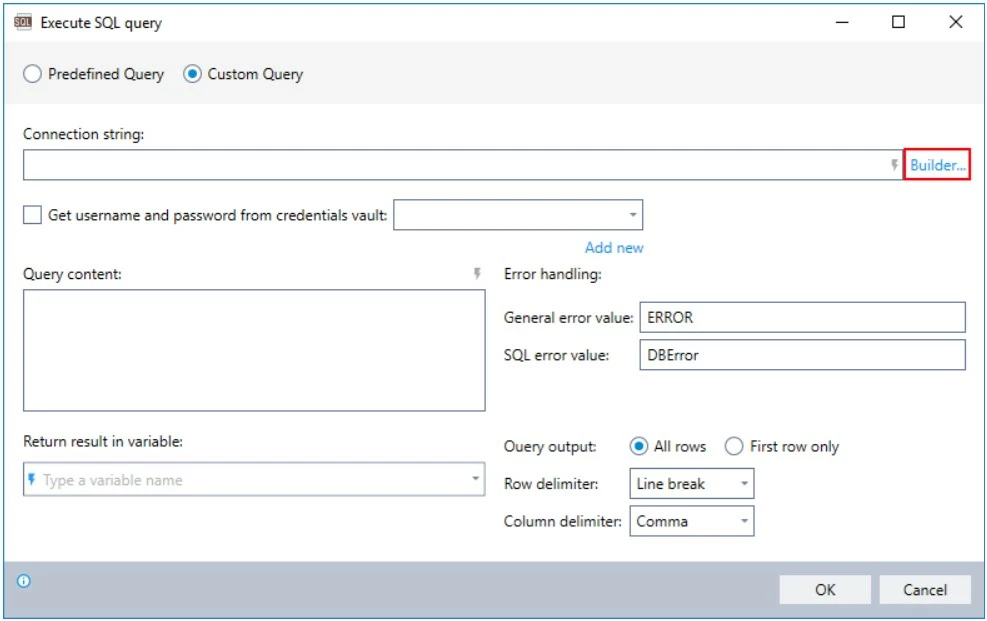
Step 2 - Configure connection string in Leo Execute SQL Query advanced command
1. Click on "Builder…":
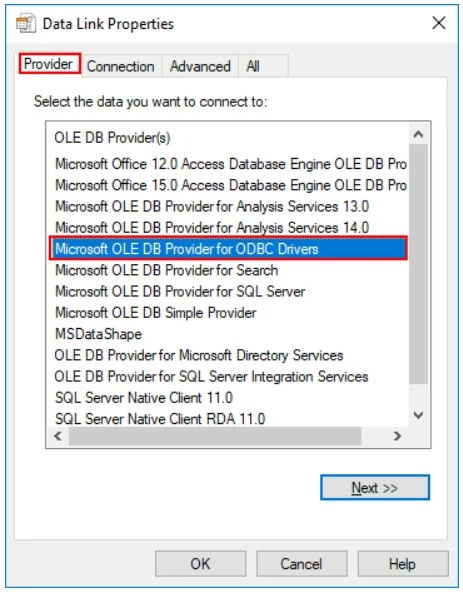
2. Go to "Provider" tab & select "Microsoft OLE DB Provider for ODBC Drivers":
3. Go to "Connection" tab and do as follows:
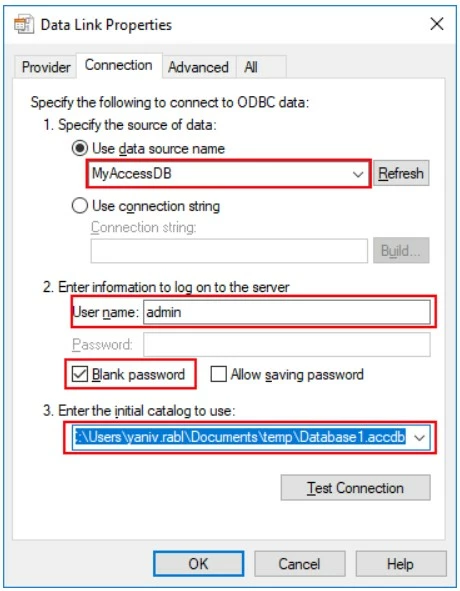
- Select you DSN from the data source list.
- Example: "MyAccessDB"
- Enter the user name you've configured to the DSN in the ODBC.
- Example: "admin"
- Check the "Blank password".
- Select the database file path in the initial catalog to use.
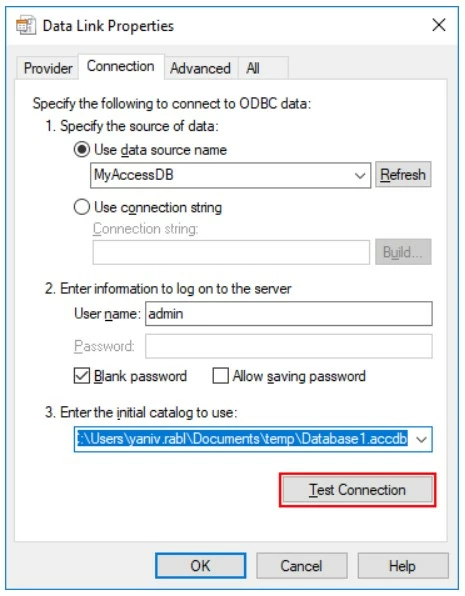
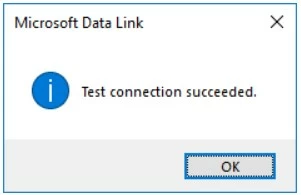
4. Test the connection:
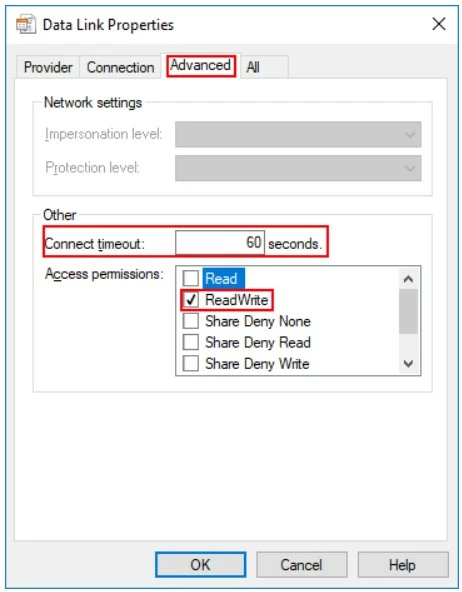
5. Go to "Advanced" tab & provide a "Connect timeout" value & check the "ReadWrite" access permissions:
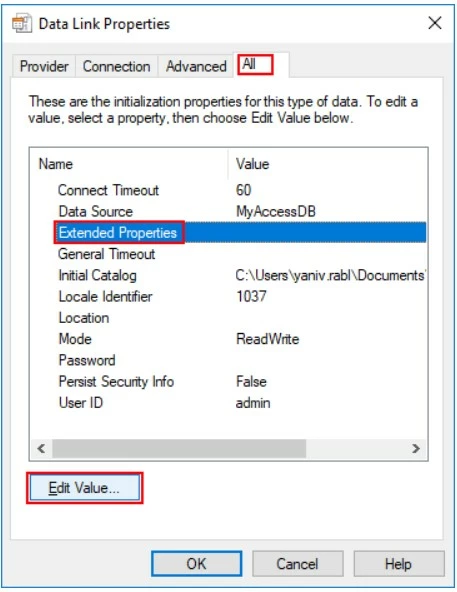
6. Go to "All" tab, select the "Extended Properties" row & click on "Edit Value…":
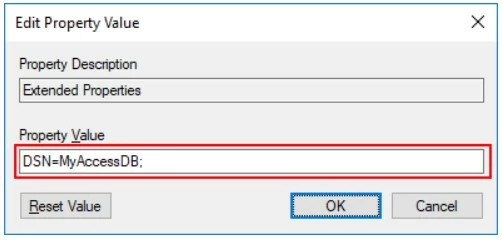
7. Enter the value DSN=<DSN name>; and press Enter:
8. Click OK to create the connection string.
Note: The resulting connection string should be as this example: Provider=MSDASQL.1;Persist Security Info=False;User ID=admin;Data Source=MyAccessDB;Mode=ReadWrite;Extended Properties="DSN=MyAccessDB;";Initial Catalog=C:Users<username>Documents empDatabase1.accdb