

You’ve created a document that you want to personalize with client-specific or app-specific data—like names, project dates, or reference numbers. Instead of editing that file manually each time, you can use tags to insert dynamic data that Nintex DocGen will automatically fill in during document generation.
In this article, you’ll learn how to use the Tagger to create tags and apply them to your document so it’s ready to be used with the document generation actions.
After Setup
You’ll be able to:
-
Create tags using the Tagger in the document package preview
-
Copy tags and paste them into a Word document
-
Upload your tagged document for automated generation
🔸Step 1: Understand Why Tags Matter
Tags are placeholders for dynamic data. When your document is generated, Nintex DocGen looks for those tags and replaces them with real values from your app or data source.
Instead of manually editing every file with customer-specific details, you’ll set it up once and let DocGen do the work.
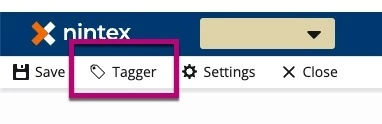
🔸Step 2: Open the Tagger
To begin tagging your document:
-
In the document package preview pane, click Tagger
This opens the Tagger pane on the right side of the screen.
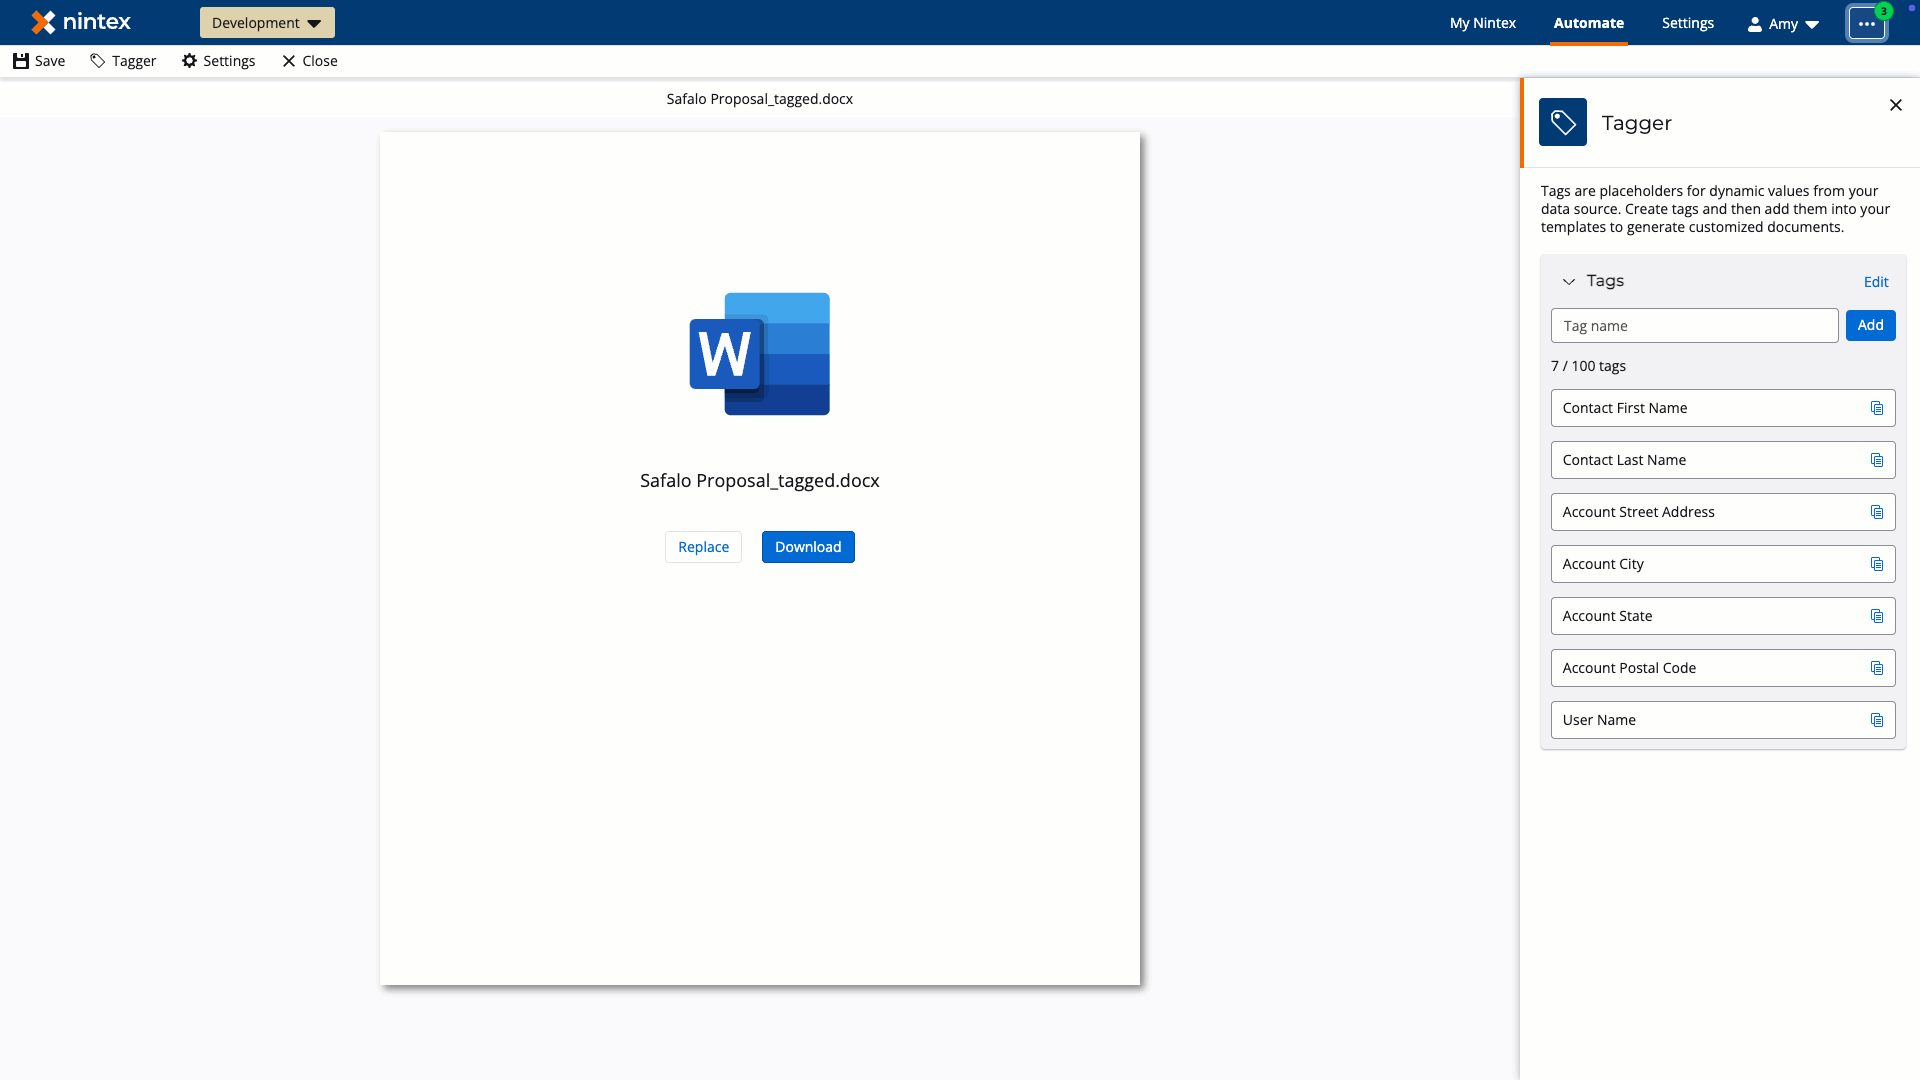
🔸Step 3: Create Your Tags
Now it’s time to define the tags you’ll use in your document:
-
Click inside the Tags input field
-
Type the name of your tag, such as
Contact's Name -
Click Add
-
The tag appears in the list, with a Copy button beside it
Repeat this process for every tag you plan to use in your template.
When finished, click Save.
The following video demonstrates how to create tags.
🔸Step 4: Add Tags to Your Document
Now you’ll insert the tags into your Word document:
-
Click the Copy button next to the tag you want to use
Note: Only one tag can be copied at a time
-
Open your Word document
-
Paste the tag exactly where you want dynamic data to appear
-
This could be in a paragraph, a table cell, or a header/footer
-
Be sure to apply the desired font and color formatting directly to the tag within the document so that the final output matches your styling preferences
-
Watch as a user applies tags to a document in DocGen
🔸Step 5: Save and Upload the Tagged Document
Once all your tags are in place:
-
Save your document as a
.docxfile -
Upload it to the document package in your app
-
Select Save on Document Package.
Once a document has been uploaded to the package, a document generation action can be added to a new or existing page.
For detailed technical content please see Nintex Help content