


How to add and read the Priority Column (Worklist Control)
kbt182427
PRODUCTObjective
This article describes how to add the Priority Column to the Worklist Control and also how to interpret the values shown.
Before You Begin
The Priority column is not displayed by default on the Worklist Control.
To enable this column, click the ellipsis next to the Layout property and the Layout Configuration dialog opens.
To customize the display of the columns, select the Grid option to add and remove columns. The Priority column is found under the Task header.

How-to Steps
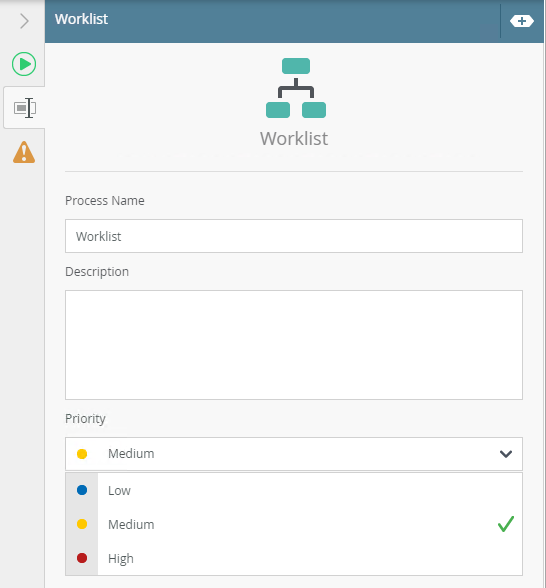
To make changes to the values in the Priority column, click on the Start step of your workflow, click the Properties tab and choose from Low, Medium and High priority levels.
The default priority level is Medium.
After the desired priority level of the workflow is set, run the form or view that the Worklist Control is on.
-
- High priority is represented with an exclamation mark on the left of the activity name and a priority value of 0.
- Medium priority is represented by a priority value of 1.
- Low priority is represented by a priority value of 2.
Below is an example of the different priority levels shown:
