Enabling your users or customers to be involved in your business processes via SMS, is a function that is somewhat a necessity in this digital transformation world.
Allowing your users to start a workflow via SMS is a great fit for processes such as Customer Feedback, GDPR verification/consent, etc. Or you might even want to create an SMS mailroom, that will allow your users to reply to SMS messages to make those “lazy” decisions on existing user tasks.
In this blog post, we are going to have some fun and go step by step with putting together an SMS Workflow solution with NWC and/or K2. No developer/coding skills are required since we will be using the Pre-Sales team’s webhook configuration app, which we can use for prototyping and Proof of concepts just like this. The app will take care of the code that we usually need to put in place for the Twilio Webhook.
There are 4 steps to putting together this solution.
- Create NWC or K2 Workflow– 10 mins
- Set up a Twilio webhook via the configuration wizard – 2 mins
- Sign up for a trial Twilio account (No Credit Card Required) – 10 mins
- Send an SMS
Create NWC or K2 Workflow
What we are going to do here is set up a component workflow, which Twilio will start/initiate when it receives an SMS. Twilio will send the “From” phone number along with the body/message to the workflow. We will keep this example simple and just have the workflow designed to send you an email with the SMS/Twilio contents. However, feel free to get creative and extend the process to be more meaningful (i.e. like a feedback or information request process).
Depending on what platform you’re using, you only need to follow one of these sections.
In NWC
Go to NWC and click “create workflow”
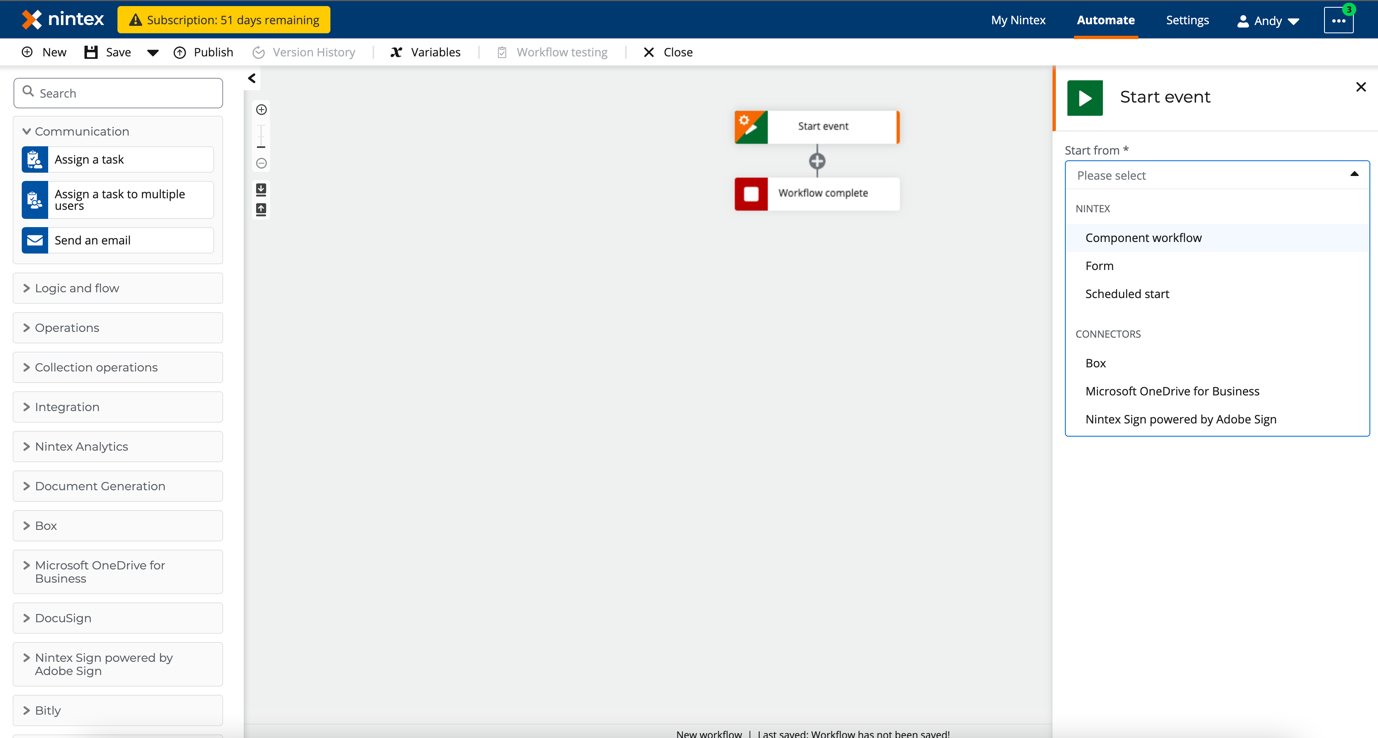
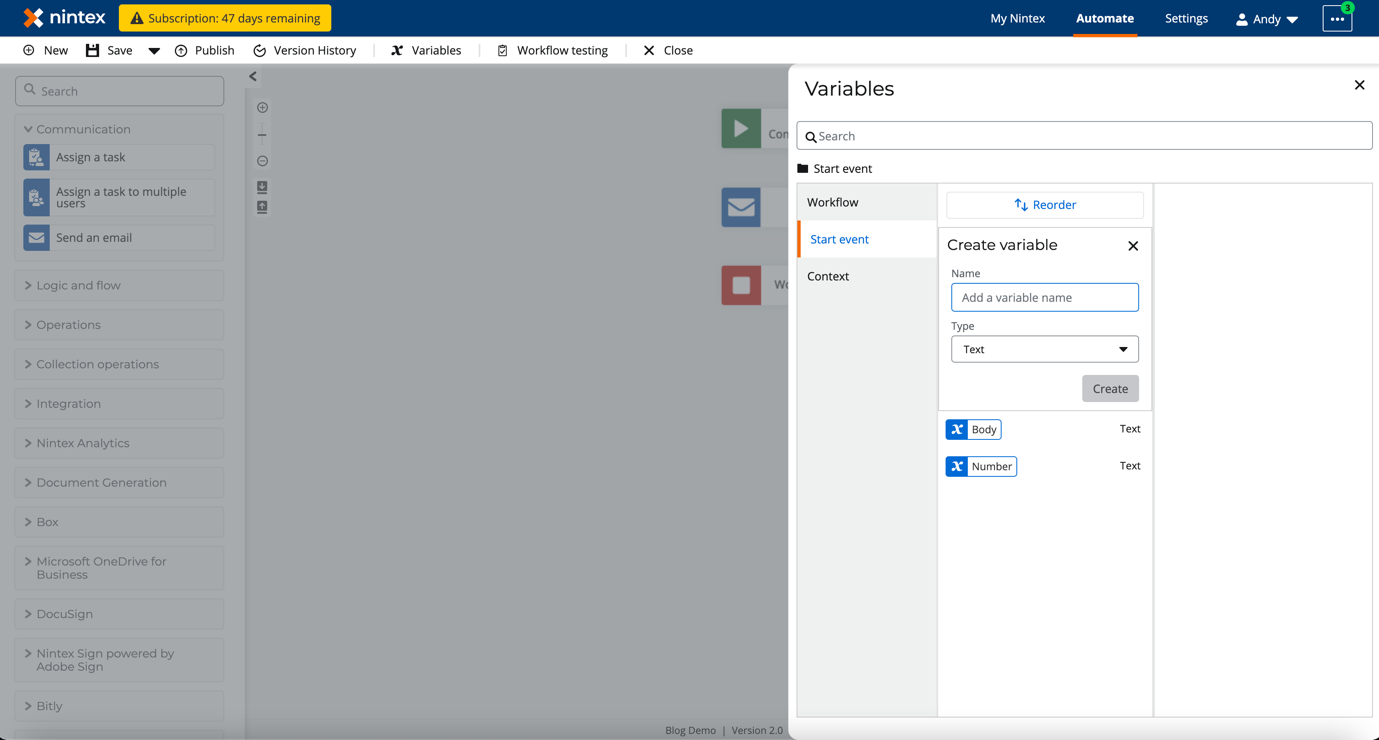
Then select the Component Workflow as the start event and add the following Start Variables
Number – Text
Body – Text
Best Practice: Always use text as the variable type, as the number SOMETIMES comes in with a + or ().
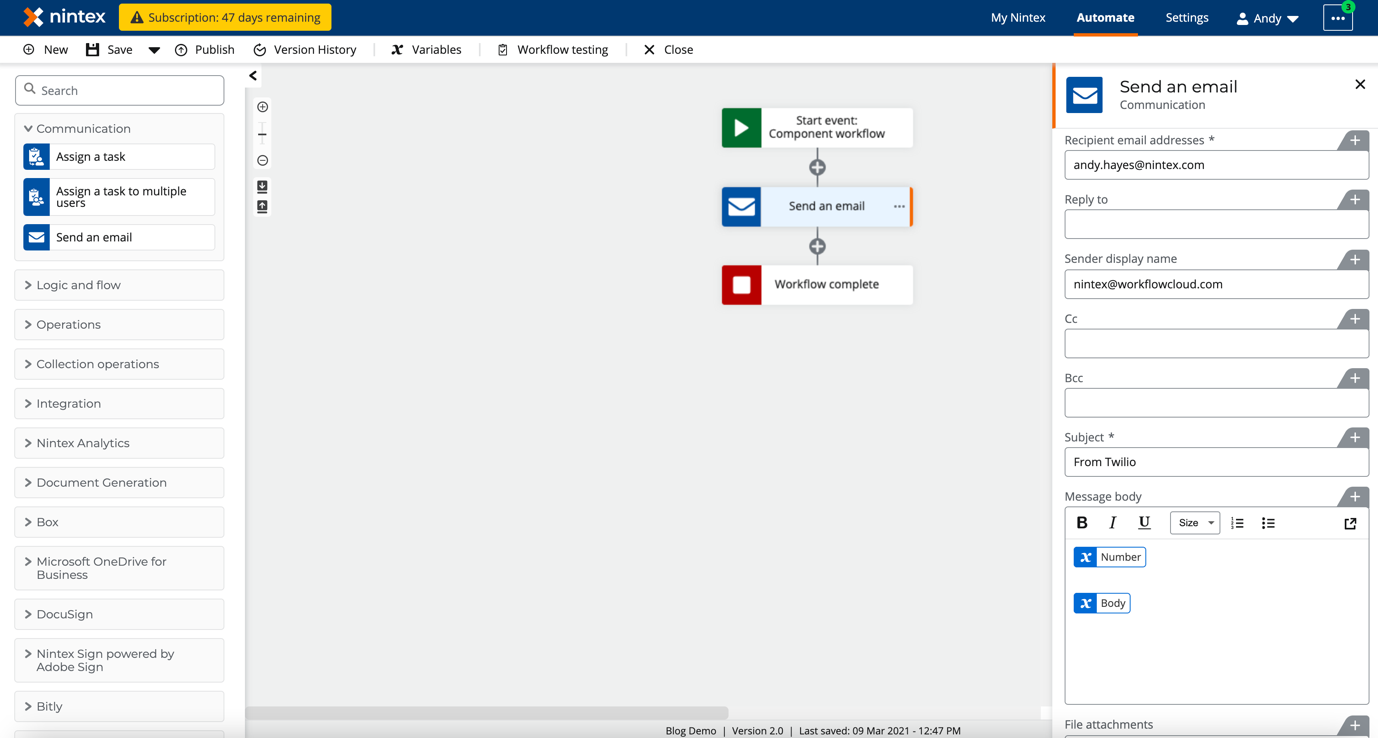
The next step is to add the “Send an email” action to the NWC canvas. In the “Send an Email” action we want to send the email to yourself (for testing purposes) and have the email body populated with the two start variables (Body – SMS message and From – SMS from number).
However, feel free to get creative here and build out your process.
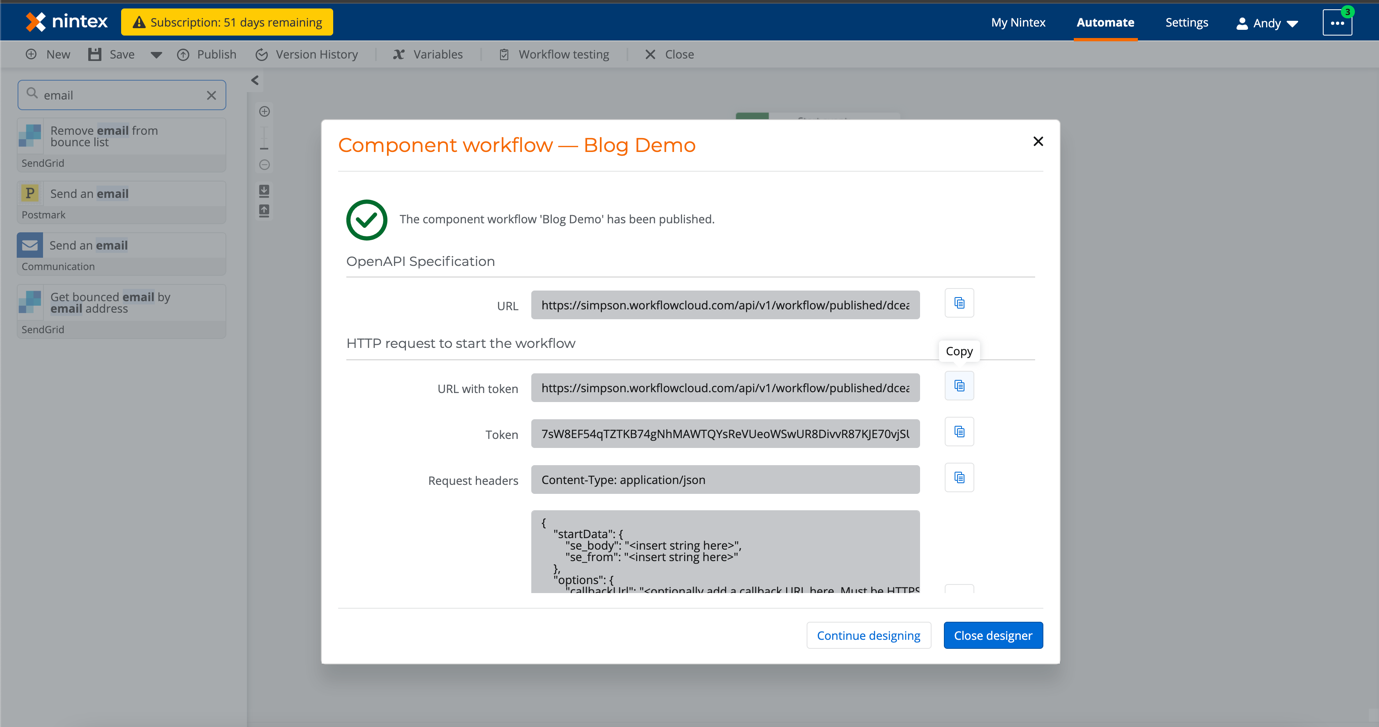
When you’ve put together the email action, let's go ahead and publish your workflow. When you’ve published your process you will be prompted with the API details of the component workflow. Click copy on the “URL with Token” as we will need this for an upcoming step.
In K2
In K2 Designer, create a new workflow and add the following variables (Data fields) to the new process.
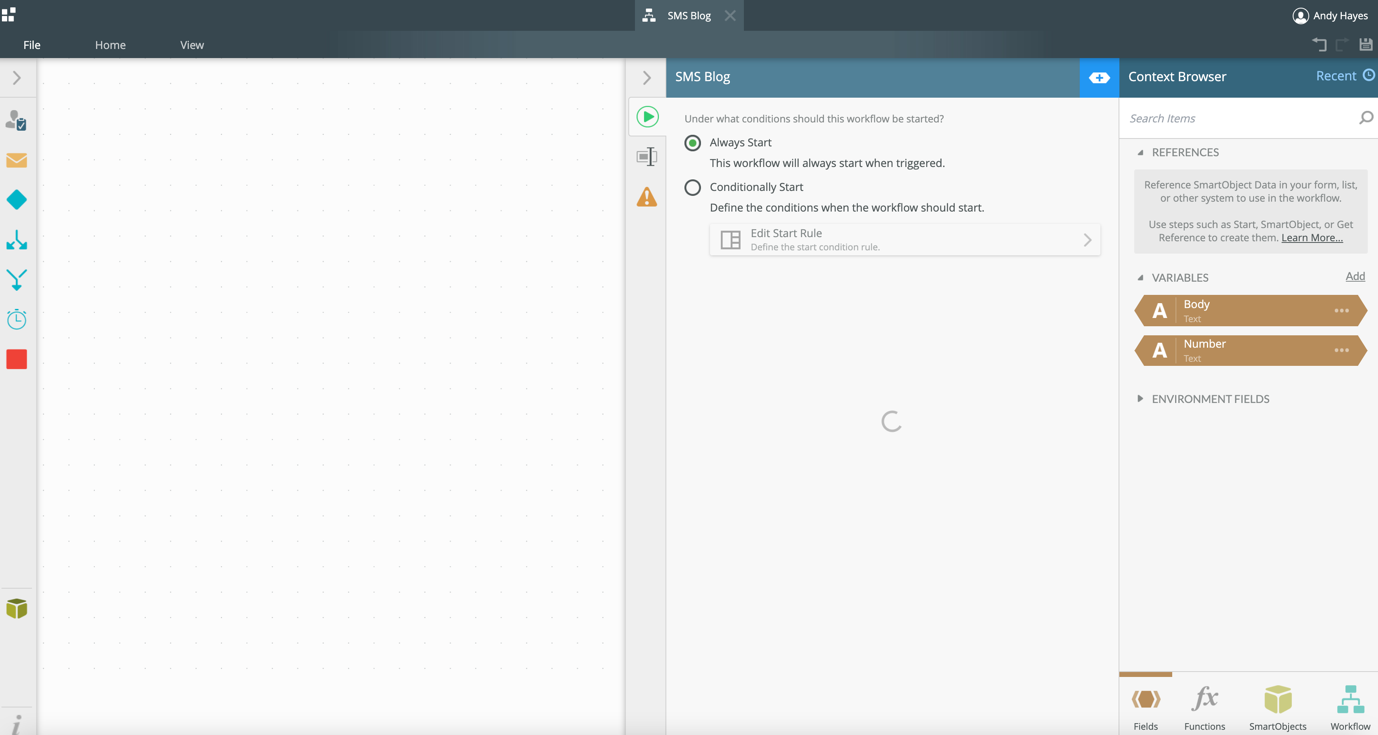
Then, add an email action to the canvas and populate the email body with the two variables.
Body – Text
Number – Text
Best Practice: Always use text as the variable type, as the number SOMETIMES comes in with a + or ().
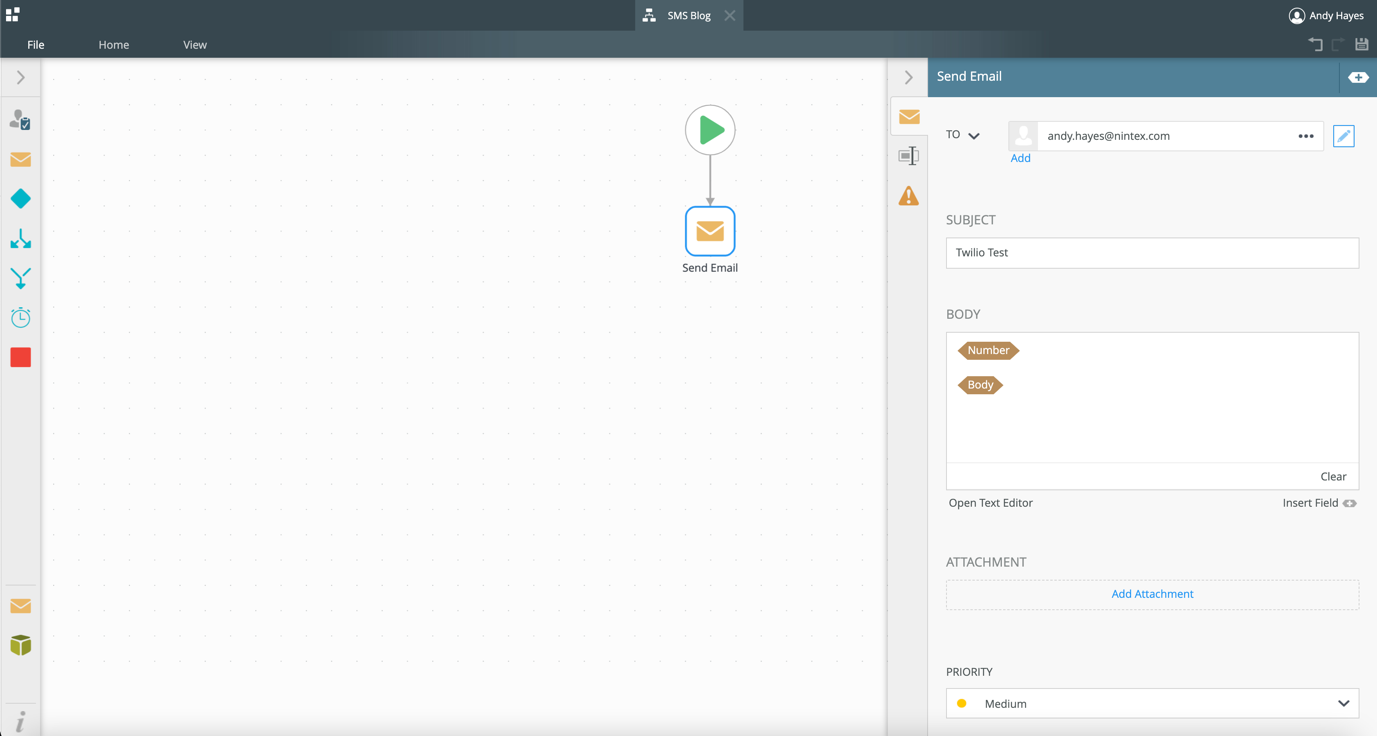
After completing the Email action, deploy the workflow and go to the K2 Management screen.
At the management screen, find your deployed workflow and click on it.
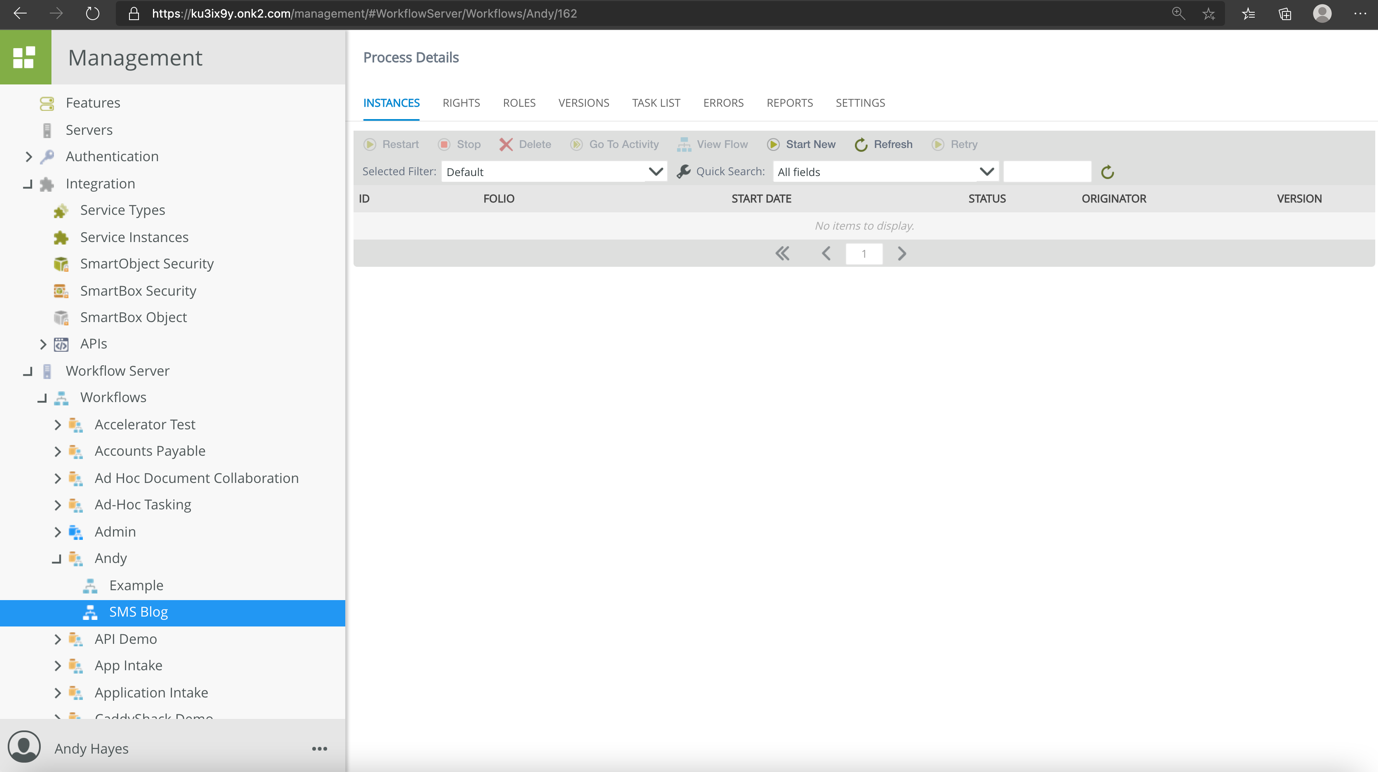
What we need to grab is the ID of the workflow itself, and you can get the ID from the end of the URL. In the above example, the workflow ID is 162.
Best Practice: Use a test account with limited privileges, unless you are using your webhook.
Create a webhook URL using the configuration wizard.
When we send an SMS message to a Twilio phone number, we want Twilio to capture the contents of that SMS (such as the From Phone number and the message itself) and send that information to the start variables (or datafields in K2) of a new instance of a workflow.
To achieve this, we are going to use a webhook. The webhook will capture the SMS contents and will send the SMS contents to a new workflow
Traditionally, this step requires a bit of code to put the logic together for the webhook, however, we have put together a Twilio webhook generator (no code) that you can use for prototyping and POC’s.
Best Practice: If you want to roll this functionality out into Production, it is recommended that you put together your own webhook.
Let's go to the “webhook configuration” and generate a new webhook URL.
https://immersionus.onk2.com/Runtime/Runtime/Form/SMS+Handler/
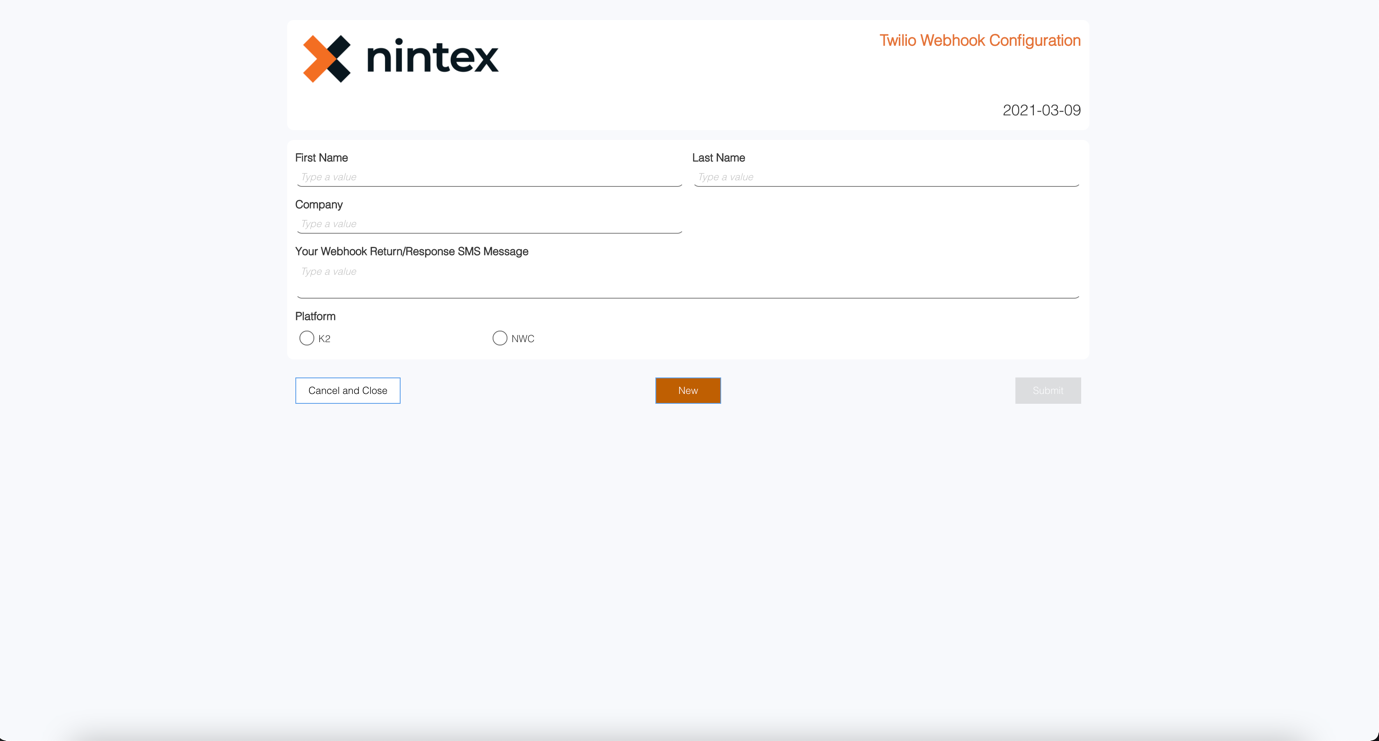
Fill out the form with your information.
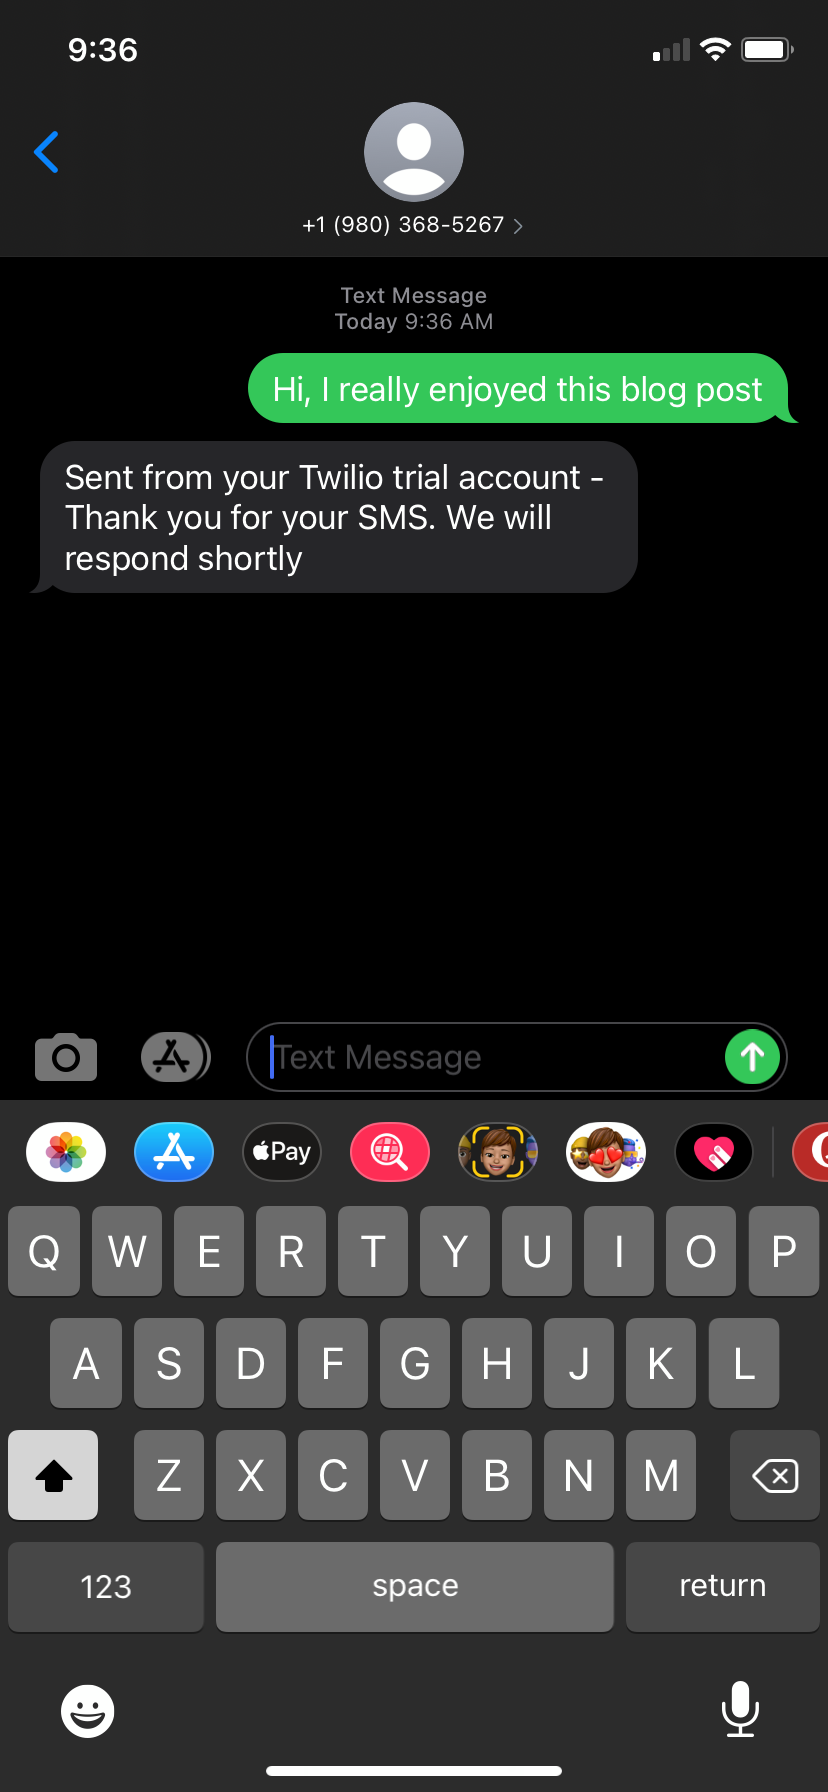
The Return/Response input is an SMS message that will be sent as a reply after receiving the initial SMS message. This is optional, leave blank if you don’t want to send a follow-up SMS.
Best Practice: Having a response message gives the user verification that the message has been received.
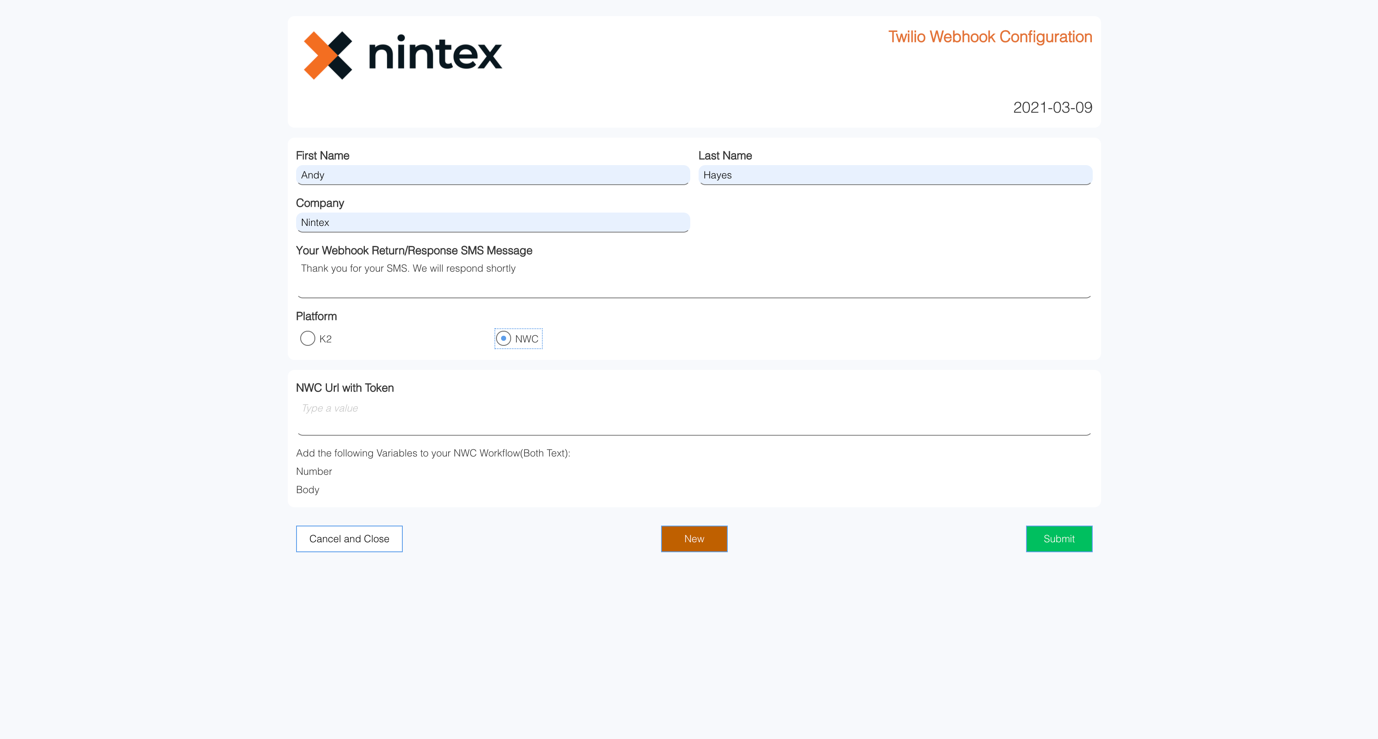
For NWC
Select NWC as your platform and copy and paste in your “URL with Token” then click submit.
For K2
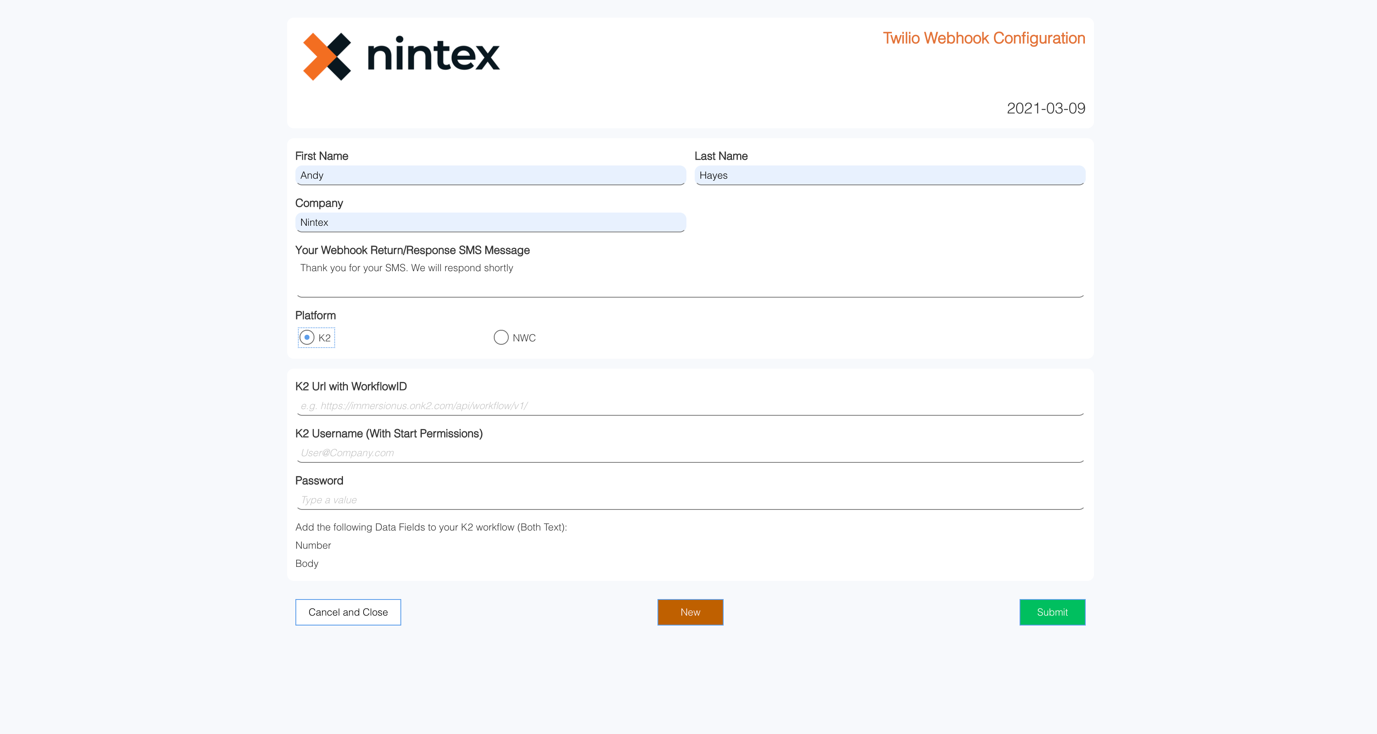
Select K2 as your platform.
In the K2 URL, we will need your workflow ID and build the K2 Url as:
https://{YOUR KUID}.onk2.com/api/workflow/v1/workflows/{Workflow ID}
Also, add a username + password that has permissions to start the workflow.
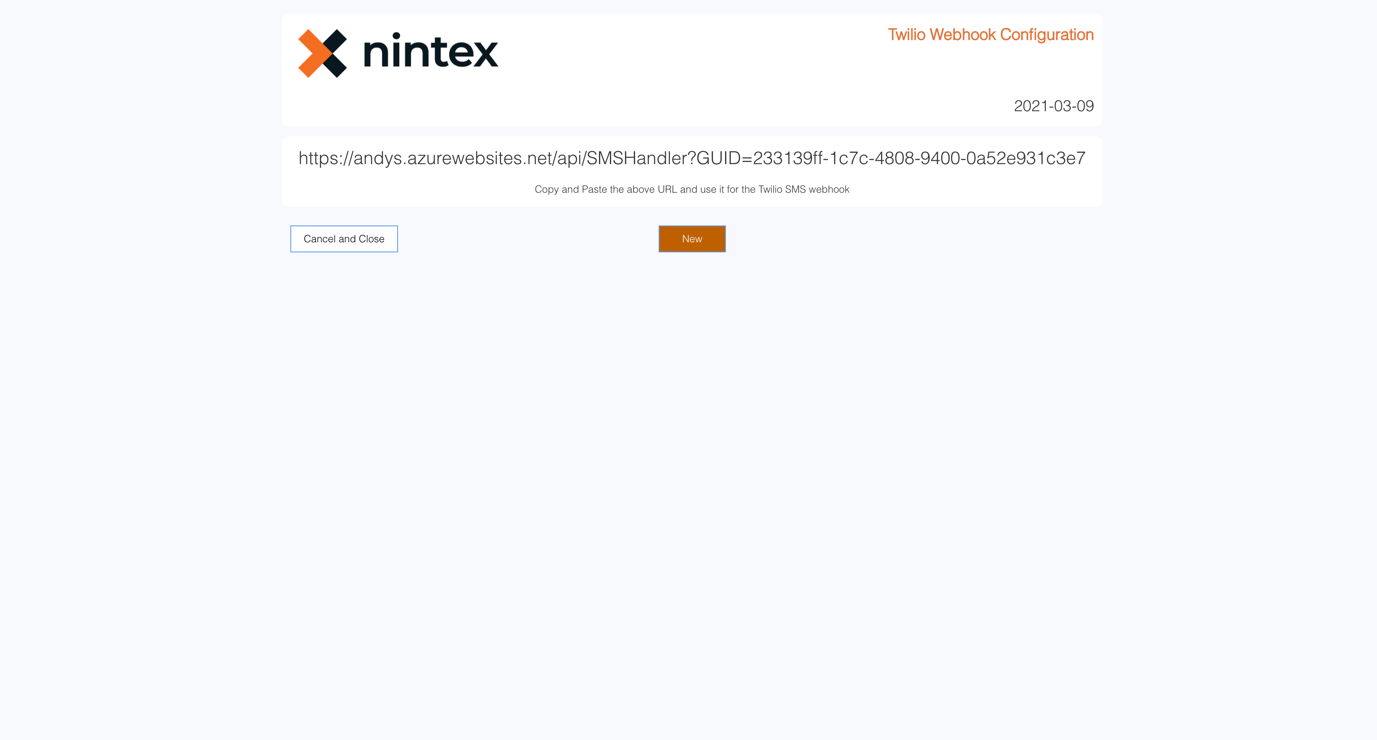
After clicking submit, you will be given a unique Webhook URL. Let's copy and paste the URL as we will need it for the next step.
Sign up for a trial Twilio account
Head over to https://www.twilio.com/try-twilio and fill out the following form.
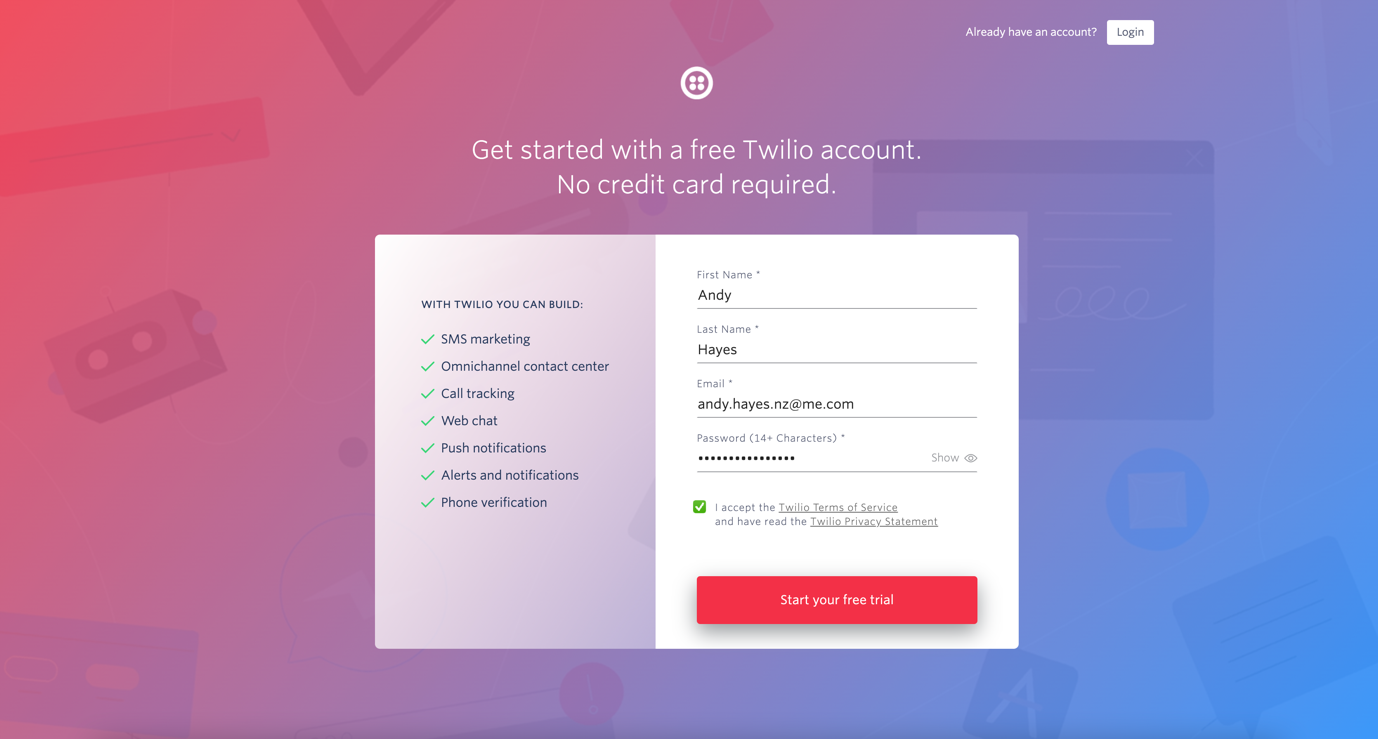
After verifying your email address (check your junk if you haven’t received the verification email) You will be asked to do the same with verifying your mobile number
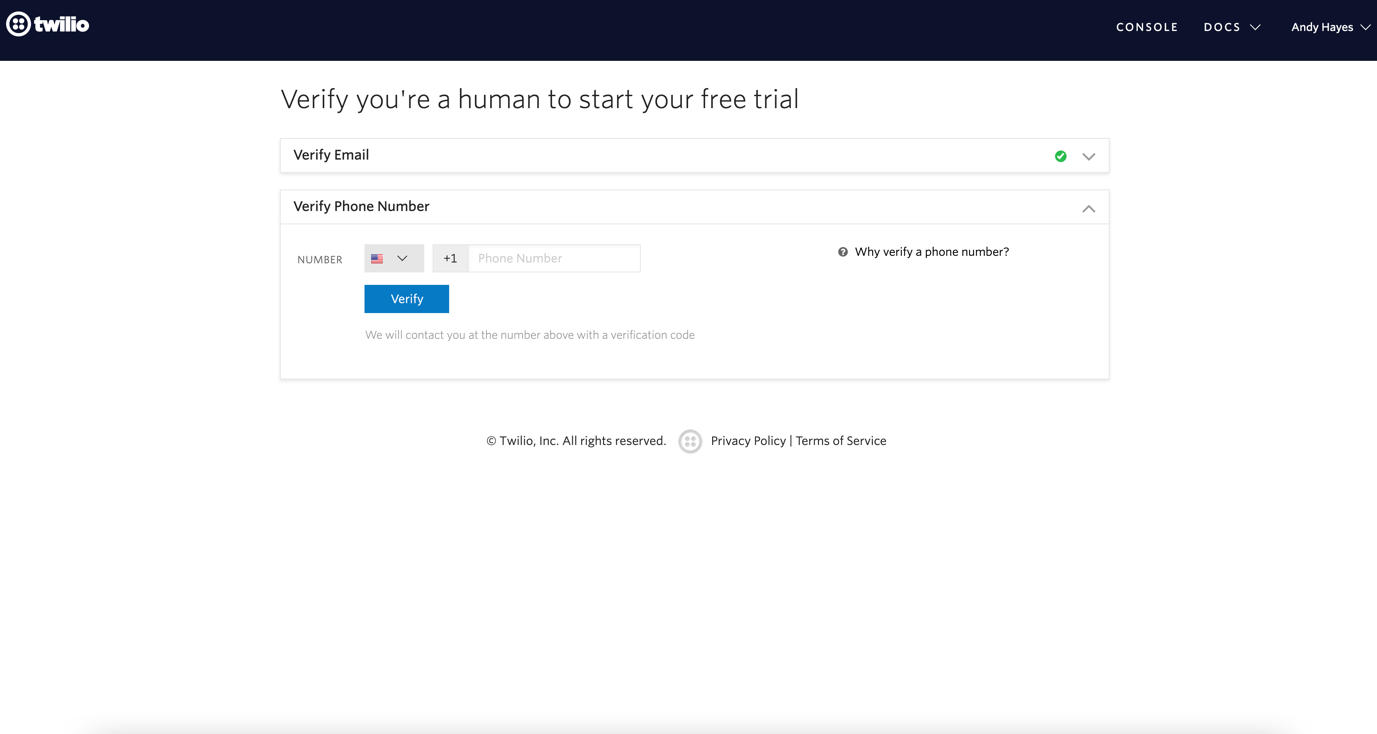
When you’ve verified your phone number, Twilio will ask you some simple questions about why you want to trial and use Twilio. I answered the following as this:
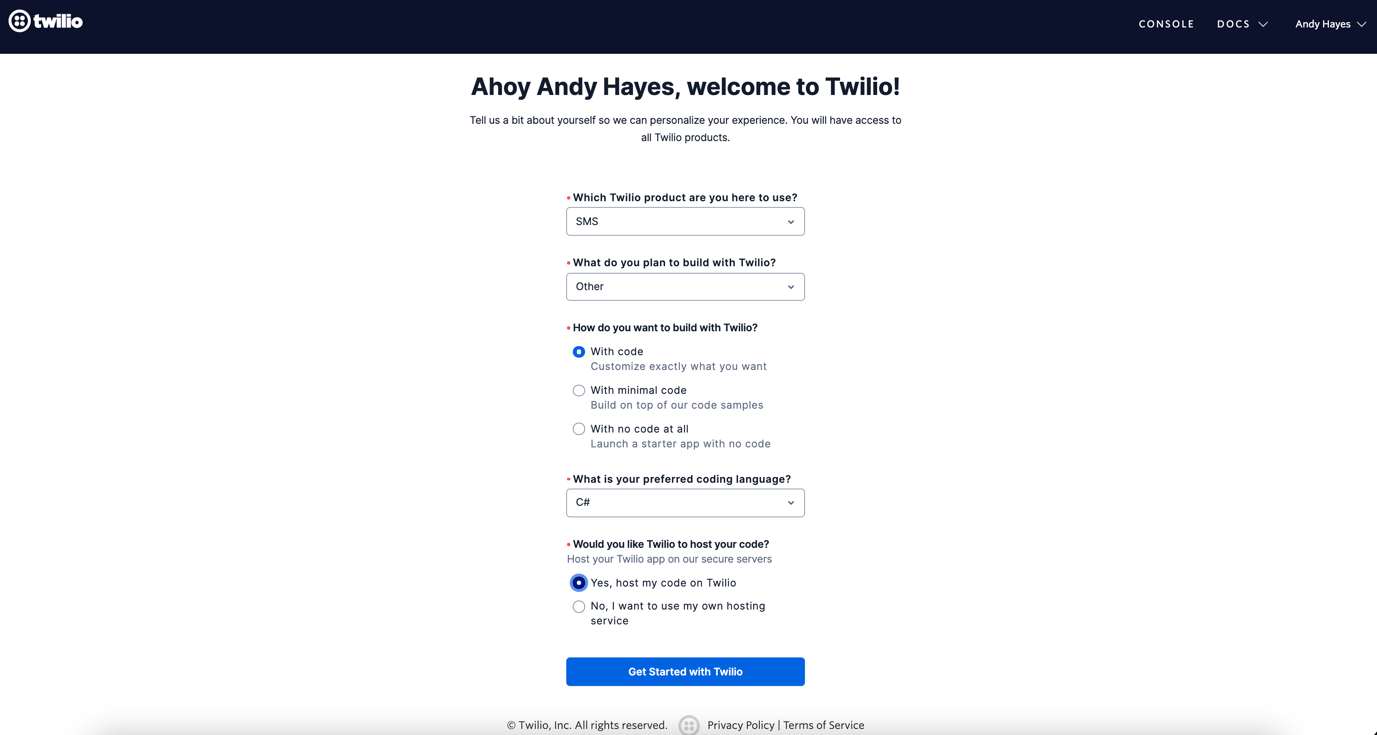
Go ahead and click Get Started with Twilio.
In the console, you will notice that Twilio will give you a trial balance (around $15), which is plenty for Prototypes and POC’s. Each sent and Received SMS is roughly 0.01c, so that’s about 1500 SMS messages
What we need to do now is set up a phone number that we can use to send and receive SMS messages.
On the console screen, click “Get a trial phone number”
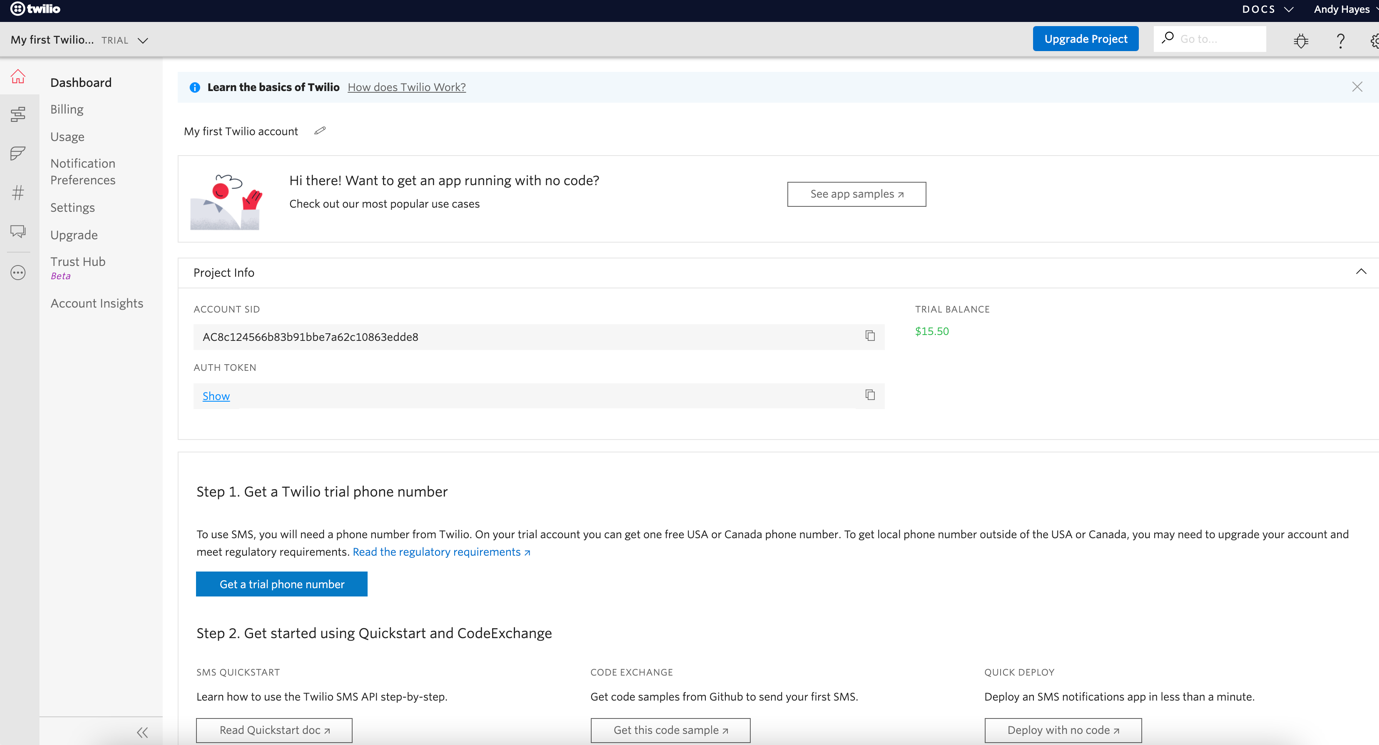
You will be prompted with a number that you can use for the Twilio trial. There is also an option to search and select another number – if you don’t like the one that was recommended for you. However, if you do go ahead with implementing Twilio, you will be able to upgrade your account and select another number at a later stage.
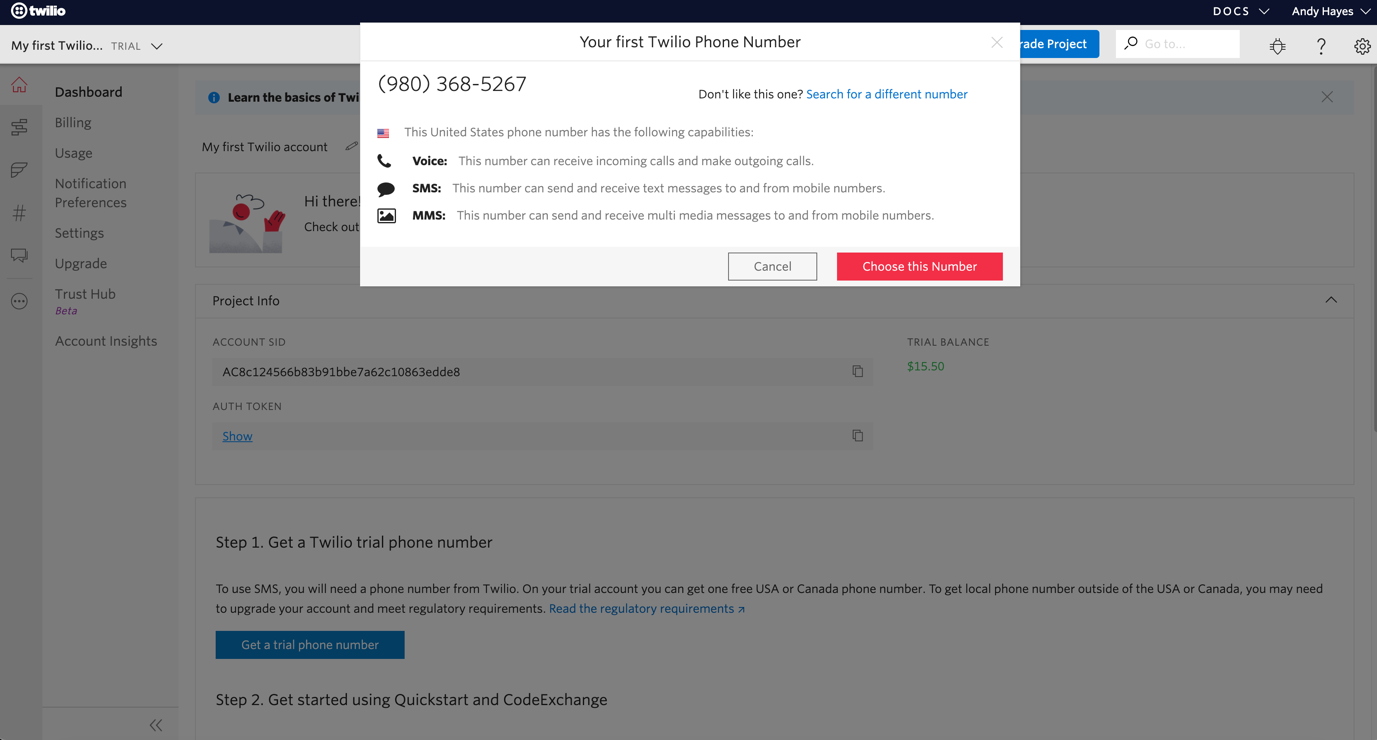
Take note of the phone number, as we will be shortly sending an SMS to the number from your mobile phone.
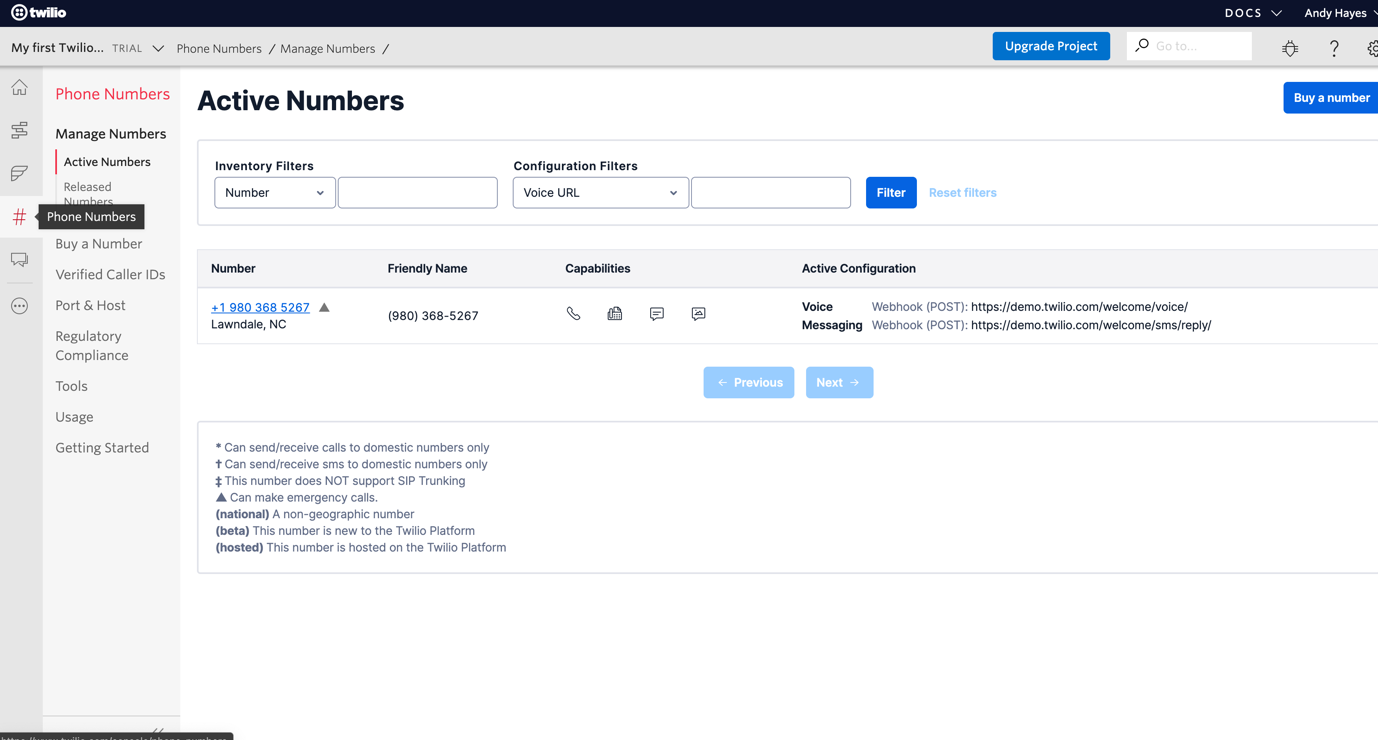
Now let’s go ahead and click on Phone numbers (from the sidebar) and you will see your new number is now available in the active numbers list. What we need to do, is update the webhook configuration by clicking on the phone number itself.
When you click on the Phone number, scroll to the bottom until you see the messaging configuration section.
Now let's go ahead and replace:
https://demo.twilio.com/welcome/sms/reply
With the webhook that was generated in the last step
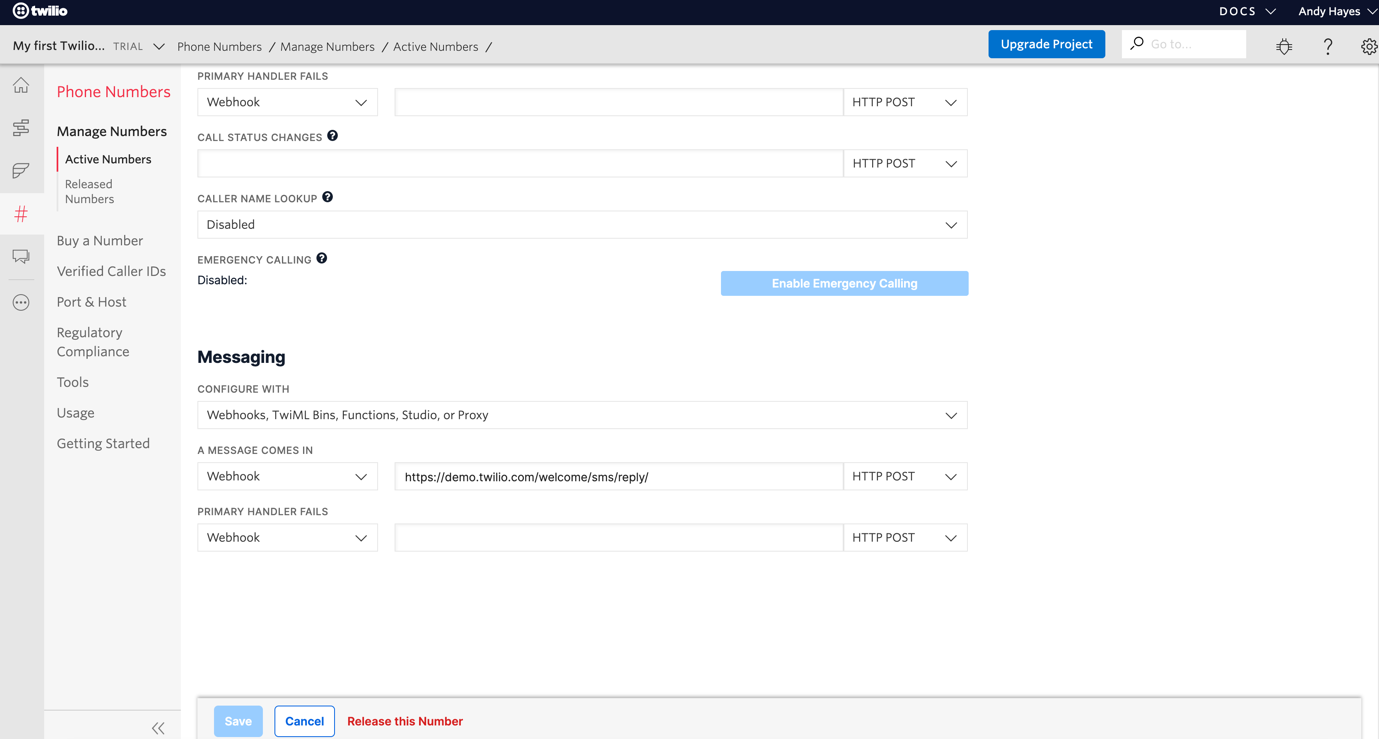
When you’ve added the webhook, all we need to do now is click save.
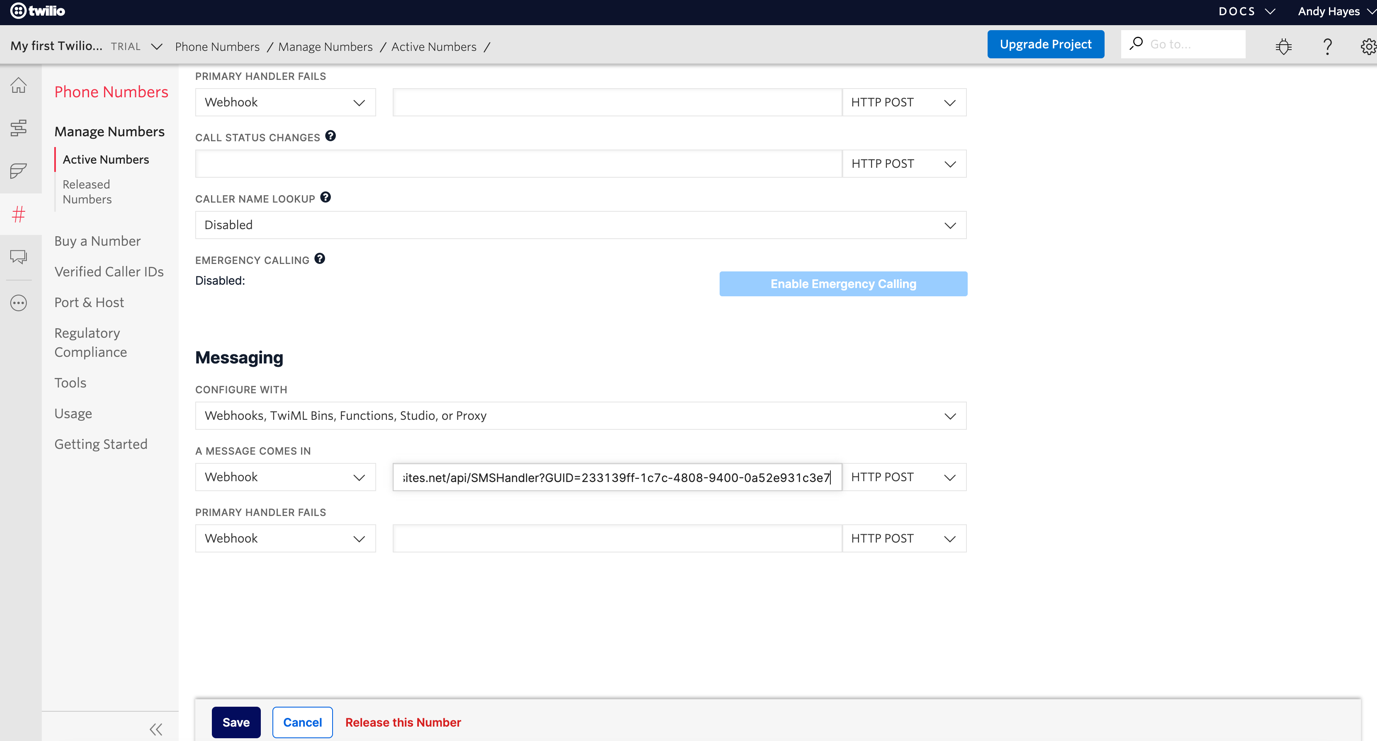
That’s it. The webhook is now configured, which means when you send an SMS message to that Twilio phone number, the message details will be sent to your workflow.
Send SMS
From your mobile phone, go ahead and send an SMS to your Twilio phone number.
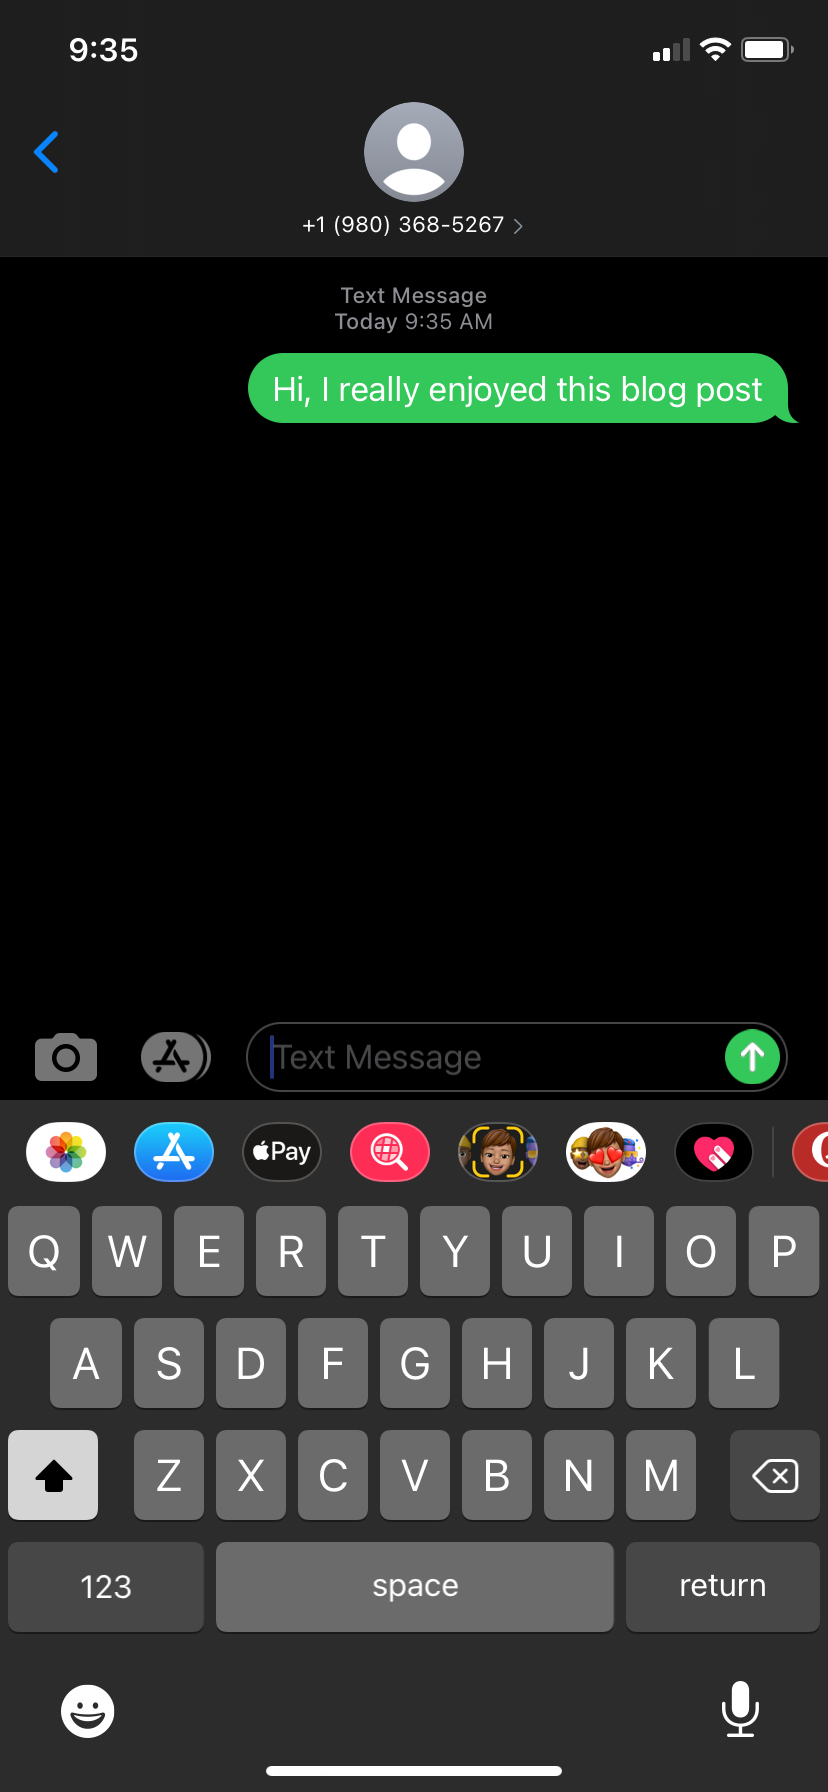
Within a couple of seconds, you should get a response SMS (if you didn’t leave that section blank in the webhook configuration)
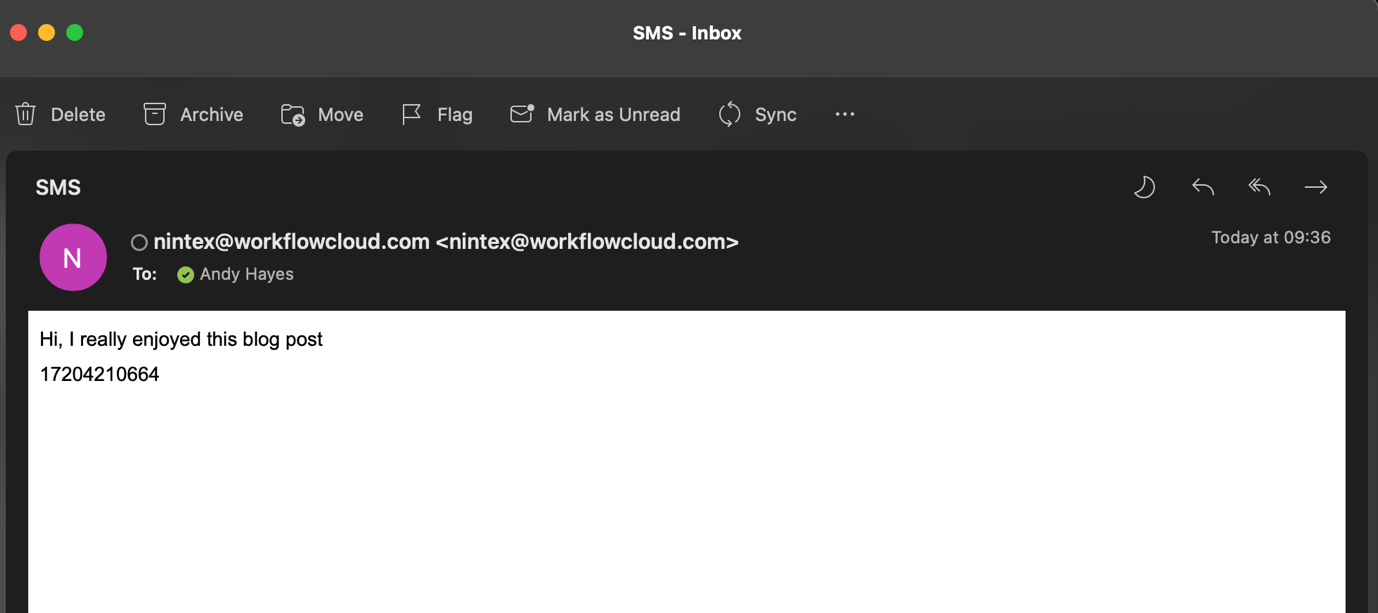
And after receiving the SMS, your workflow will also start and send you an email with the Twilio SMS content
