I was asked recently to explain how Microsoft Flow could be integrated with Nintex Workflow Cloud. The point of the question was that Workflow Cloud provides enterprise level workflow capability, so it supports custom workflow connectors via the OpenAPI/Swagger definitions.
In this article I'll explain how we can integrate Nintex Workflow Cloud and Microsoft Flow, leveraging the Nintex Workflow Cloud's Xtension framework to sync Microsoft Outlook calendar with Google Calendar.
Calling Nintex Workflow Cloud from Microsoft Flow
1. To call Nintex Workflow Cloud from Microsoft Flow, I have created a Nintex Workflow Cloud workflow with an external start event as shown here. I have also included parameters I want to bring over from Outlook Event to sync with Google Calendar Event (in this example, Event Title, location, ID, Start date-time and End date-time).

2. Once the workflow is published, it gives us details on how the workflow could be triggered from external system(s). What we need from this published workflow is the URL as shown below:

3. I have created a blank Microsoft Flow with only two steps added. The first is the trigger "when a new event is created (v1)" of Outlook Event. The second is the HTTP + Swagger as shown below.

4. Paste the URL from the published Nintex Workflow Cloud from step 2 above to the "SWAGGER ENDPOINT URL" as shown below:

5. The "HTTP + Swagger" action will be refreshed with the required parameters as we have defined in Nintex Workflow Cloud. We can now supply the values to pass from Outlook Calendar event to Nintex Workflow Cloud as shown in the diagram below.

Extend Nintex Workflow Cloud with Google Calendar connectors
Nintex Workflow Cloud does not by default provide Google Calendar connectors. However, using the Nintex Xtensions Framework, we can create any connectors we need, as long as they comply with the OpenAPI/Swagger standard.
To do this, here are the steps I followed.
1. Identify Google Calendar APIs.
Google provides rich APIs to its applications/services, including Google Calendar APIs. The reference to the Google Calendar API provides all the details we need, such as end point URL, HTTP Request, and Parameters for the call.

2. The Swagger file we are creating requires us to specify the API scope, which is provided in the reference document and shown in the diagram below.

3. Prepare the Swagger file and save it with a json extension for importing to Nintex Workflow Cloud Xtensions.
{
"swagger": "2.0",
"info": {
"version": "1.0.0",
"title": "Google Calendar API",
"description": "Google Calendar API"
},
"host": "www.googleapis.com",
"basePath": "/calendar/v3",
"schemes": [
"https"
],
"produces": [
"application/json"
],
"paths": {
"/calendars/{calendarId}/events": {
"post": {
"tags": [
"Insert new event"
],
"summary": "Insert Event",
"description": "Insert a new event",
"operationId": "insert",
"parameters": [
{
"in": "body",
"name": "body",
"schema": {
"$ref": "#/definitions/Event"
}
},
{
"name": "calendarId",
"type": "string",
"in": "path",
"description": "Google Calendar ID",
"required": true
}
],
"responses": {
"200": {
"description": "OK",
"schema": {
"$ref": "#/definitions/Event"
}
}
},
"security": [
{
"Oauth2": [
"https://www.googleapis.com/auth/calendar"
]
}
]
}
}
},
"definitions": {
"Event": {
"type": "object",
"properties": {
"start": {
"description": "The (inclusive) start time of the event. For a recurring event, this is the start time of the first instance.",
"type": "object",
"properties": {
"date": {
"type": "string",
"format": "date"
},
"datetime": {
"type": "string",
"format": "date-time"
},
"timezone": {
"type": "string"
}
}
},
"end": {
"description": "The (inclusive) end time of the event. For a recurring event, this is the end time of the first instance.",
"type": "object",
"properties": {
"date": {
"type": "string",
"format": "date"
},
"datetime": {
"type": "string",
"format": "date-time"
},
"timezone": {
"type": "string"
}
}
},
"location": {
"description": "location of event. Optional.",
"type": "string"
},
"summary": {
"description": "Event title",
"type": "string"
},
"description": {
"description": "Description of the event. Optional.",
"type": "string"
}
}
}
},
"securityDefinitions": {
"Oauth2": {
"authorizationUrl": "https://accounts.google.com/o/oauth2/auth",
"description": "Oauth 2.0 authentication",
"flow": "implicit",
"scopes": {
"https://www.googleapis.com/auth/calendar": "Read and Write access to Calendars",
"https://www.googleapis.com/auth/calendar.readonly": "Read access to Calendars"
},
"type": "oauth2"
}
}
}
4. Once we have the required Swagger file, we can add it to the Xtensions from the Xtensions page of the Nintex Workflow Cloud dashboard as shown here.

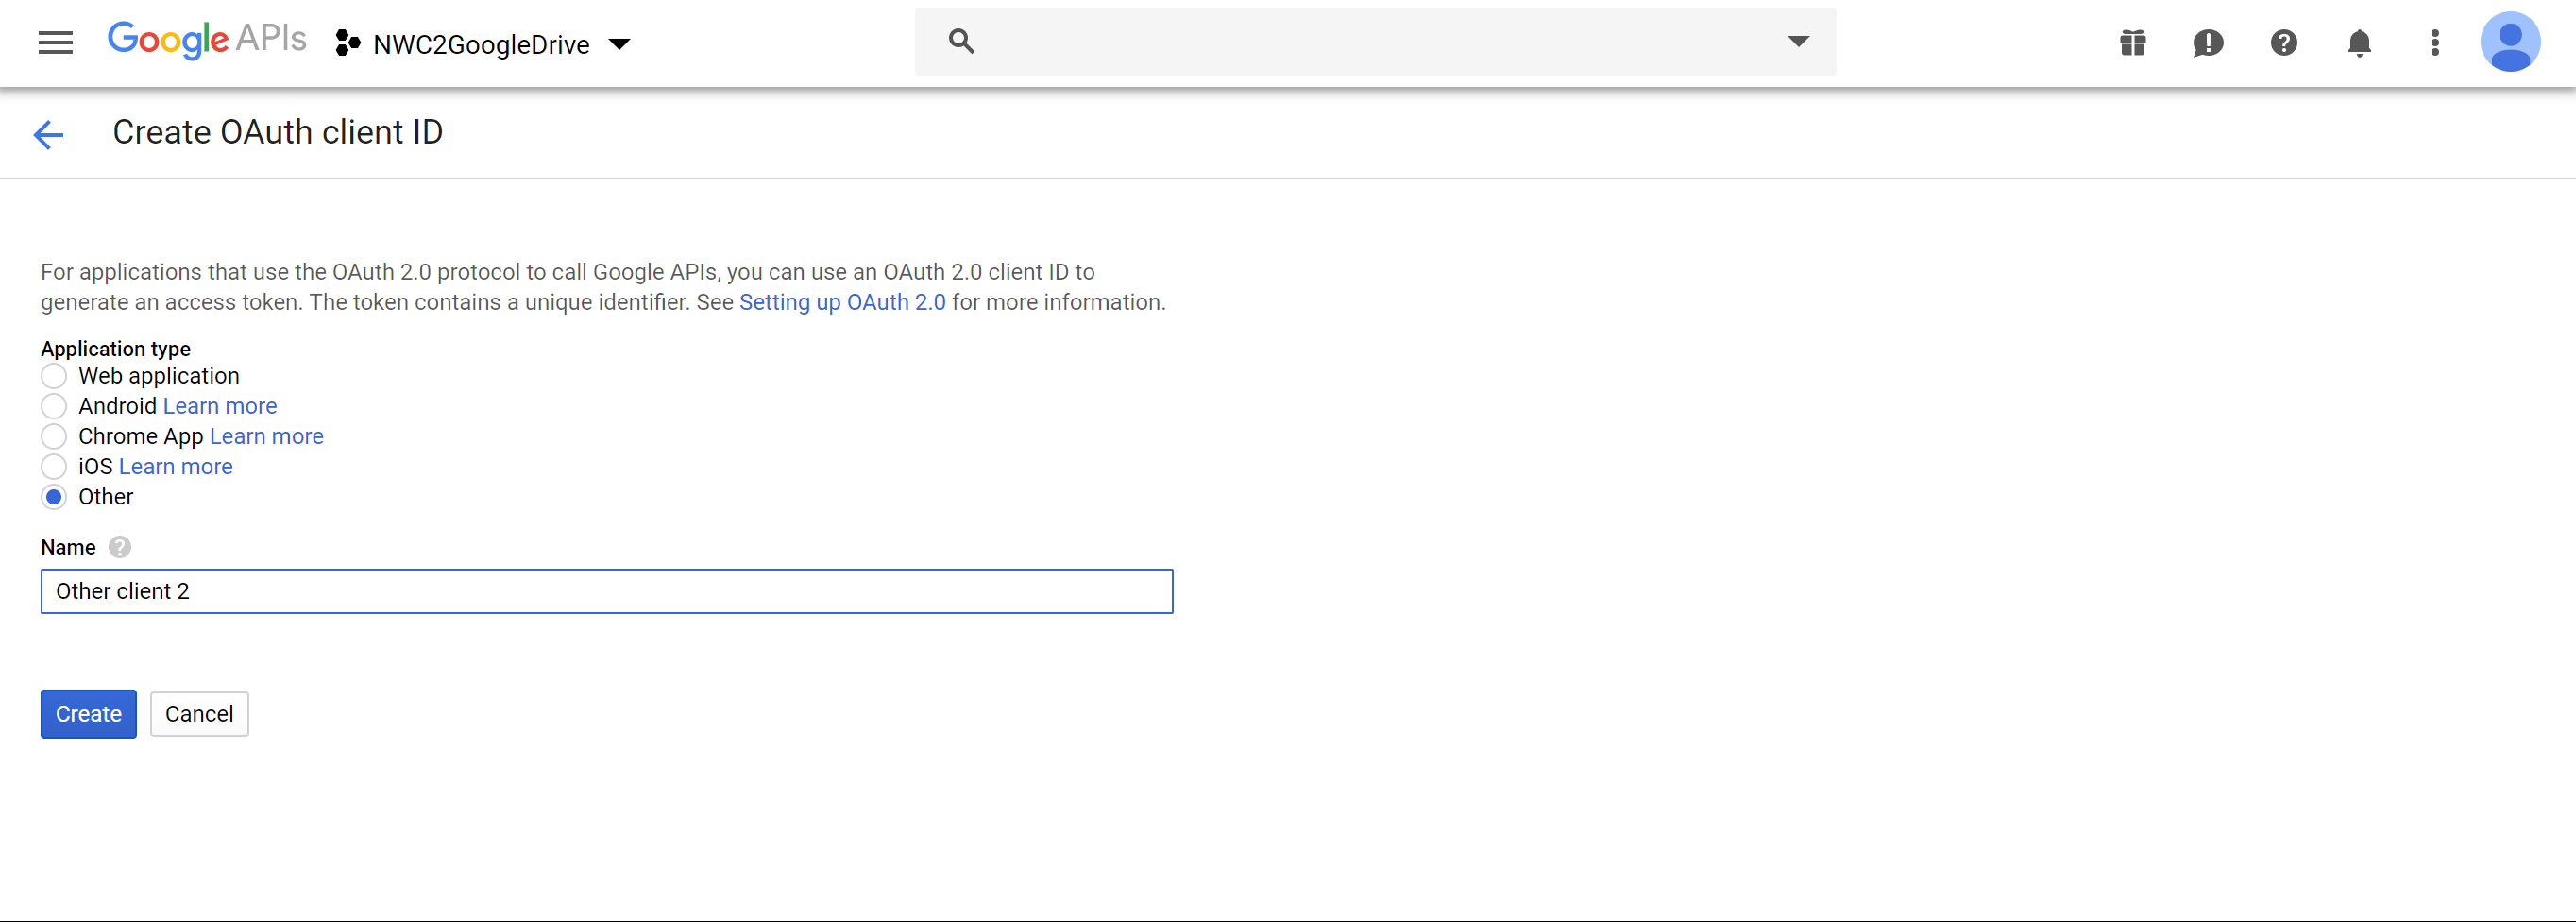
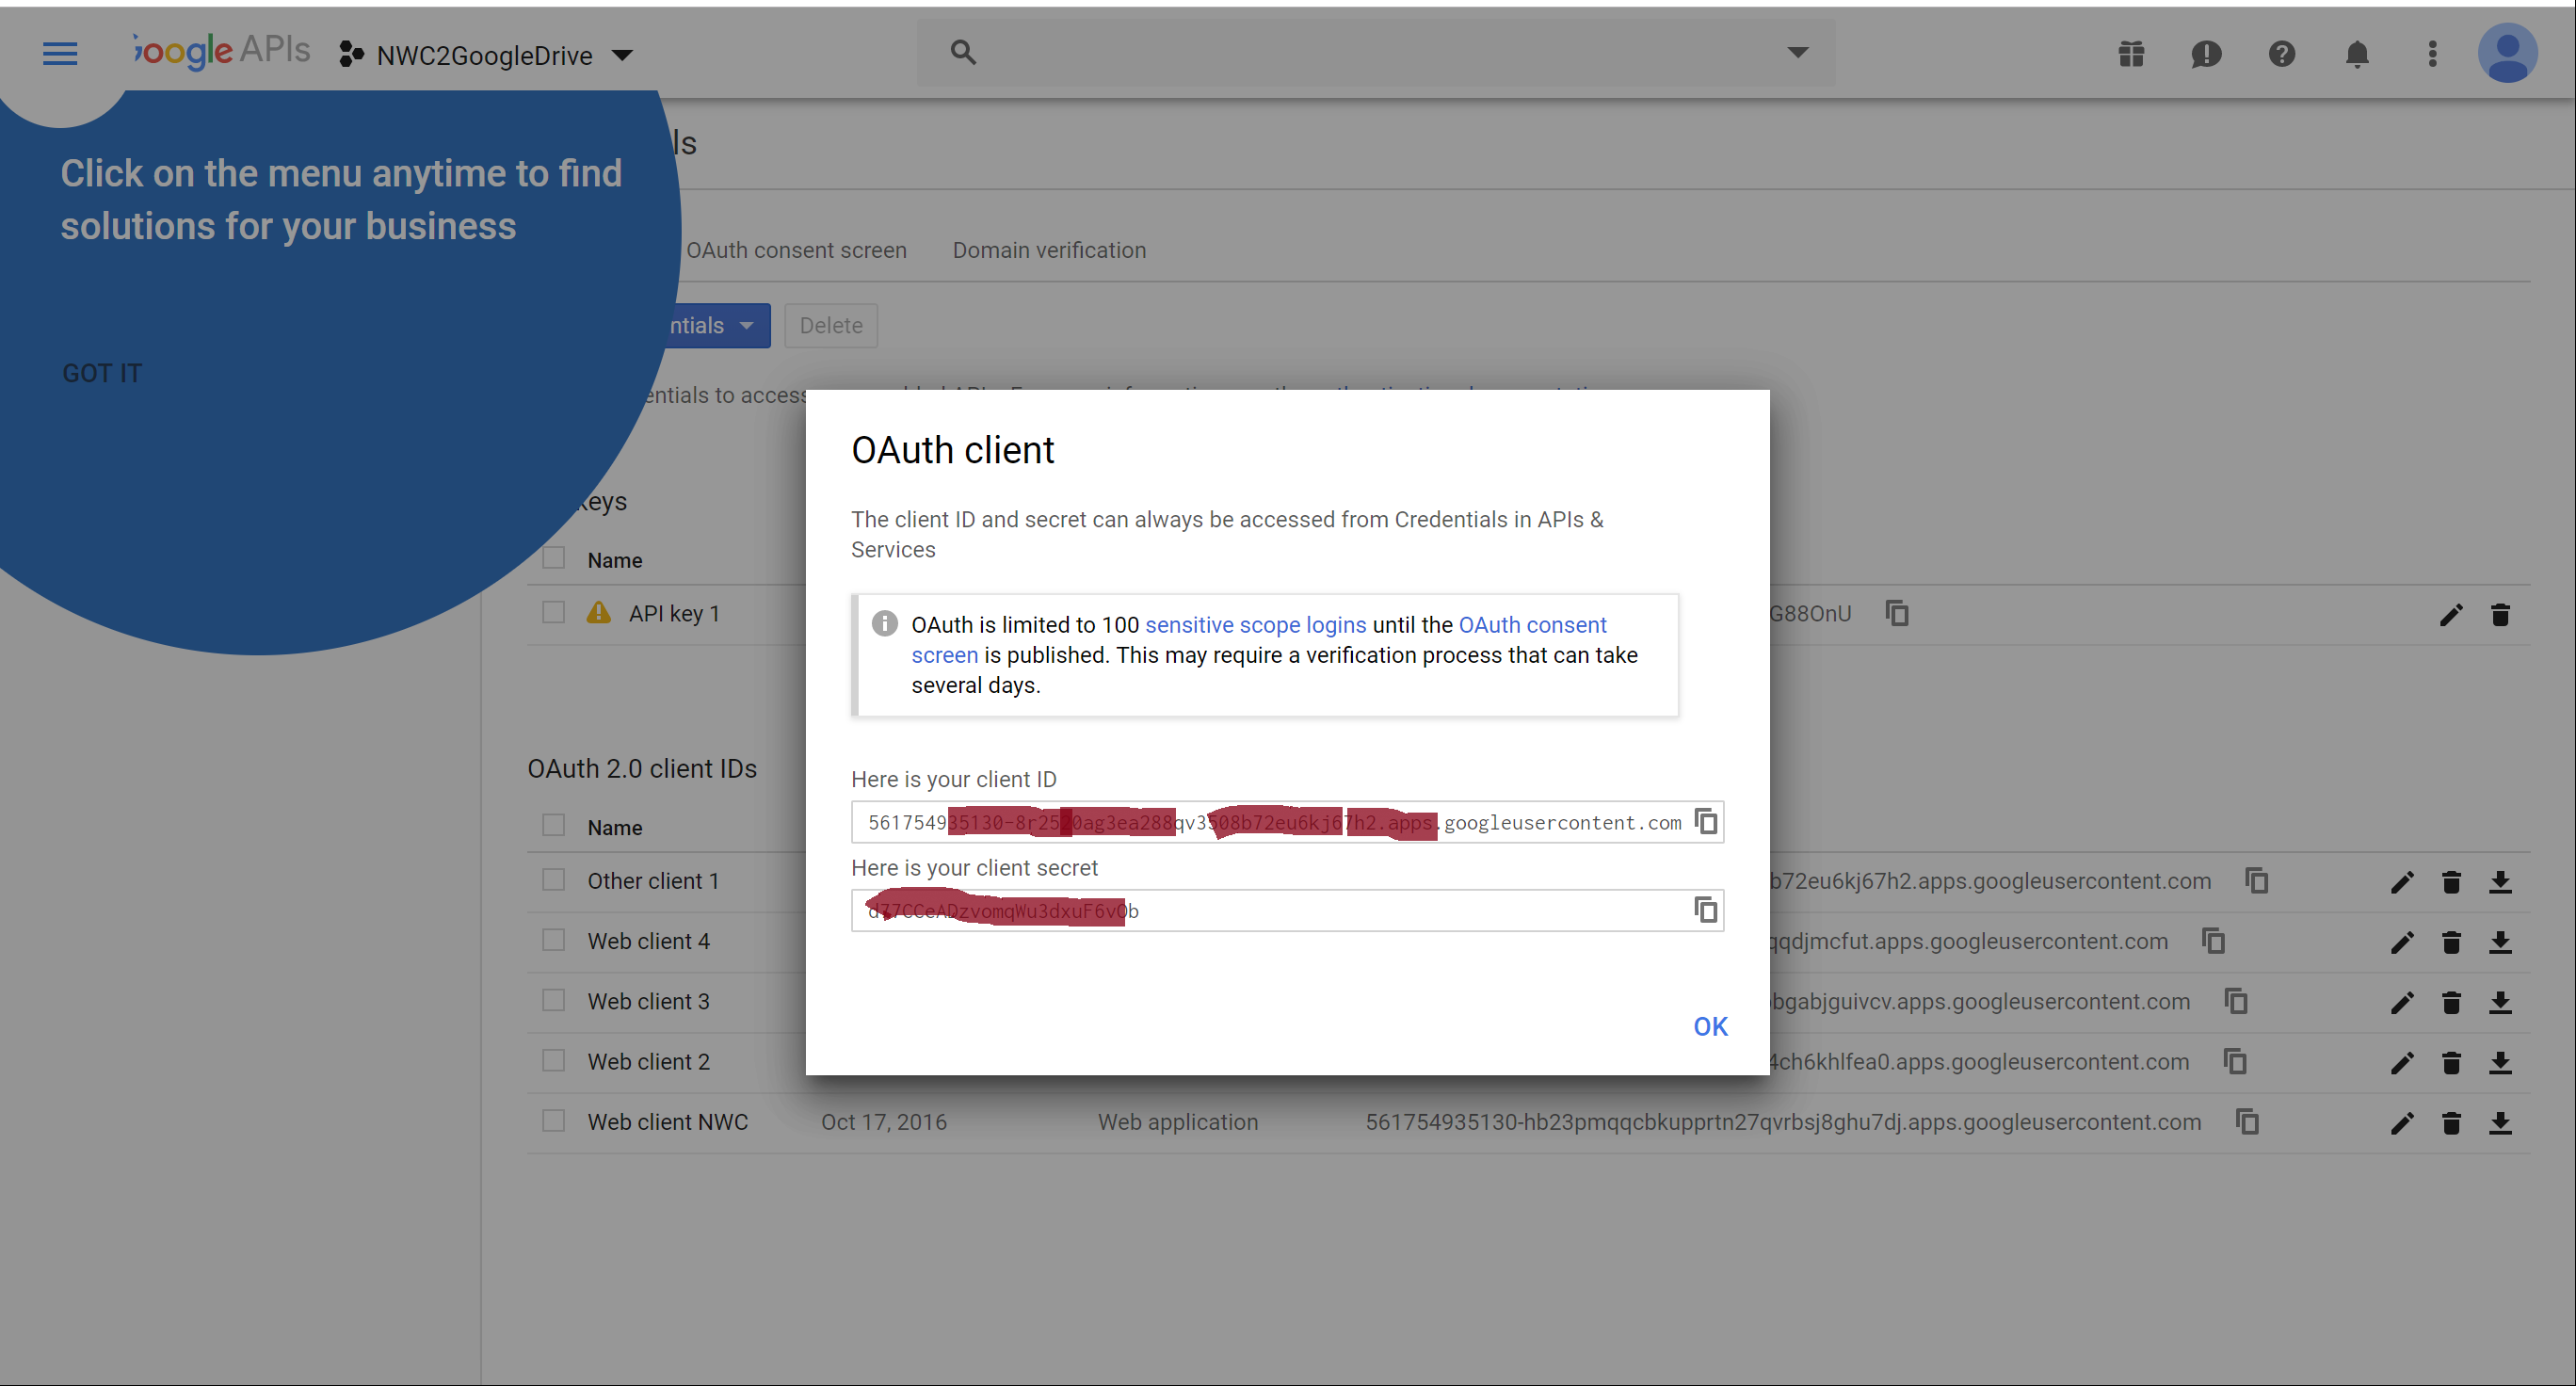
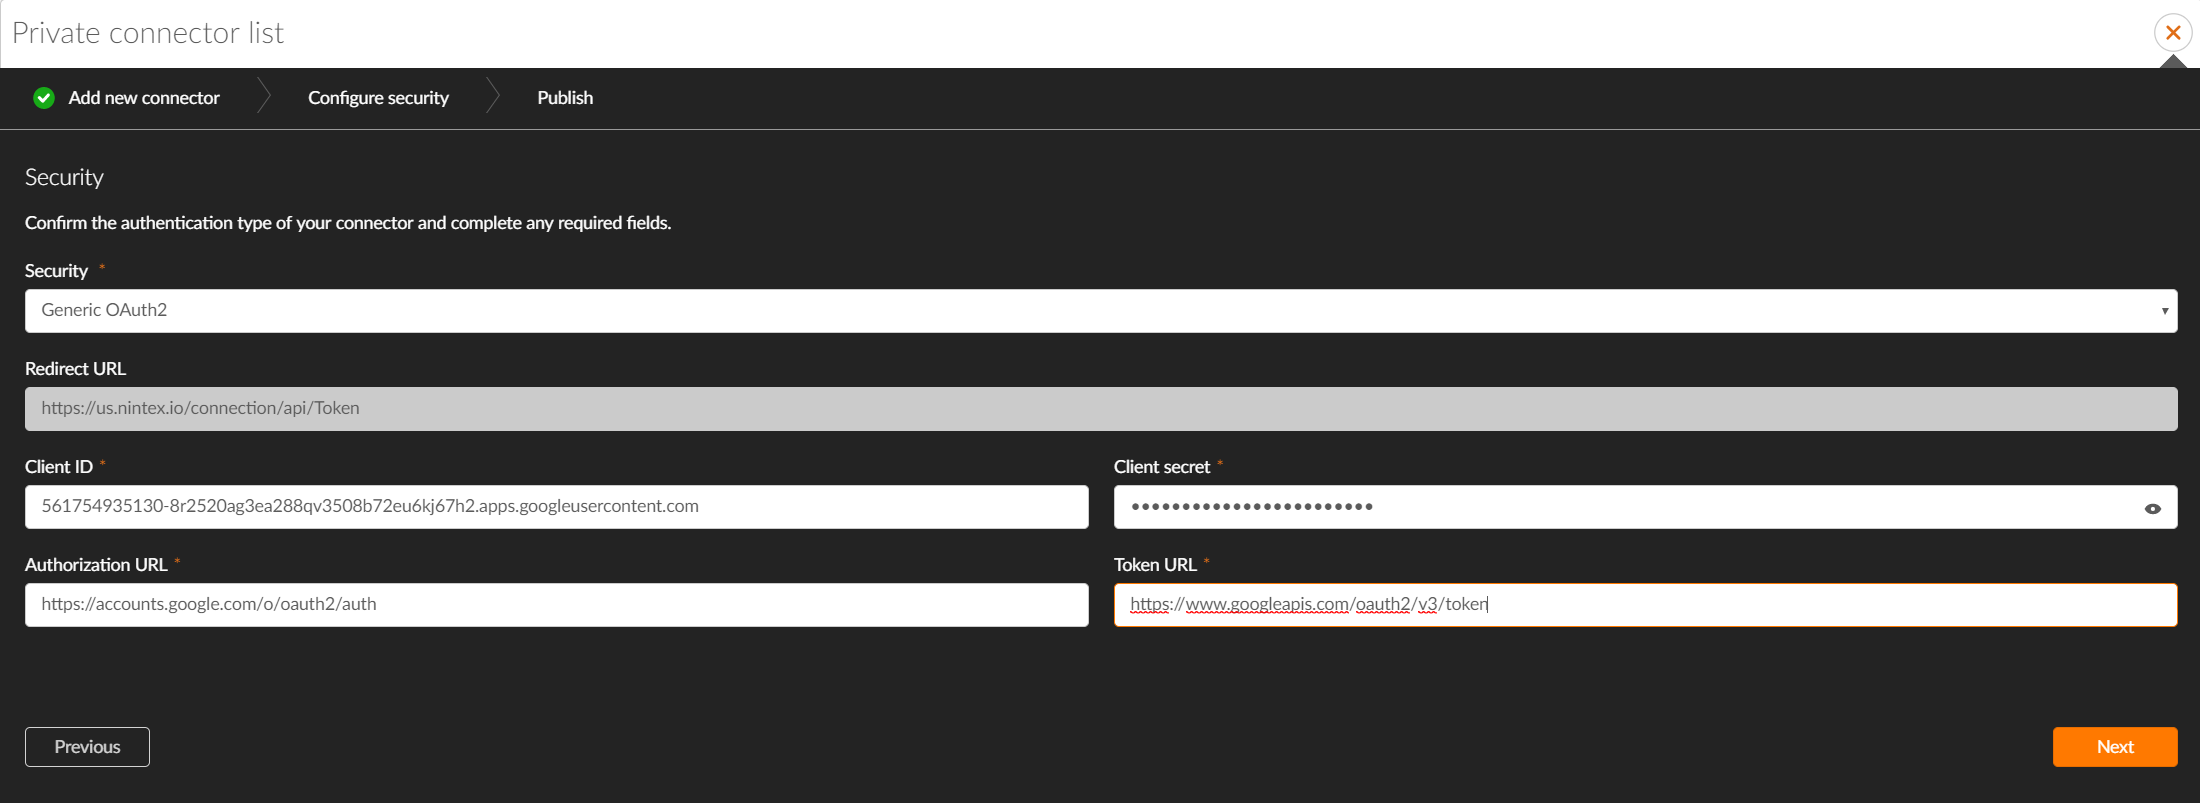
5. As the Swagger file includes the Security Definitions to use OAuth, we will need to provide the required Security details as shown in the diagram below. Note that in our example here, we will select "Google" for the Security value from this page. I shared how to get the Client ID and Client Secret in the "Obtain OAuth 2.0 credentials from the Google API Console" section of my previous blog post Using OAuth 2.0 to access other cloud services from NWC.

6. Once we enter the required values of Security, Client ID, and Client Secret, click Next to continue, where we will specify an Icon, Name, and Description for the Connector. I have used Google Calendar and Google Calendar API for the Name and Description values in my example.
![]()
7. The new Xtension will be added as shown below

8. We may now edit the Nintex Workflow Cloud workflow to include the new connector to add an event to Google Calendar. Note that we need to add a connection and grant Nintex Workflow Cloud access to the Google Calendar for the purpose. This is required because we need to specify a connection to be used in the connector actions.

With the same approach, we may include all the required Google Calendar API end-points to the Nintex Workflow Cloud.


