Let's take a look at the configuration and the functionality of Workflow Tagging.
We'll start in Nintex Workflow Cloud Settings. You should see a new entry called Tags.
The first option you will not is 'Allow workflow designer to create tags'. This will be On by default in all tenants and refers to the ability for the designer role to create tags.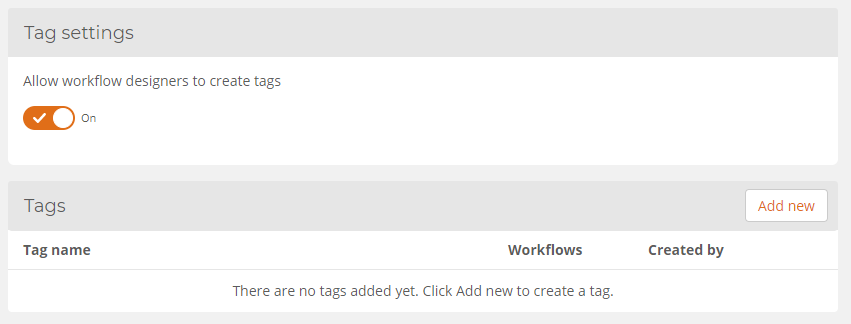
Add new tags by putting a name and selecting a colour from the Nintex Spring Summer pastel colour palette.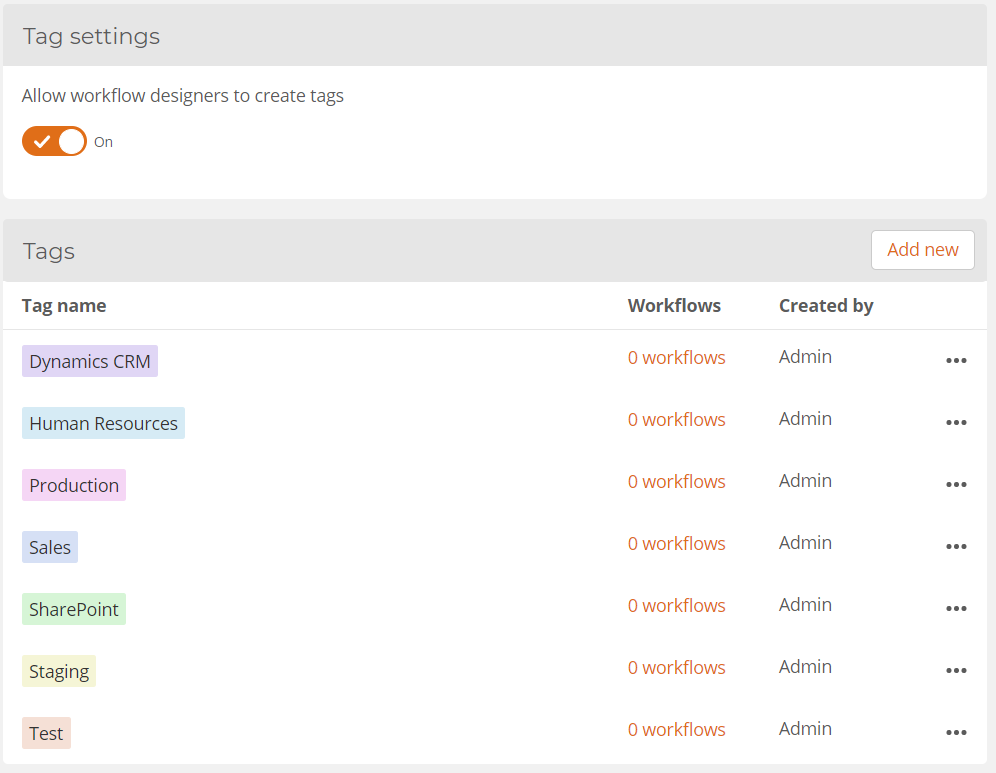
With all your tags in place, you can now assign tags to workflows, workflows to tags.
On your Workflows Dashboard, select Edit tags from the workflow edit menu. 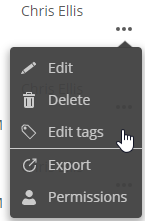
Add the relevant tag(s) here and update. You can also add AdHoc tags here. 
Tags can also be added on the Publish screen when publishing a workflow. 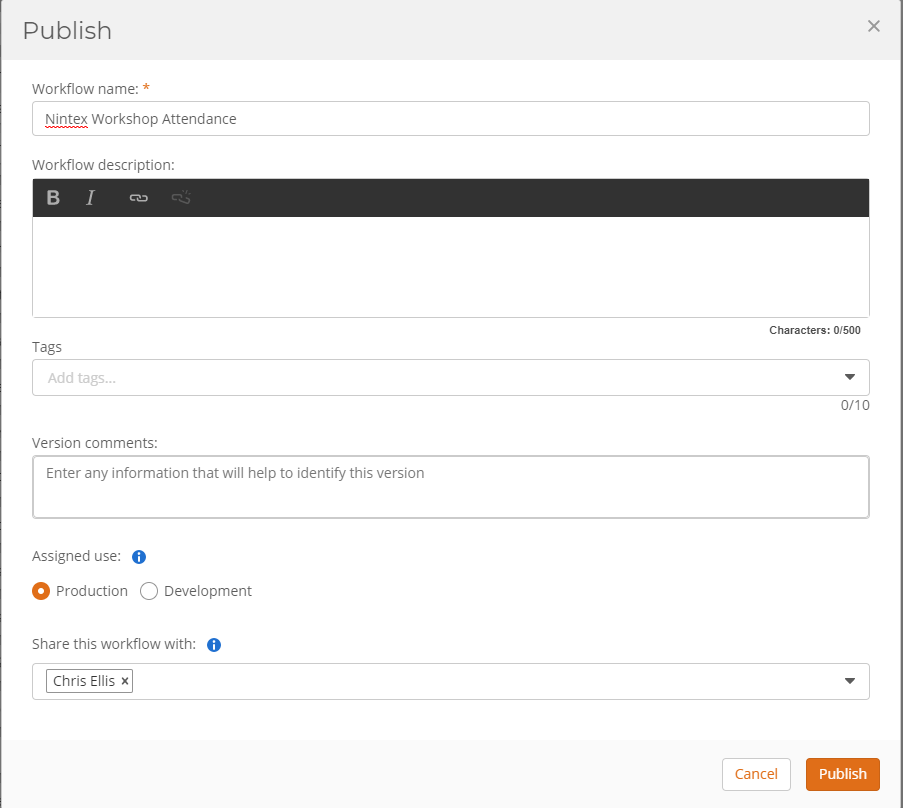
Once your workflows are tagged, you will be able to filter the list using the filter capability and also by clicking on a tag specifically. 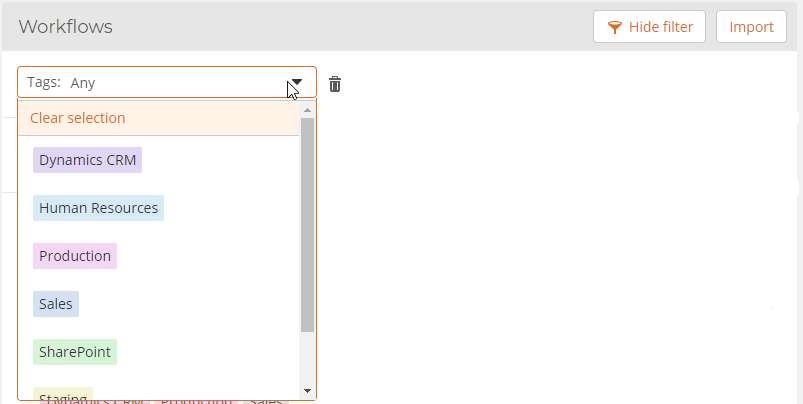
Back on the Settings - Tags page you can now see workflows have been assigned to tags and from here you can click into see a list of those workflows. 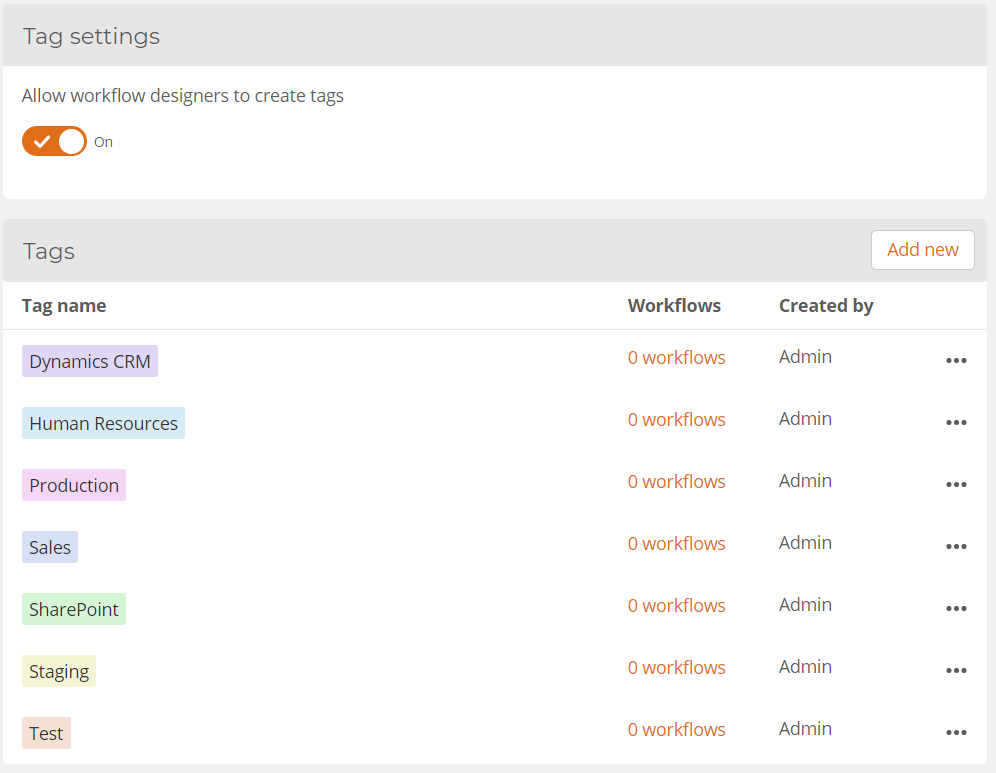
I've also put this together in an overview video:
We hope you enjoy this new feature and find it useful. As with everything Nintex, you can provide feedback and feature update requests to our Uservoice site.


