Business user-focused timeline for K2
While the K2 Viewflow serves the purpose of providing end-users with a live bird's eye view of the actual workflow/process itself along with each action that has been completed, but depending on the audience, the Viewflow can be too technical and complex to fully grasp what is going on.
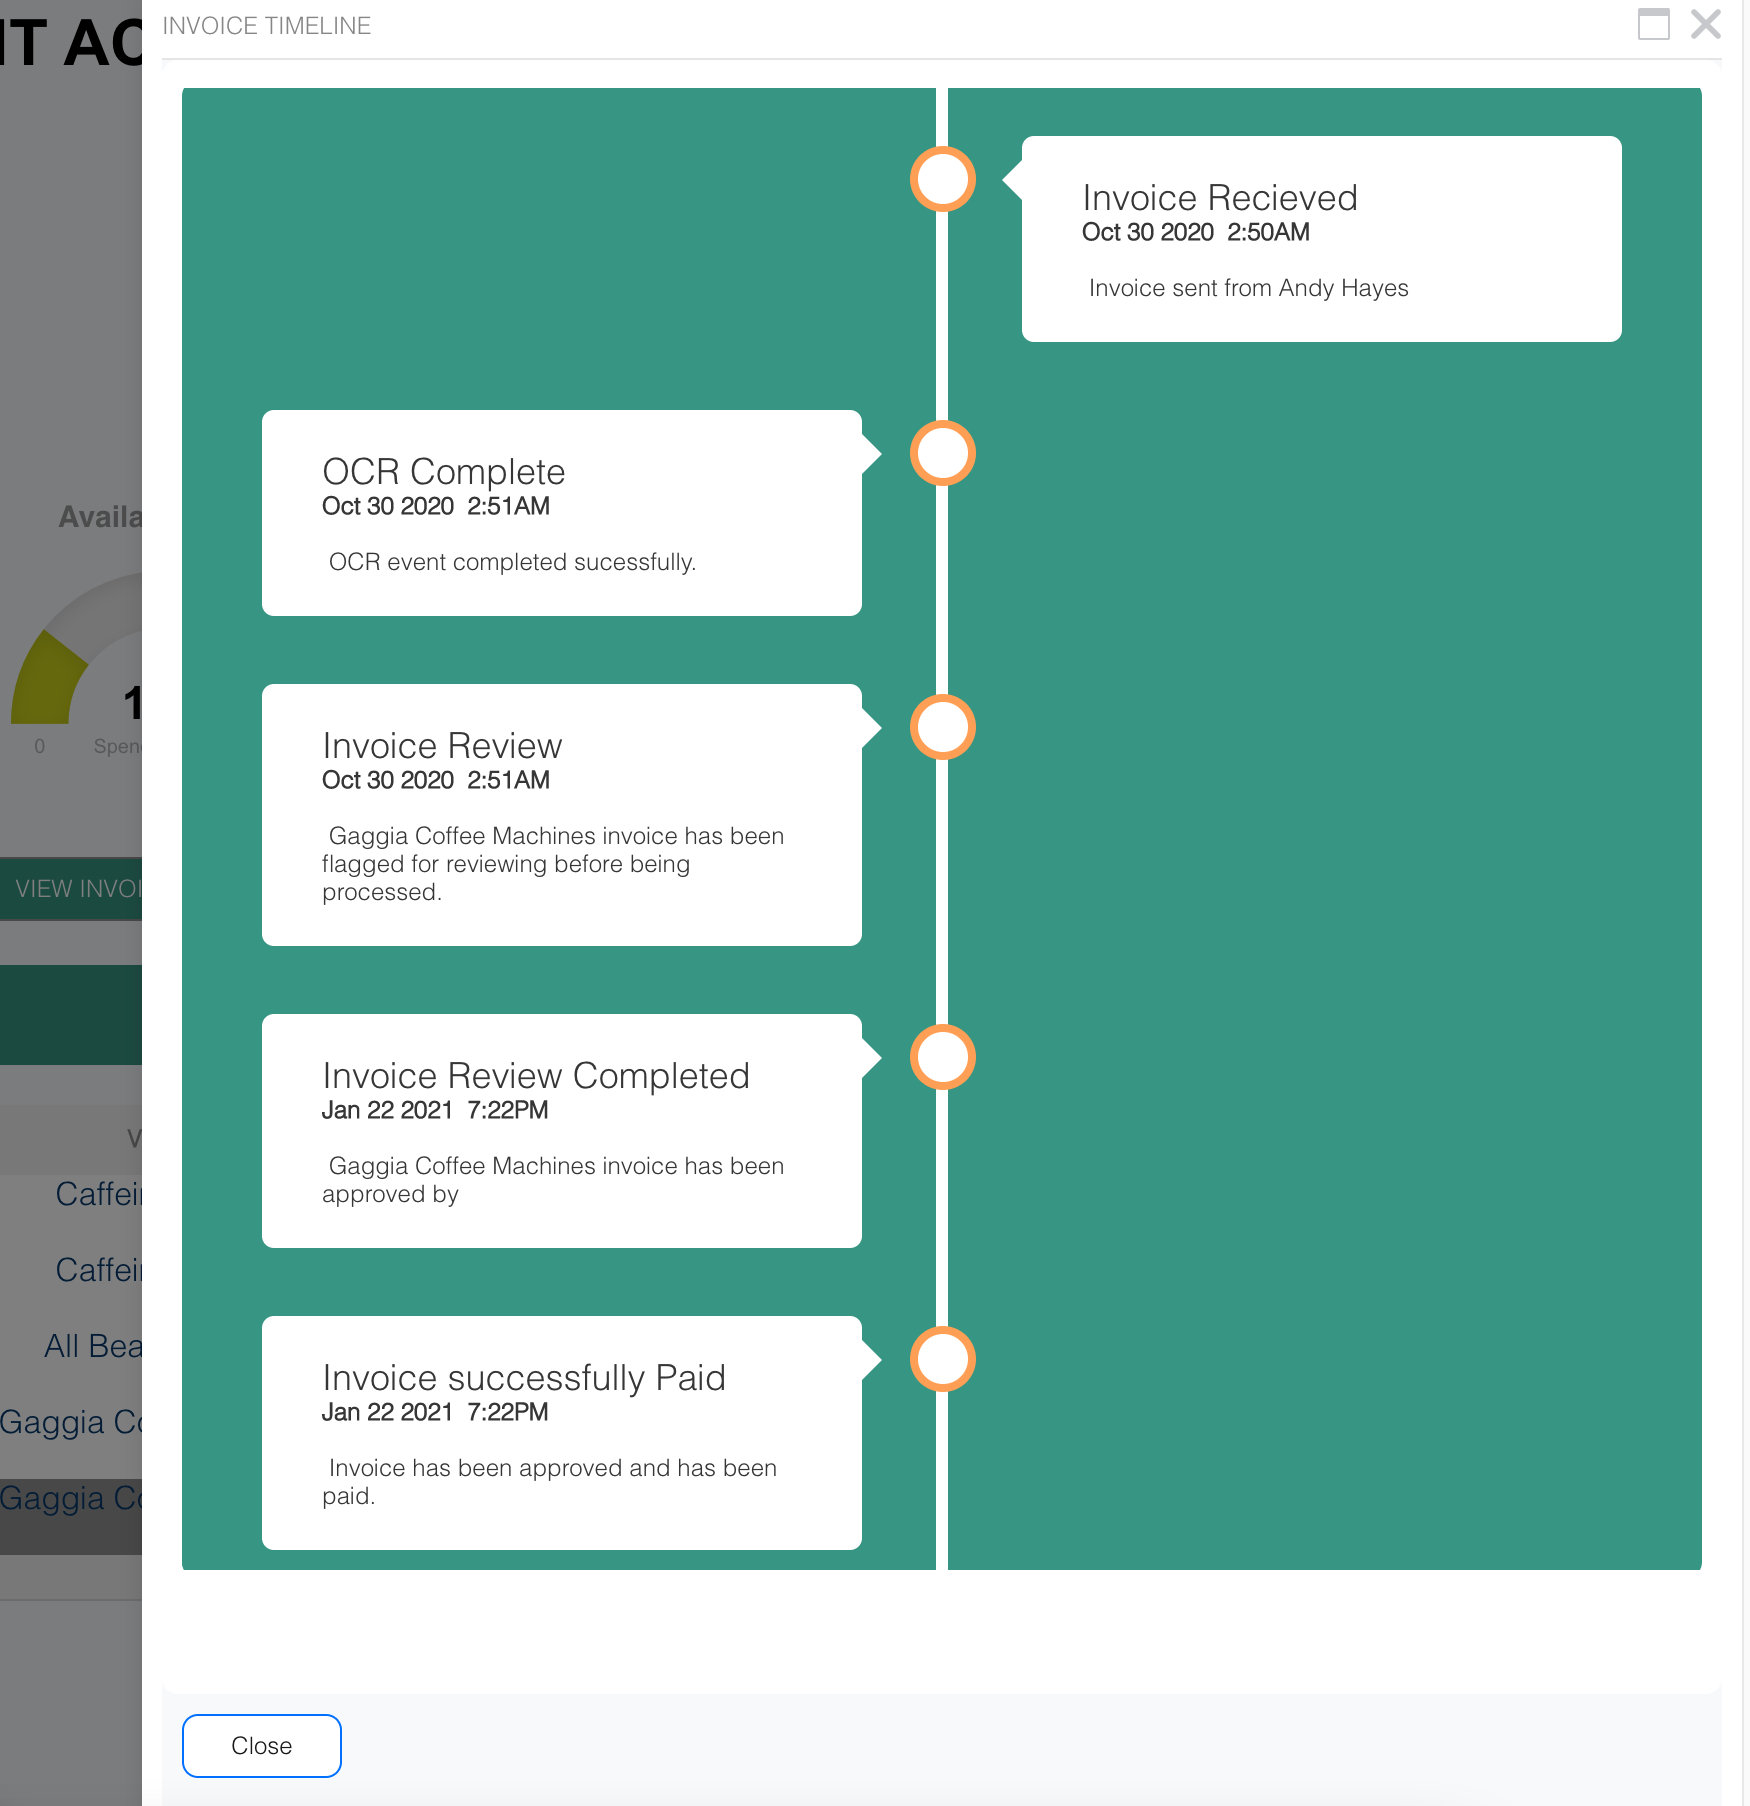
By using K2 out of the box features (Smartbox and a list view) and a bit of CSS, you can provide your users with a beautiful and useful graphical timeline. The idea around the timeline is that you populate a Smartbox with event information of your choice and use a K2 list view with CSS to provide a graphical outlay.
Since you are in control of what is going into the Smartbox, you can add any information you like from the workflow or a form and with the CSS you can change the look and feel to be aligned with your organization's profile.

You can download the KSPX from this blog post, which will give you an example to get you going. As it’s K2, all you need to do is modify the ListView and CSS to make it functional for your purpose.
What are the components of this timeline example:
Andy.Timeline (Smartbox) – This is where the timeline information is stored such as title, date and message. You can extend this to add more information or filter parameters.
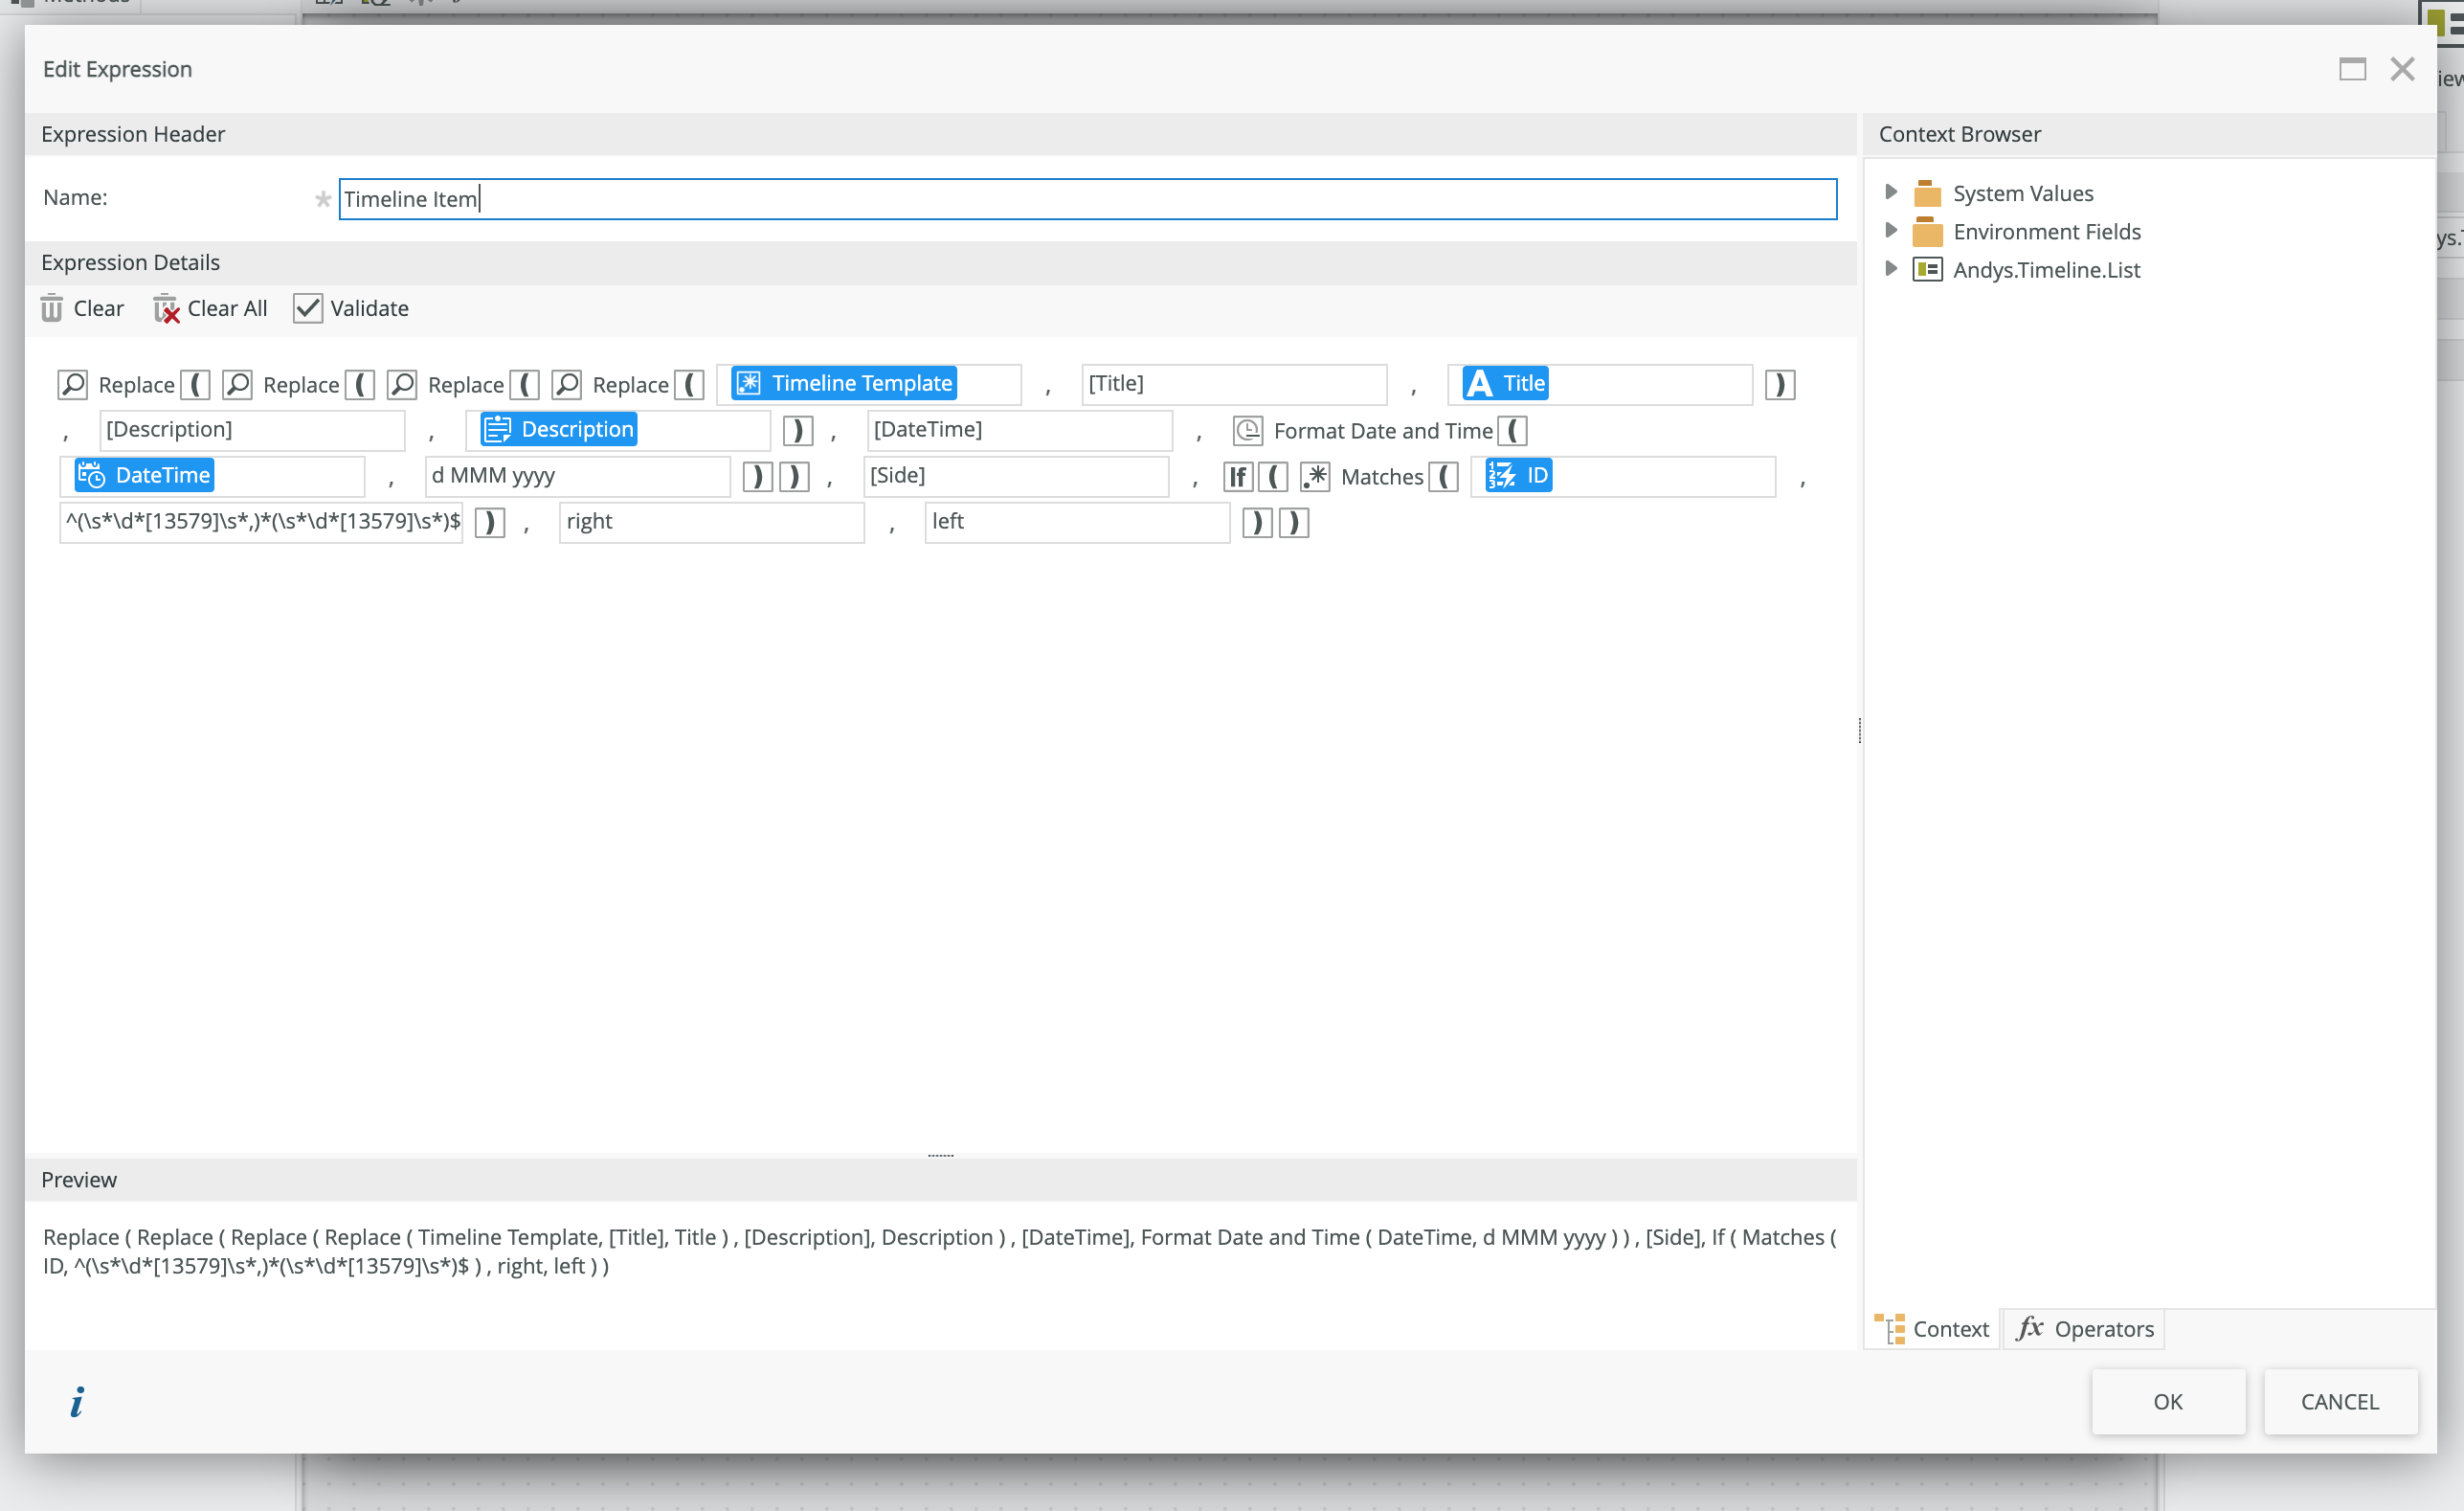
Andys.Timeline.List (View) – The list view will load up the Andy.Timeline Smartbox. Within the ListView, there are two expressions. The timeline item expression is where we are converting the Smartbox to HTML. Feel free to modify this to add or change the information that is displayed on the timeline.

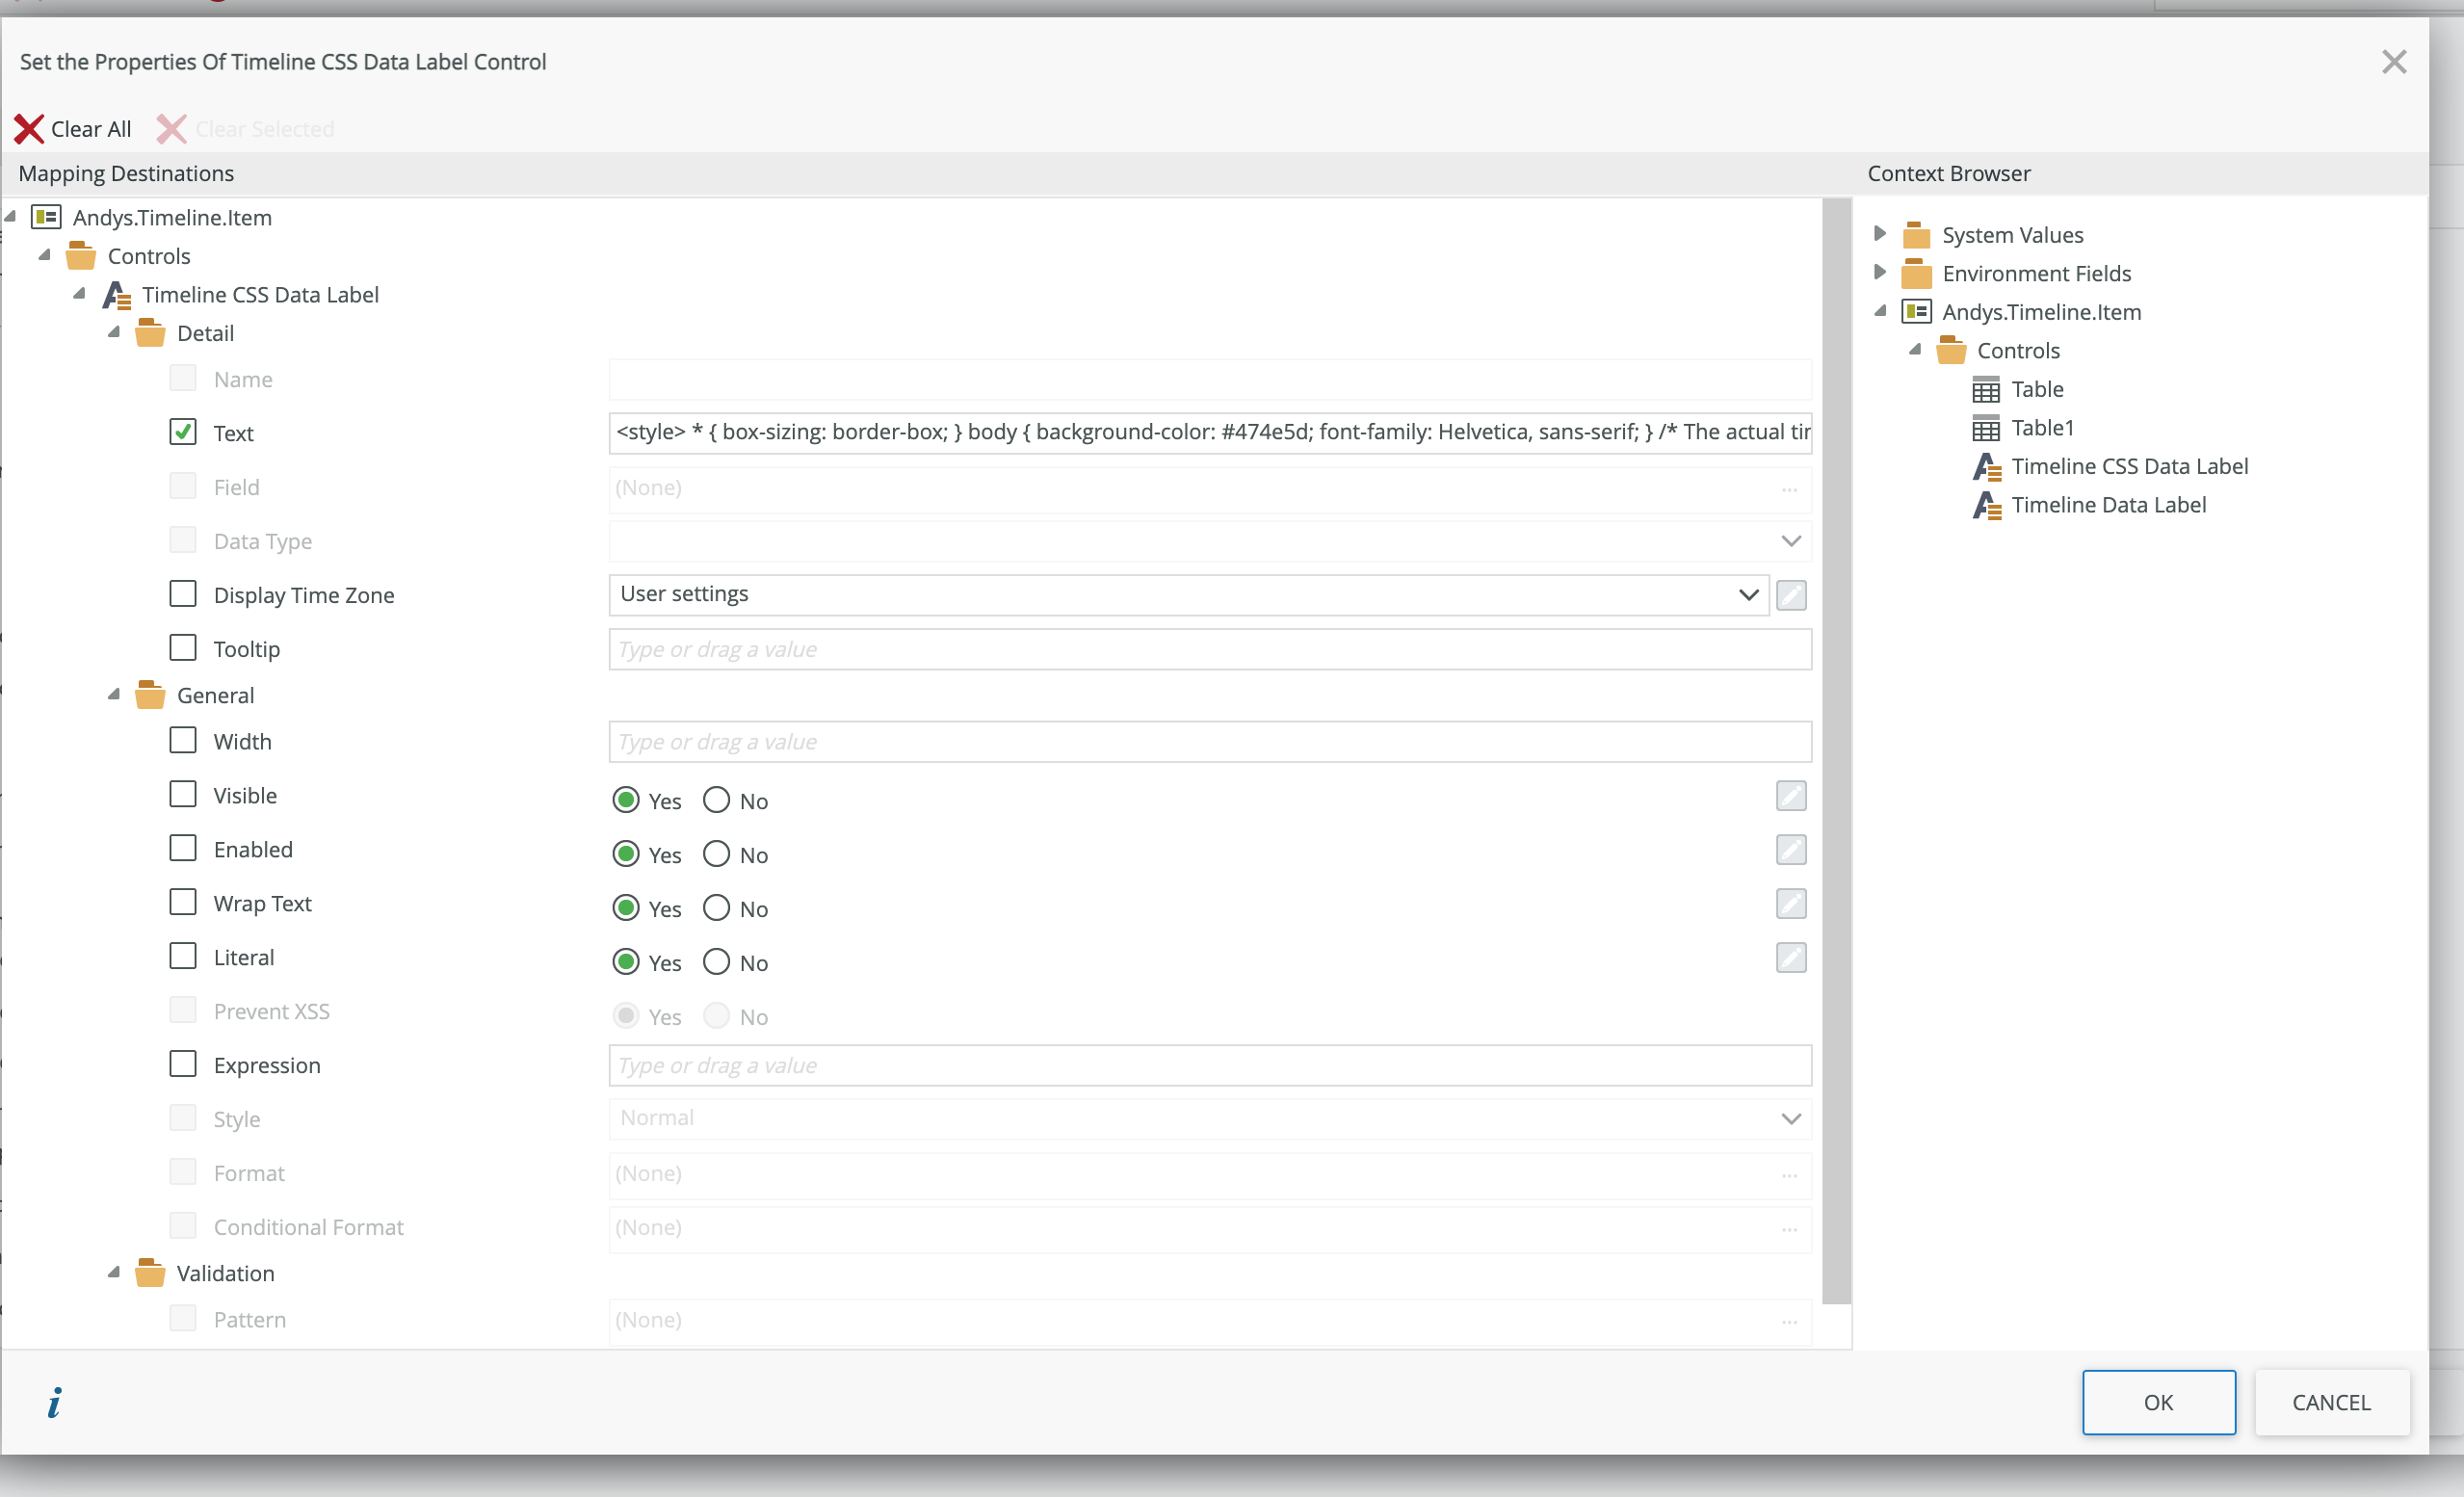
Andys.Timeline.Item (View) – This view is where we are loading up the CSS. From the “When the server loads the view” rule, you can view, update, or change the loaded CSS.

Andys.Timeline (Form) – This form is used to load both the views and execute both views server rules. Also, the form is adding HTML tags from the Load Timeline view.


