


Topic
How to Create a case on Nintex Customer Central.
Instructions
- Navigate and login to Nintex Customer Central.
- Select Create Case on the main dashboard or select Cases on the left side navigation menu.
- Select Create Case to display a new case form.

- Fill out the case form.
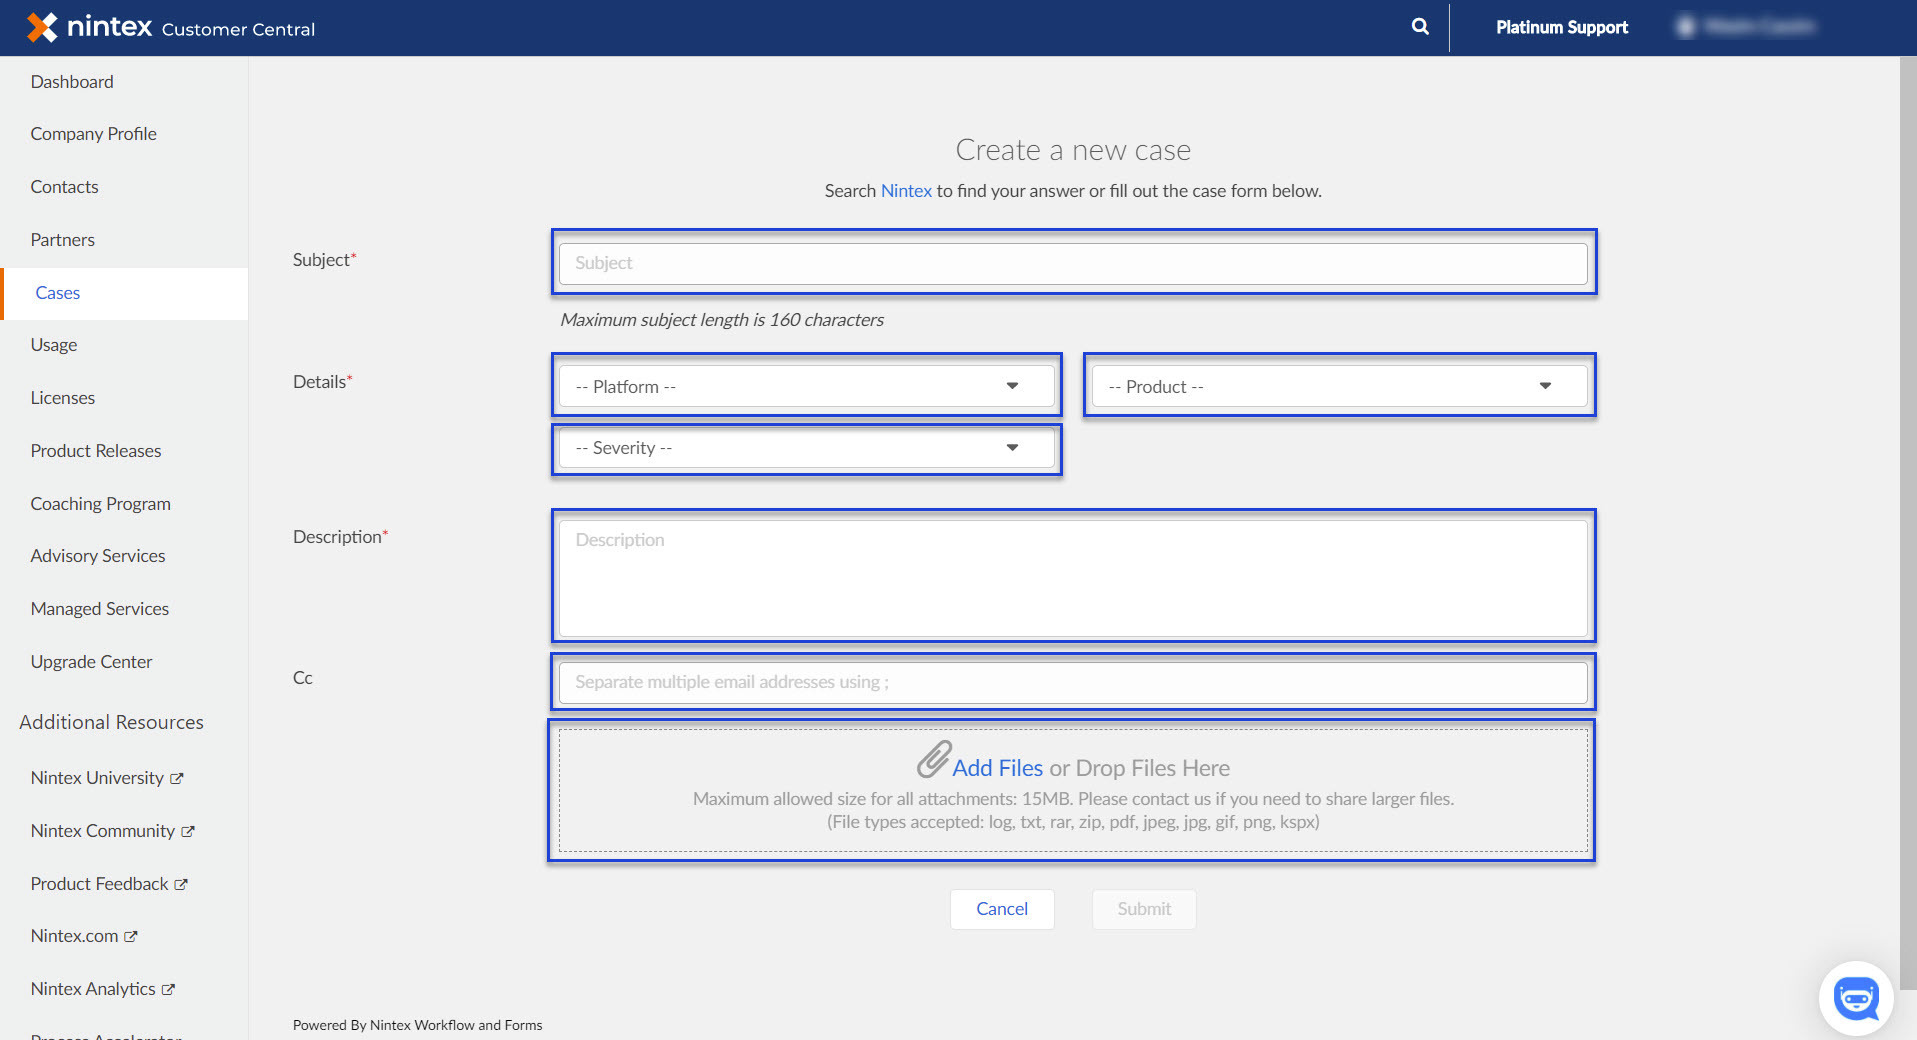
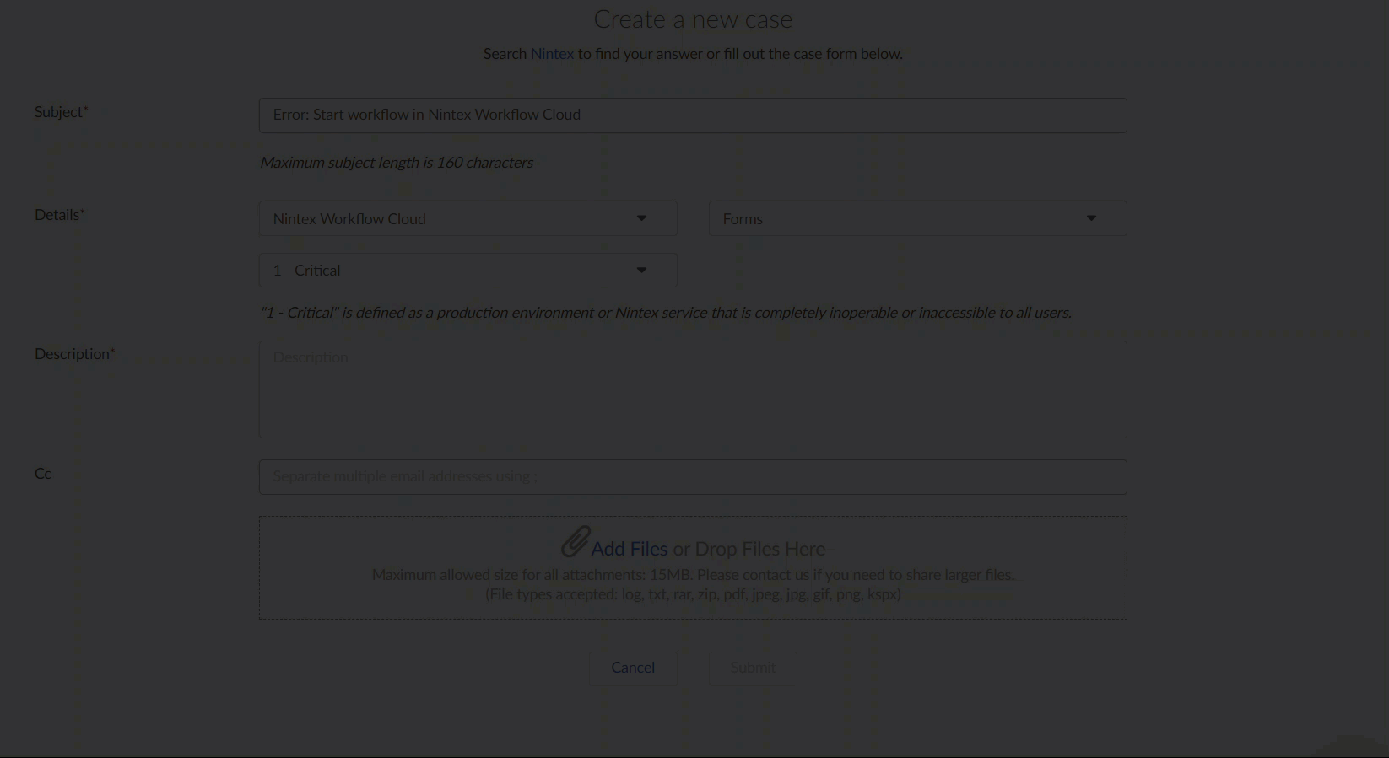
- Enter a Subject for the case. The subject field will predict any solutions relating to the case. You can click on the link to view the Knowledge Base articles or Help Documentation.
- Select a Platform from the dropdown menu.
- Select a Product from the dropdown menu. The dropdown menu will only populate if you select a platform.
- Select a Severity level from the dropdown menu, to flag the type of the case.
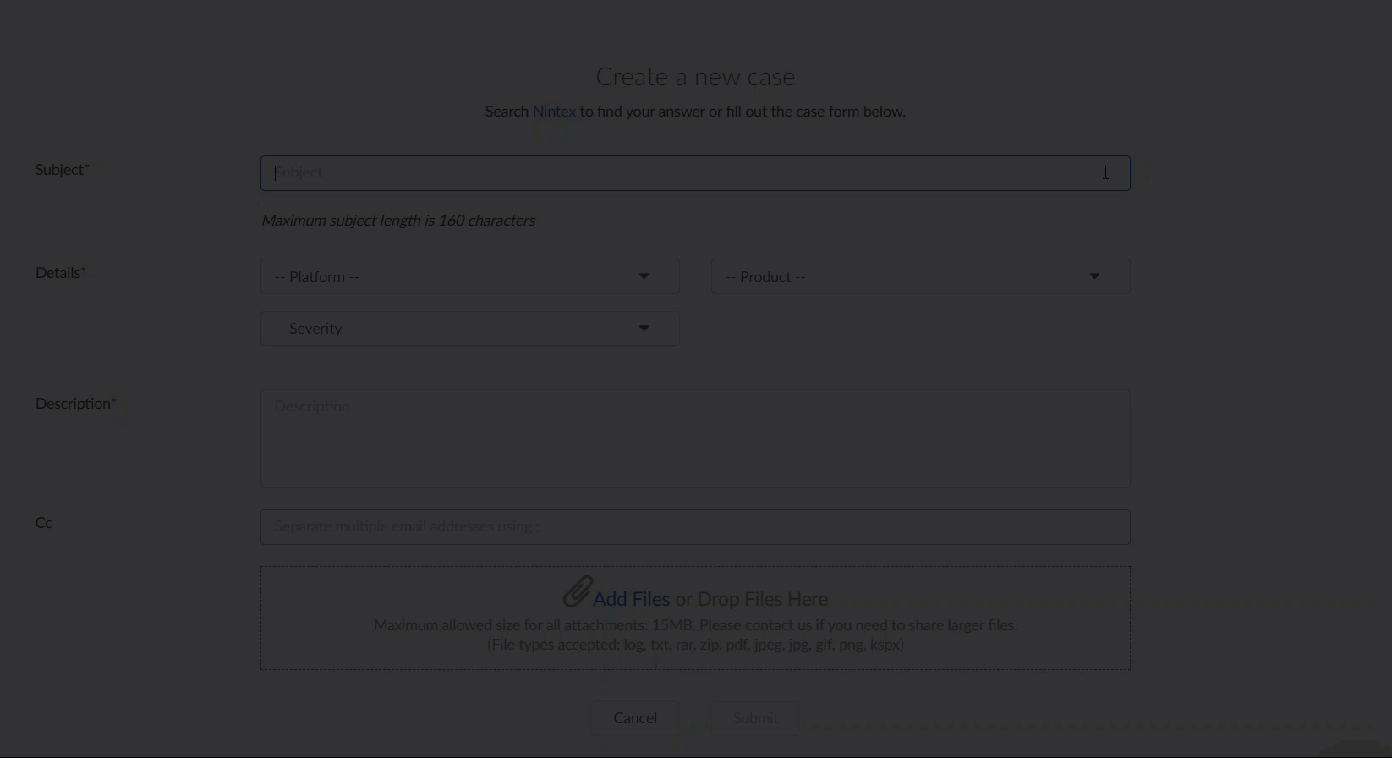
- Enter case details in the Description field. Remember to provide enough information. This will give the support engineer, assigned to the case, context to provide a solution or the required information.
- Keep other individuals informed by entering their email address in the Cc field.
- Attach files using the Add Files link or the Drop Files Here functionality.
- Click Submit to process the case.
Additional Information
- Ensure all required fields are filled before submitting the case form.
- Contact support@nintex.com for any Nintex Customer Central related questions.