


Use this article for an overview of what K2 Cloud On-premises Data Access (K2 OPDA) is and how you can start using it.
For other options when connecting K2 Cloud to on-premises systems, see Connecting to On-Premises Data from K2 Cloud.
The information in this article requires that you purchase a license for K2 OPDA. If you have not yet purchased a license, please contact your Nintex Sales representative for details and pricing.
Overview
K2 OPDA is a secure mechanism by which you access on-premises data from K2 Cloud. Nintex recommends this approach over other data access mechanisms to utilize data stored in your on-premises line-of-business systems within your K2 Cloud-based solutions.

It is important to keep in mind that K2 OPDA does not require a VPN connection from your K2 Cloud tenant to your on-premises network. Your physical network remains safe with this approach, and on-premises assets are protected from the internet; only your K2 Cloud instance can access these on-premises data sources. In the architectural diagram, notice that your servers and data still reside on your LAN and not in the DMZ where they could be more vulnerable to attack.
Common uses of K2 OPDA include accessing proprietary, on-prem data sources stored in SQL, web services, and other data sources that K2 Cloud supports using SmartObject services. The OPDA connector is a virtual image that you download and deploy within your network which, once configured, creates a secure tunnel between your on-premises systems and your K2 Cloud tenant.
(For more details on K2 OPDA, please see the article How K2 Cloud On-prem Data Access Works.)
Benefits
The benefits of using K2 OPDA to connect K2 Cloud to your on-premises data include:
- Reduces the attack surface of on-premises network
- Simplifies managing firewalls and the DMZ
- Eliminates the need to store sensitive data in the DMZ
- Simplifies adding new back-end services
- Eliminates the possibility of users establishing direct connections from an untrusted network to specific hosts in the internal network
- Can provide substantial cost savings by reducing or eliminating DMZ-based servers, both their physical hardware, OS, and application server licenses
Supported Data Sources
You can configure any combination of the following data sources in K2 Cloud that reside on your internal network. For the latest compatibility information, see Product Compatibility, Integration and Support.
- Microsoft SQL Server 2014, 2016, and 2017
- Microsoft Dynamics CRM 2013, 2015, and 2016
- Microsoft Exchange 2013 and 2016
- Oracle 11g (releases 1 & 2) and 12c
- REST web services
- WCF web services
- SOAP web services
- OData web services
Prerequisites
In order to surface on-premises LOB systems using Nintex K2 Cloud OPDA, you must first provide the following Line of Business (LoB) information to the Nintex K2 Cloud Operations team via your Nintex Support Case.
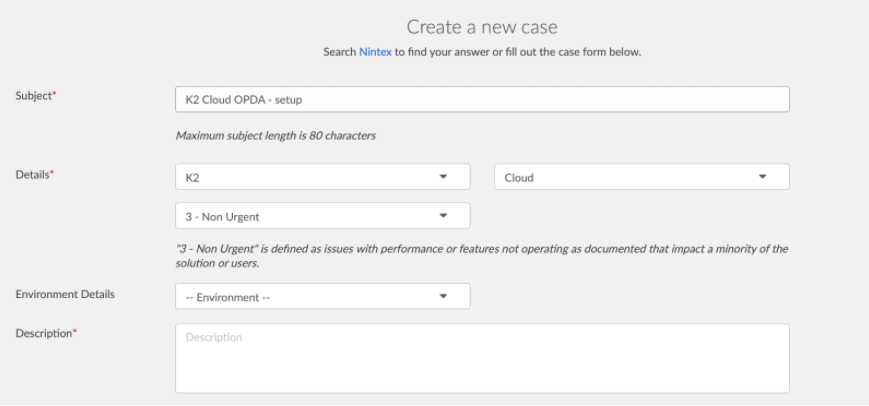
For the case details, select the following options:
- Subject: K2 Cloud OPDA - setup
- Platform: K2
- Product: Cloud
When you create your support case, provide the following details within the Description field:
- K2 Cloud tenant URL (i.e. https://denallix.onk2.com)
- Local OnPrem AD Domain name (i.e denallix.local)
- LoB data source type (i.e. SQL Server, web service, etc.)
- LoB data source IP address
- LoB data source port
- LoB data source protocol (i.e. TCP or UDP)
Virtual Machine, Password, and Port Requirements
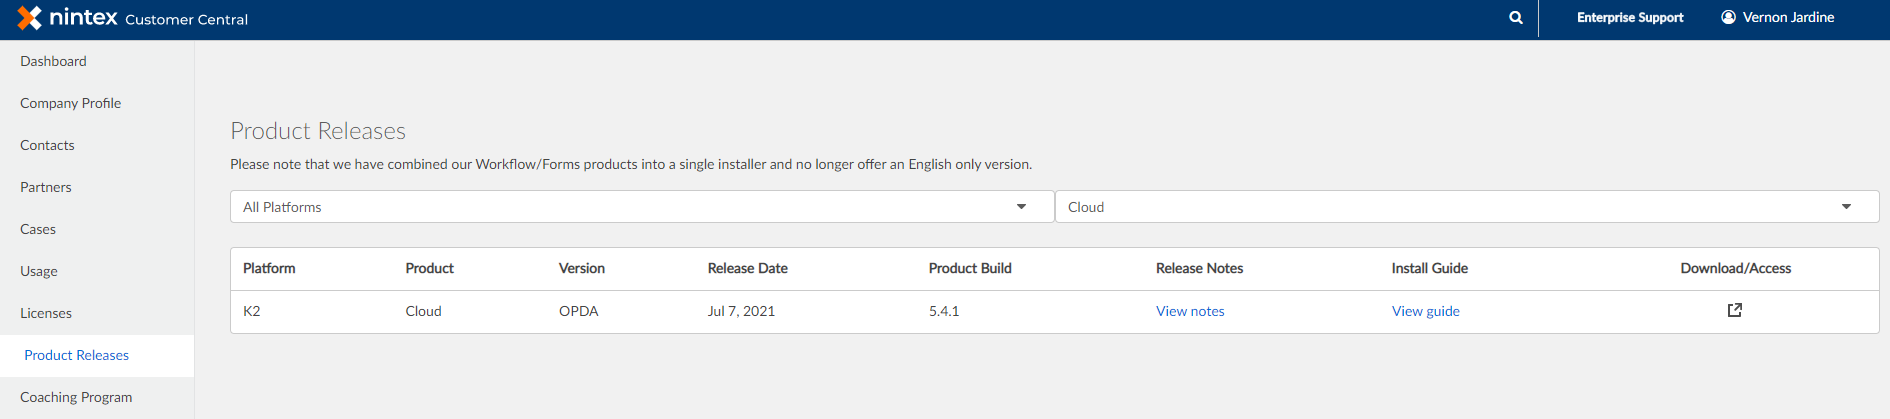
Next, you will be instructed to download the K2 Cloud OPDA connector virtual machine image (.VHD) from the Product Releases section of Nintex Customer Central by Nintex Support or by the Nintex Cloud Operations team.
Use the following information on the requirements for this VM:
K2 Cloud OPDA connector Requirements
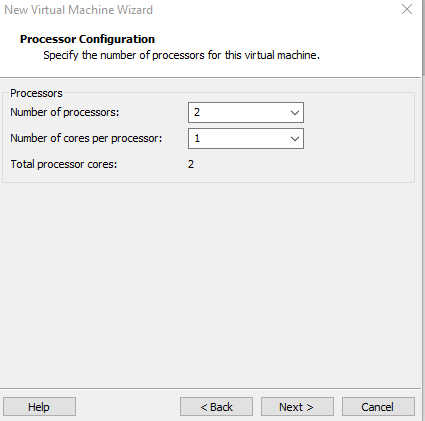
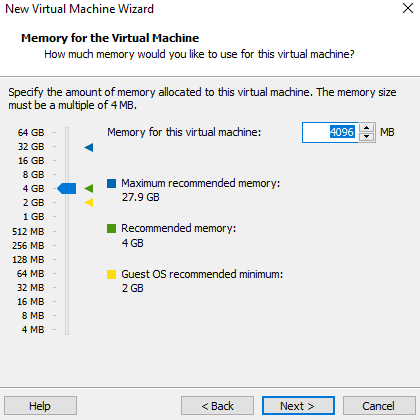
- 2 vCPUs, 4 GB RAM
- Minimum processor type: Intel Xeon E5-2620 @ 2.00 GHz
- One of the following Virtualization platforms
- VMware ESX (6.0 or 6.5U2)
- Microsoft Hyper-V (10.0.14393 or higher)
- Citrix Hypervisor (7.4 or higher), Agent (7.1 or higher)
K2 Cloud OPDA connector Installation Configuration
To setup and start using the K2 OPDA connector, you must first purchase a license and have received the K2ODPA configuration seed file (ISO) from the K2 Cloud Ops team. Once you have these, follow the steps below:
Hyper-V
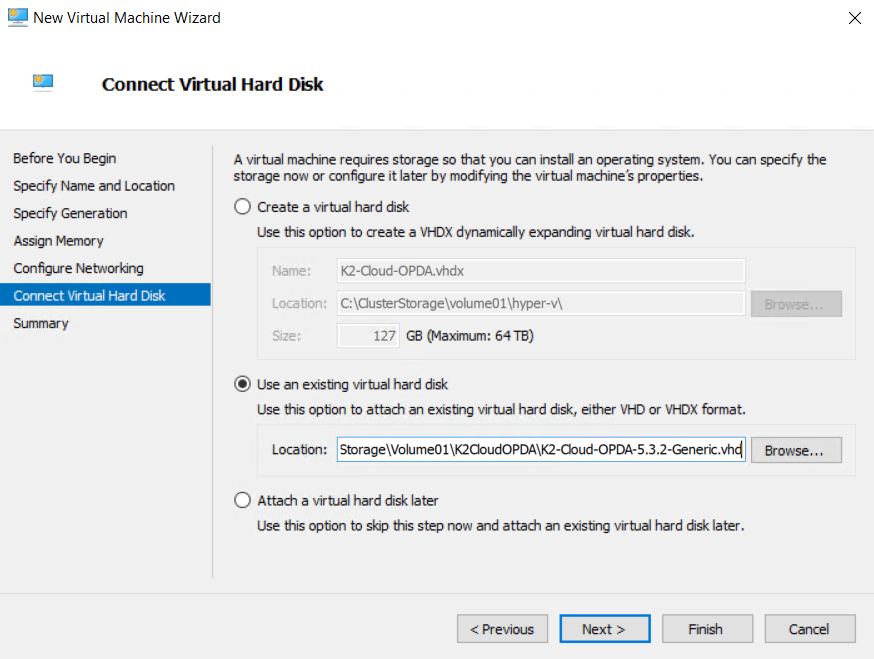
- Download the Virtual Hard Disk (VHD) file from Nintex Customer Central. The virtual image contains the K2 Cloud OPDA connector.
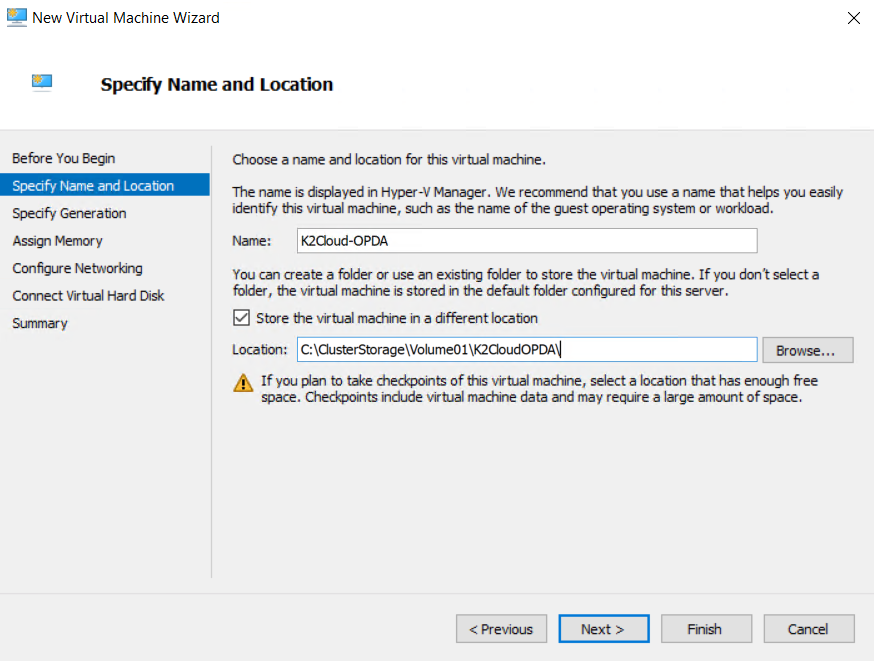
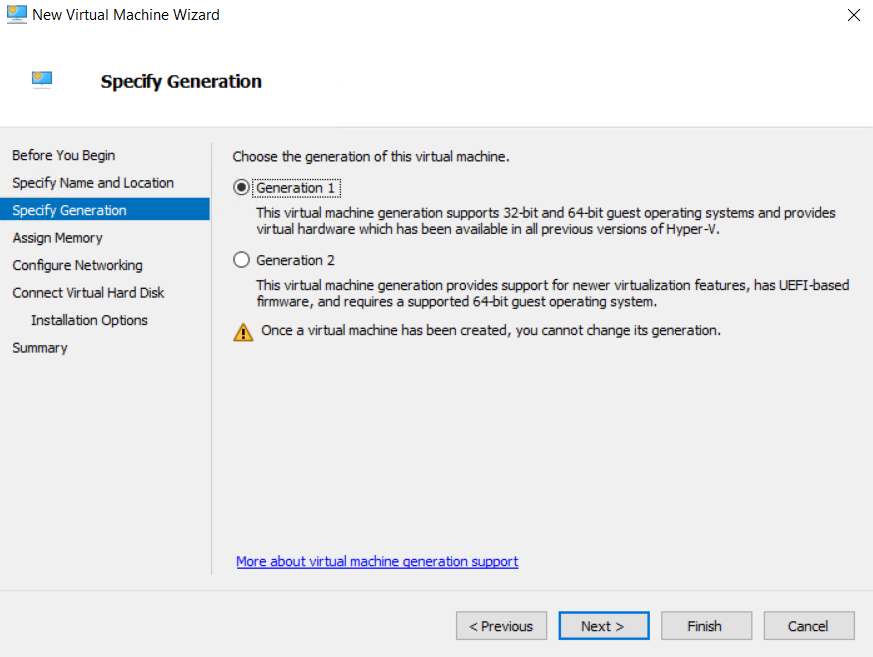
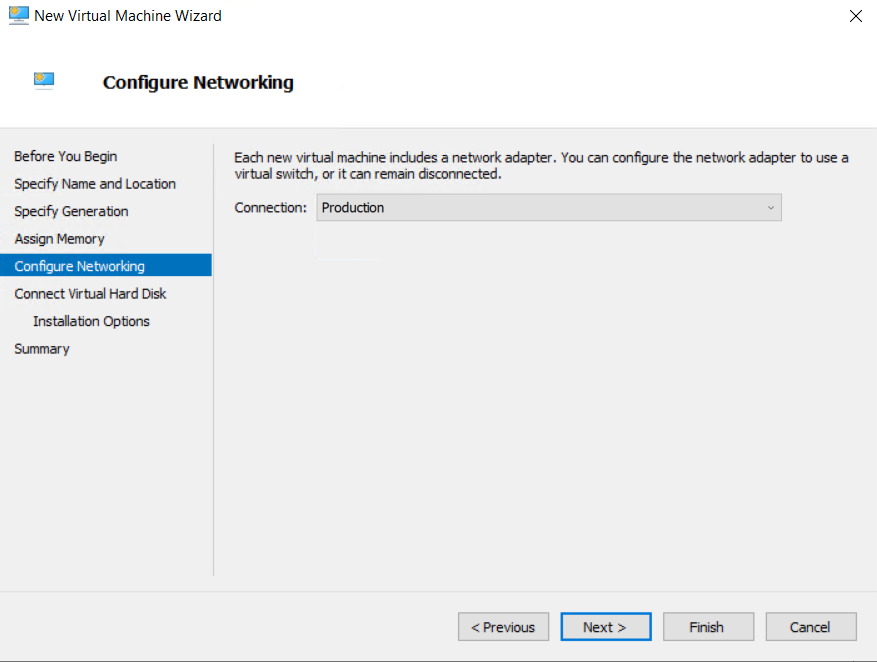
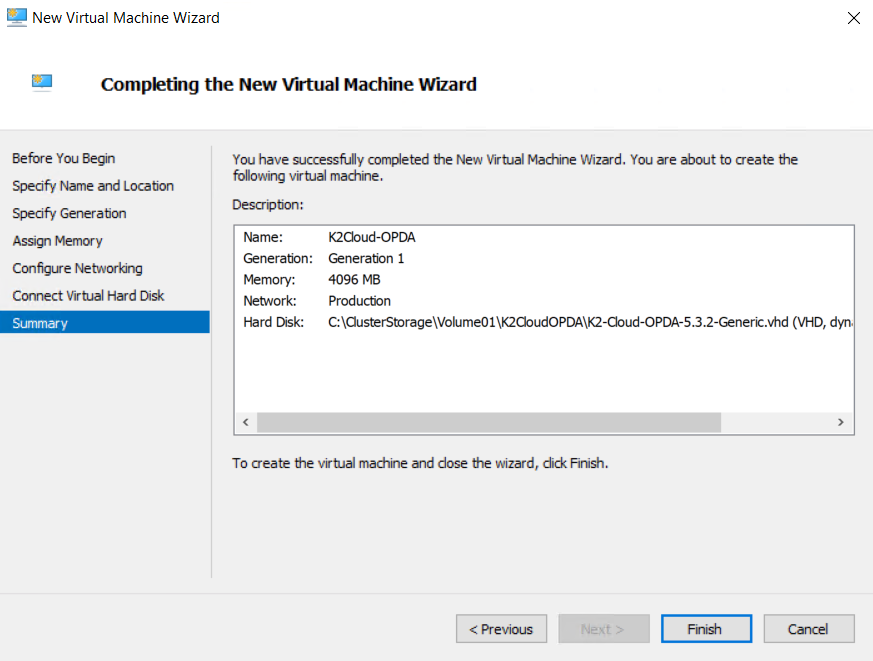
- Using your Virtualization platform, create a NEW virtual machine in your on-premises network. The following screenshots are using Microsoft Hyper-V:

VMWare
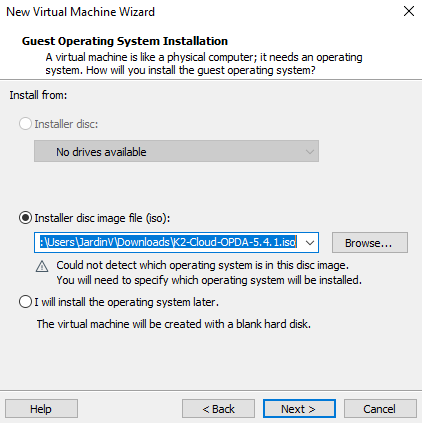
- Download the image (ISO) file from Nintex Customer Central. The ISO contains the K2 Cloud OPDA connector image.
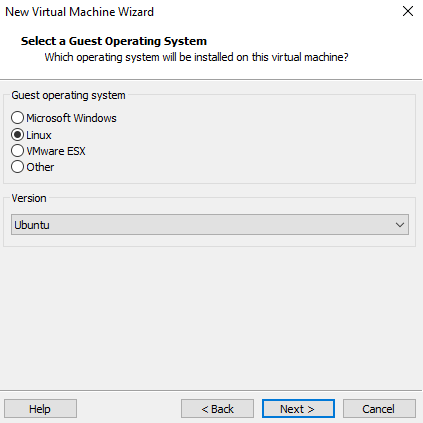
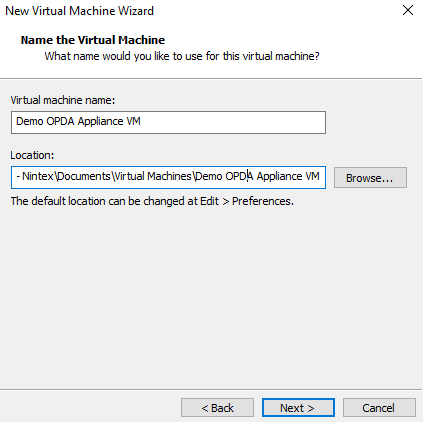
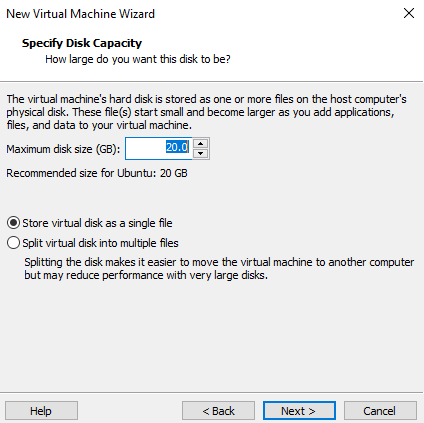
- Using your Virtualization platform, create a NEW virtual machine in your on-premises network using Linux Ubuntu. The following screenshots are using VMWare:
K2 Cloud OPDA connector Configuration
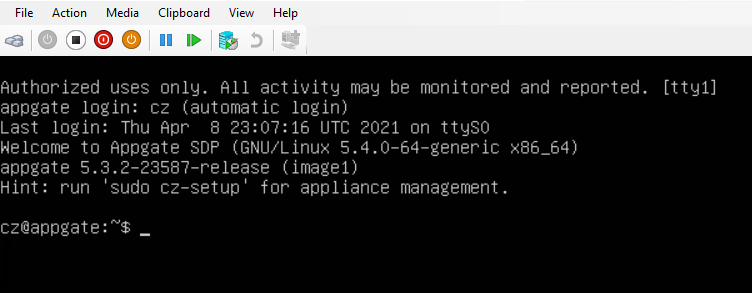
- After the virtual machine is started and completed its boot process, you are presented with this console prompt.
- Attach the seed file (.iso) provided by K2 Cloud Ops team to one of the drives of the OPDA VM
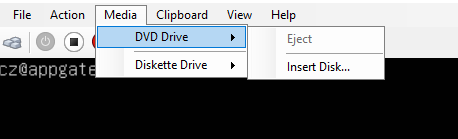

- You should get a confirmation that the seed file was found and the connector VM has been seeded. Eject the seed file (.iso) from the drive. The OPDA connector setup is now complete.

- Allow the following ports on your external firewall such that the OPDA appliance can communicate over those ports
| Port number | Type | Destination | Purpose |
| 443 | TCP | North America: 40.122.26.221, 52.173.203.226, 13.67.134.53 Europe: 13.95.112.125, 40.68.4.207, 20.101.38.119 | OPDA uses Single Packet Authorization (SPA) packet for all communications from the Client to Controllers and Gateways and between peers using TCP SPA mode. |
| 443 | UDP | North America: 40.122.26.221, 52.173.203.226, 13.67.134.53 Europe: 13.95.112.125, 40.68.4.207, 20.101.38.119 | SPA is more effective when using UDP-TCP SPA. |
| 53 | UDP | North America: 40.122.26.221, 52.173.203.226, 13.67.134.53 Europe: 13.95.112.125, 40.68.4.207, 20.101.38.119 | (SPA-DNS on 53 & SPA-DTLS on 443) + TCP (as TLS extension) |
| 123 | UDP | 0.ubuntu.pool.ntp.org 1.ubuntu.pool.ntp.org 2.ubuntu.pool.ntp.org 3.ubuntu.pool.ntp.org | OPDA uses NTP Pool Project which is a cluster of timeservers to synchronize the date time of OPDA appliance |
See Also
For more information about K2 OPDA, see How K2 Cloud On-premises Data Access Works.