


If you require your forms to be able to reference Azure Active Directory (AD) values based on selected user, here’s how you can achieve it. Do note that this only works with Nintex Workflow (NW) forms and not SharePoint Online forms.
-
Configure Azure AD connector
Create a connector to Azure AD in NW if it hasn’t already been created. Here’s how you can do so. If you are unable to add the connector successfully, please reach out to your Nintex Workflow global administrator for assistance.
-
Login to NW.
-
Click “Automate” at the top right of page.

-
Click “Connections” from the left menu.
-
Click “Add Connection” at the top right of page.
-
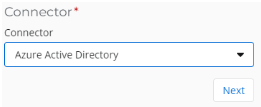
Select “Azure Active Directory” in the Connector drop-down list and click Next.
-
Input a Connection name that resonates with the connection that’s being created, e.g. Azure Active Directory. This must be a unique name and not used by other Connections within the NW tenant.
-
Click Connect to complete the setup. If you are prompted to login with your credentials, do ensure you use an Azure administrator account to authorize the connection.
-
Create Azure AD Data Lookup
Create a data lookup to Azure AD. This will enable your form fields to be able to reference to Azure AD. Here’s how you can do so.
-
Under the “Automate” menu, click on “Data lookups” from the left menu.
-
Click “Add data lookup” at the top right of the page.
-
Input the following.
-
Data lookup name – Give a meaningful name that you can easily reference
-
Description – Describe what this data lookup does
-
Connector – Select the Azure Active Directory
-
Operation – Select “Query users”
-

-
Next input the following.
-
Connection – Select the Azure AD connector that was created in Connections
-
Maximum number of users to return – This is defaulted to 999 but you can reduce it if you want a lesser number of users to be returned
-

-
Under Columns, you can either restrict the values that you permit form developers to reference from or allow them to select any of the available values during form design. If you would like to restrict the values, select the user properties that developers can use. Otherwise leave it blank.

-
Click “Save data lookup” to complete the creation of the data lookup.
-
Upon creation, you can update the editors and users of this data lookup.
-
Configure form fields in NW form
The final step is to create the NW form and incorporate the form fields that will lookup Azure AD. Here’s how you can do so.
-
Create a new workflow in NW.
-
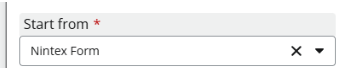
In the Start Event, select Nintex Form.
-
Click on “Design form” to start editing the form.
-
Add a “People” form field to capture the current user that is using the form. Give the field a custom name, e.g. Name.
-
Set the default value as the Current User > Email.

-
Next click on “Form variables”. We will now want to capture the email of the user in case the value has changed and set it into a string.
-
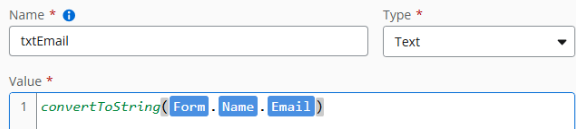
Add form variable and give the variable a name, e.g. txtEmail. The data type will be defined as Text. In the value section, input the following and create the variable.
convertToString([Form].[Name].[Email])
-
Return to the form designer page and create a new data lookup form field. Click on the “Data lookup configuration” to configure the lookup.
-
Select the data lookup.

-
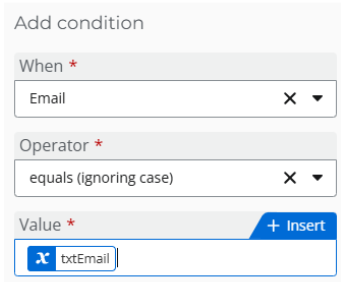
Click on “Add condition” to define the correlation with Azure AD. In the When field, select “Email”. For Operator, use “equals (ignoring case)”. And in Value, put the email variable that was created. Save the condition.
-
Click “Back to complete configuration” to continue with the configuration.
-
In the “Option label” and “Option value”, select the field value that you want to display on the form. Note that both fields should contain the same value.
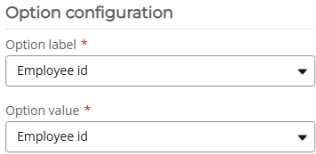
-
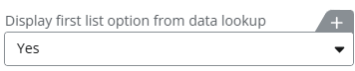
In “Display first list option from data lookup”, select “Yes”.
-
Continue with any remaining configuration as desired to complete the form field configuration.
-
Repeat the above steps for any additional form fields requiring the same data lookup.