Topic
This article will explain how to use the Zendesk related start events in Nintex Workflow Cloud.
Instructions
Connection
In order for you to utilize the Zendesk start events you will need to create a connection to your Zendesk instance by using the Zendesk connector. Let's check out how that works.
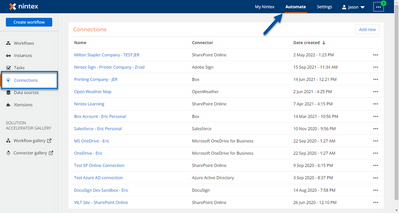
- In the Automate area of Nintex Workflow Cloud, select Connections from the left side menu.
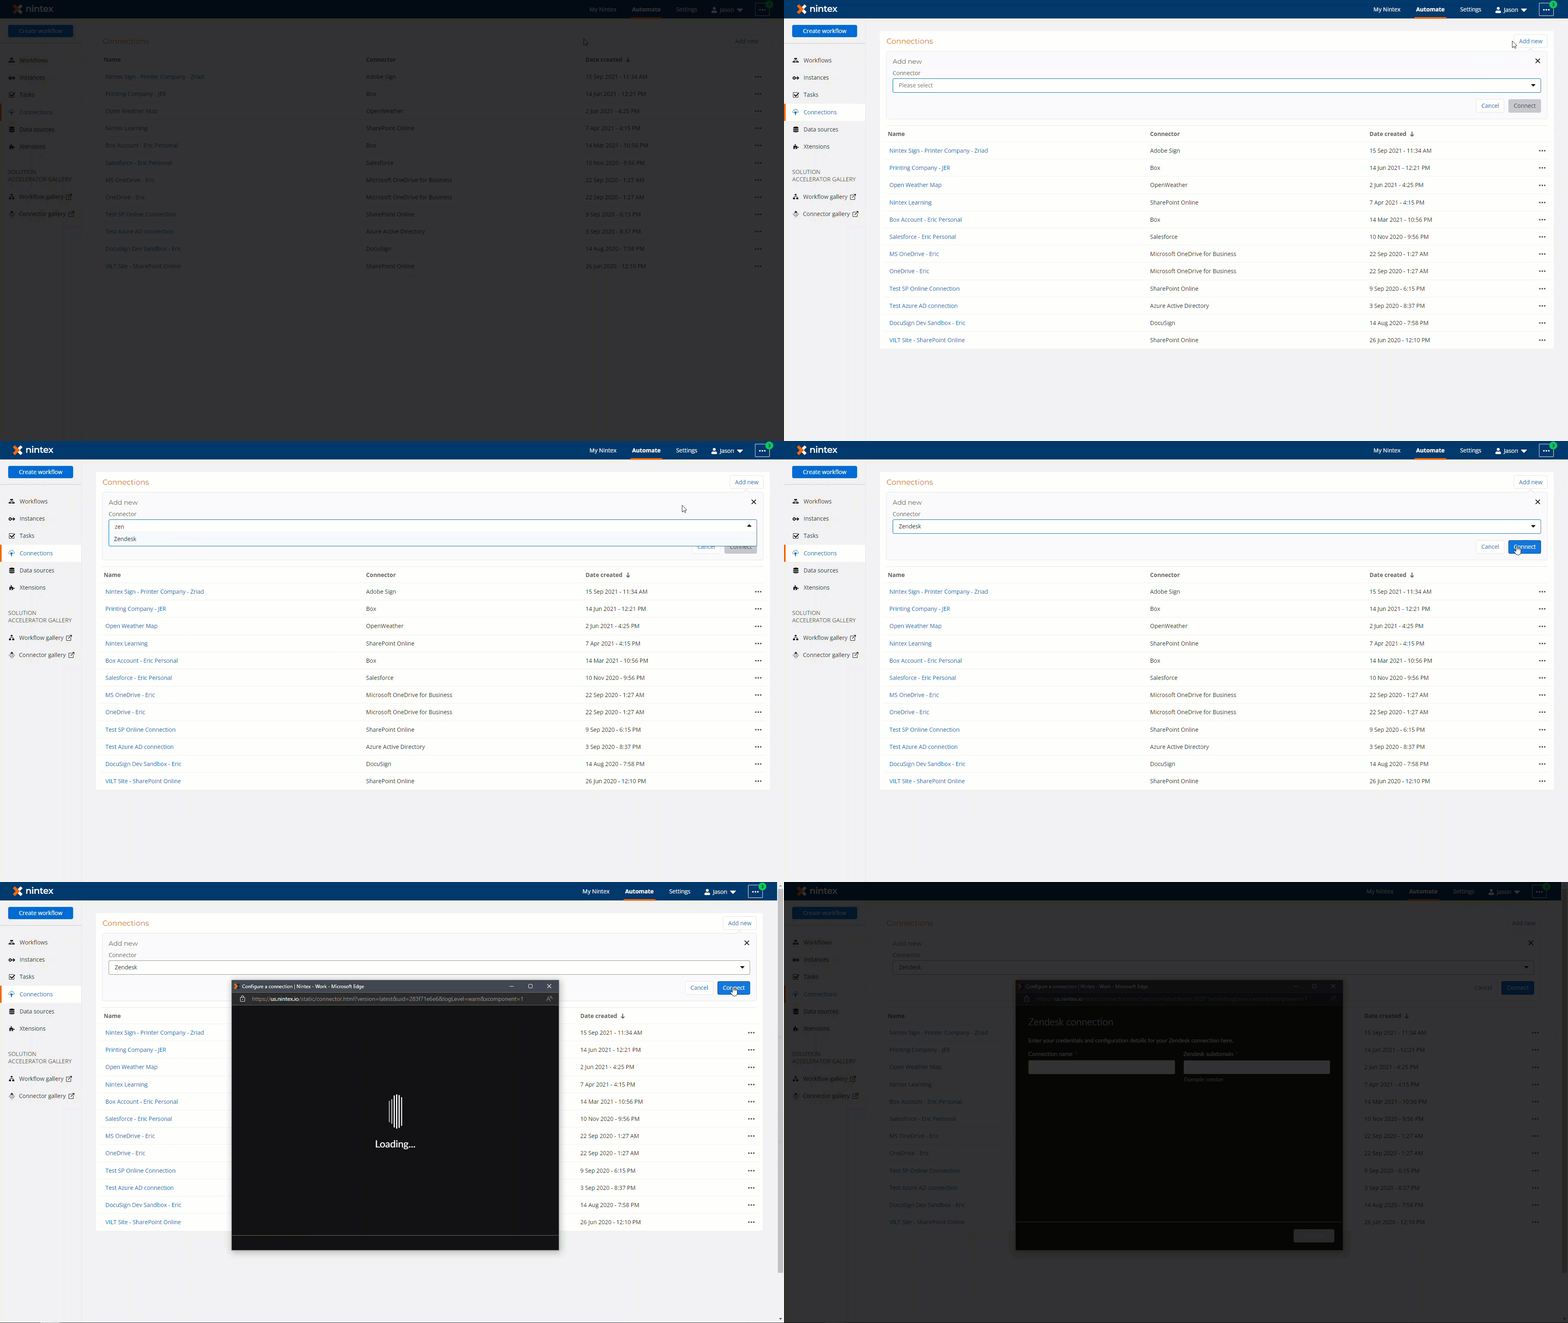
- Click on the Add new button, then search for the Zendesk connector from the Connector drop-down list. Click Connect.
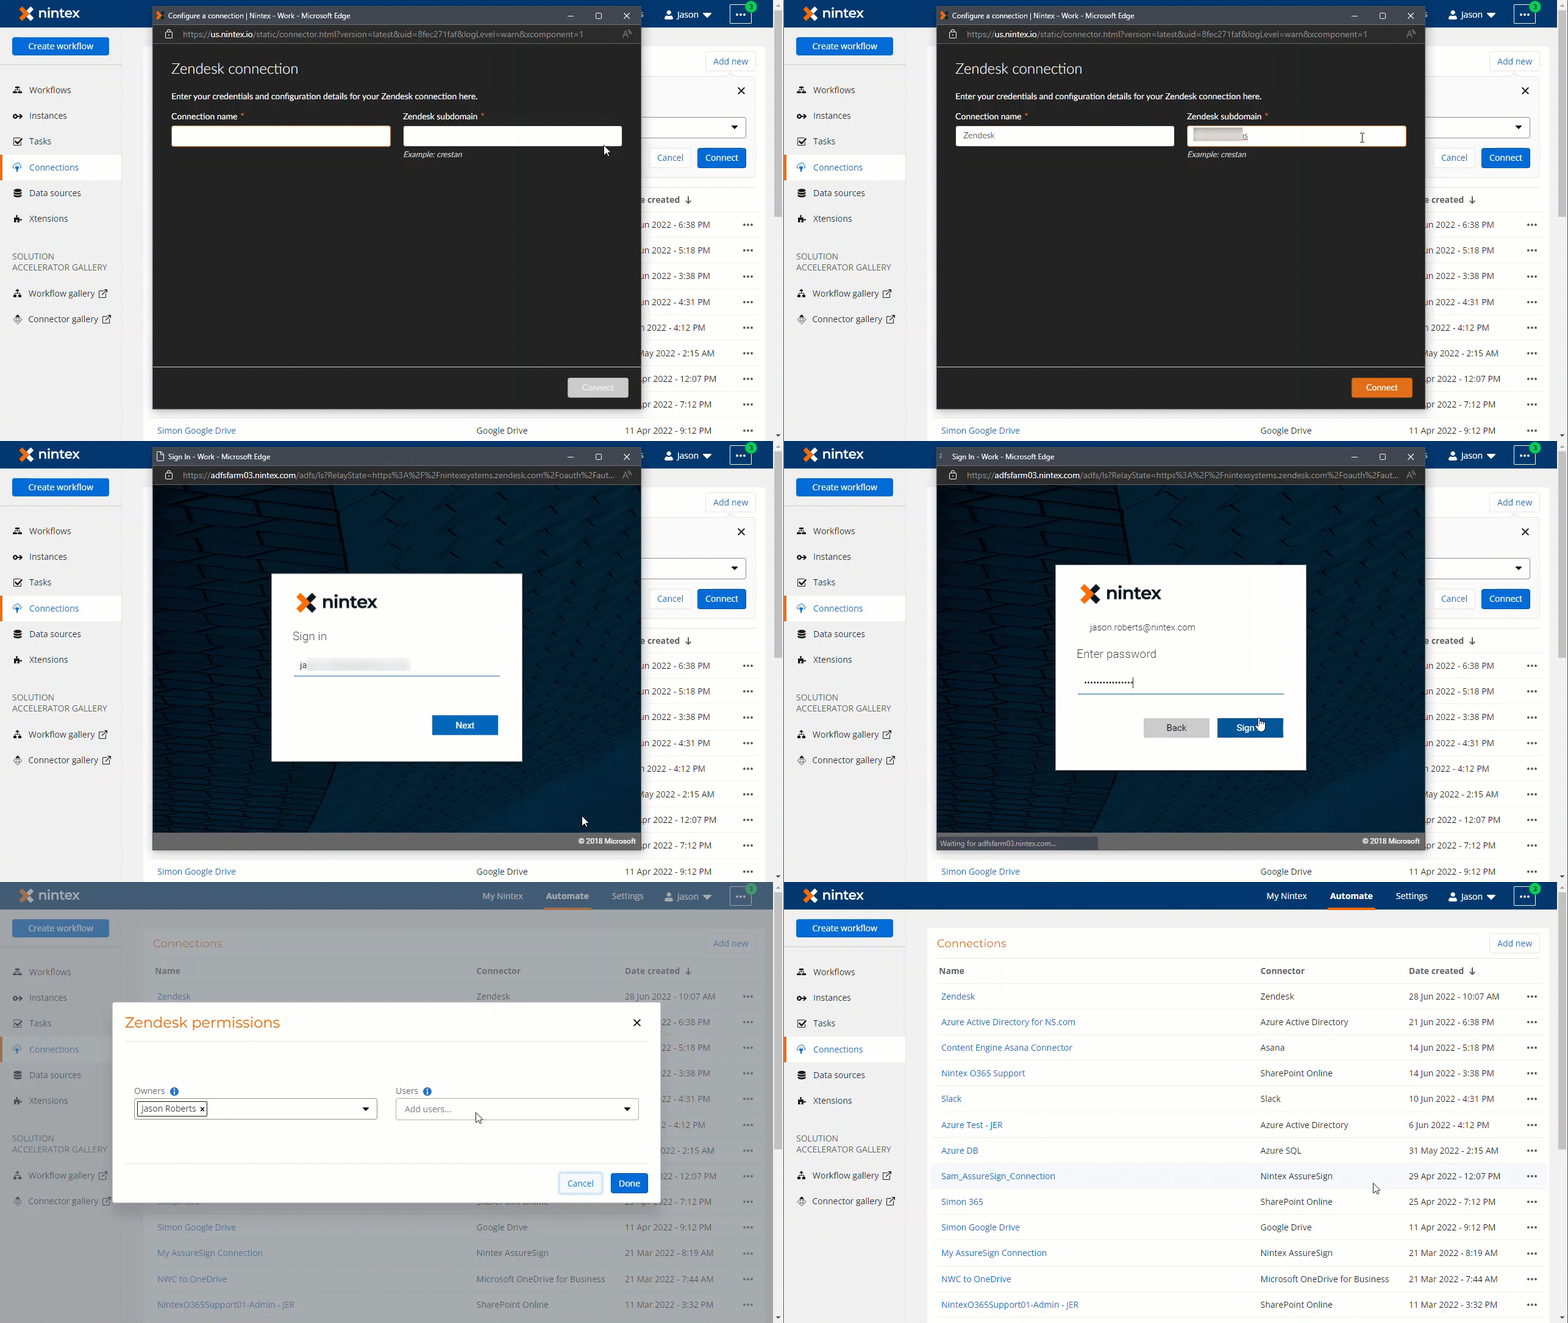
- In the Add connection window, provide a meaningful name for your Zendesk connection, add in your Zendesk subdomain, then click Connect. You may need to login to your Zendesk instance. You can also allow other users or groups in your Nintex Workflow Cloud environment to use your connection, if required. Click Done to save your new connection.
Configure Start Event
With your new workflow design open, you can add a Zendesk start event to your process. This can start the workflow when a new ticket is created or an existing ticket is updated in your Zendesk subdomain. In the following example, we will wire up a start event that will start a new instance when a new ticket is created.
- Create a new workflow in the Automate -> Workflows area for Nintex Workflow Cloud. Select Zendesk from the Start from list. In this example, we then select the Zendesk - New ticket event.
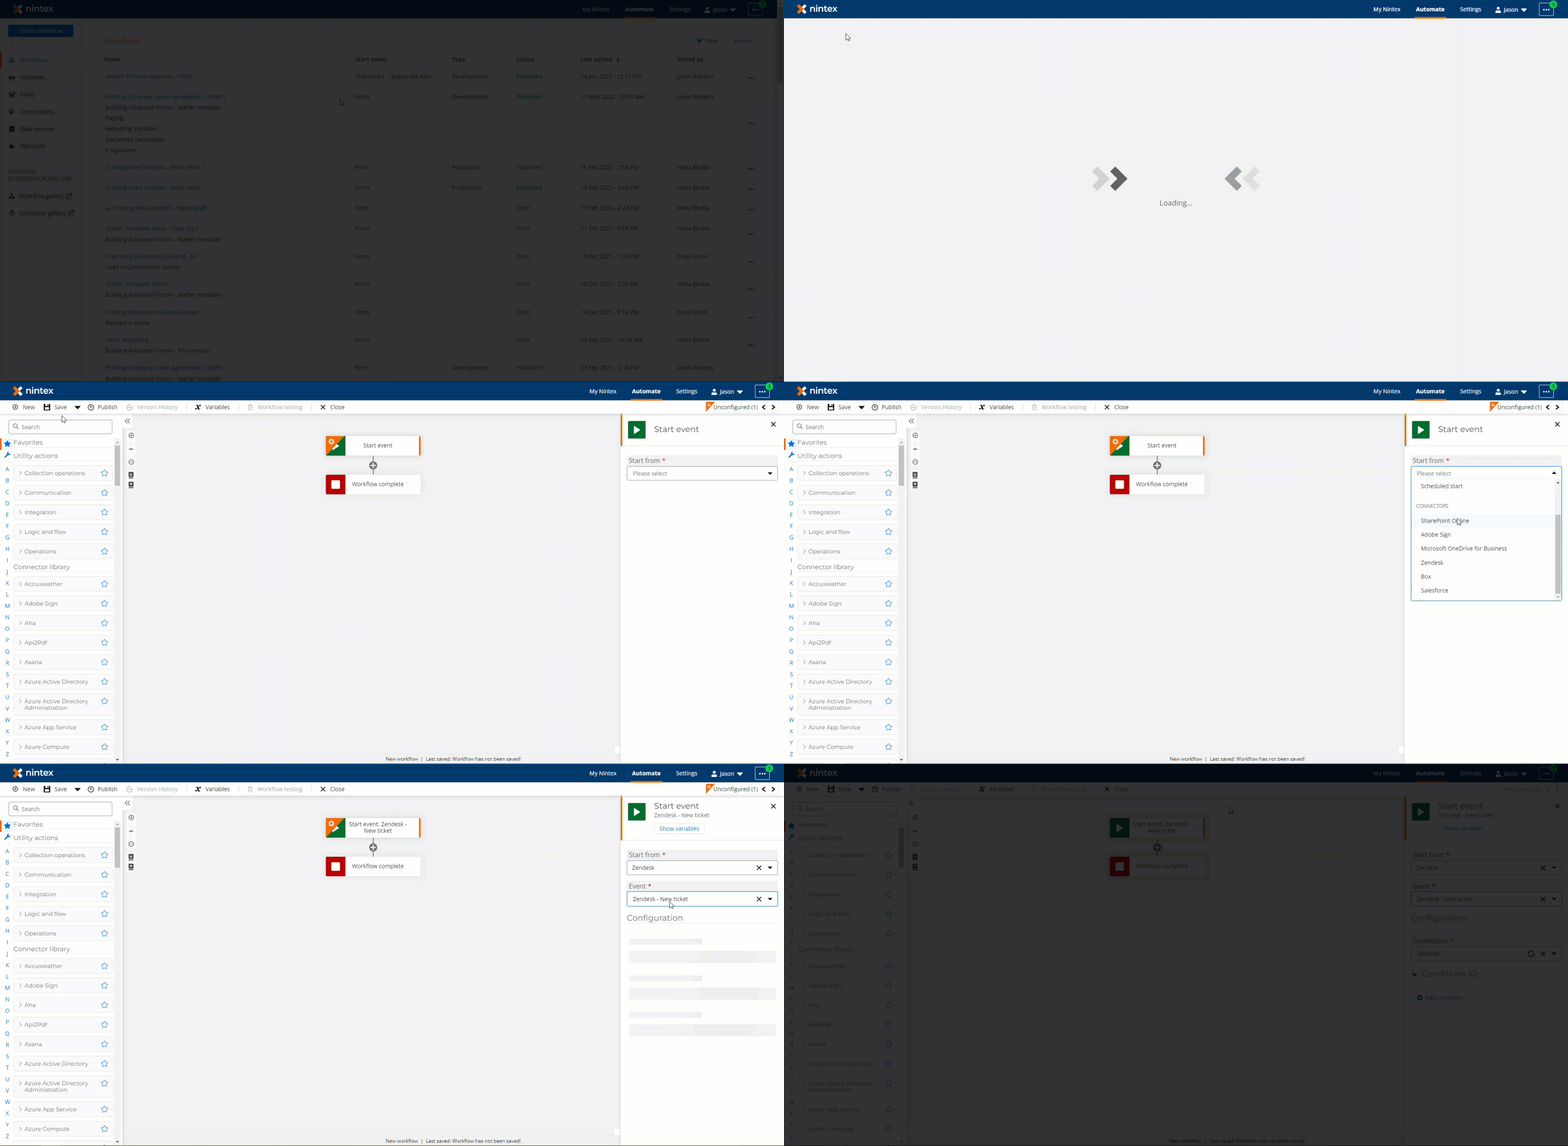
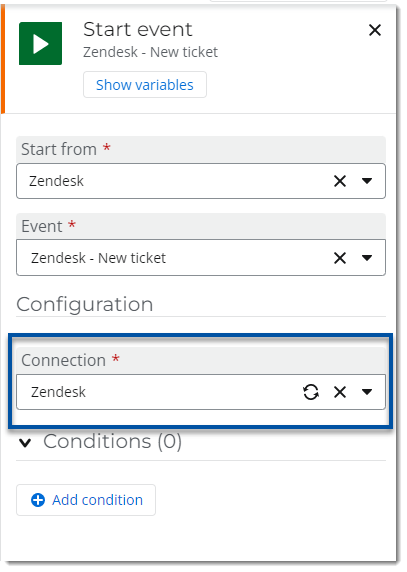
- Next, in the Configuration section, use the Connection that was created earlier to point this start event to that Zendesk environment.
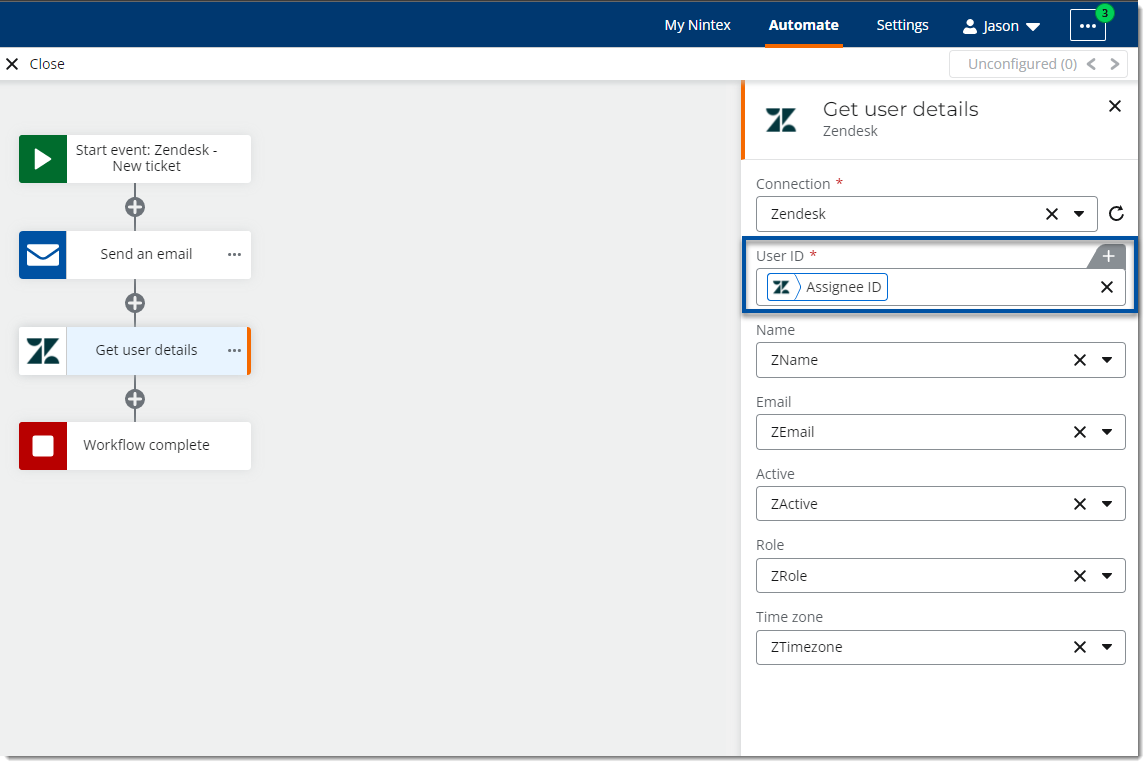
- Add other actions to your workflow based on your requirements. For example, you can use the Send an email action to notify someone that a ticket has been created. The Start event object variable will contain variables related to the ticket that was created and started the workflow.
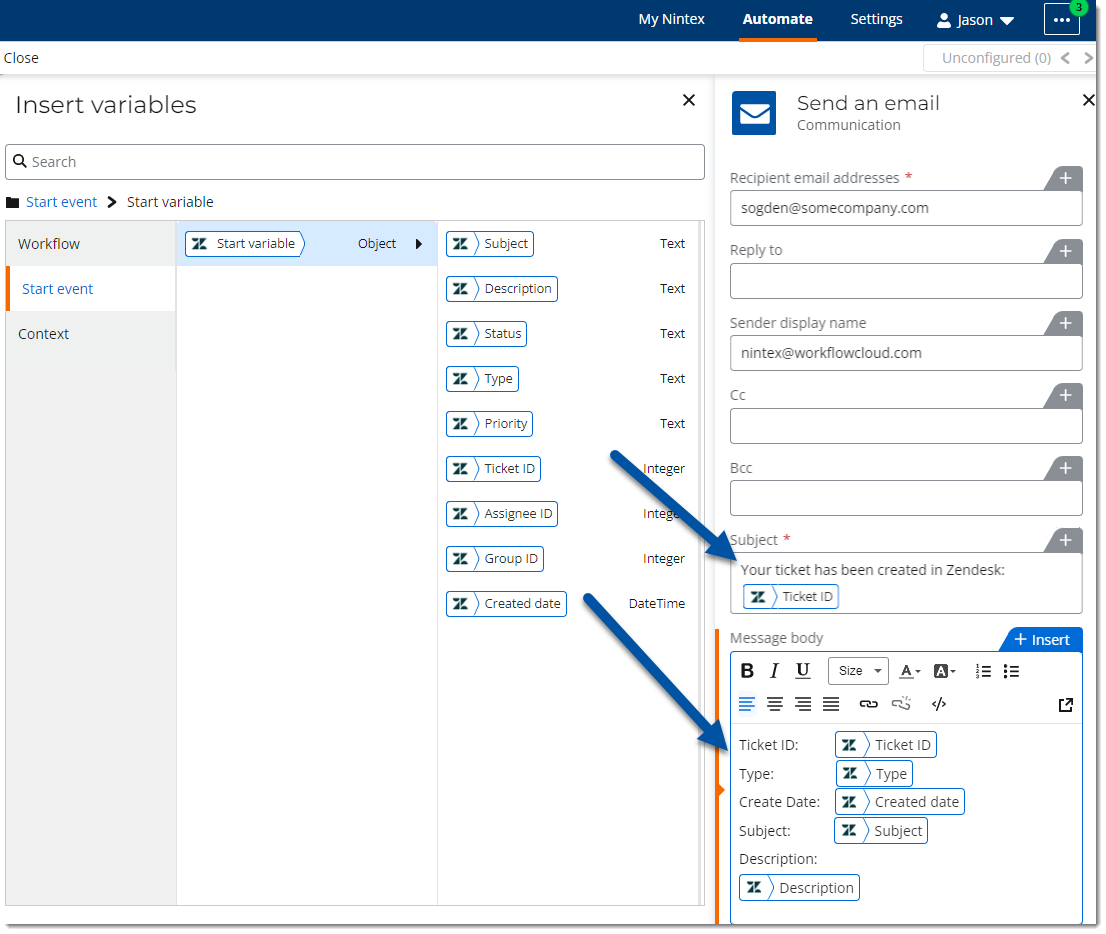
- When configuring other Zendesk based actions like Get user details, you can access the Zendesk start event object to use variables like Assignee ID to retrieve related information about the user who created the new ticket.
