Instance Names:
Instance names refer to the unique identifiers given to each execution or instance of a workflow. By setting meaningful instance names, you can easily distinguish between different workflow runs, which is particularly useful for tracking & debugging.
Tags:
Tags are labels that you can assign to workflows for categorization and organization. They enable you to group similar workflows together, making it easier to search, filter, and manage them across various projects and departments.
Setting Instance Names
To set instance names in Nintex Workflow Cloud workflow:
- Navigate to you Nintex Automation Cloud tenant.
- Navigate to the workflow you want to set the instance name.
- Open the workflow in designer.
- Search for “Set instance name” action in the action panel.
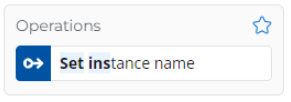
- Drag and drop the Set instance name action.
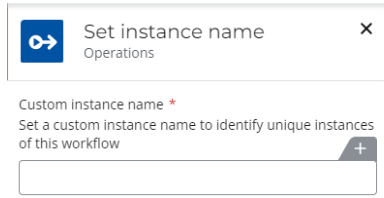
- Click on the action to configure.
- Enter your custom instance name.
- After configuring the instance name, save your changes and publish the workflow.
- Run a test to verify instance name.
Tagging Workflows
Tagging workflows allows you to categorize and organize them efficiently. To tag a workflow:
- Navigate to you Nintex Automation Cloud tenant.
- Navigate to the workflow you want to tag.
- Click on the three dots / ellipses (. . .)
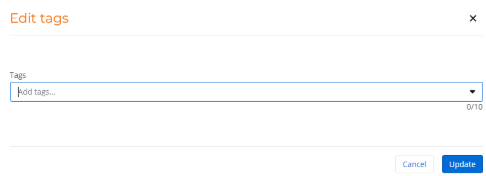
- Select Edit tags.

- Add tags, then click Update.