


In the world of workflow automation, infinite loops can be a major headache. One common scenario leading to such loops involves the interaction between ‘Start Events’ and ‘Update Items’ actions in Nintex Automation Cloud. Understanding why this happens, when to implement solutions, and how to properly configure your workflow can save you a lot of time & effort.
What is it?
When working with Nintex Automation Cloud workflows, particularly those that involve the "Update List Item Start Event" and the "Update Items" action within the workflow itself, there is a risk of creating an infinite loop. This occurs when both the ‘Start Event’ and the ‘Update Items’ action target the same list. Essentially, the workflow gets caught in a loop where the ‘Start Event’ triggers the workflow, and the workflow’s own updates to the SharePoint list trigger the ‘Start Event’ again.
Why is this Happening?
When a connector is registered in Nintex Automation Cloud, you are prompted to provide a username and password. This means that any action executed using that connector operates under the credentials of the registered user.
If your workflow starts with an event like "SharePoint - New or update list item" or "SharePoint - Update list item" and includes an action that updates items in the same list, the system can continuously trigger itself. For example, an update made by the workflow, can retrigger the same workflow if it is set to start on list item updates, leading to an infinite loop.
How to implement:
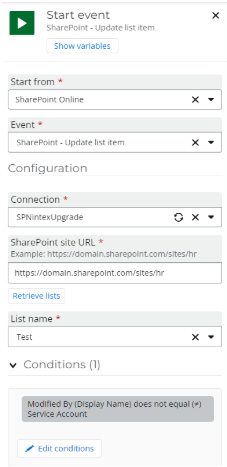
On the ‘Start Event’ of your Nintex Automation Cloud workflow add the condition
- When ‘Modified by’ (display Name) does not equal ‘Display Name of the Service Account’
What if we don’t know the display name?
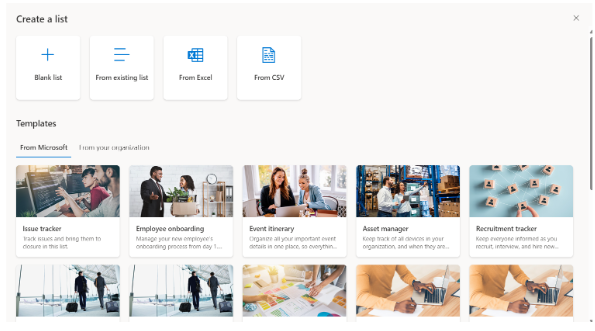
- Create a new SharePoint List. For more information, refer to this article on how to create a new SharePoint List
- From your SharePoint site home page or the Site contents page, select + New > List.

- From the Create a list page, select one of the options displayed
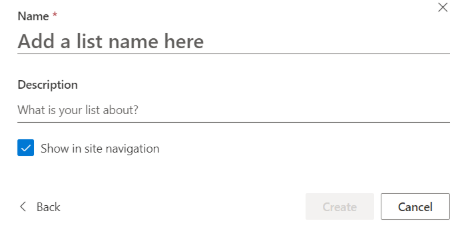
- Give the list a name
- From your SharePoint site home page or the Site contents page, select + New > List.
- Add a list item. For more information, refer to this article on how to add a list item.
- At the top of your list, click + Add new item (button).
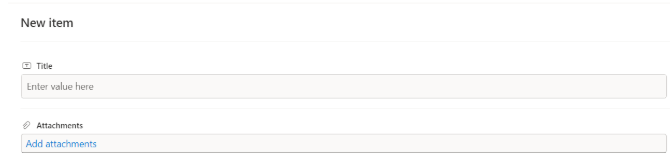
- At the top of your list, click + Add new item (button).
- Modify or Create a new Nintex Automation Cloud workflow. For more information, refer to this article on how to create or modify a Nintex Automation Cloud workflow.
- To create a new workflow, Navigate to your Nintex Automation Cloud tenant.
- On the top navigation bar, click Automate.

-
On the left navigation, click Create workflow.
- To modify an existing workflow, Navigate to your Nintex Automation Cloud tenant.
- On the top navigation bar, click Automate.

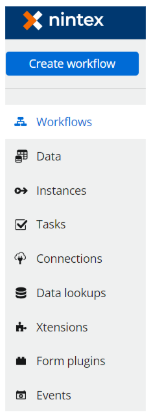
- On the left navigation, click Workflows, and then select the required workflow.
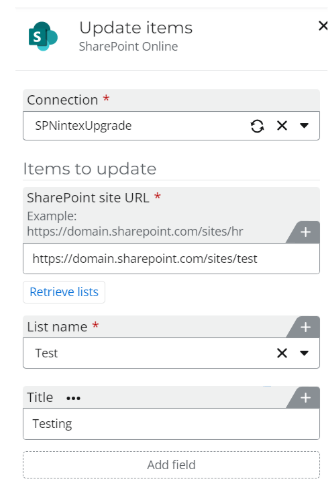
- Add and configure SharePoint Online – Update items to update an item in the list created. For more information, see add and configure SharePoint Online - Update items action.
- Select your SharePoint Online connection.
- Add your SharePoint site URL.
- Click “Retrieve lists”. Then select created list to update.
- Click “Add field”. This can be any field.
(Note: we are trying to see the account the workflow uses to update items)
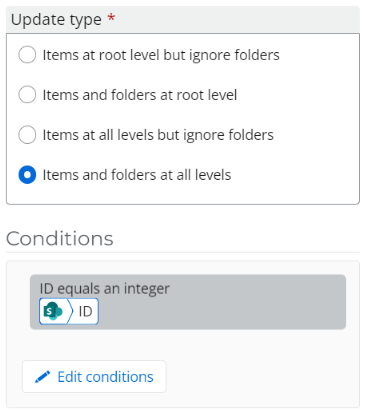
- Add a condition to update the item the workflow will be running on.
- Save and Publish the workflow.
5. Run the workflow to test- Start the workflow manually
- Start the workflow by creating a new item in the list.
- Start the workflow manually
- Edit your list view to show “Modified by” column. For more information on how to modify your list view, see edit a view of a list.
- Note the “Modify by” column will be populated with the Display name of the Connector.