


Document templates are Microsoft Word, Microsoft PowerPoint, and Microsoft Excel documents that include placeholder tags from your workflow. Placeholder tags allow the workflow to insert variable values and images exactly where you want them in the generated document. Before you run the workflow containing your Generate document action, you need to copy the tags from the Nintex Document Tagger and paste them into your document templates where you want the variable values or images to appear. In this article, we’ll walk through the process of creating a document generation template from scratch.
Step 1: Setting Up the Document Template
The first step in creating a document generation template is setting up the base template in Microsoft Word or other supported formats (Excel, PowerPoint, or PDF). These templates will act as the foundation, and dynamic content will be inserted during the workflow execution.
1.1 Create a Word Document
You can create a standard Word document that will serve as your document generation template. Within this document, you’ll need to place placeholders (merge fields) where dynamic content should be inserted. These placeholders are key to pulling in data from your workflow.
- Open Word and structure your document (e.g., include a header, body text, and placeholders for dynamic content).
- To add a placeholder, highlight the text where dynamic data will be added, and insert merge fields using brackets or placeholders like {{CustomerName}} for easier identification later.
1.2 Save the Document
Once the document structure is ready, save it in a format supported by Nintex Automation Cloud.
Step 2: Steps to Add Document Tags
Add the Generate Document Action
Before adding tags to your template, ensure that you have added the Generate document action to your workflow.
- Open Nintex Automation Cloud and navigate to your workflow.
- Add the Generate document action to the workflow. This is the action that will trigger the creation of dynamic documents.
- Open the action’s configuration panel to start tagging.
Step 3: Open Nintex Document Tagger
To add the appropriate tags to your document, you need to open Nintex Document Tagger:
- In the configuration panel of the Generate document action, click on Open Nintex Document Tagger.
- The Nintex Document Tagger opens in a separate browser window, displaying all available tags from your workflow.
Step 4: Copying Tags
In the Nintex Document Tagger, you can copy tags that will be used to populate your template with dynamic content.
- Select the type of document you’re working with: Word, PowerPoint, or Excel.
- Choose a workflow reference data type, such as:
- Workflow variables: For user-defined data.
- Start event variables: For variables generated at the start of the workflow.
- Context variables: For workflow context data, like current date, username, etc.
- Images: To use image placeholders in the template.
- Click on the desired variable tag (e.g., Name, Date) to copy it to your clipboard.
- If the tag is for a Date variable, you can select the preferred date format before copying the tag.
- Paste the copied tag into your document template where you want the corresponding value or image to appear.
Step 5: Get the created template
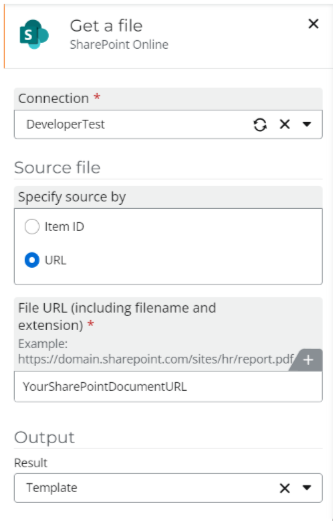
You need to get template that was created in step 1 to use the template in the Document Generation action. In this example we are going to use SharePoint Online Get a file action to get our created template from a SharePoint Online Document Library.
- Add your connection
- You can use Item ID or File URL
- If Item ID is chosen add your Item ID or
- If File URL is choose add your File URL
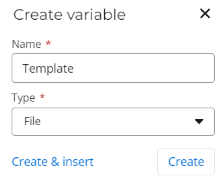
- Create a File variable to store your template
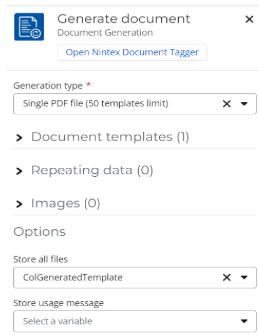
Step 6: Configure Document Generation action
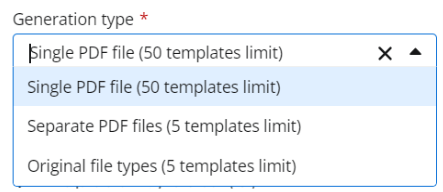
6.1 Select Generation type you want
- Single PDF file: Generates a single PDF document combining all specified templates. With this option, configure up to 50 templates per action. 5MB is the maximum recommended file size for the output of a single PDF.
- Separate PDF files: Generates one or more PDF documents using the specified templates and merge types. With this option, configure up to 5 templates per action.
- Original file types: Generates one or more documents based on the file types of the specified templates and specified merge types. For example, the action generates two .docx documents for two .docx templates with no merge.
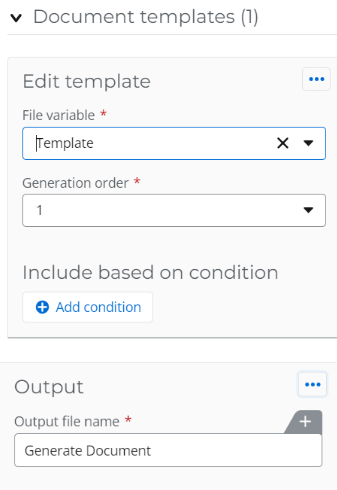
6.2 Select Document Template & Specify Output File Name
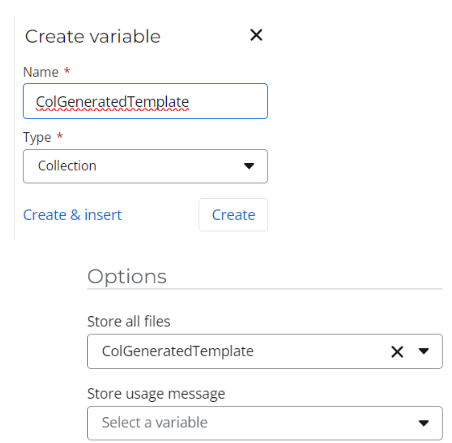
6.3 Store Generate Template
Create a Collection variable where the generated documents will be saved.
Get item from collection can be used to get the generated templated from the collection variable and store in a file variable.
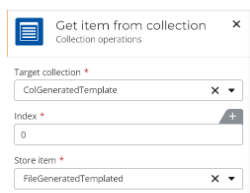
You can specify where to store the generated document after retrieving the file from a collection variable. Popular options include:
- Storing the file in a document repository like SharePoint or Box.
- Sending the document as an email attachment to a specified recipient.
- Saving the file to a cloud storage platform like Google Drive or OneDrive.