Scenario
How to upgrade a Nintex for Office 365 workflow to Nintex Workflow Cloud that contains a Conditional branch action.
After Upgrade
- Click on the Workflow upgrade details link in the upper right corner of the screen. The Workflow upgrade details panel opens and displays the items requiring additional configuration prior to publishing.
- You may need to configure the Connection property in the Start Event so that it uses an NWC connection setup for your SharePoint tenant.
- Your Conditional branch action becomes the Branch by condition action.
- All Branch by condition actions in your workflow will need to be completely reconfigured.
- Depending upon how your Office 365 workflow was built, you may need to create a new variable to complete the configuration.
Differences
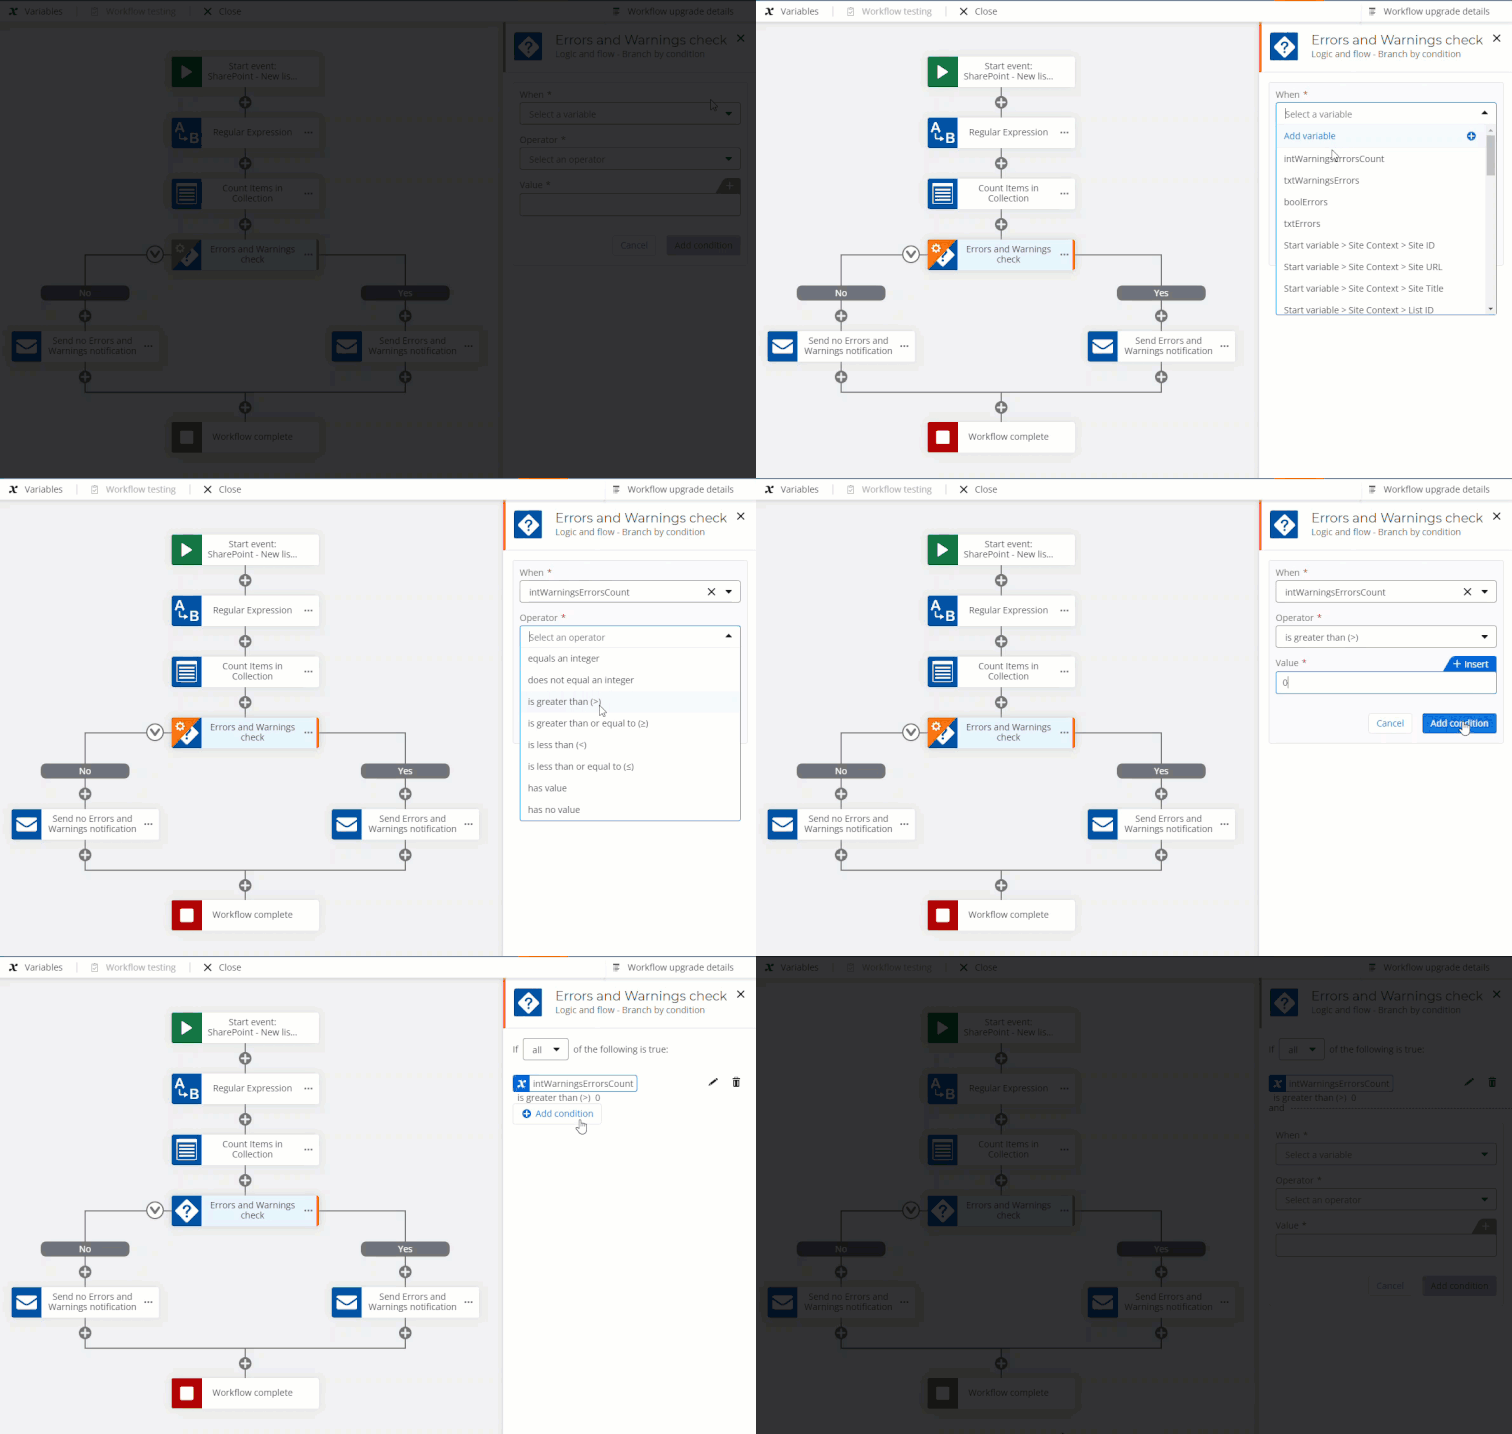
- You will need to configure your first condition, then click Add condition for it to be saved in the properties panel.
-
In Office 365, the Conditional branch action has four ways to specify a value:
-
Hard-coded value
-
Workflow context
-
List lookup
-
Workflow variable
In Nintex Workflow Cloud, a variable must be specified from:
-
Workflow variable
-
Start event
-
Context
In Office 365, a Conditional branch action has two ways to set multiple conditions within the expression.
-
AND – both conditions need to be met in order to run
-
OR – either condition needs to be met in order to run
After the upgrade to Nintex Workflow Cloud, these condition options have been replaced with the following:
-
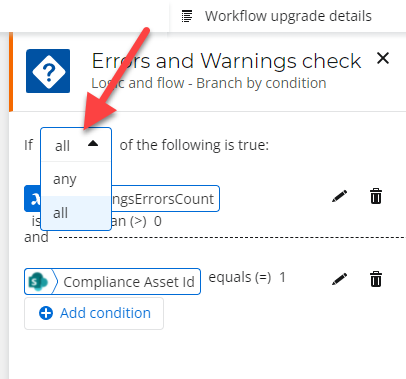
ALL – both conditions need to be met in order to run
-
ANY – either condition needs to be met in order to run
-
Configuration
1. Select a Branch by condition action and configure your first condition based on variables and values to meet your business case.
2. Click Add condition to save it to the workflow action property panel.
3. Click Add condition again to create another condition, if necessary.

4. For multiple conditions, set the If All or Any drop-down setting to evaluate whether all conditions must be true, or if any one of them can be true to follow the Yes path. You may need to create a new variable here to complete the configuration.

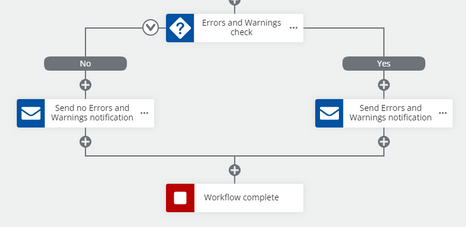
5. Configure the Yes/No paths as needed.

References
- Nintex Workflow Cloud Help - Run If action - The Run If action is similar to Branch by condition.


