


Topic
This article shows how to move the RPA database from one SQL server to another.
Instructions
The following required rights and permissions are needed to perform these instructions:
- User with Access to SQL, preferably under the guidance of a DB administrator.
- Installed Notepad++ (optional, but good to have).
IMPORTANT: Before making any changes, please backup any files that are involved in the process.
Export the database
- On the source machine, navigate to the Microsoft SQL Server Management Studio application installed on the target machine.
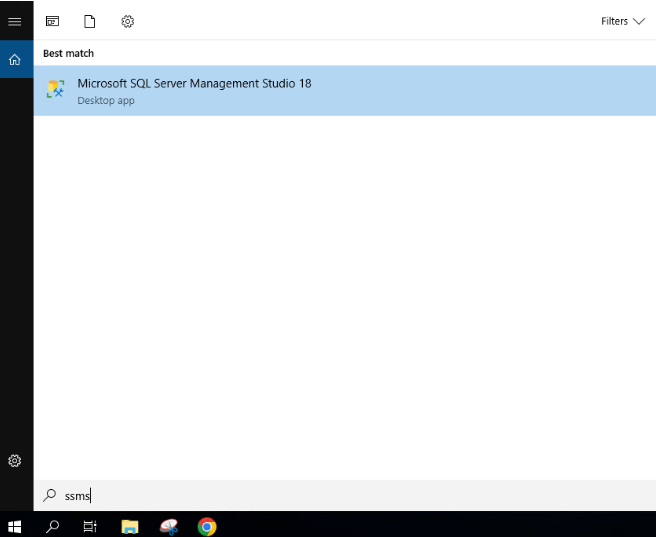
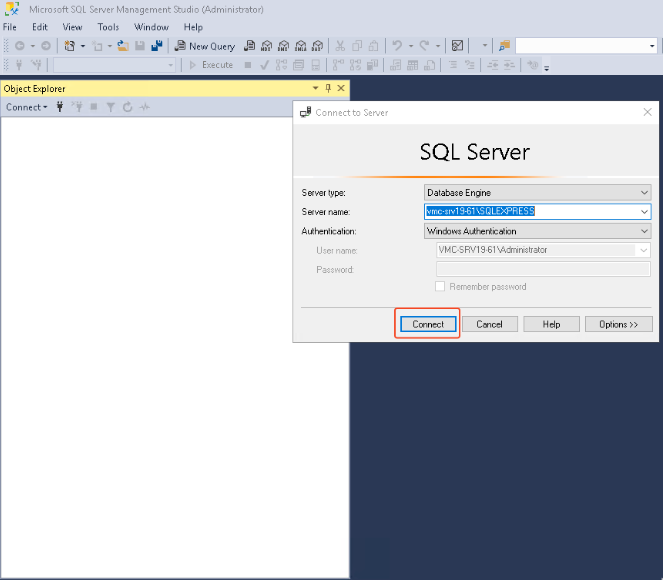
- Once you open the application, you will be prompted to log in using the respective authentication method for the environment.
- Once you’ve successfully logged in, you can see all databases available in the Databases folder.
a. Select the one that needs to be moved to the Destination machine and right-click on it.
b. Once done, navigate to Tasks from the contextual menu; when the menu expands, select to the Back up… option.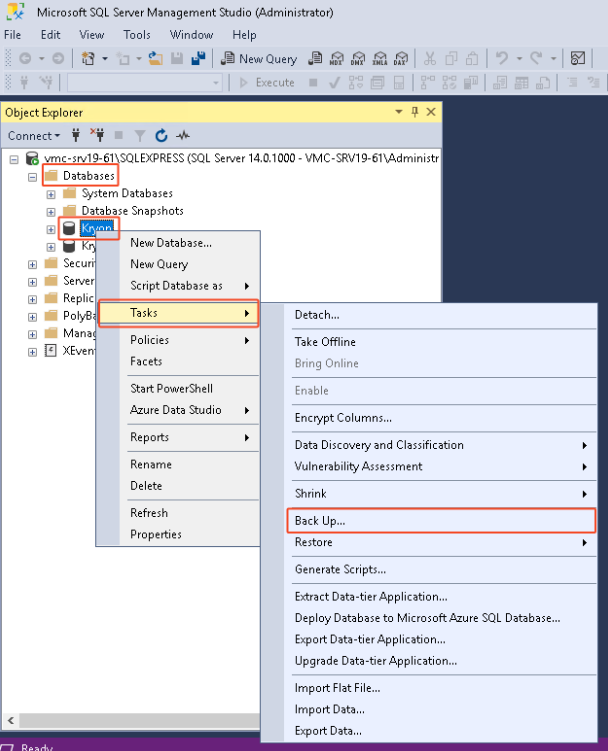
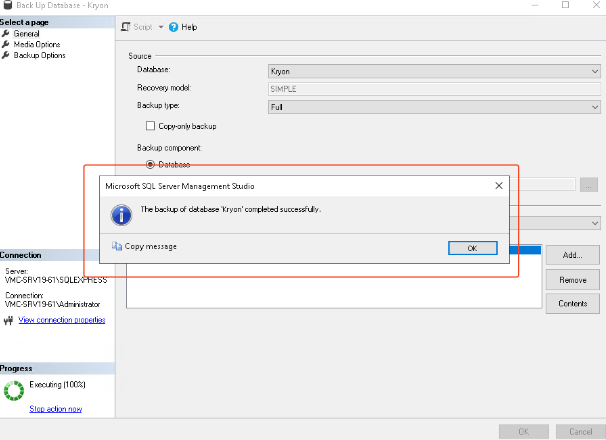
- You will be forwarded to the Back Up Database panel, where you can create the backup file for the specified database. Press OK and wait for the Progress circle in the bottom left end side of the window to complete to 100%.
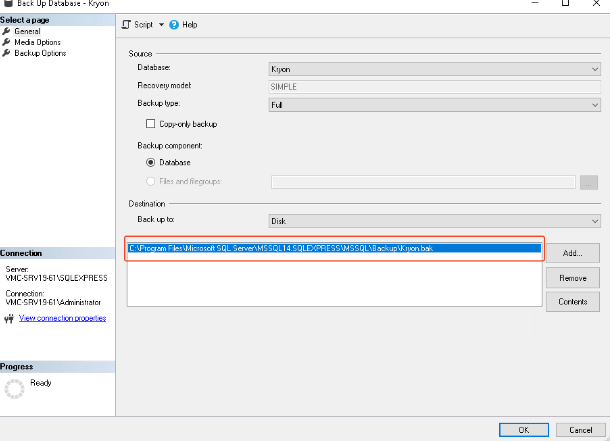
- Once completed, you will receive a message that the export has been completed successfully, and you will be able to proceed to the next steps.
-
Navigate to the directory specified for the .bak file to be saved. Once there, copy and paste the file to the Destination machine.
Note: We have used all the default and streamlined directories in the example below.
Default path:C:\Program Files\Microsoft SQL Server\MSSQL14.SQLEXPRESS\MSSQL\Backup
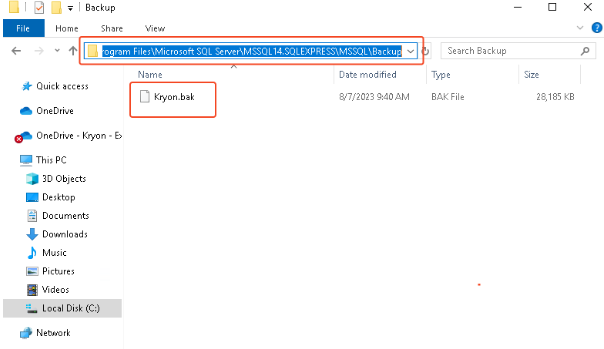
- Move the backup file to the destination machine.
Import the database
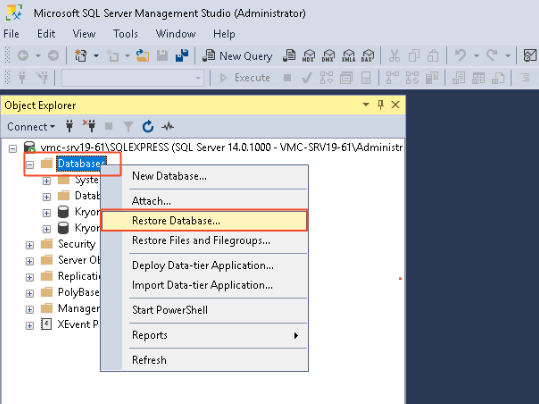
- When you have opened the Microsoft SQL Server Management Studio on the destination machine, select the Database folder in the left navigation panel and right-click on it. A contextual menu will appear, and you will see the option to Restore Database…
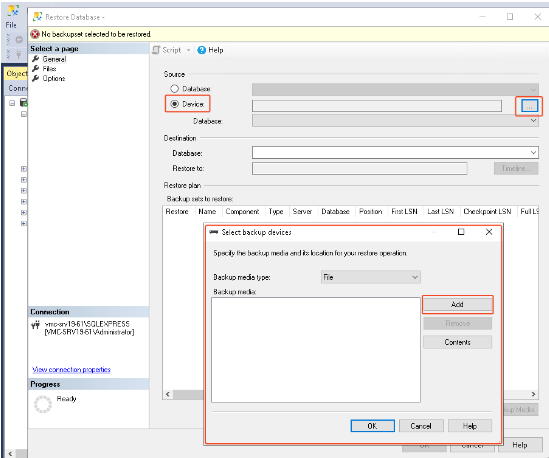
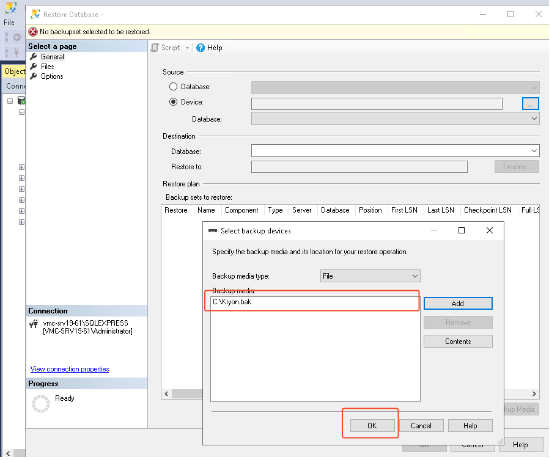
- A new window appears, and you can select the file to be restored. Select the Device option and then the Browse button marked with … on the right side of the panel. Another smaller window will appear. Click “Add” to add the “Backup media” from the destination selected during the Export section of the guide.
- You will be prompted by another window where you can navigate to the Destination machine's root directory. Once you have navigated to the directory where the export file was pasted, you can select it. Make sure the file selected is indeed a .bak file.
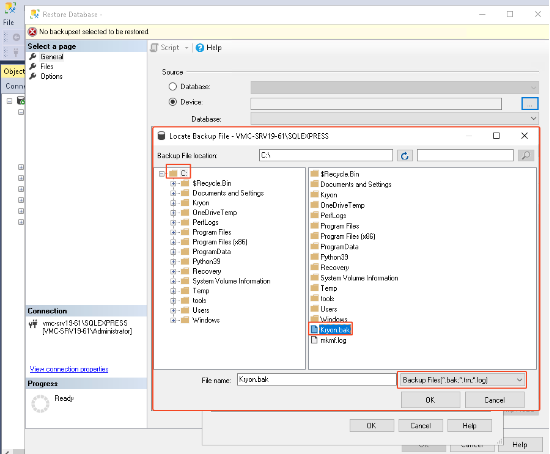
- Once verified and selected, the window will be automatically closed, and the selection should be made available in the Backup media section. You will be able to proceed with the Import afterward.
Configure the server after importing the database on the target machine
- Open
<Installed Drive>:\Nintex\DBConnection.configand update DataSource, User Id, and Password with the details of the new database server.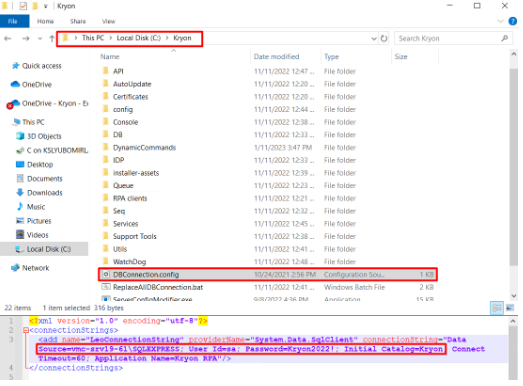
- Save the file and run the
ReplaceAllDBConnection.batscript to apply configuration changes. - Open
<Installed Drive>:\Nintex\installer-assets\config\prod\scripts\config.prod.properties.jsonfile with a text editor of choice.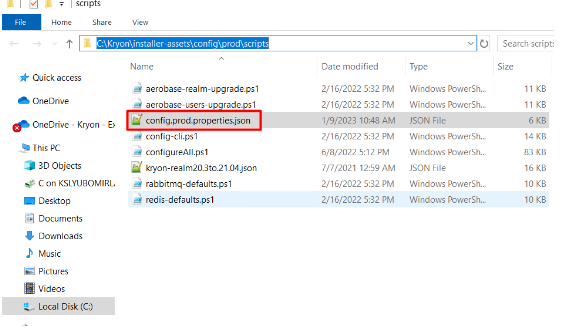
- Search for the source server name, as shown in the screenshot below. There should be four rows where the connection string information needs to be edited accordingly.

- Change values to match the destination server name and run
configureAll.ps1script to apply the changes:- Stop all RPA services using
StopAll.bat. - As an administrator, run Windows PowerShell.
- Navigate to
<Installed Drive>:\Nintex\installer-assets\config\prod\scripts. - Run
.\configureAll.ps1 -h “<Installed Drive>:\Nintex”
- Once the script has completed executing, restart all RPA services.
- Stop all RPA services using