


Nintex K2 Client Tools Installation for Nintex K2 Five/Nintex Automation
KB003520
PRODUCT
The Nintex K2 Client Tools installer is for customers who need to install K2 Studio, K2 for Visual Studio, or K2 Package and Deployment on developer workstations. If you upgraded from Nintex K2 4.7 to Nintex K2 Five (5.4) or later, or you installed Nintex K2 Five (5.4) or later and need access to these legacy tools, you can use the Nintex K2 Client Tools installer for that version of Nintex K2 Five or Nintex Automation. This installer makes it simple to reinstall Nintex K2 when changing hardware or software in your existing environment without having to first run the old K2 blackpearl installer to get the client tools before running the Nintex K2 Five installer. Now you can install Nintex K2 Five (5.4) or later first then simply run the K2 Client Tools installer.
Prerequisites
You must previously have had access to the legacy tools.
You must have the following software installed:
- Nintex K2 Five (5.4) or later
- Microsoft Visual Studio 2013 or Microsoft Visual Studio 2015
Download
You can download the K2 Client Tools installation package from K2 Client Tools Installer.
Installation
Follow these steps to install the components:
- Double click on K2 Client Tools.exe.
- From the splash screen, click the Install button, or navigate to the Installation folder and double click Setup.exe.
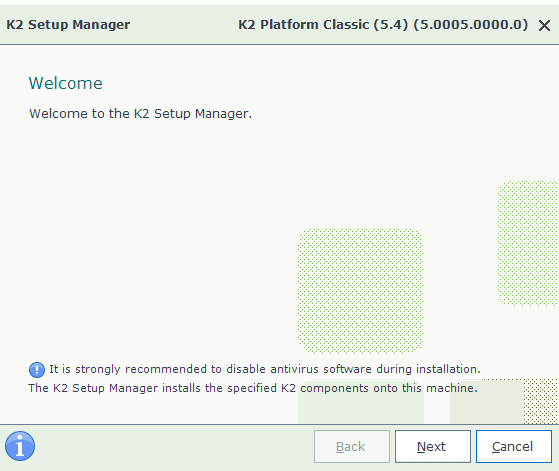
- On the Welcome screen click Next.
- K2 Setup Manager checks for the latest version of the installer and reports back.
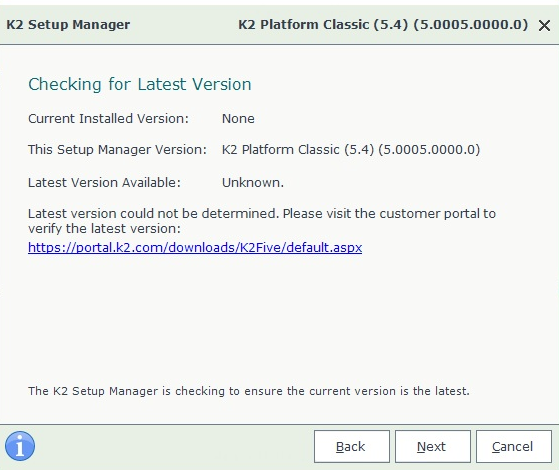
- Click Next.
- On the End User License Agreement screen check the I agree to the terms and conditions of the license check box.
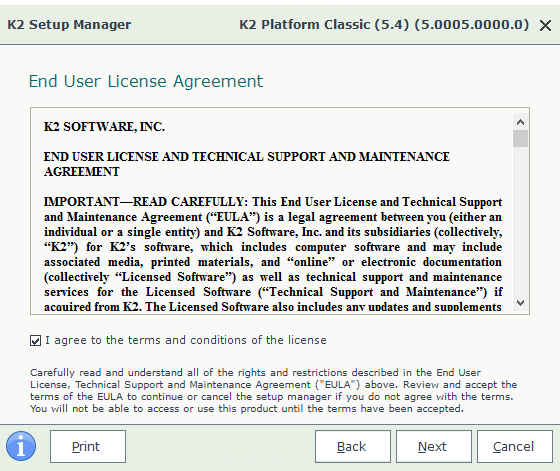
- Click Next.
- Select where to install the K2 client tool components on your local environment.
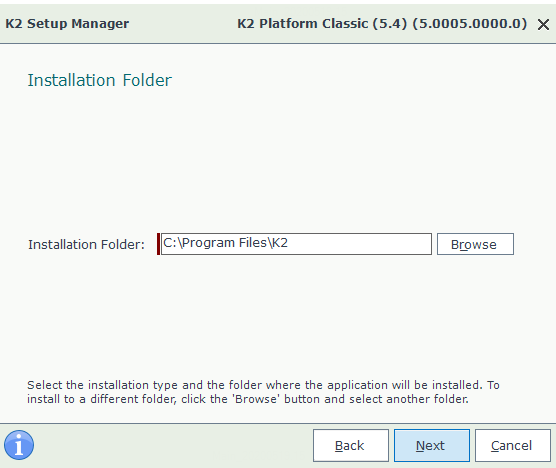
- Click Next.
- Select the components to install on your environment. Only select the client tools that you need on the environment you are installing to.
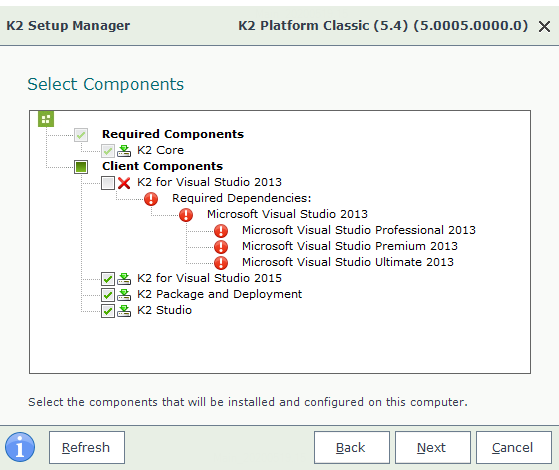
- Click Next.
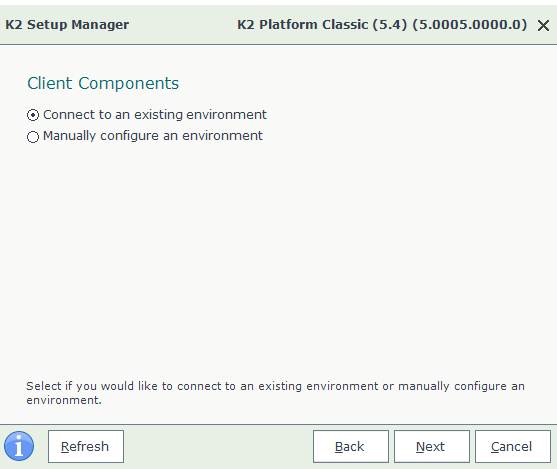
- Select whether to connect to an existing environment (available on your local network) or to manually configure the connection to the K2 Server.
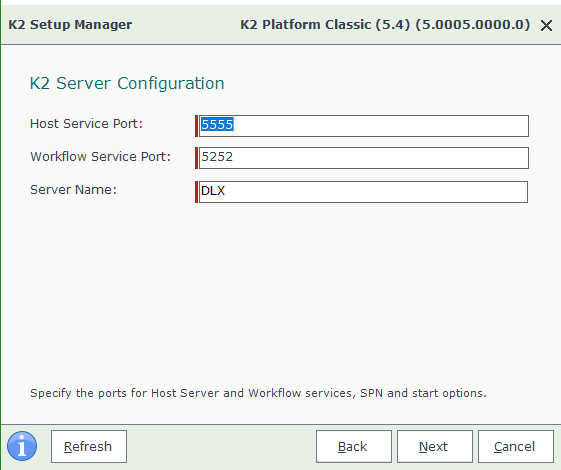
- If you selected to Manually configure an environment, specify the details of your K2 Server configuration.
- Complete the authentication requirements for the K2 Database.
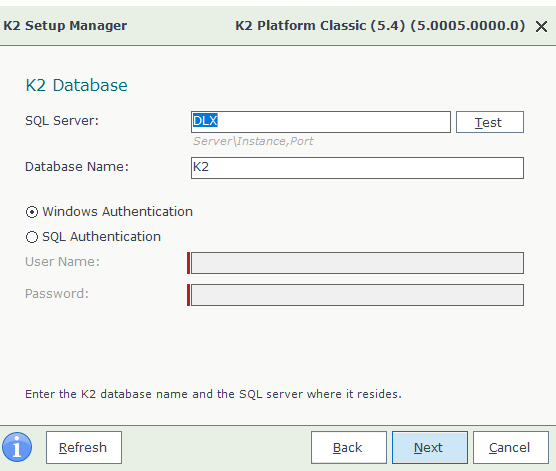
- Click Next.
- K2 Setup Manager presents a summary of the components to install, along with the K2 server configuration.
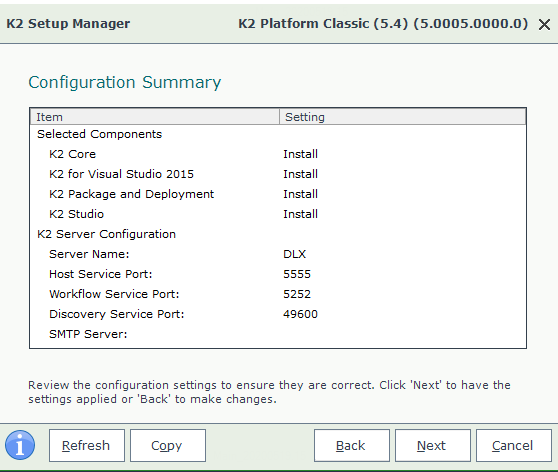
- Click Next to install these components.
- The Components screen shows the progress of the installation.

- Once the installation of the components completes, the K2 Configuration Analysis tool runs.
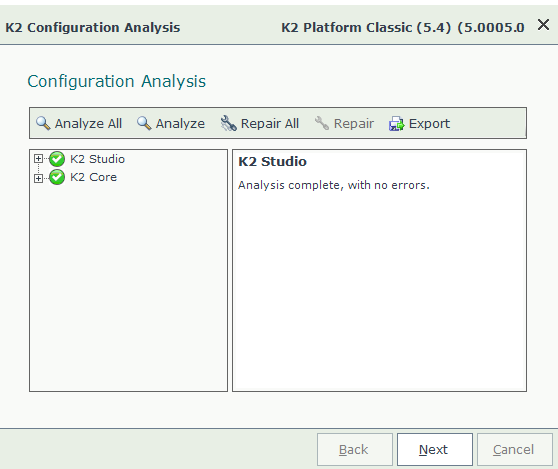
- Use the Configuration Analysis tool to analyze an installation. Items flagged by a red X have errors, indicating that this item is not configured correctly and requires repair. Items installed and configured correctly have a green validation mark. Items with warnings have a yellow exclamation mark. In all cases, you can see more information in the right-hand pane. See Configuration Analysis Tool for more information.
- When all nodes are green, click Next.
- The Finished screen shows a link to the installation log.
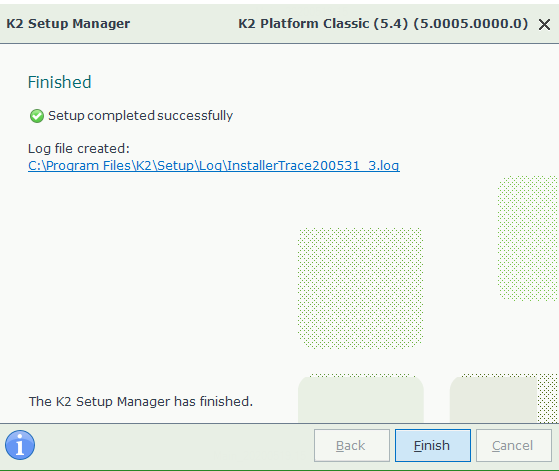
- Click Finish to complete the installation.
Considerations
- You must run the installer on all developer workstations.
- If you install Nintex K2 Five (5.6) or later and then install a fix pack, and then want to install the Client Tools, you need to do the following:
- Download and run the latest Client Tools Installer. Select the Modify option.
- Add the Client Tools and run through the rest of the installation.
- Install the fix pack again to align the versions.