Topic
Configuring the Nintex List Forms Online Web Part on Office 365
Instructions
- Publish a Nintex Form on a list (Classic or 'Old' Responsive Forms only).
- Navigate to your SharePoint site page and select 'Edit'.
- Insert > Web Part > Apps > Nintex List Forms Online.
- Click Add.
- Click drop-down arrow on web part > Edit Web Part.
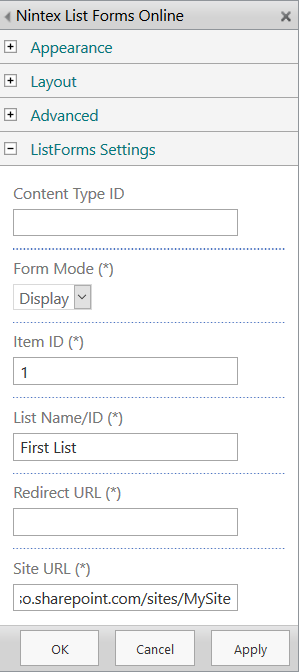
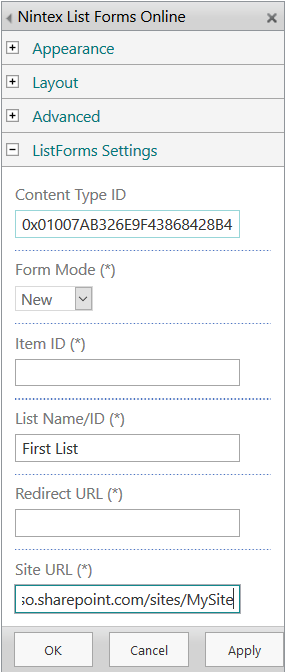
- Configure the 'ListForms Settings' section.
- Click Apply.
- Save, Check In, and Publish your site page.
Additional Information
The Nintex List Forms Online Web Part is not currently compatible with New Responsive Forms.
Some fields are marked with (*) suggesting that they are required, however, this is not always the case. For example, a 'New' form should not require an 'Item ID'. This is demonstrated in the examples below.
Examples
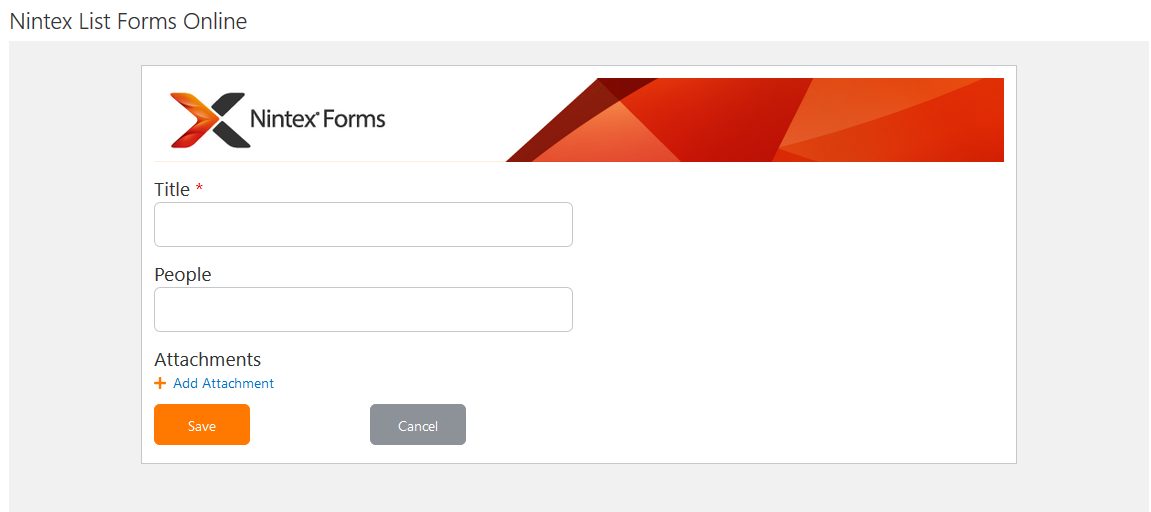
New Form Mode
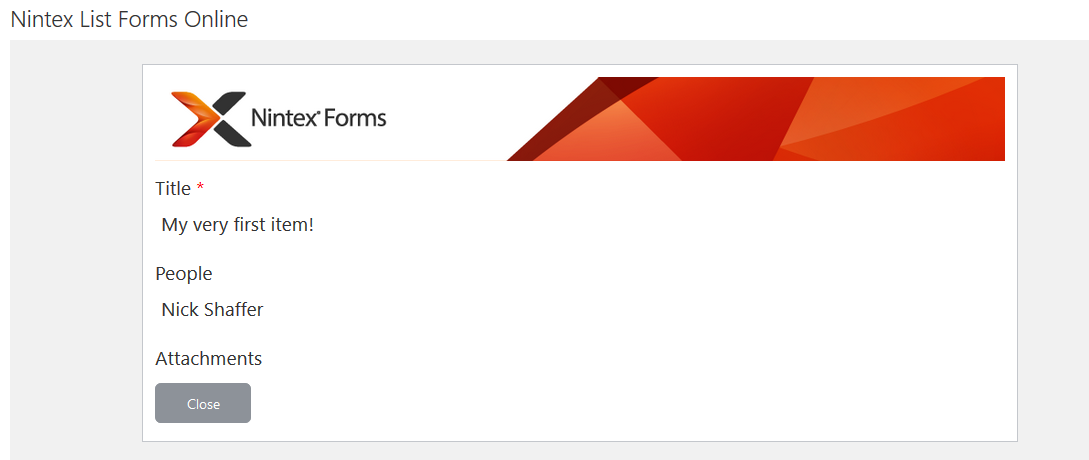
Display Form Mode