Topic
This article will explain how to use SharePoint Online related start events in Nintex Workflow Cloud when you have processes that use lists and libraries. Currently available start event types for SharePoint Online at the time of publishing for this article are New list item, Update list item, and New or updated list item.
Instructions
Connection
In order for you to utilize SharePoint start events you will need to create a connection to your SharePoint instance by using the SharePoint Online connector. Let's take a look at those steps first.
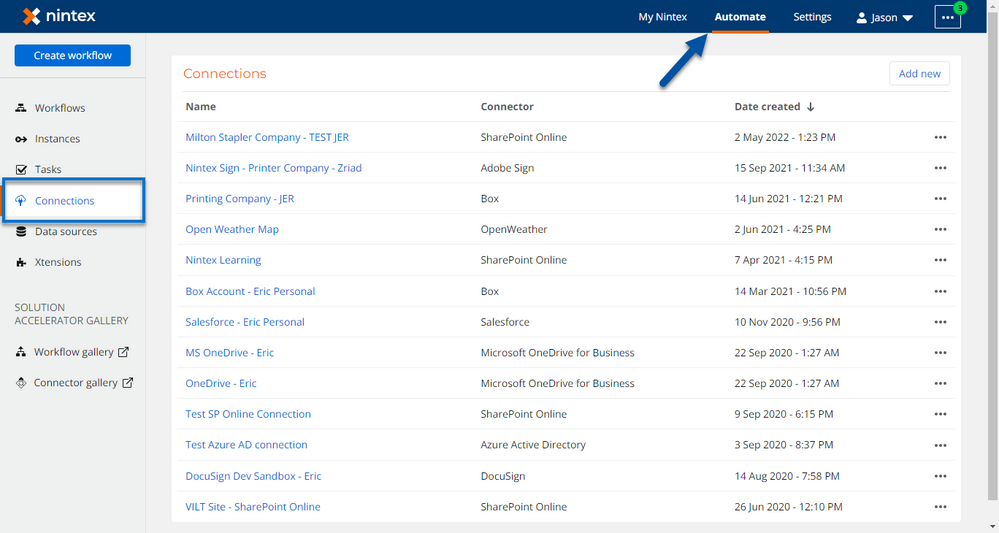
- In the Automate area of Nintex Workflow Cloud, select Connections from the left side menu.
- Click on the Add new button, then search for the SharePoint Online connector from the Connector drop-down list. You will have the ability to set the Authentication method depending on what you want workflows to have access to do in SharePoint while using this specific connection. Click Connect.
- In the New connection window, provide a meaningful name for your SharePoint Online connection, add in your SharePoint Online tenant URL, then click Connect. You will need to give Nintex Workflow Cloud the proper authorization into your SharePoint instance. You can also allow other users or groups in your Nintex Workflow Cloud environment to use your connection, if required. Click Done to save your new connection.
Configure Start Event
With your new workflow design open, you can add a SharePoint start event to your process. This can start the workflow when an item or file is added to the list or library or when an item or file is updated. In the following example, we will wire up a start event that will fire a new instance when a new item is added to SharePoint list.
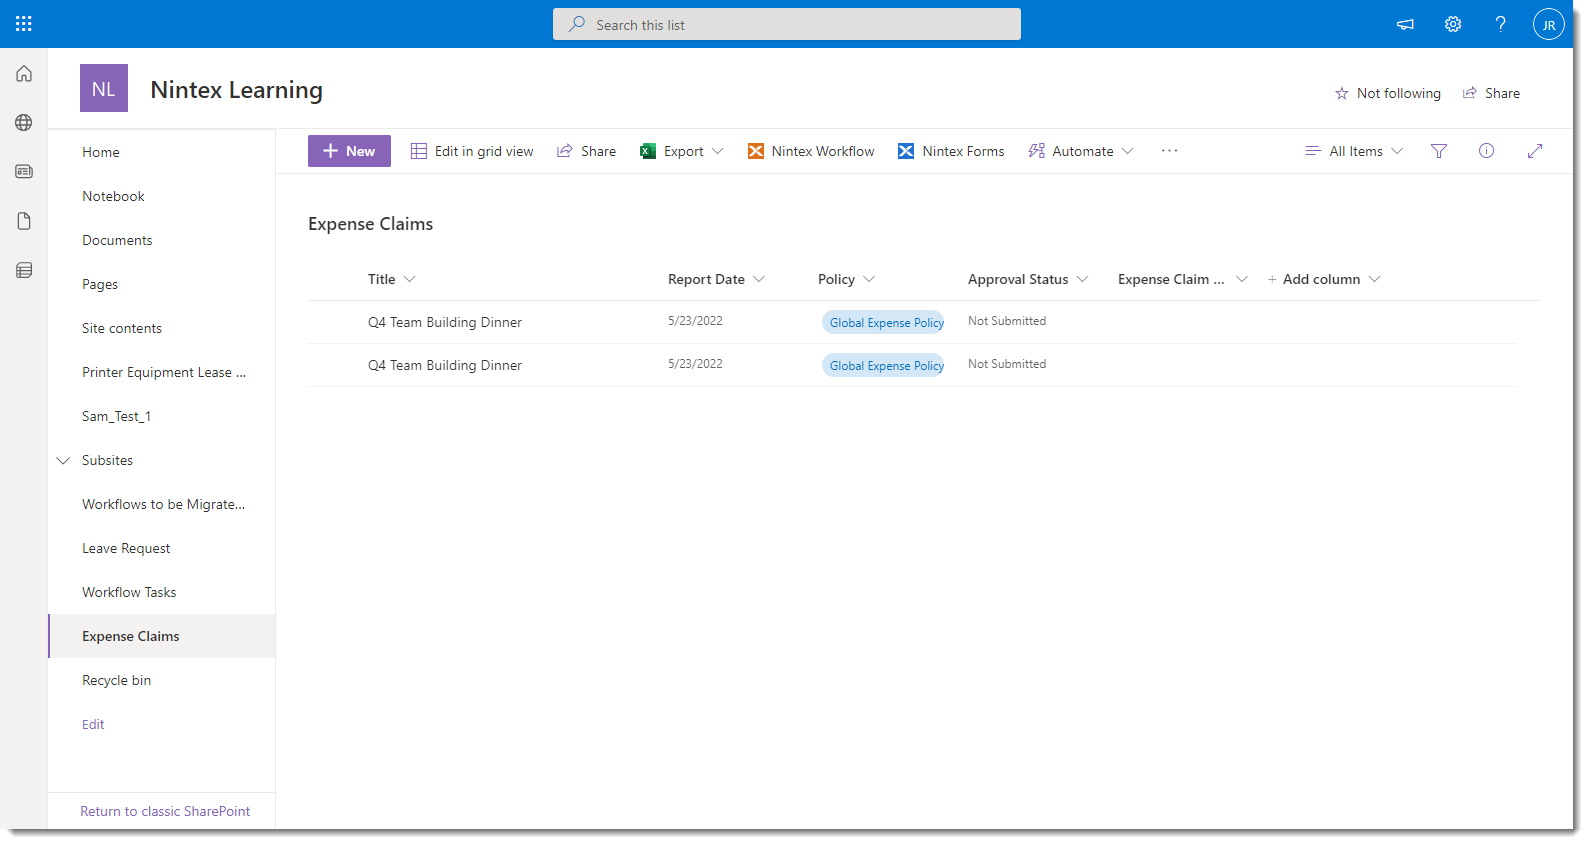
- Ensure that you have a list or library setup in your SharePoint environment. In this example, there list called "Expense Claim" that will receive new expense claim submissions.
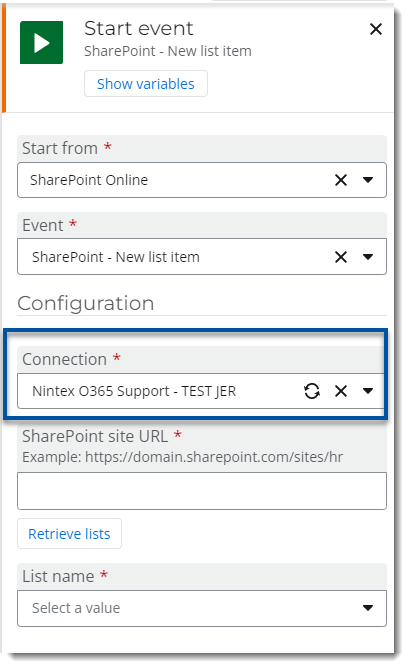
- Next, create a new workflow in the Automate -> Workflows area for Nintex Workflow Cloud. Select SharePoint Online from the Start from list. In this example, we then select the SharePoint Online - New list item event.
- Next, in the Configuration section, use the Connection that was created earlier to point this start event to that SharePoint environment.
- Enter the SharePoint site URL that you want to have the workflow follow. In this example, the workflow be focused on the "/sites/NintexLearning" site.
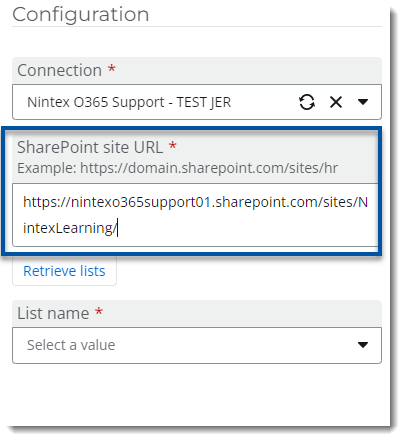
- Click the Retrieve lists button and select the list the workflow should start against.
- Add other actions to your workflow based on your requirements. For example, you can send an SharePoint Online - Update Items action to update the approval status column for the list item that started the workflow.
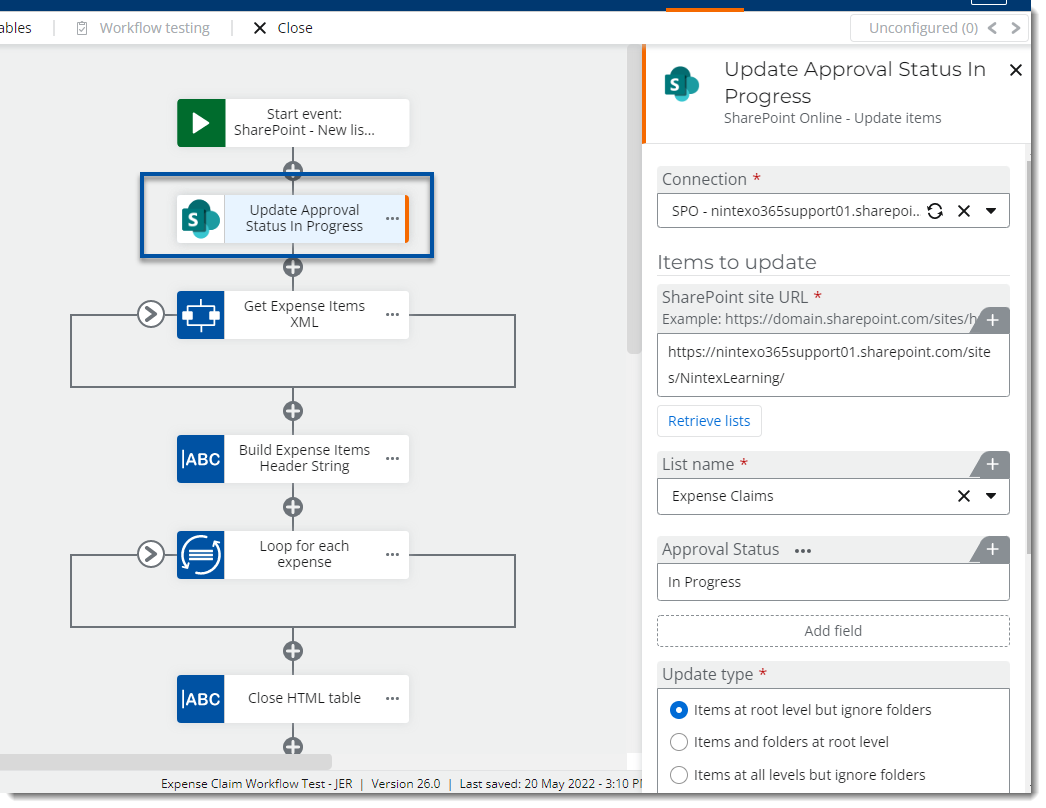
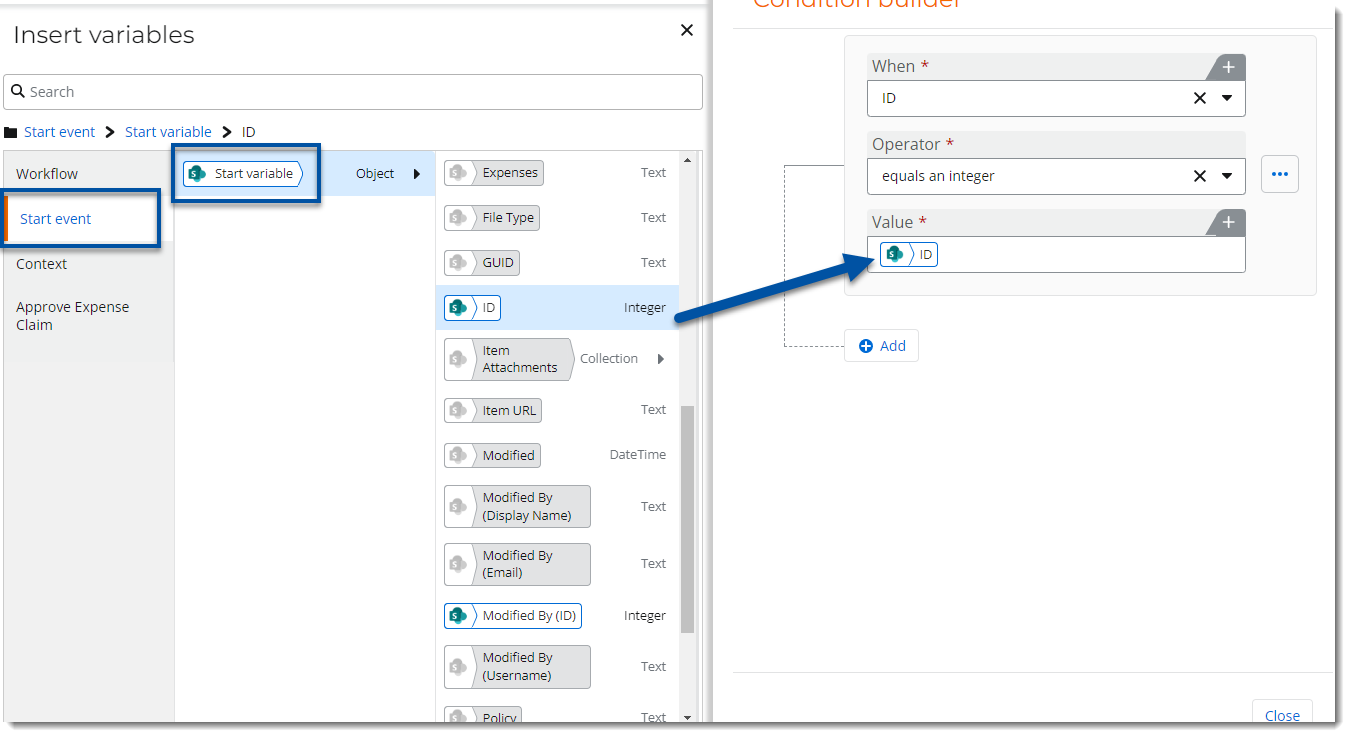
- When configuring other actions you can access the SharePoint Online Start event object variable to get to information related to the newly created file.