


Topic
In cases where the Studio or Robot has been having issues with running a wizard. Starting an advanced command or not running correctly, this article provides information on how to gather the local logs from an affected machine and enable the error logging level.
Instructions
Enable Verbose logs
Note: Before navigating to any of the folders listed below, you must make the following changes to configure the error logging level or verbosity.
- Depending on the affected component, right-click on the icon and select the Open file location option.
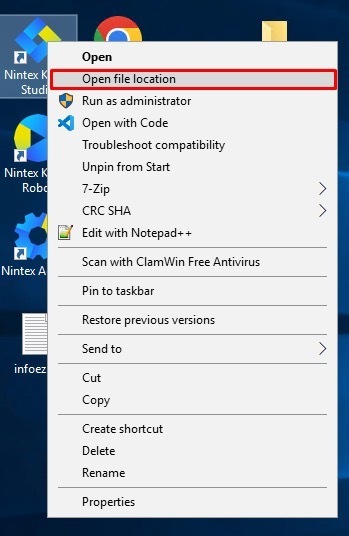
Open file location - This will open the product's installation folder. Once done, navigate and open the Config folder.
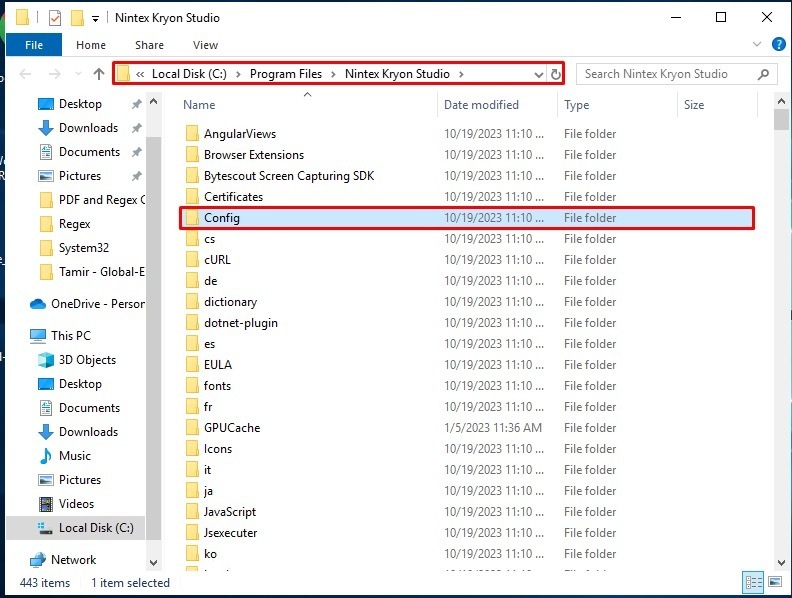
Locate the Config folder - Locate the serilog.json file and edit it with a text editor of your preference. In this example, Notepad++ was used.
Note: You must have appropriate rights to make changes.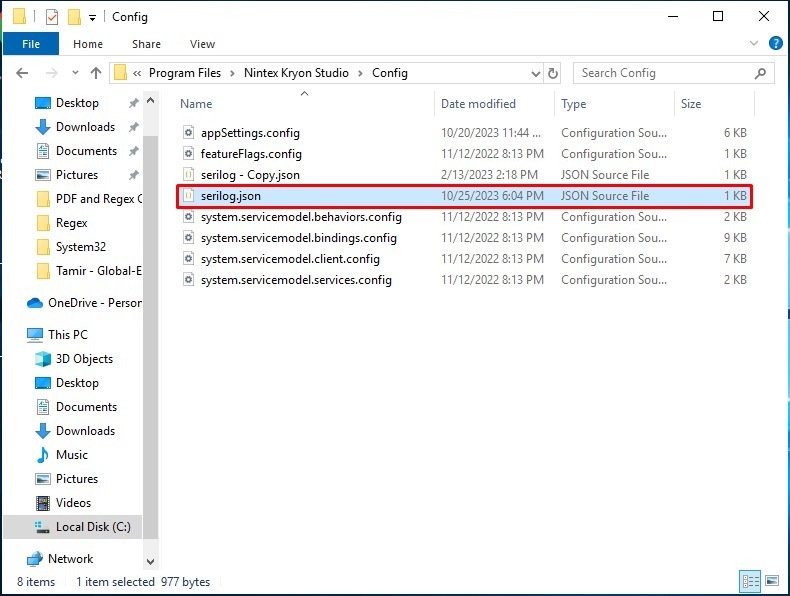
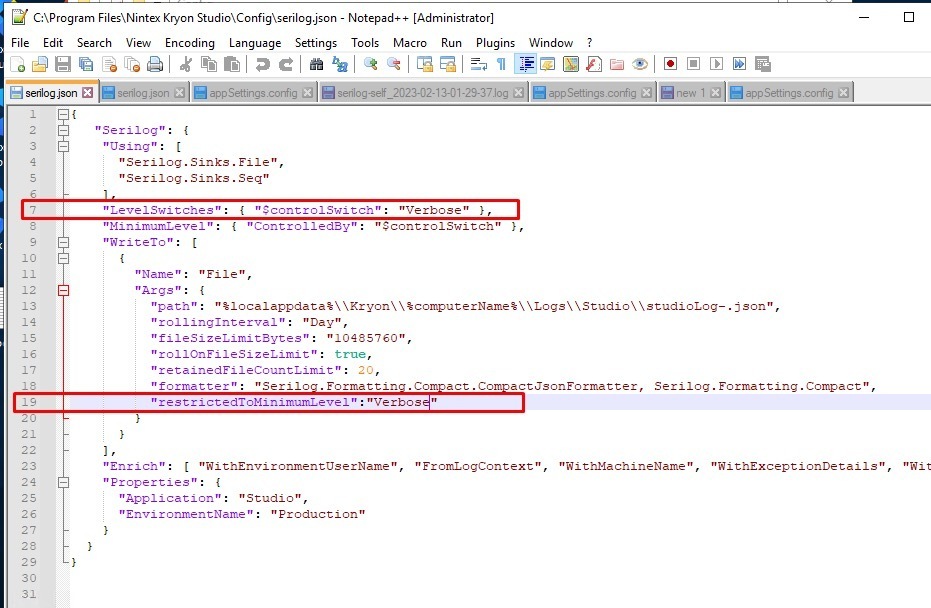
- By default, lines 7 and 19 (when viewed in Notepad++. Depending upon the text editor used, your line numbers may differ) will have a value of Information. You will need to change the values to Verbose, as shown below. You can also make a backup of the original file if you want to swap files quickly.
- Save the changes and reboot the Studio or Robot machine so it will use the new settings.
- Proceed with reproducing the issue in the same way as before.
Gather Local Studio/Robot Logs
- Open File Explorer, and in the address bar, type in
%localappdata%.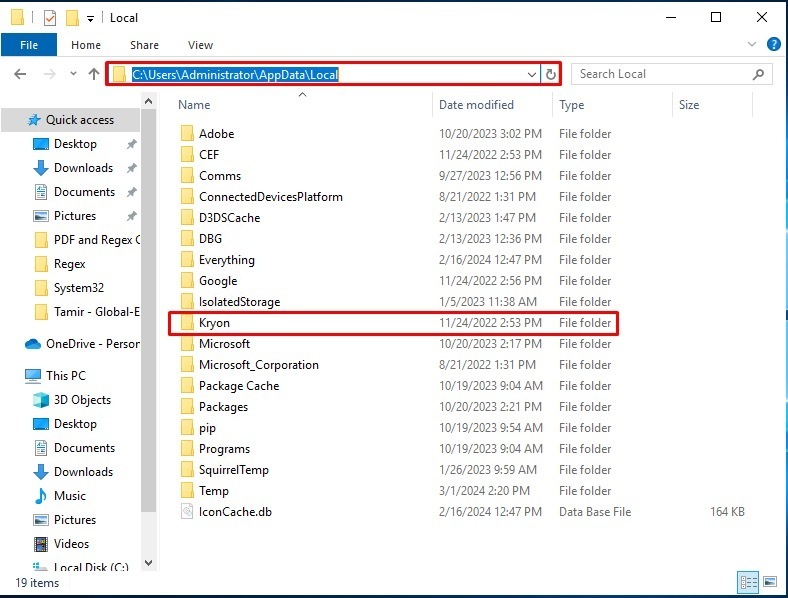
Locate %localappdata% - Instead of clicking on the Logs folder, you will need to open the folder with the machine name, which also contains a logs folder.
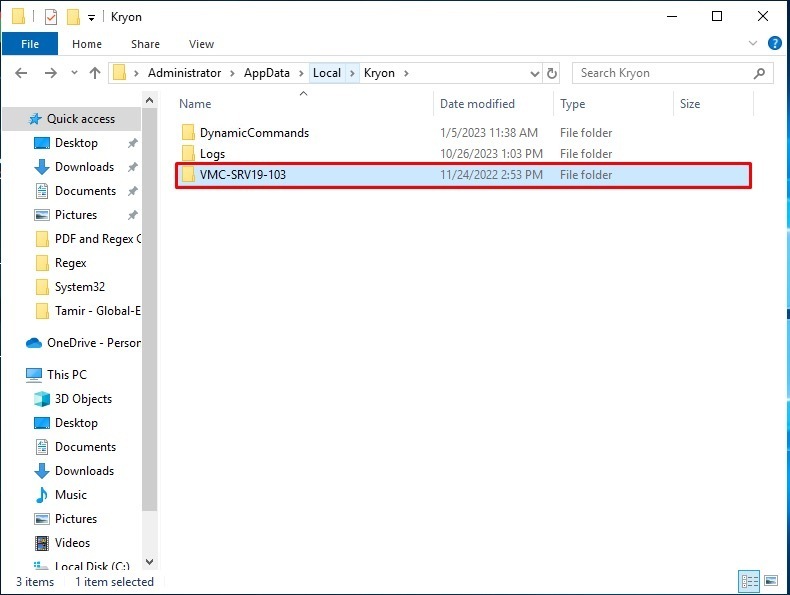
Machine Name folder location - Depending on your case, select the one as needed. Go to Player for Robot logs.
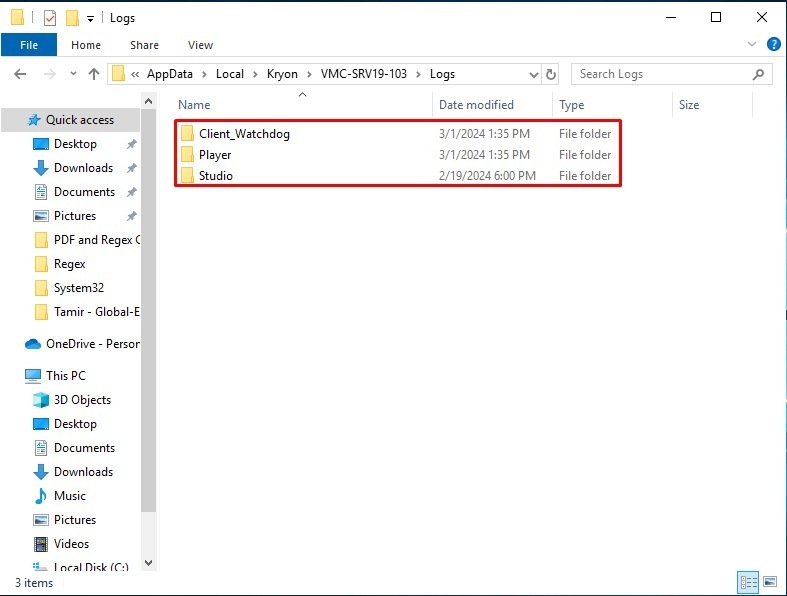
Log location - Sort by Date modified and select the most recent files, as shown below.
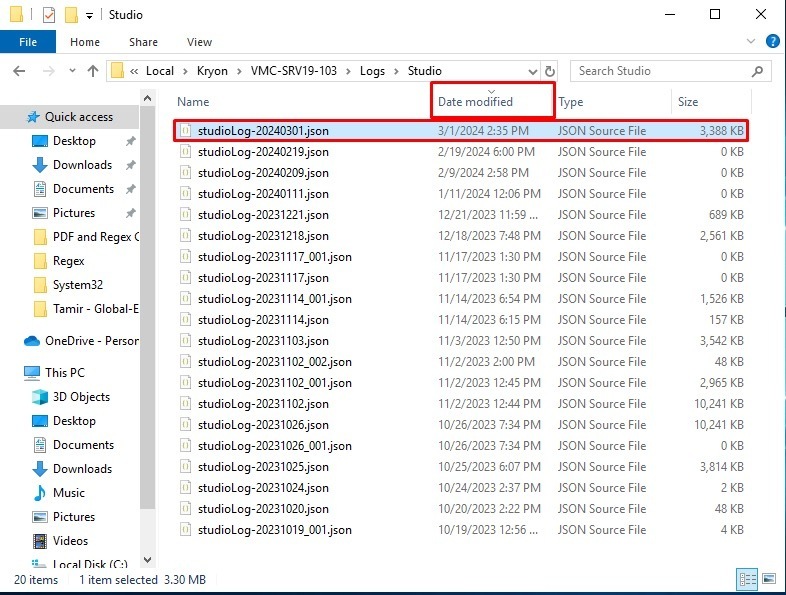
- For reference, once opened, the file should look similar to the one below.
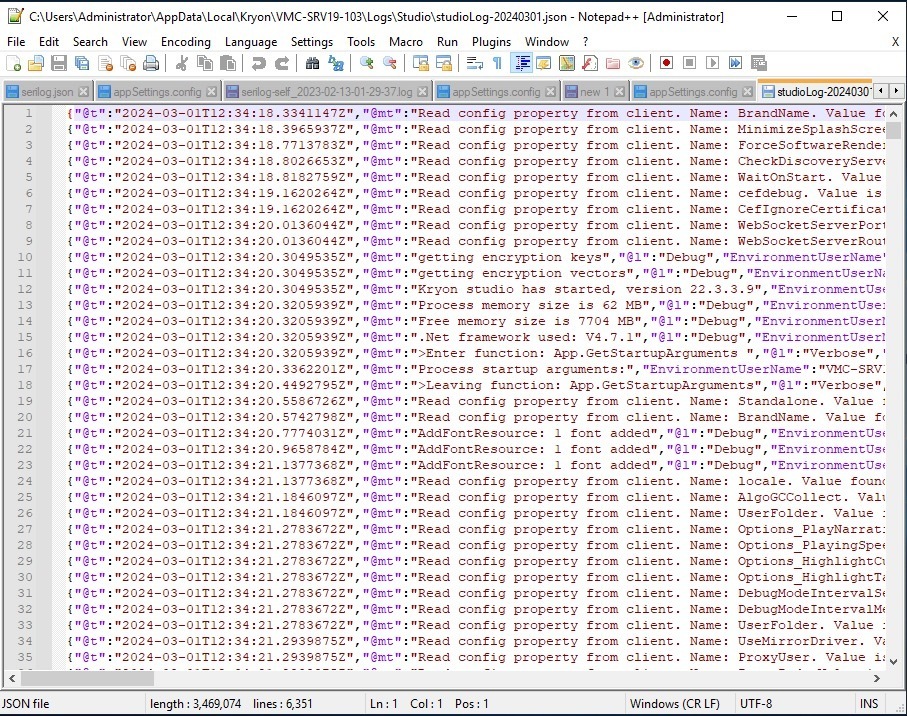
Reference file contents - You can either send it to Nintex Support as it is or add it to a zip file if more convenient. If the total file size of the logs is too large after zipping, please let us know and we can provide you with a link to upload the files.