Today we will see how we can leverage on simple HTML tags to create a very intuitive log table on Nintex forms.
Nintex provides a very easy to view Track History, something like below, with the detailed description of the flow of events and an option to view the changes by clicking on Show completed task.
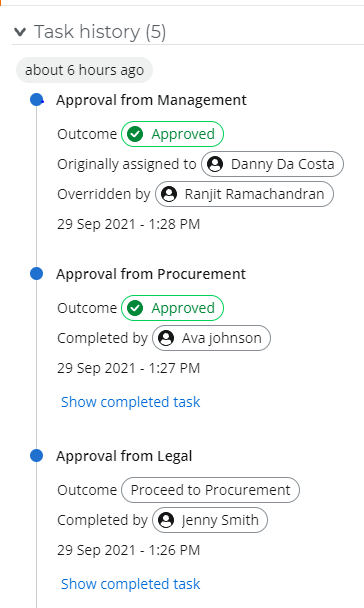
Many a time you would have come across users who would say “I can’t be clicking at multiple places, can I have a single view of the details. I also want to see the comments on each flow, is it possible out of the box”. They answer is Yes, out of the box using HTML tags.
Quite easily you can build a very simple, yet informative table as shown below in every approval page.
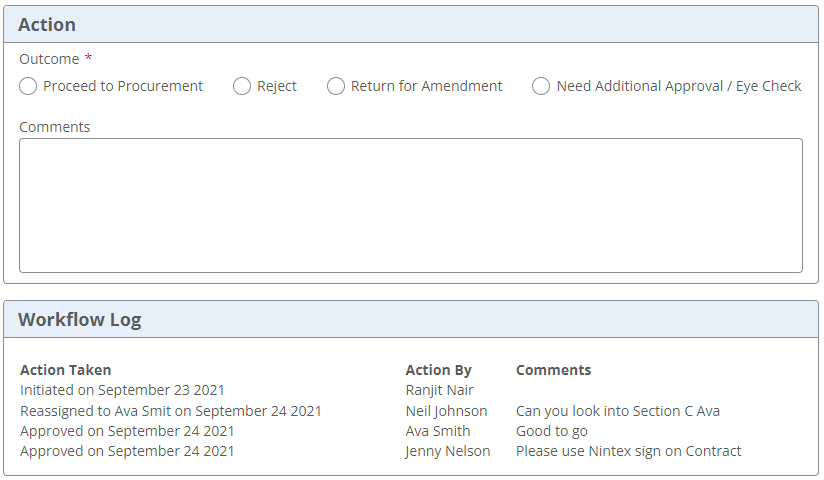
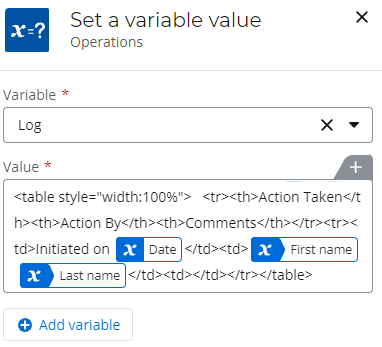
Here’s how you do it. It’s a quick and easy way. Before approval begins initiate a variable as below.
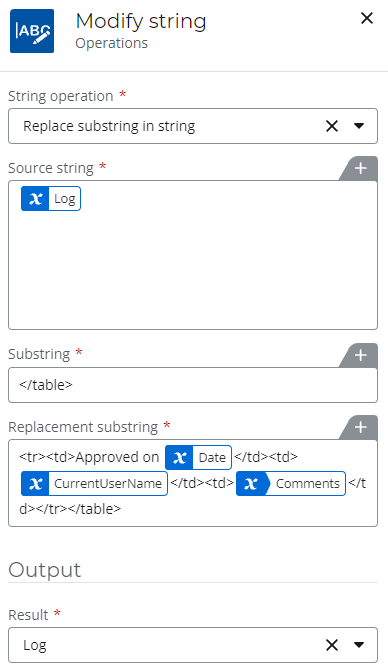
After everywhere approval / outcome modify the variable as below. We can create the table based on the information as needed by the business.
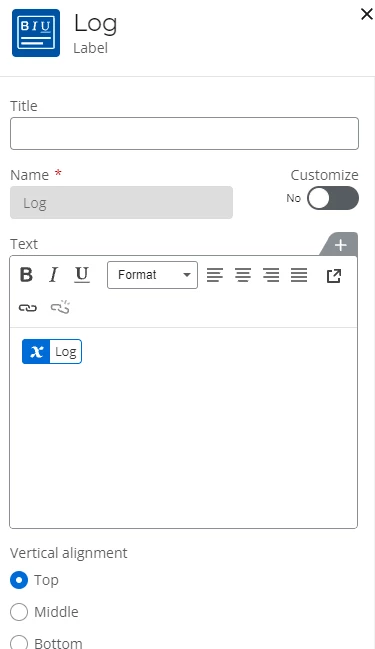
For every approval page just add a label in a group where needed and this variable in the field as below.

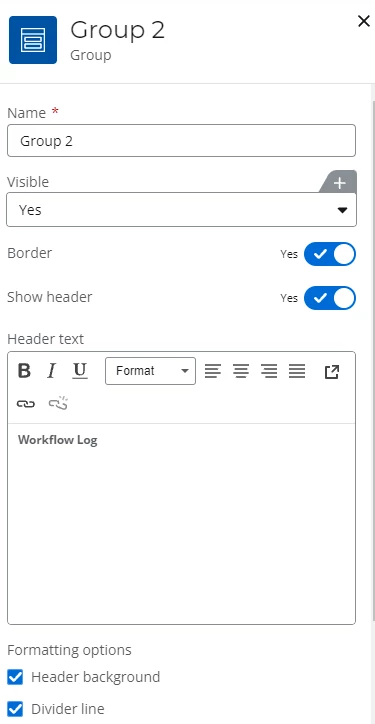
Step 1: Add a group
Step 2: Add a label in the group
It’s an easy way of creating a log table without much customization. Happy Automating!


