You asked, and we listened!
Another huge improvement to the Nintex Workflow Cloud Forms designer
Introducing the ability to divide the designer into six columns.
Importance/ Objective:
With this new addition to the Nintex Workflow Cloud forms designer, users will no longer be limited to just 4 columns, which has placed a slight constraint on process designs.
Live Use Case:
In this example, Vadim Tabakman is the incredible owner UnBeadable Fashion Car Services. As part of being in SOC compliance and keeping up with the Excellence of Services to work at UnBeadable Fashion Car Services, he requires that all of his mechanics perform daily inspections on all vehicles serviced at his place of business.
His all-star employee Will Knowles will be performing a routine vehicle inspection on a 2015 Mercedes-Benz.
Before we fill out the inspection form, lets cover a few basics on how we architected this form:
Vehicle Inspection Form:
1. In Nintex Workflow Cloud click on Start event:

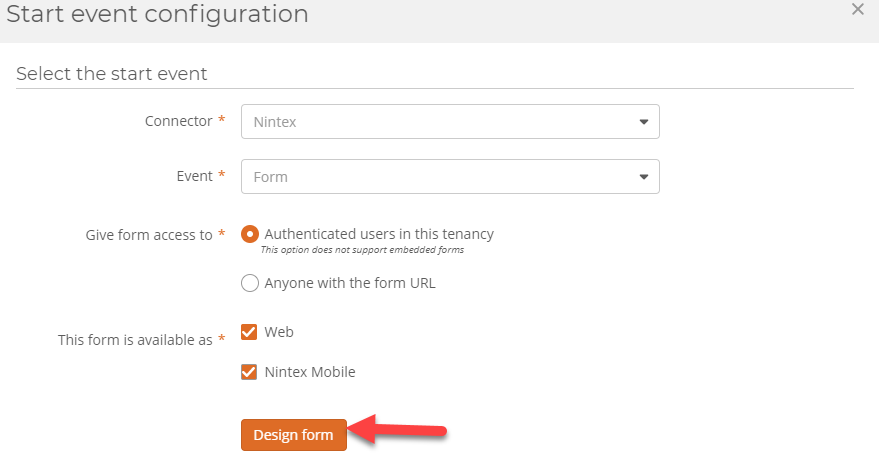
2. Start Event configuration should be Nintex as the Connector and Form as the Event, then click Design form:
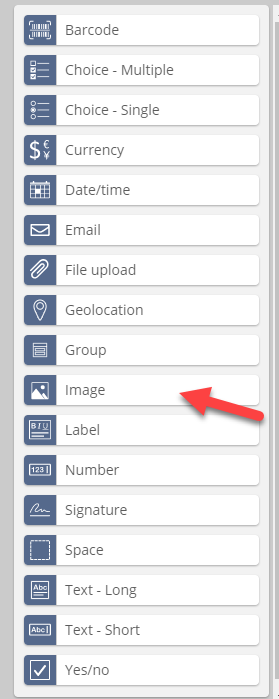
3. First Grab a Image on the design canvas and put in your Source URL:

4.Grab a Label and add name it Vehicle Inspection:

5. Grab 3 labels on the design canvas and name them: Reviewer:, Reviewer Email:, Inspection
6. Grab 2 Yes/no form controls and name them: Checked:, Good Rating?
7. Grab 1 label and name it: Comments
Results: 
8. Grab a Space on the design canvas:

9. Lastly, grab a Signature on the design canvas:
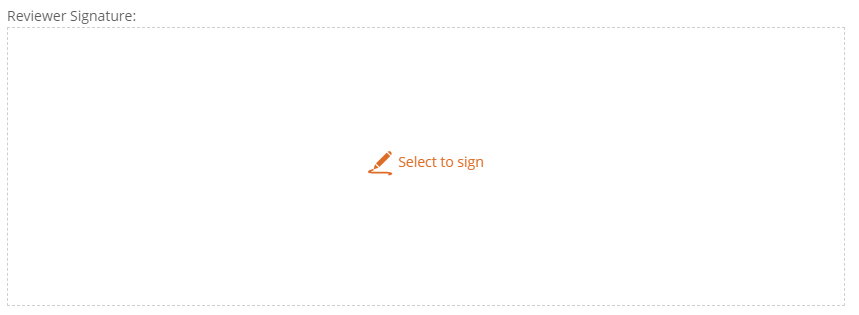
10. Apply Changes and now your form is ready to be used:


Hope that you found this blog helpful and useful.
If you have any questions, please feel free to connect with me:
Twitter: Wknowles22
LinkedIn: hhttps://www.linkedin.com/in/willknow/
Email: william.knowles@nintex.com


