As some of you might know, we've recently deprecated the Nintex Workflow for Salesforce app, and that took away the ability to embed an NWC form directly into your Salesforce Lightning page layouts. To address this, we put together a new tool that will allow you to embed your forms as before, and submit them with the context (in this case, Record Id), of the record the form was submitted on.
Here's how to use it:
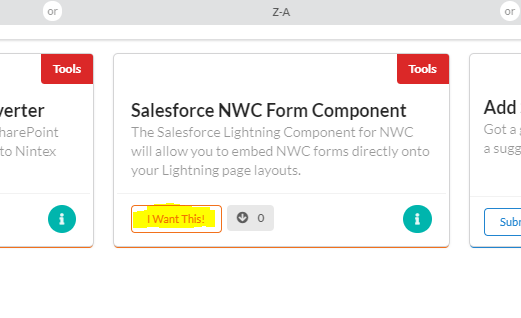
First, download the package from gallery.nintex.com, under the "Tools" section.
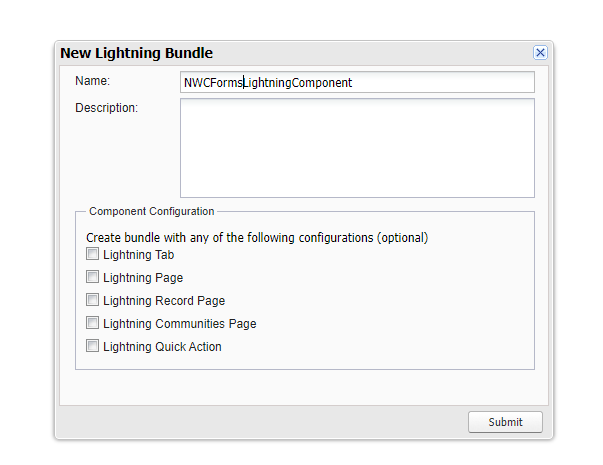
Once you have the zip file, unzip, and you'll discover 2 different files. One is a component, and one is a design file. Next, you'll want to open up the developer console in your Salesforce Organization. Hit "New", and select "Lightning Component". You're going to then get a prompt that asks you to name the component. Give the component a name that you and your teammates will understand, and hit "Submit"
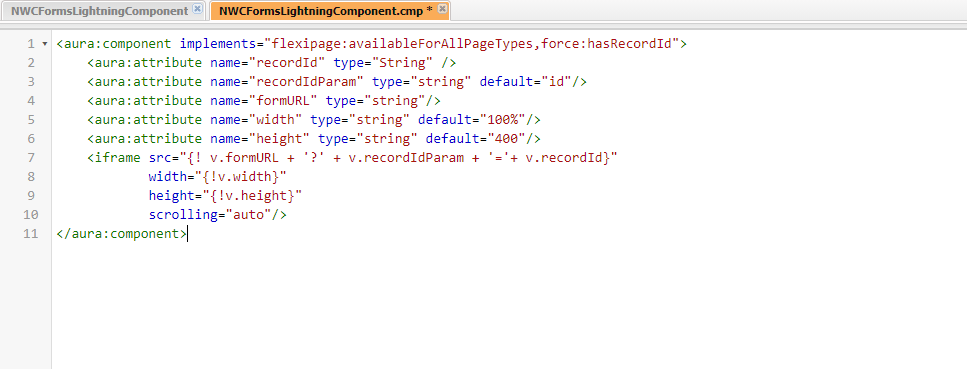
It should automatically open a file that has an extension of ".cmp". This is the component piece of the Lightning Component Bundle. Open up the Component file you downloaded from the gallery, and copy and replace the contents into this new ".cmp" file. Save the file with Control +S or File > Save.
On the right hand side, you'll also see a menu with "Component" highlighted. Click on the "Design" item from this menu. Once you do, a new file will open. This is the design file. Again, you will navigate to the Design file you downloaded from the gallery. Copy and replace with the contents from that file.

Hit Control +S on your keyboard, or Click on File > Save once you've finished this step.
Now, your component will be available for you to use! Go to any Salesforce record you'd like to add an NWC form to, and click on the gear box on the top right, and click "Edit Page". You'll be immediately taken to the Lightning App Builder. From there, scroll down on the left hand panel, and you'll see your component listed there under the "Custom" section. Drag and drop it wherever you'd like on the page.
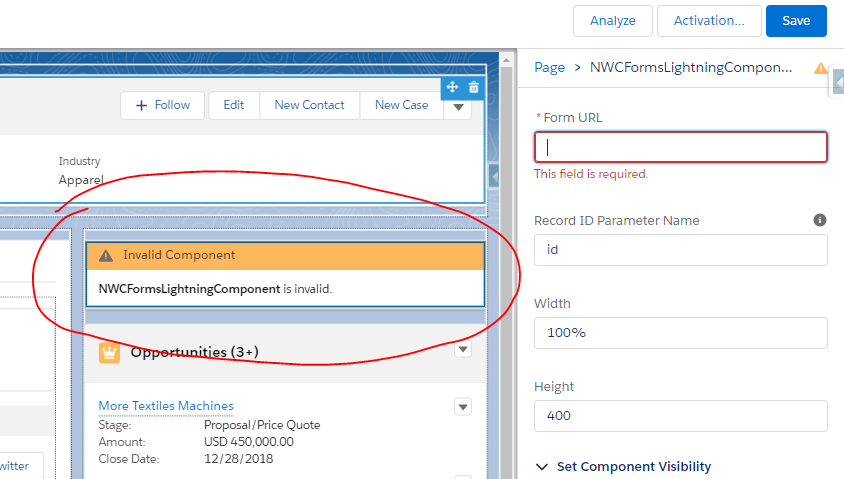
It will then prompt you for a form URL. This is when you will want to copy and paste the form URL from NWC. In addition to the URL, you will have 3 other options. The height and width control the look of the form.
The "Record ID Parameter Name", on the other hand, is going to control sending back the ID of the current record to NWC. To set this up, inside of your NWC form, create a variable using the getQueryStringParameter() function. Inside of the function, you will declare the Record Id Parameter Name.
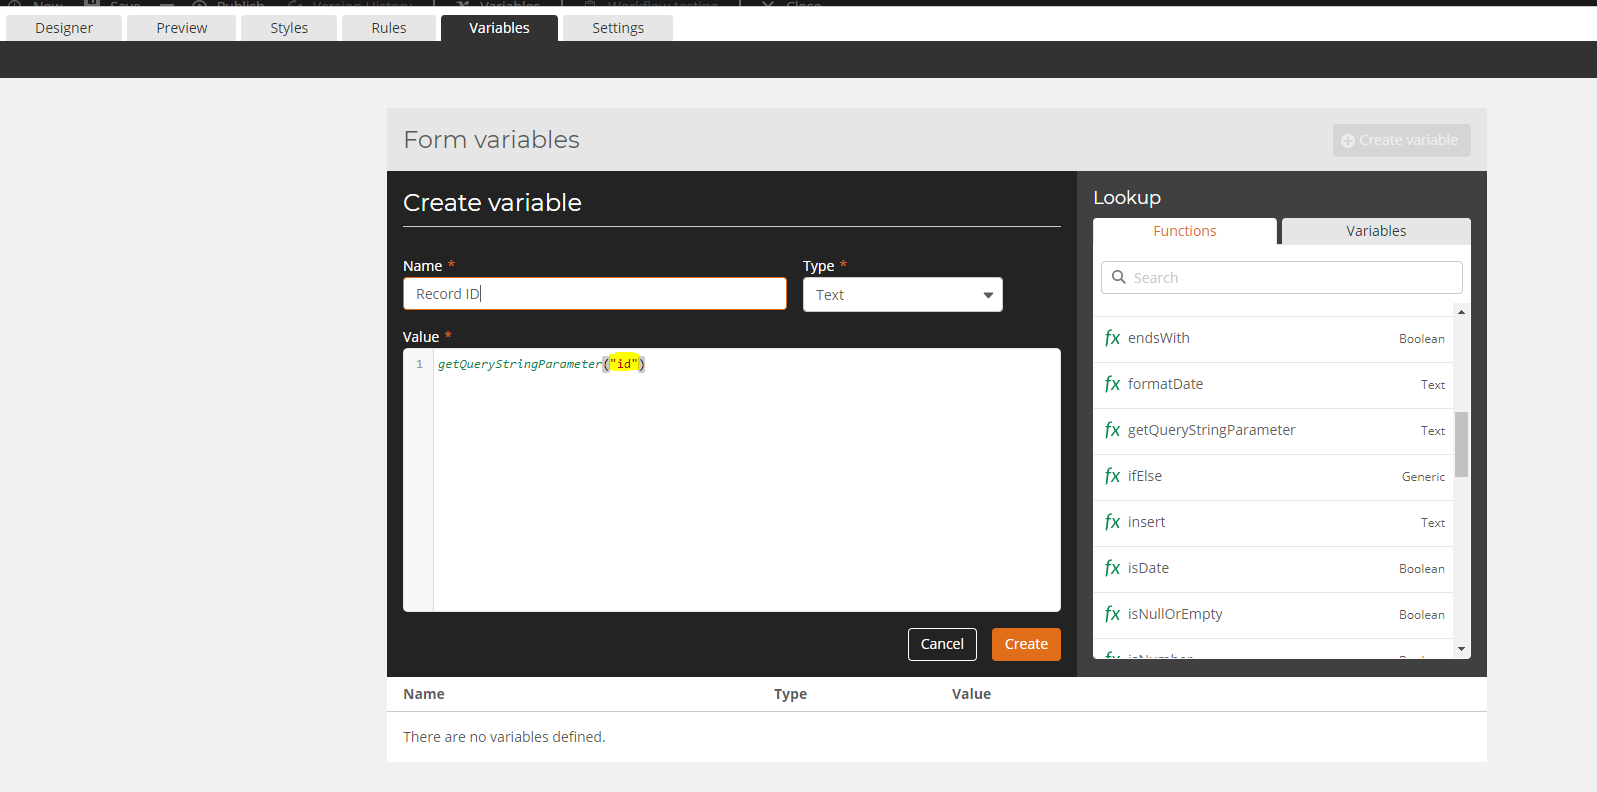
Copy the value you added inside of the formula, and paste this into the configuration menu for the Lightning Component. Once that is completed, you can save, and your form will be ready to go!
Again, to reiterate, the purpose of this component is to let you add your NWC forms directly to your Salesforce page layouts. From there, you can now submit the form, and continue on with your workflow! Happy designing!


