Ease and Advantage of Nintex
Nintex makes it easy to automate processes to keep everything moving while staying focused on your core business deliverables..Nintex is an easy, point and click workflow and content automation application that makes collaboration easier by connecting every person, department and system inside or outside your business. Nintex takes business efficiency to the next level, no matter where you are or what device you are using.
What is Nintex Connector in NWC?
Nintex Connectors integrate your business apps within your automated workflows. Integration is as simple as dragging a built-in connector into the Nintex designer canvas. Nintex Connectors cover the popular apps you use every day.
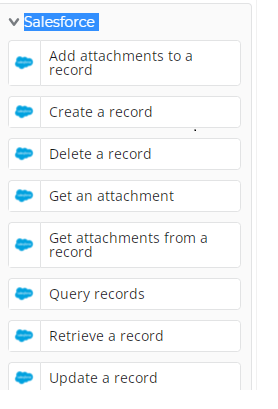
Few Examples of connectors that can be easily added and utilized in your workflows.
- Google Drive
- Salesforce
- ServiceNow
- Trello
- Slack
- Azure components
Steps To Add Nintex Connectors
1.Select the connector from the list of default connectors available.

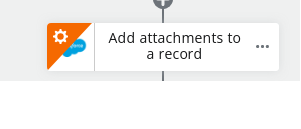
2.Select the action required and drag ,drop to the workflow canvas.

3.Create the required connection to the connector.
4.Configure other required field ,save ,publish.
You are good to go 👍.
What is Nintex Extension?
Nintex Xtensions® currently works on top of your Nintex Workflow Cloud tenant and will grow to encompass more Nintex products in the future. Developers will be able to code and deploy custom connectors for workflow designers, you can then design workflows without writing code (just like the entire Nintex Workflow Platform).
Steps to Create Custom Connector Using Nintex Xtensions®?
The process of creating a custom connector starts by identifying, defining the API you want to integrate with, and then importing and configuring that definition in the Xtensions® page of your Nintex Workflow Cloud tenant. Your definition is then available as an action in the workflow design canvas and available to use in your workflow designs.
1.Log into to your NWC tenant and select on Xtensions from the left hand menu,click on "+" connectors.

2.Choose the yam file to upload or the API url that is valid.

3.Choose the type of Authentication and provide the required details under Configure Security tab.
4.Choose an icon provide a unique name to the connector and publish.
You are good to go 👍, now this custom action can be utilized in any of your workflows.
Lets us go in detail about the various supported authentication methods and tools that can be used.
Authentication Methods
Four authentication templates:
- no authentication
- basic authentication (username & password)
- API Key authentication
- OAuth2.
On top of these base templates, Nintex Xtensions® has added variations on OAuth2 definitions specifically for Azure Active Directory, Microsoft Graph, Google and SharePoint Online.
The OpenAPI Specification (OAS), formerly known as the Swagger specification, is an open standard for writing API definitions in a way that is easily readable by both humans and software.
Nintex Xtensions uses the OpenAPI Specification to integrate apps, services and data sources into workflows to make integrating with Nintex as fast and simple a process as possible.
Tools Used
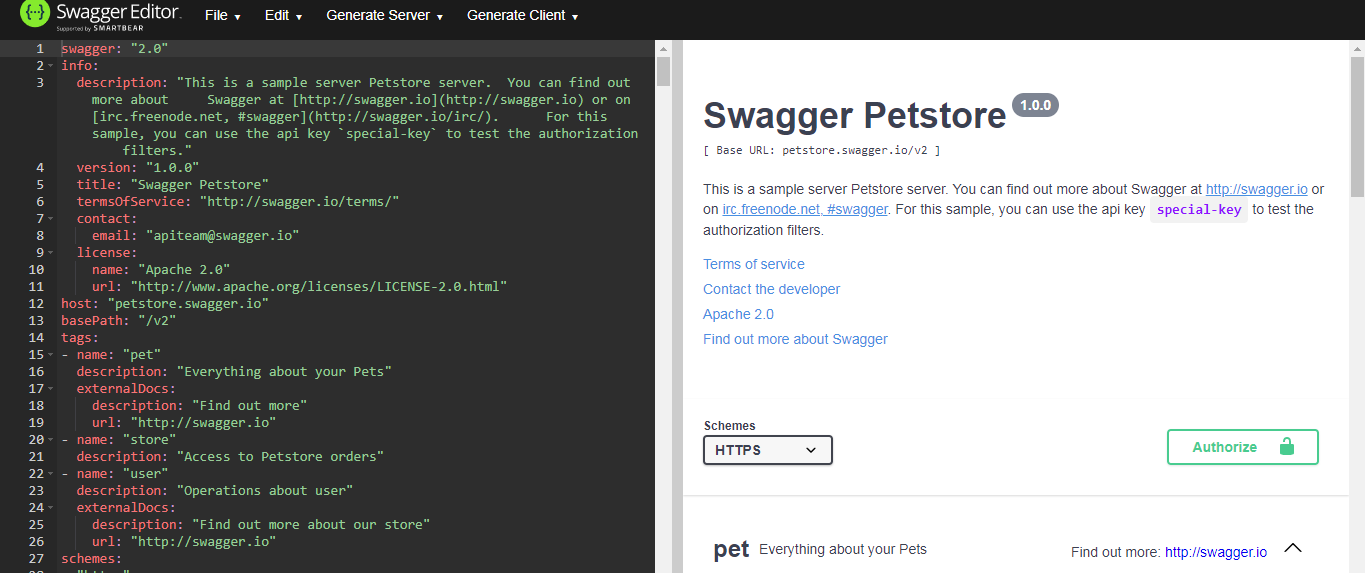
The Swagger.io editor
The Swagger.io editor allows you to create, edit and validate OpenAPI Specifications, and view the resulting API in an interactive format. The interactive format allows you to test that your API operations have been described correctly, and respond as expected. You can also quickly convert from YAML to JSON format for use in Nintex Xtensions.It can be accessed using below Url

Postman
This is another supportive tool that helps to test you API with sample data quickly and efficiently.The same can be accessed using the below url Postman .


