


Security Management in K2 blackpearl Workspace
KB000291
PRODUCT
Introduction
| Note: This document does not cover the functionality of each tab in Workspace. |
Workspace Security
When K2 is first installed, by default, anyone can access all of the tabs in Workspace, including the Workspace Security tab. Users will still need to be granted administrative rights to modify some of the settings in management console, but they are able to view all the components within Workspace.
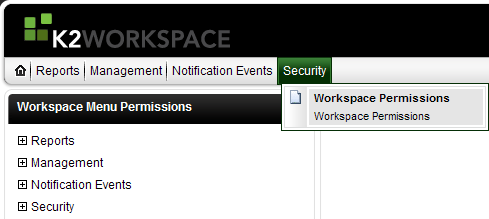
In Workspace, if you hover the mouse over the Security tab, you can select Workspace Permissions. In this screen, you will see a heading for Management, Reports, Events, and Security. These headings correlate to the tabs at the top of the Workspace screen.
Restricting Workspace Elements Available to a User
You can restrict which elements of Workspace display when a specific user browses to their Workspace. If you want to allow only yourself and a few other administrators to access the Workspace security tab, you do so via the Workspace Security feature.
Use the following steps:
- In Workspace click the Security tab then click the Workspace Permissions option
- Expand the Security node and click Workspace Permissions
- You should then see the users who have access to the Workspace Securities tab (it should be blank by default)
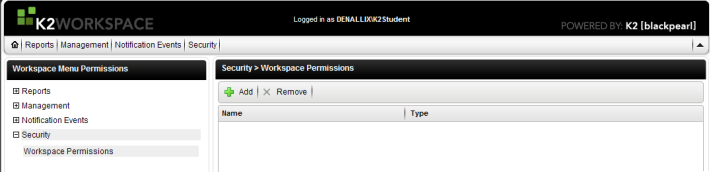
- To add users, click the Add button.
- In the Select Users/Groups window, select the desired search settings and type the name of the user you want to add in the Search text box and click the Search button. After the search is finished running, a list of users should show up in the Name section.
- Check the check box next to the user account(s) to be granted permission.
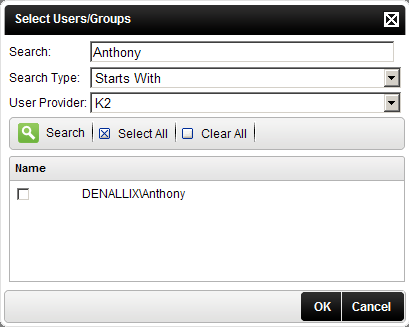
- Then click OK.
- The selected user(s) will now show up under the Workspace Permissions list.
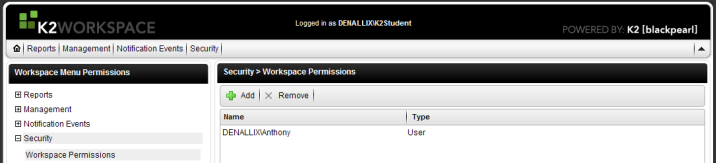
- Repeat the steps to add more users.
One important thing to keep in mind is that once any user is added in Workspace Permissions, only the specified users can see or access the tabs. In other words, once one or more users are added with restricted permissions, no other user can access any Workspace tabs (other than ‘Home’) without being explicitly added in Workspace Permissions.
Other Considerations
Security is not automatically set on K2 Workspace after installation: all users who log on to Workspace can access all Workspace elements. It is a good idea to secure your K2 Environment from unauthorized access and/or changes.
Once you have installed your K2 Environment, you should specify Workspace permissions right away. This will keep other users from adding themselves and inadvertently locking everyone else out.
Problem
If none of the users listed in the Management Console branch of Workspace Permissions have Admin rights set on the Workflow Server, no one will be able to access the Management Console.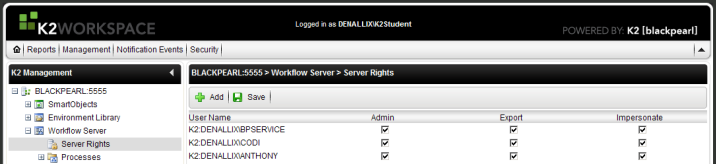
Error Resolution