How to modify the Notification Mail Template
KB000310
PRODUCTK2 blackpearl
TAGSK2 Designer for Visual Studio
LEGACY/ARCHIVED CONTENT
This article has been archived, and/or refers to legacy products, components or features. The content in this article is offered "as is" and will no longer be updated. Archived content is provided for reference purposes only. This content does not infer that the product, component or feature is supported, or that the product, component or feature will continue to function as described herein.
Introduction
K2 blackpearl can be configured to send notification e-mails to Destination Users within a process. By default, these notification e-mails are built on a notification mail template that has a K2-theme. This template can be modified so that notification e-mails are centric to your organization, etc. You can modify color schemes, fonts, layout, and any other HTML-based, non system element in the template. This article discusses high-level concepts with modifying the Notification Mail Template, including required components, and how to implement the template changes in your processes.
| Note: This document assumes some knowledge and familiarity with HTML. |
The Template File
The first step required is to back up the files involved. By default, the Notification Template file is located at:
<drive>:Program FilesK2 blackpearlHost ServerBinSourceCode.EventBus.ClientRecorder.DLL.mailTemplate
This default notification mail template can be viewed as an HTML file. An example of the format is displayed below:
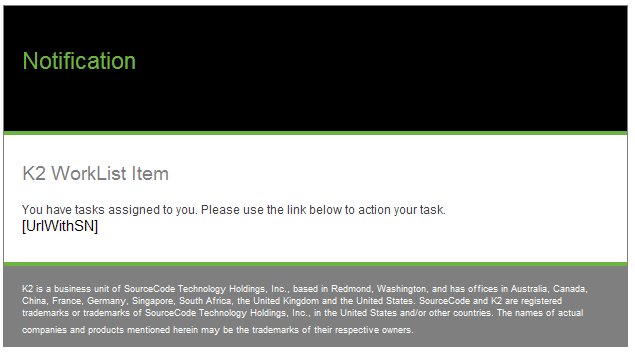
This default template, if rendered directly in a browser, includes a placeholder for the worklist item URL (“[UrlWithSN]”). This placeholder is the most important element in the template file.
| Important: The SourceCode.EventBus.ClientRecorder.DLL.mailTemplate must include the “[UrlWithSN]” placeholder in the rendered text of the HTML. Failure to do so will result in failed deployment for processes attempting to create Notifications. |
Modifying the Template File
- Once you have backed up the file (SourceCode.EventBus.ClientRecorder.DLL.mailTemplate, create a copy of the file, and add the “.html” extension.
- Open the “.html” copy of the file in an HTML editor (Visual Studio was used for all examples in this document).
- Make your desired changes.

Important: The SourceCode.EventBus.ClientRecorder.DLL.mailTemplate must include the “[UrlWithSN]” placeholder in the rendered text of the HTML. Failure to do so will result in failed deployment for processes attempting to create Notifications. - Save the file SourceCode.EventBus.ClientRecorder.DLL.mailTemplate.html.
- Confirm the changes suit your needs. [optional]
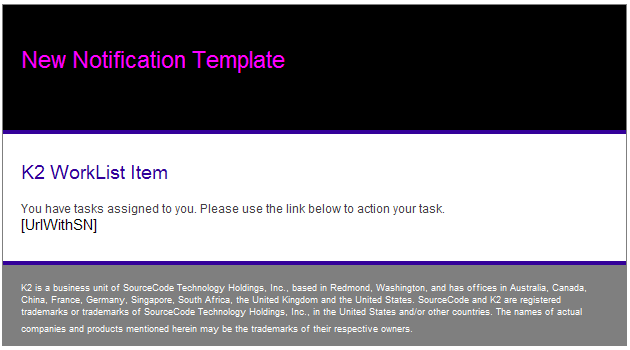
- Copy this file to the folder “C:Program FilesK2 blackpearlHost ServerBin”.
- Rename the existing SourceCode.EventBus.ClientRecorder.DLL.mailTemplate file (or move it out of the directory).
- Remove the “.html” file extension from your modified mail template.
Updating Notifications to Use the New Template
Once you have the new notification template in place, you can (re)create notifications based on this new template. Any notifications that already exist will not be updated unless you perform the following steps:
- In K2 Workspace, browse to the Notification Event Designer.
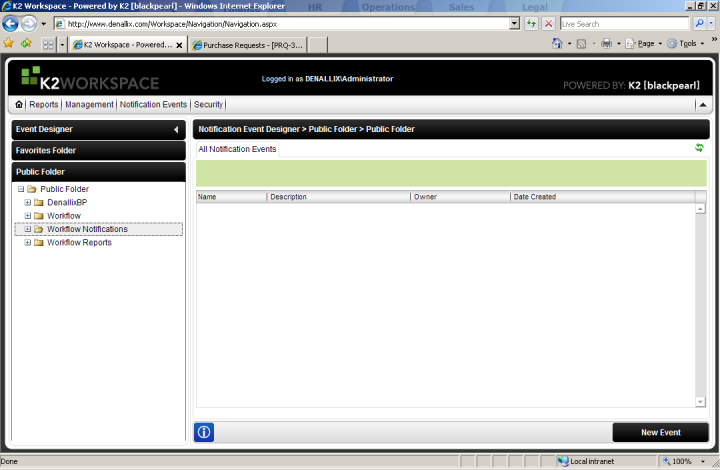
- In the left pane, expand Workflow Notifications.
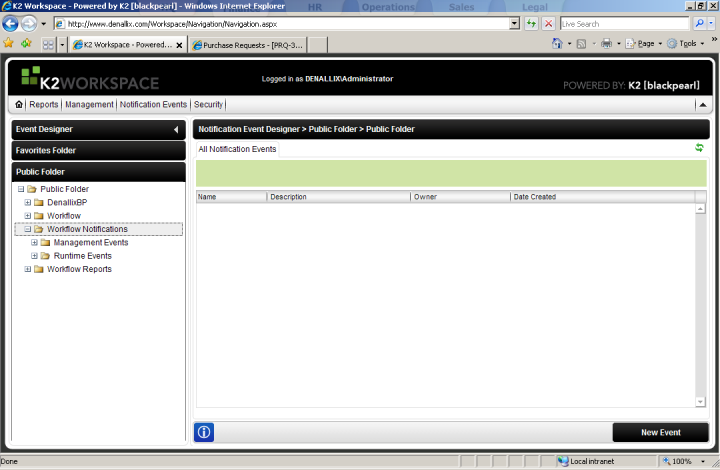
- Select Management Events.
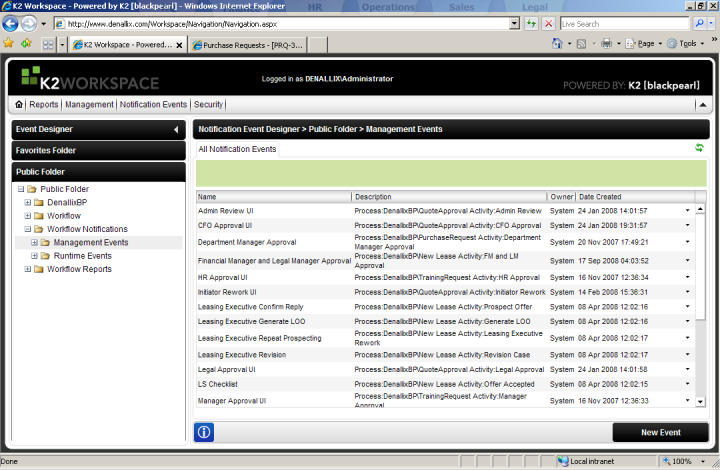
- Find the notification(s) for the process(es) you want to update. On the far-right of the screen, click on the small downward-pointing triangle.
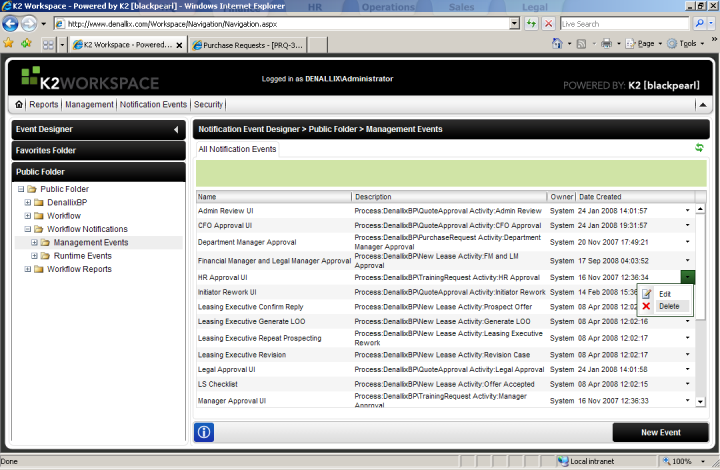
- Click Delete.
- In the left pane, select Runtime Events.
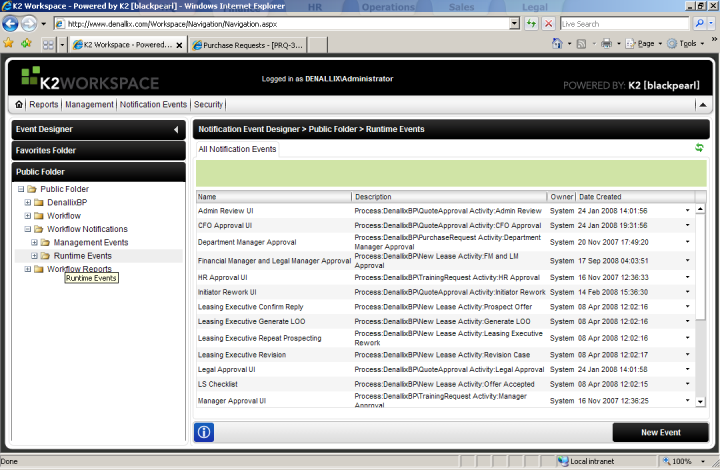
- Repeat steps 4 & 5 for the same notification/process combination(s).
- Redeploy your process. New notifications will be created upon deployment.


