Nintex Automation Cloud offers a powerful solution for managing data with its centralized Tables feature. Tables are designed for automation, enabling you to store, retrieve, and manage data directly within the platform. This reduces the need for external applications and offers a more secure, integrated approach to data management.
Benefits of Using Tables
- Centralized Data: Organize your process-related data in rows and columns, with each row representing a unique record and each column containing specific information about that record.
- Seamless Integration: Designers can easily use tables in workflows and forms, making data easily accessible across different processes.
- Scalability: Tables can handle a large volume of data, with the ability to create up to 5,000 tables per tenant, each table supporting up to 25 columns and 50,000 rows.
- Security: User roles and permissions ensure that only authorized individuals can view or modify table data.
How to Use Tables in Nintex Automation Cloud
1. Access the Tables Page
To access Tables: Go to the Automate tab in the top navigation bar. Select Data from the left-hand menu to view existing tables.
2. Creating a Table
- Click Create table, then enter a name and description.
- Optionally, you can check the data stored in this table will not be in English checkbox. A drop-down menu will appear for select a language if the data is not in English.
- Once created, the table will appear in the list, where you can begin adding columns and rows.
3. Checking Data Usage
To monitor data usage: Click Table usage in the top-right corner of the Tables page to see the total number of tables and rows in your tenant.
Managing Table Data
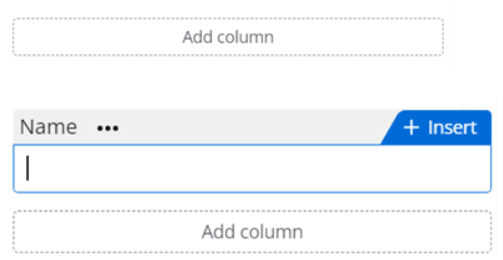
1. Adding Columns
Each table can have up to 25 columns. Supported data types include:
- Text (up to 500 characters)
- Choice-Single (dropdown options)
- Number (decimal or integer values)
- Date/Time (date in a specific format)
- Yes/No (Boolean values)
2. Adding Rows
You can add rows manually or via a Nintex Automation Cloud workflow.
3. Setting Permissions
Permissions control access to table data:
- Table Owners: Can fully manage the table and its data.
- Users: Can access data in workflows and forms but cannot edit it.
- Administrators: Have full control over all tables within the tenant.
Permissions can be assigned at the user or group level to restrict access as needed.
Advanced Features
- Sorting: You can enable sorting on up to 10 columns for easier data management.
- Editing Rows Per Page: By default, 100 rows are displayed per page, but this setting can be customized.
Step-by-Step Guide to Using Tables in Nintex Automation Cloud Workflows
Query a Table in Nintex Automation Cloud
Step 1: Open Your Workflow
- Log into Nintex Automation Cloud and open your workflow or create a new workflow.
Step 2: Add the "Query Table" Action
- In the workflow designer, search for the Query Table action by typing "query or Table" in the action search bar. Drag and drop the action into your workflow where needed.

Step 3: Choose the Table to Query
- Once the action is added, select the table you want to query from the dropdown menu. This will list all tables available.

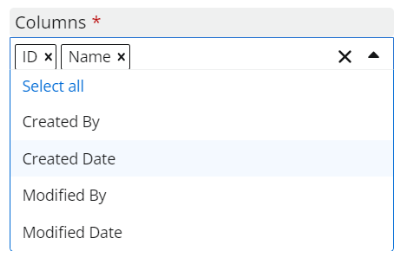
- Choose the columns you want the query to return (i.e., which fields from the table you want to extract). This helps control which data is passed to the next actions within your workflow.
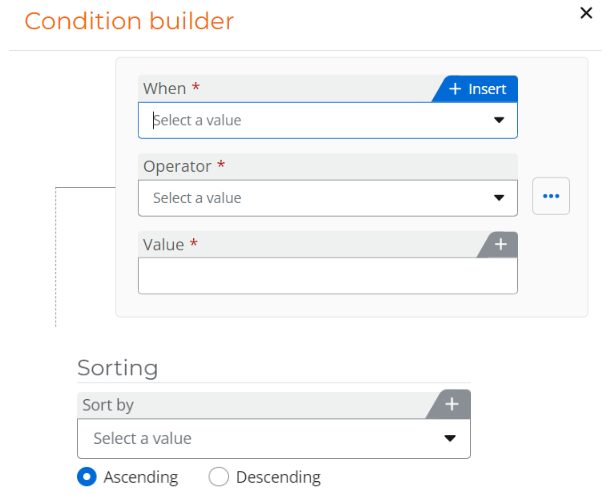
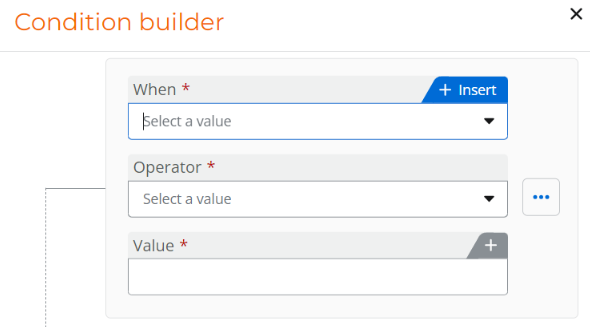
Step 4: Define Query Filters
- To narrow down your results, add filters based on specific criteria. For example, you can filter rows where a column equals or contains a certain value (e.g., "Order Status = Pending"). You can set multiple conditions to refine your query further, such as using AND/OR operators to combine different filters.
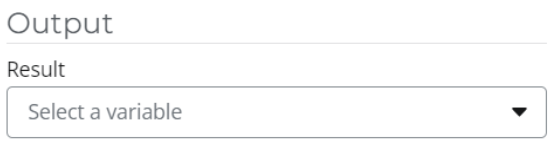
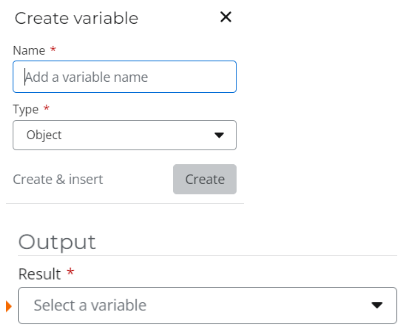
Step 5: Assign Output to Variables
- Define the variables that will store the results of the query. This should be an object variables. The data retrieved from the query will be stored in these variables for use later in the workflow.
Step 6: Use Query Data in Workflow
- Once the table data is stored in variables, you can reference it in subsequent actions, such as:
- Sending emails based on the queried data.
- Looping through the collection of rows and performing actions on each one.
- Updating other systems or triggering additional workflows based on the results.
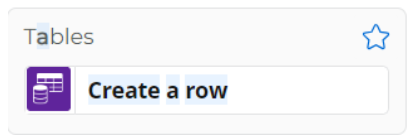
Create a row in Nintex Automation Cloud
Step 1: Add the "Create a row" Action
- In the workflow designer, search for the Create a row action by typing "Create a row or Table" in the action search bar. Drag and drop the action into your workflow where needed.
Step 2: Choose the Table to Query
- Once the action is added, select the table you want to query from the dropdown menu. This will list all tables available.
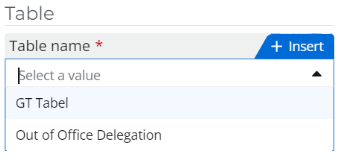
- Click Add a column and enter data into the required column

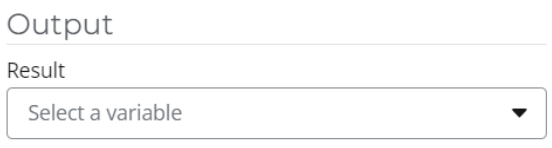
You can create an Object variable for storing Results.
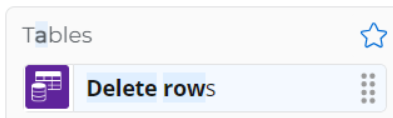
Delete a row in Nintex Automation Cloud
Step 1: Add the "Delete a row" Action
- In the workflow designer, search for the Delete a row action by typing "Delete a row or Table" in the action search bar. Drag and drop the action into your workflow where needed.
Step 2: Choose the Table to Query
- Once the action is added, select the table you want to query from the dropdown menu. This will list all tables available.

Step 3: Define Query Filters
- Add filters based on specific criteria. For example, you can filter rows where a column equals or contains a certain value (e.g., "Order Status = Pending"). You can set multiple conditions to refine your query further, such as using AND/OR operators to combine different filters.
Update a row in Nintex Automation Cloud
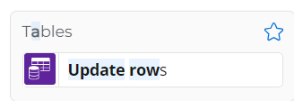
Step 1: Add the "Update a row" Action
- In the workflow designer, search for the Update a row action by typing "Update a row or Table" in the action search bar. Drag and drop the action into your workflow where needed.
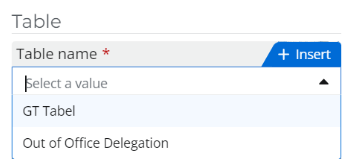
Step 2: Choose the Table to Query
- Once the action is added, select the table you want to query from the dropdown menu. This will list all tables available.
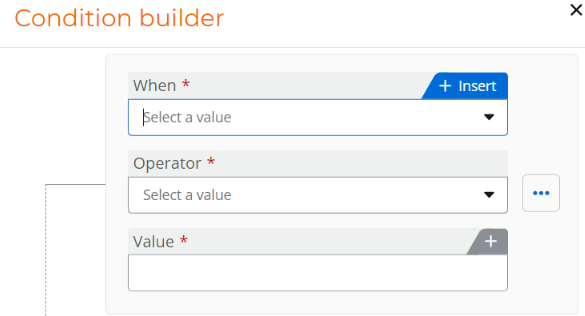
Step 3: Define Query Filters
- Add filters based on specific criteria. For example, you can filter rows where a column equals or contains a certain value (e.g., "Order Status = Pending"). You can set multiple conditions to refine your query further, such as using AND/OR operators to combine different filters.
- Click Add a column and Update the column with a new value.
-
You can create an Object variable for storing Results.