
This is a brief guide on how to correctly use a drop-down control in an Editable List View column in SmartForms. For the sake of this tutorial, I am going to create a basic SmartBox SmartObject to hold our list column data, but you can use any pre-existing SmartObject for this. If you have your own List View ready to go, you can skip to the ‘Configuration’ section below.
Set Up
- Open K2 Designer
- Right-click on an existing Category and select ‘New Category’.
- Right-click on your Category and select ‘New SmartObject’.
- In the SmartObject wizard, add a ‘Year’ field with ‘Number’ type. (This is where we will store the output of the drop-down)

- Save the SmartObject.
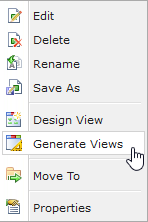
- Right click on the SmartObject and select ‘Generate Views’.
- Select ‘Editable List’ and click ‘Okay’
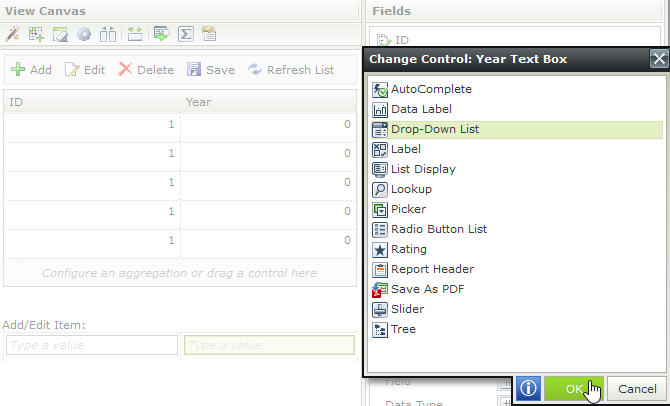
 ‘Change Control’ button.
- Select ‘Drop-Down List’ and click ‘OK’.
- In the properties box in the bottom right corner, scroll down to the ‘Data Source’ section and click the ellipses next to ‘Type’.
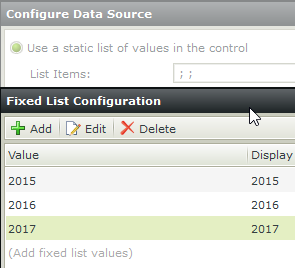
- Select ‘Use a static list of values in the control’ and configure.
Note: You can alternatively use a SmartObject as a data source for your drop-down, just make sure your ‘Value’ and ‘Display’ fields are set to the field that you wish to see within the drop-down.
- Add some items (with identical ‘Value’ and ‘Display’ data) and confirm your changes.
- In the properties box in the bottom right corner, under the ‘Settings’ section, uncheck the ‘Allow Empty Selection’ box.
- Click ‘Rules’ at the top and edit the ‘When the View executed List item changed’ rule.
Note: This rule is triggered after editing a list view row and either pressing Enter or clicking outside of the rule.
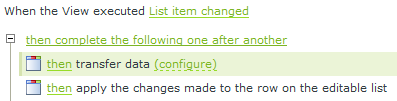
- Add a ‘Transfer data’ Action above the pre-existing rule, then click ‘configure’.
- Expand the green SmartObject reference at the bottom left, then expand the ListName -> Controls -> Add/Edit Row hierarchy in the Context Browser on the right.
- Drag the ‘Year Drop-Down List’ into the ‘Year’ field of the SmartObject reference and confirm your changes.

Note: Without adding the ‘Transfer Data’ step, the view won’t know to use the default value of the drop-down (when no values have been manually selected) and the column will remain blank after editing. In the context of this rule, the SmartObject reference fields (as seen above) refer to the specific List View row that was edited. Putting data in these fields is not the same as saving data to the SmartObject. This will only add data to the temporary reference that is used to display unsaved changes on the List View (as if someone typed something into the field but did not click save).
- Save the View.
- You can quickly test your view by right-clicking on it in the Category window on the left and selecting ‘Run’.
