
Question
How are conditional styles used?
Answer
Conditional styles can be used on both Forms and Views and can change the styling of many different controls.
In this example a View is going to have conditional styling added to a row:
1. In K2 Designer a list view has been created and a row that returns the ID values of the associated list will be modified to return a conditional style to a row in a specific state:
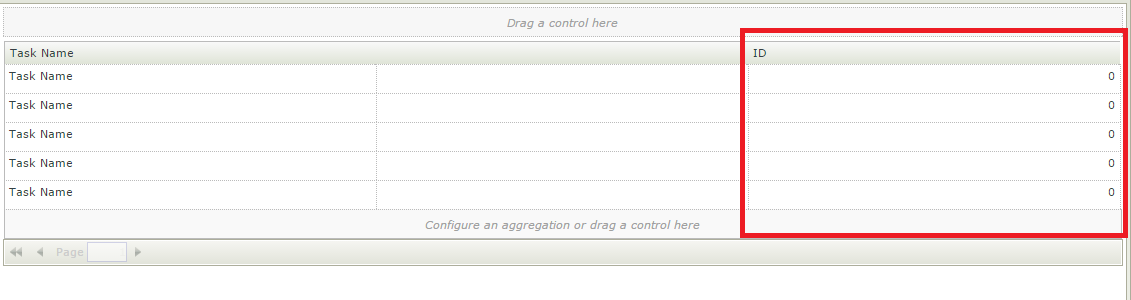
The first step in this process is to select this row.
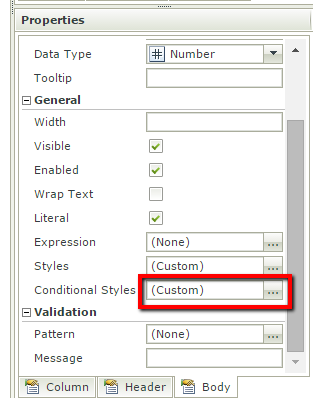
2. After the row has been highlighted you will next need to open the wizard for Conditional Styles found in the Properties section of the selected row:
3. In the Conditional Formatting wizard select Add to add a new condition you will then see the Add Conditional Formatting wizard:
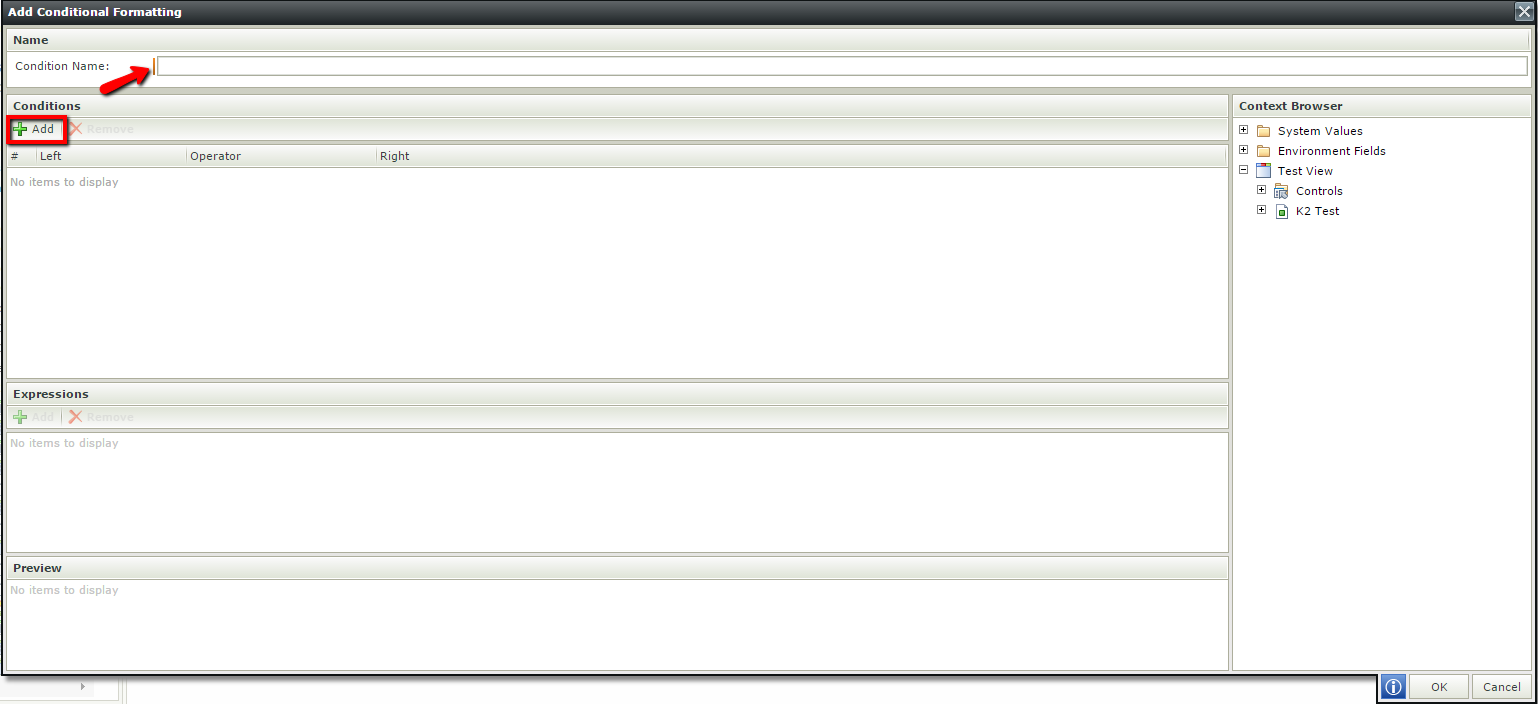
4. The first item you will need to add is a unique name for your condition. Next click the add button to add a new condition:

5. When you have included the condition you will be prompted with additonal input in the form of the Style Builder:

6. You will next need to add what styling you are wanting to achieve and once this has been completed click okay to complete the process.
7. Now that the configuration has been completed you may now save the view and test it to check if the conditional style has been applied:
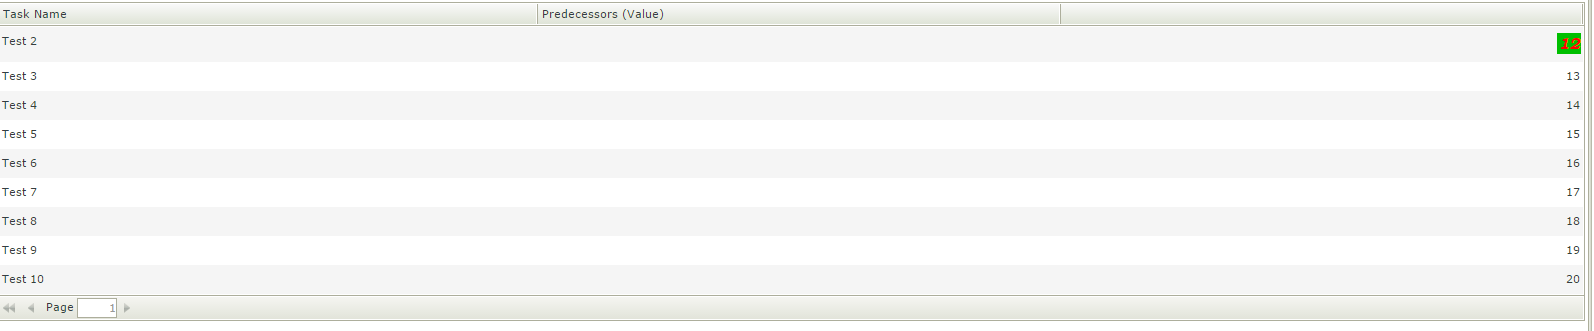
As seen in this example a unique conditional style has been applied successfully.
