

Below is a brief guide on how to create a custom Worklist web part with your own styling, theme, permanent filters, and sorting.
- In K2 Designer, create a new form with a background grid
- Drag in a Worklist control from the Controls menu on the right
- Click on the Worklist control and access its Properties window in the bottom right
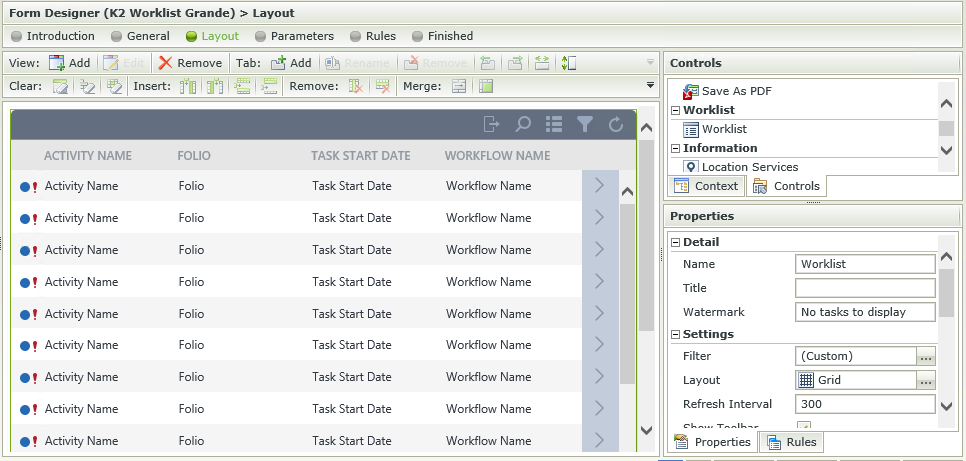
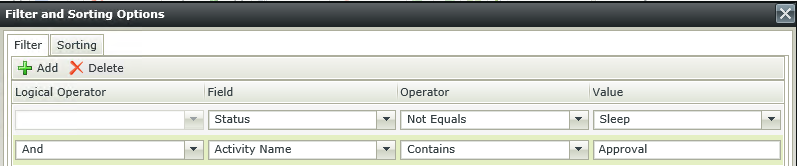
- Change logical filters, sorting rules, theme and styles as desired
- Save the form
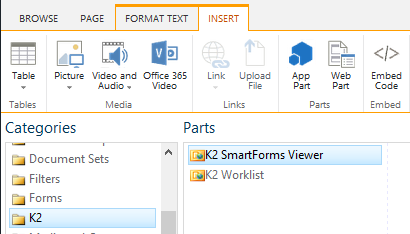
- On your SharePoint site, access the 'Page' ribbon tab and click 'Edit'

- Click 'Insert', select 'Web Part', and find the 'K2 Form Viewer'
K2 for SharePoint vs Appit:
- Click 'Add' to insert the Web Part into the page
- Search for your form, select it, and click 'Submit' to permanently set the Web Part as that Form
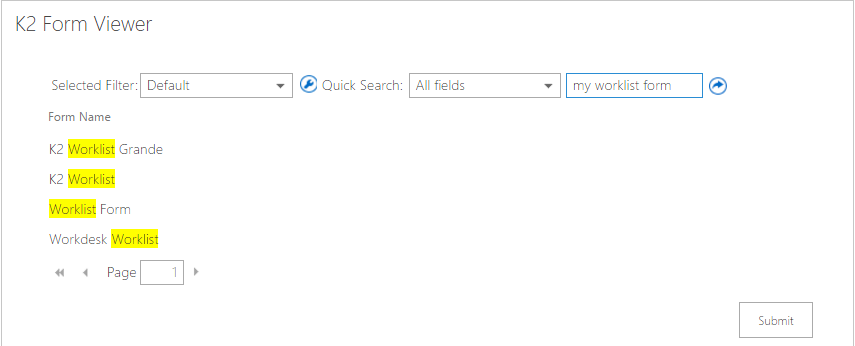
- Click 'Save' on the SharePoint ribbon to save your changes
Your customized Worklist will now be on display in SharePoint. Make sure to 'Check In' the form in Designer so others can see your customizations.
