What is Azure Data Factory?
In essence, it is a service that lets you transfer data between systems, bi-directionally if you require it to. Azure Data factory has a vast number of connectors available, making it really easy to import (and export) data from pretty much any standard data source out there. Some examples include:
-
Azure SQL
-
Excel (why is this not in a DB?)
-
Microsoft Access
-
MySQL
-
OData
-
Oracle
-
REST services
-
SAP ECC
-
ServiceNow
Why should I care?
Most companies understand the benefits of moving to the cloud and have a roadmap in place to get there. The challenge is that not all systems move over to the cloud at the same time. And as we all know, most applications make use of more than one data source. This creates a chicken and egg type of dilemma, what system moves to the cloud first and how do we keep the dependent systems still stuck on premises functional?
We can pay for a VPN or a similar solution that creates a tunnel between our on-premises network and the system in the cloud, but this can get really expensive. Or we can move all dependent systems in one go, but this is a complex and risky undertaking.
This is where Azure Data Factory saves the day. It surfaces the on-prem data to the cloud using replication with very low cost. Below is a snapshot of high-level cost at time of writing: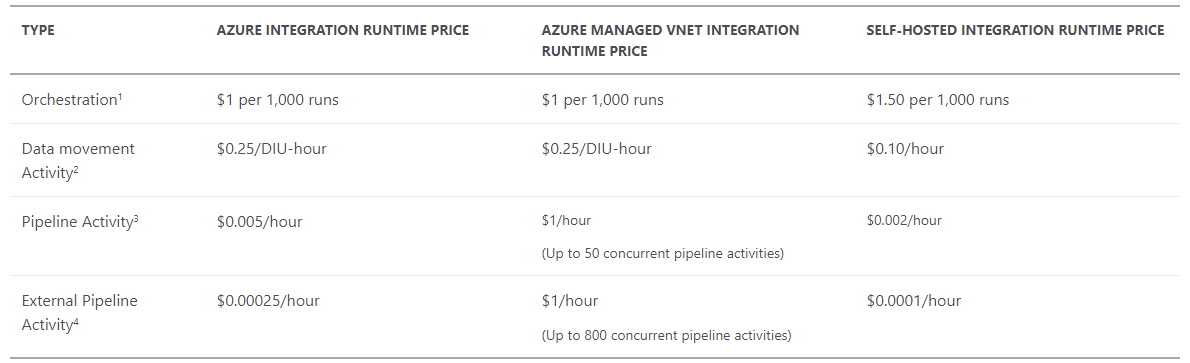
Use the following link for the latest pricing:
Data Pipeline Pricing and FAQ – Data Factory | Microsoft Azure
Now, this approach will not work for all scenarios, but what we've seen is that the majority of related data needed is for lookup data, the type of data that does not change frequently. Think Cost Centers, Departments, Expense Types. If the data captured in cloud needs to be replicated back, it will also not be available immediately, there will be some delay depending on the configuration of the Integration runtime.
Data Factory Architecture
Here's a basic diagram of all the parts involved
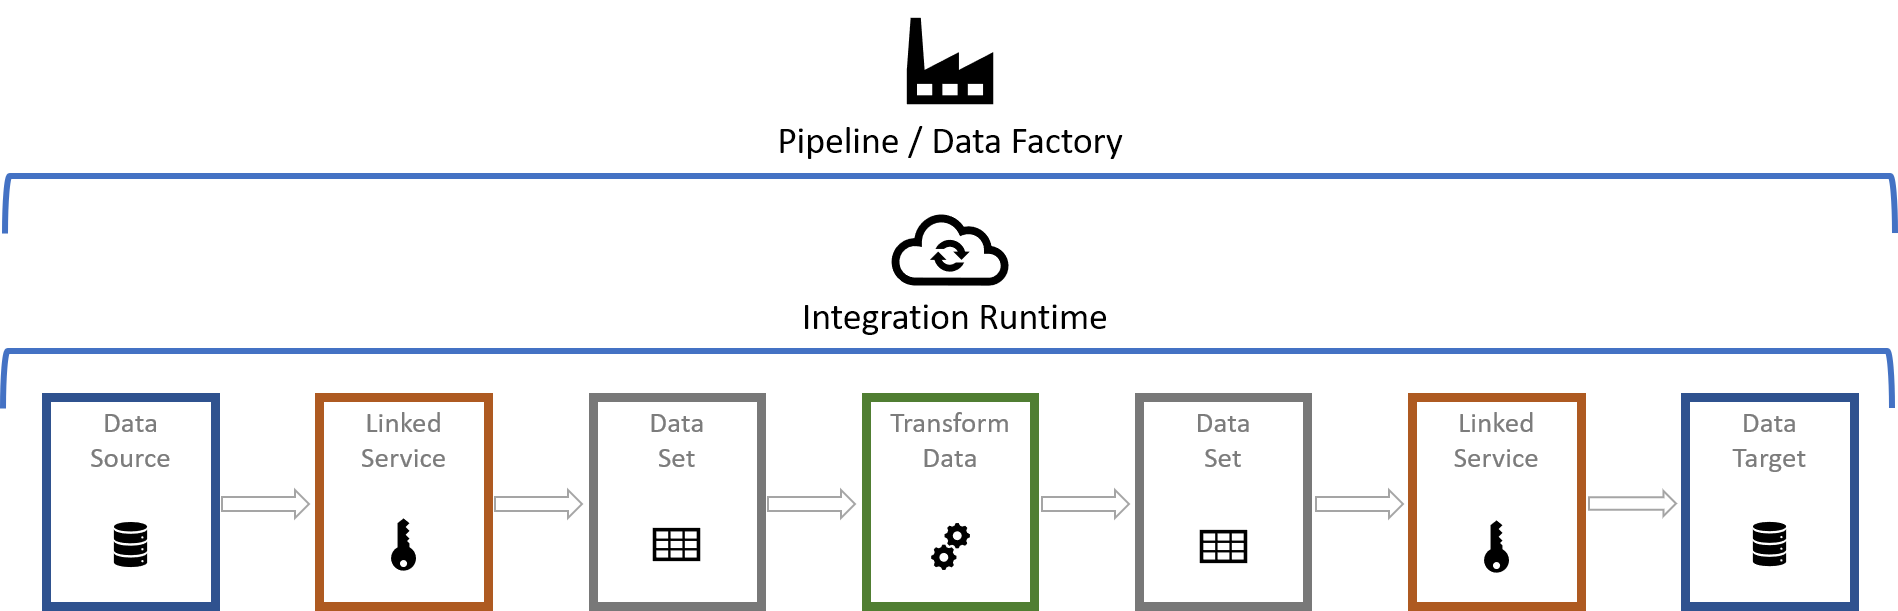
For the purposes of this post, a basic understanding of the components should suffice. You will need:
-
A Data Source - Where the data will be pulled from, CSV file, SQL Database, Oracle, etc.
-
Source Linked Service - Secure connection to the data source
-
Source Data Set - Describes the data pulled from the source
-
Activity - The action needed to be performed on the data
-
Target Data Set - Describes the data to be pushed to the destination
-
Target Linked Service - Secure connection to where the data will reside
-
Data Target - Final data source where the data will be available from
This execution is overseen by the Integration pipeline, which in turn is managed by the Data Factory, which can have multiple pipelines.
For more complex environments and scenarios, Linked Services can be shared for both the Source and Target Linked Services.
Configuring the Sync
For our example, we will create a duplicate a table of our Cost Centers data from our on-prem SQL database to our Azure SQL database, where NWC and K2 Forms can pull this data from, using Xtensions and SmartObjects. The assumption here is that the on-premises and Azure SQL databases with the table structures have already been provisioned, so we will just be setting up the Data Factory pieces.
Create a new Factory
- Start by creating a new Data Factory. After logging into Azure Portal, click the Create a resource button:

- Search for Data Factory in the Marketplace textbox and click the Create button once you've selected the item from the autocomplete list.
- Select the Subscription and Resource group (or create new ones if they do not exist yet), select the region, enter a Name for the factory, mine is called CostCenterData and ensure that Version is set to V2.
- Click Next : Git configuration and check the Configure Git later checkbox.
- Next, click Review + create, the rest of the settings are optional and not important for this topic.
- Click Create to start provisioning.
- Once provisioning has been completed, a confirmation message will be displayed, click Go to resource.
Create the Pipeline
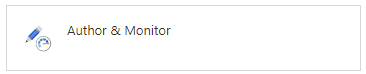
- Under the Overview blade, click Author & Monitor:
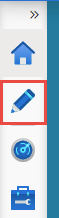
- The Azure Data Factory will load, it takes a few seconds, then click the Author icon on the top left:
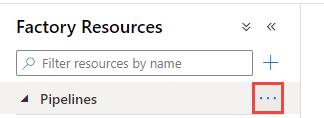
- As we described in the architecture picture, we need to start by creating a pipeline. Mouse-over the Pipelines topic, click the ellipses button and then New pipeline:
- Give it a name, I called mine Cost Center Pipeline.
Add an Activity
- The next step is to add an activity to the pipeline. Expand the Move & transform category, then click and drag Copy Data onto the pipeline canvas on the right:
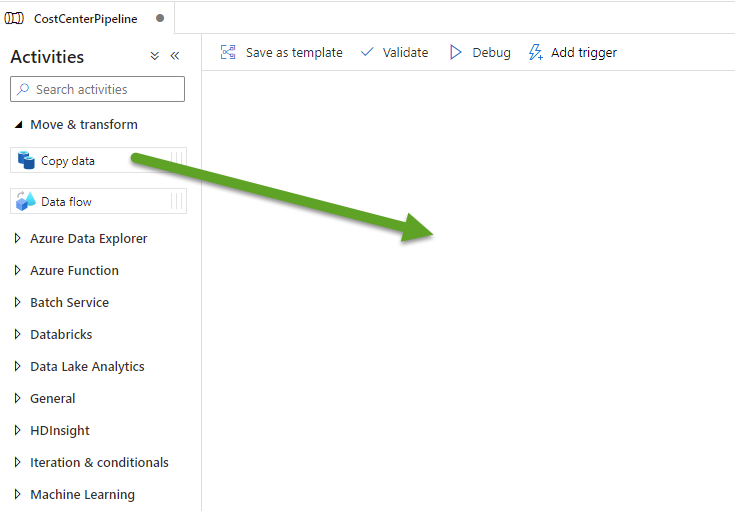
- In the General Tab below, provide the Activity with a Name. I called mine Copy Cost Center Department Data.
Create the Source Dataset
- Next up, we need to set up the Source. Click the Source tab and then configure the Source Data Set. This can be done upfront by selecting Datasets or done inline by clicking the + New button, the route I will be taking.
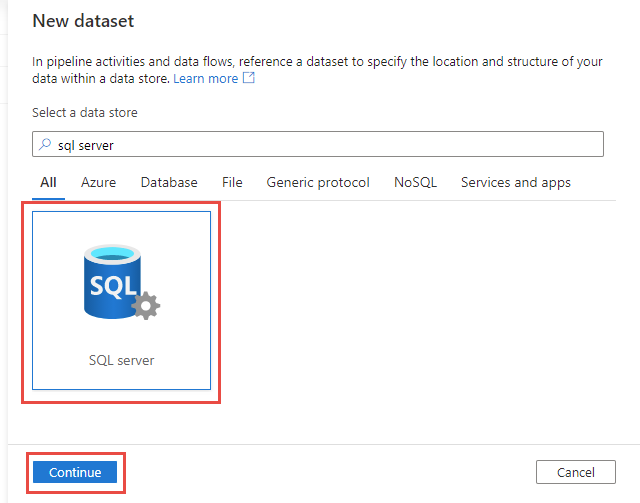
- In the New dataset blade, search for SQL Server, select it and click the Continue button at the bottom:
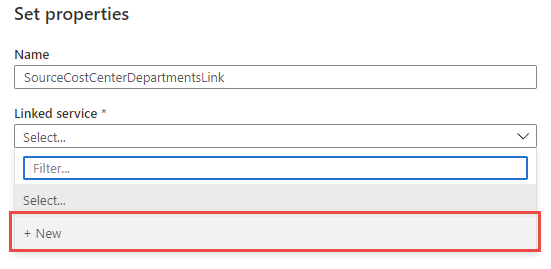
- Provide a Name, this one I called SourceCostCenterDepartmentsLink (no spaces or special characters) and then select the + New option in the Linked service dropdown list:
Create the source Linked service
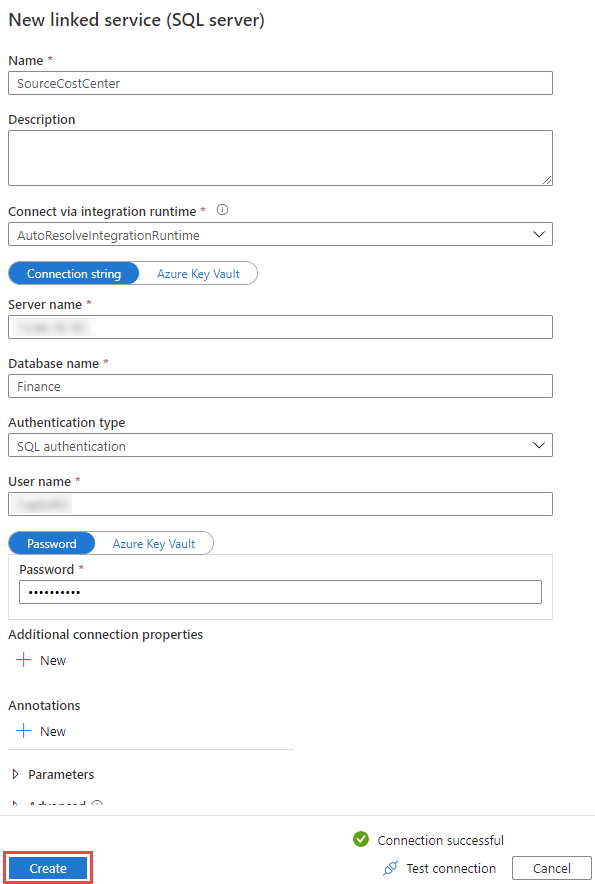
- The New linked service (SQL Server) blade will slide out, give it a name and complete the rest of the connection details, like the server name (or IP), database name, authentication etc., then click Test connection to validate. Click Create to complete:
- The previous step will create the connection and explore the tables. Select the first table that needs duplication from the Table name dropdown list and click OK:
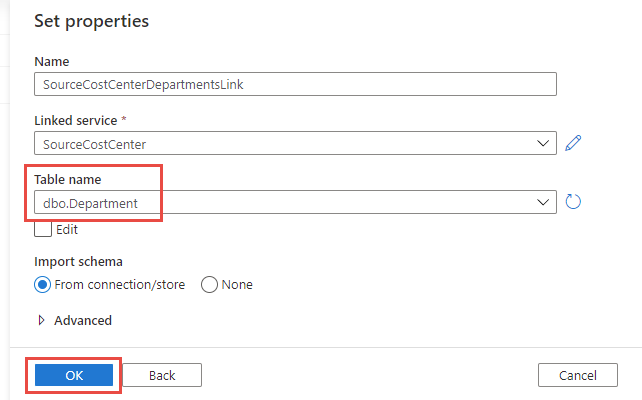
Note that you can also use queries or stored procedures as source as well, it doesn’t have to be a table to table copy.
Configure the Sink portion
- Next up, click the Sink tab. This is also still highlighted with a warning since it has not been configured yet:

- As with the Source, we can use the + New button to create a connection to the target Azure SQL, click it.
- This time, search for Azure SQL Database in the New dataset blade, select it and click Continue.
- Give it a name, mine is called SinkCostCenter, and complete the configuration of a new linked service: Provide the details to the target Azure SQL database, select the db using the subscription info or enter it manually. Click Create.
- Back in the Dataset Properties blade, select the target table, Department in my case and click OK.
- At this point, you should be able to click Validate and ensure that everything created and configured is valid.

- One can also check the mappings using the Mapping tab and clicking Import Schemas. This will show you how the columns will be mapped across. Most of the time, since the tables are similar, it will be able to figure out the mappings without issues. You can alter these if need be.
Run it
- In the top menu, click Debug:

- This will execute the query and allow us to fix anything before publishing. Once completed, you will get a status and it should read Succeeded:

- At this point you can also open the table in the Azure SQL database, the values are now replicated.
- Adding subsequent transformations are easier, as the connections can be reused. Just drag a new Copy Data Activity and configure it using the existing Linked Services when setting up your Datasets.
Your data sources are replicated and can be used from your cloud resources.
Triggers
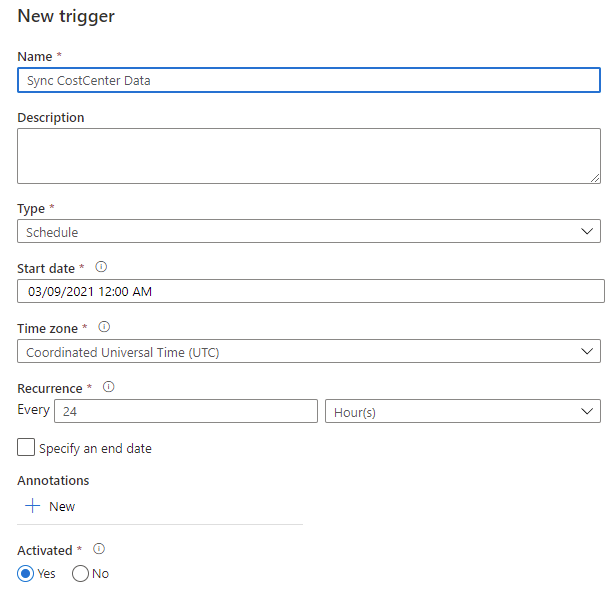
The easiest way to have these run regularly is to create a Trigger for the pipeline. Simply click the Add Trigger button on top, select the + New in the Choose trigger dropdown list and complete the trigger setup. I configured mine to run everyday at 12:00AM:
Once everything is configured, click the Publish all button on top and after the first sync, your NWC Xtension via an Azure function or K2 SQL Service Instance can now consume the data.

Final Thoughts
- One can set up bidirectional sinks. So we can capture information on the cloud side and then sink it once or twice a day. This however needs careful planning and will only work for instances where having data available to the others systems can allow for the delays between syncs.
- If you simply run this every time you will get duplicates or primary key errors. The easiest solution would be to clear all the records before execution happens, using a DELETE FROM [Table] script in the Sink's Pre-copy script.
- When clearing data is not always possible, the best approach is to use Merge the data. Here's a link to some documentation:
Copy and transform data in Azure SQL Database - Azure Data Factory | Microsoft Docs
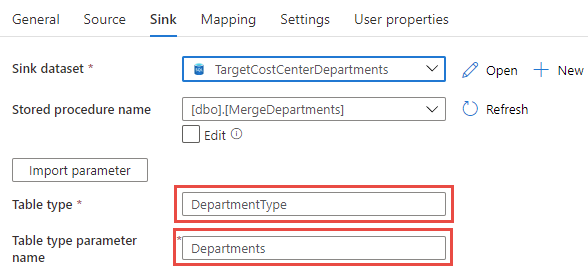
Some pointers that are not blatantly obvious:- In step 1, you create a new Type that is a table. It's not a new table.
- The values for the Table Type and the Table type parameter name excludes the schema and parameter annotation. For example, my table type was called [dbo].[DepartmentType], but the correct value is DepartmentType. The store procedure has the parameter defined as @Department, but the value is Departments in the configuration: