

How to customize the background and border colors of the warning message on a control(s) when validation fails
Objective
The objective of this article is to customise the background and border colors of the warning message on a control(s) when validation fails.Before You Begin
This KB provides a way to configure background and border colors on a control when the validation fails. K2 has the default capability to do this but only the red-purple color is available. Here we show you how to choose a color of your choice.How-to Steps
Please follow these steps:
A. Configure validation rule
In this example we will use the following rule pattern to customize our validation using a 'Text Box Control'.
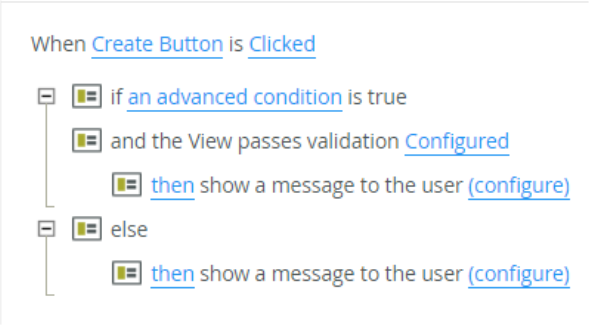
1. Configure the event rule

2. Configure the condition rule
3. Inside the condition rule, add the condition
4. Add the condition rule
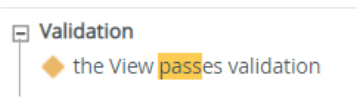
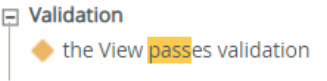
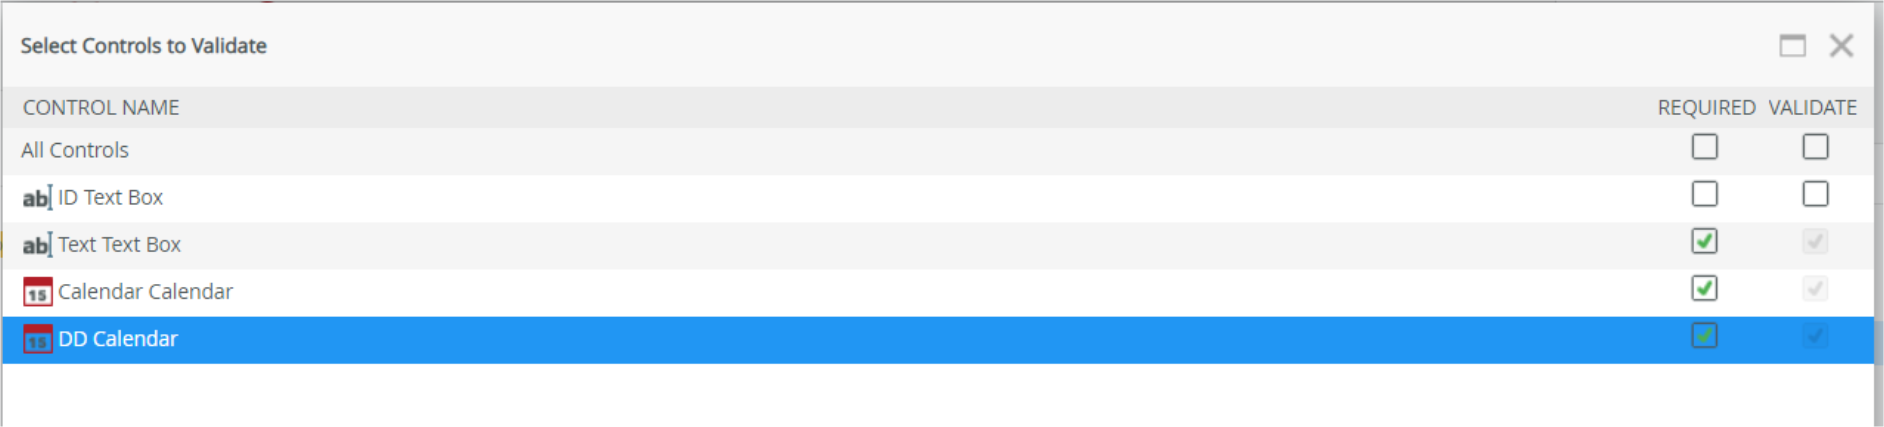
5. In this rule, click on ‘Configure’ and mark all the controls you would like to validate
6. Add the ‘Show a message’ action rule, type in the message you would like to see when the controls pass validation
7. Add the ‘Else’ condition rule
8. Add the ‘Show a message’ action rule, type in the message you would like to see when the controls fail validation.
B. Configure 'Conditional Styling' of the control (text control)
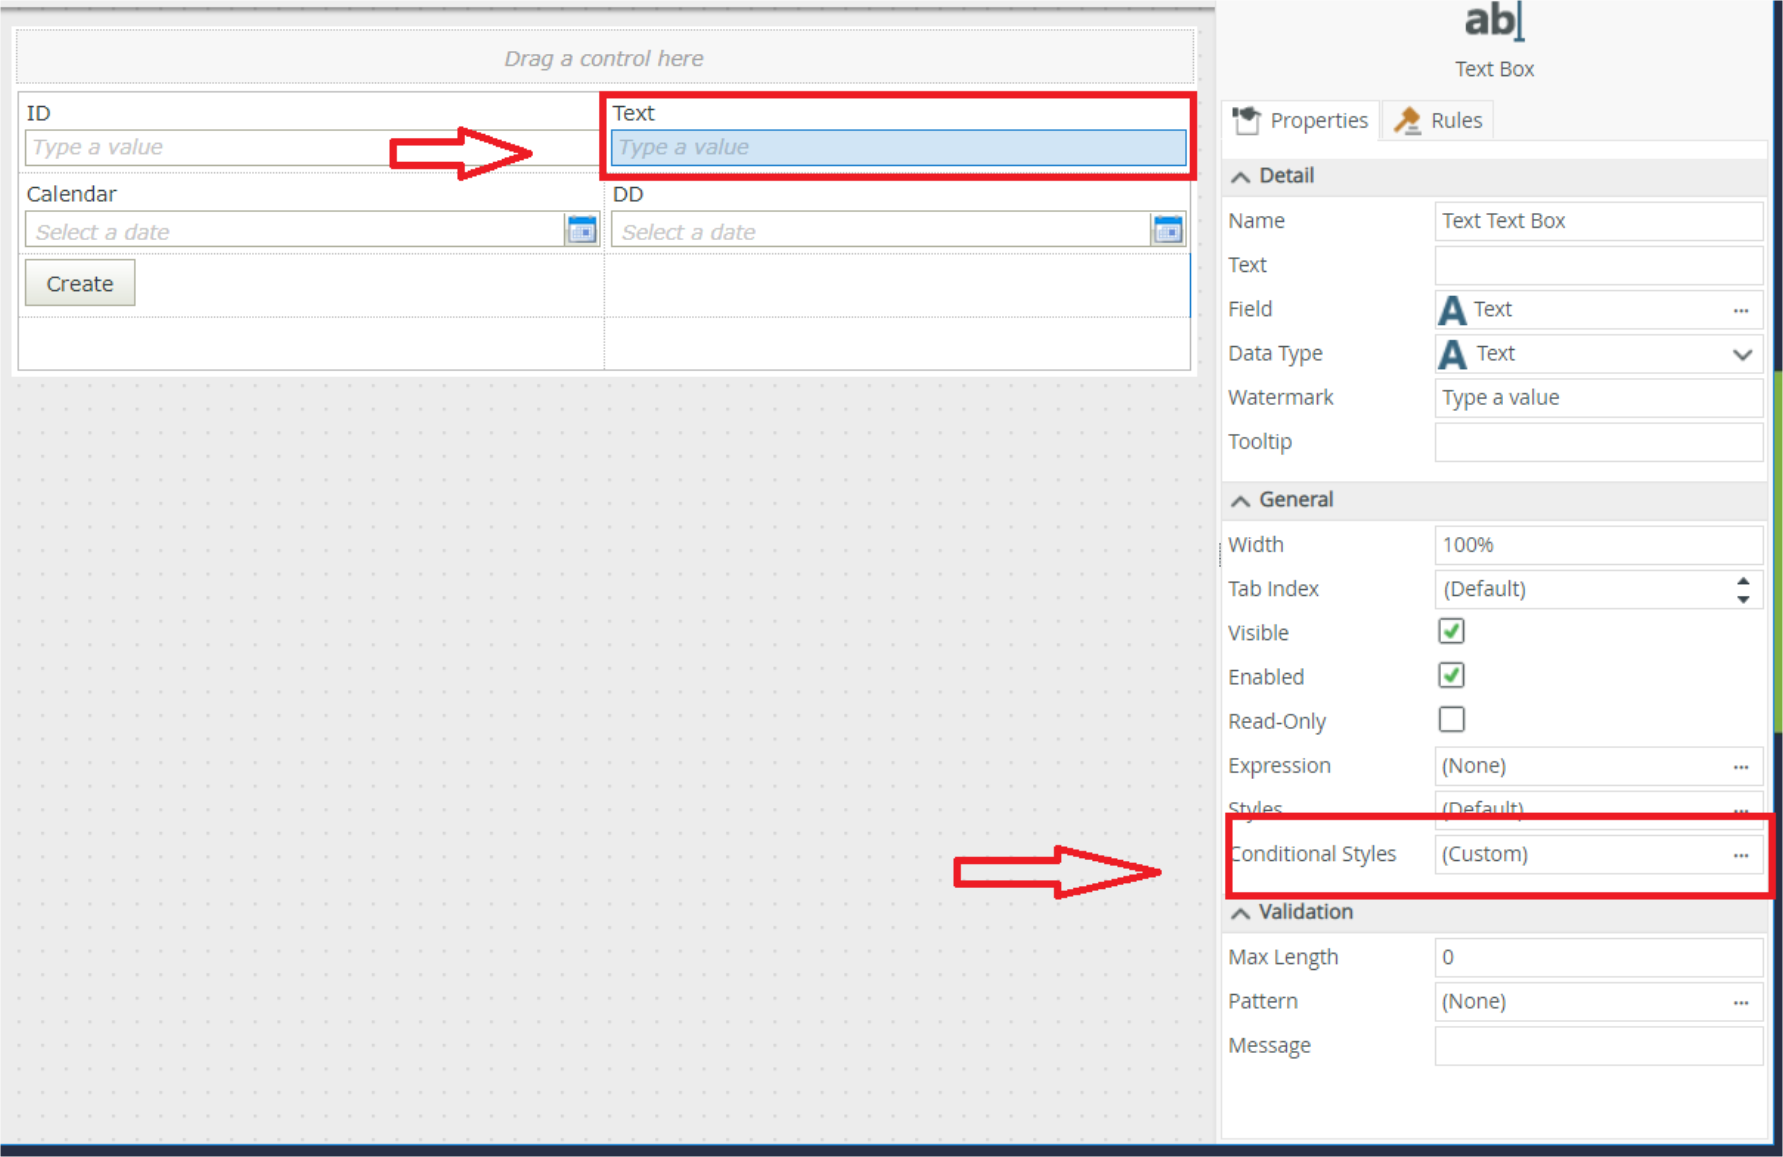
1. Click on the control to highlight it
2. Then click on the ‘Conditional Styles’ ellipses
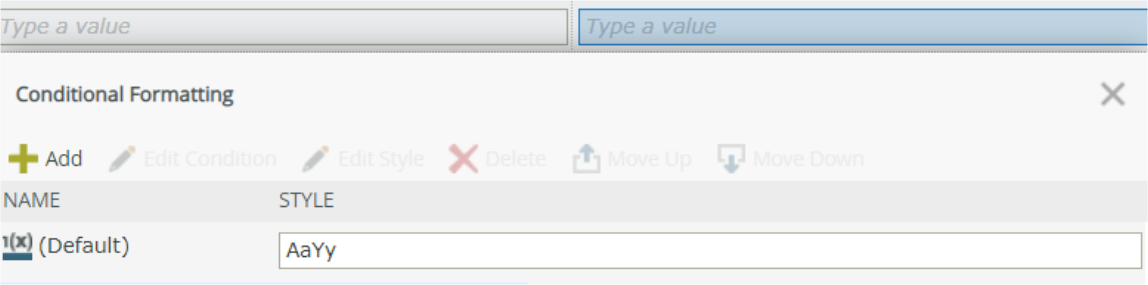
3. Click the ‘Add’ button to Add conditional formatting
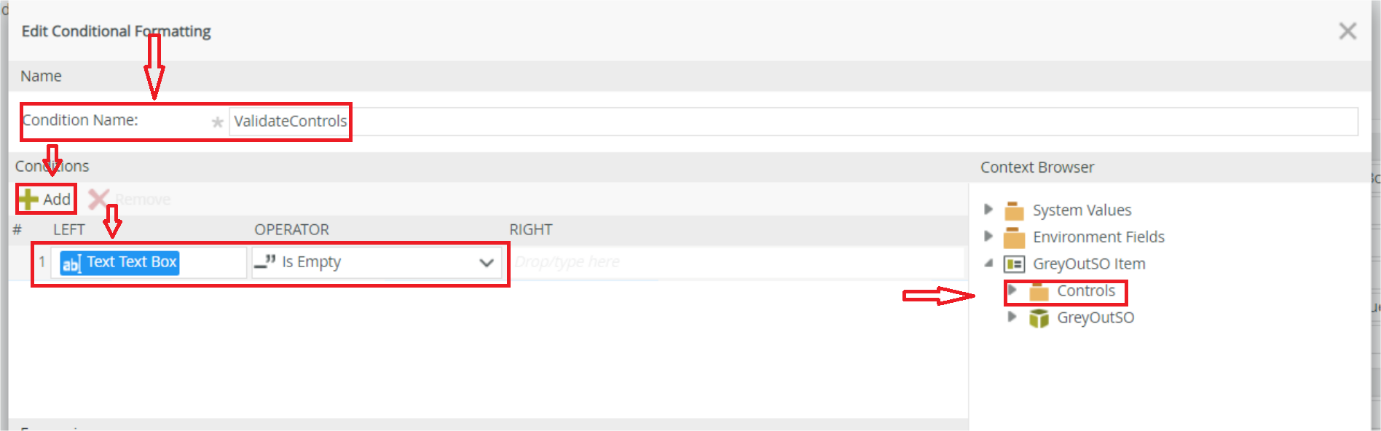
4. Add the Name
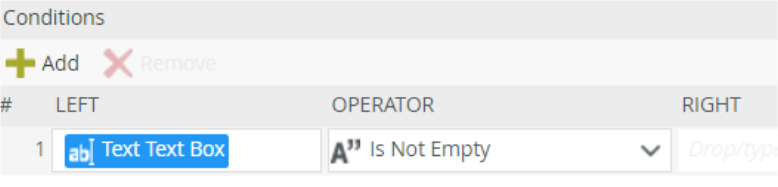
5. Add the Condition
6. Expand the 'Controls' drop-down on the right and drag it to the left side of the Conditional Formatting
Select ’ _”is Empty’ on the ‘Operator’ drop-down list and click ‘OK’
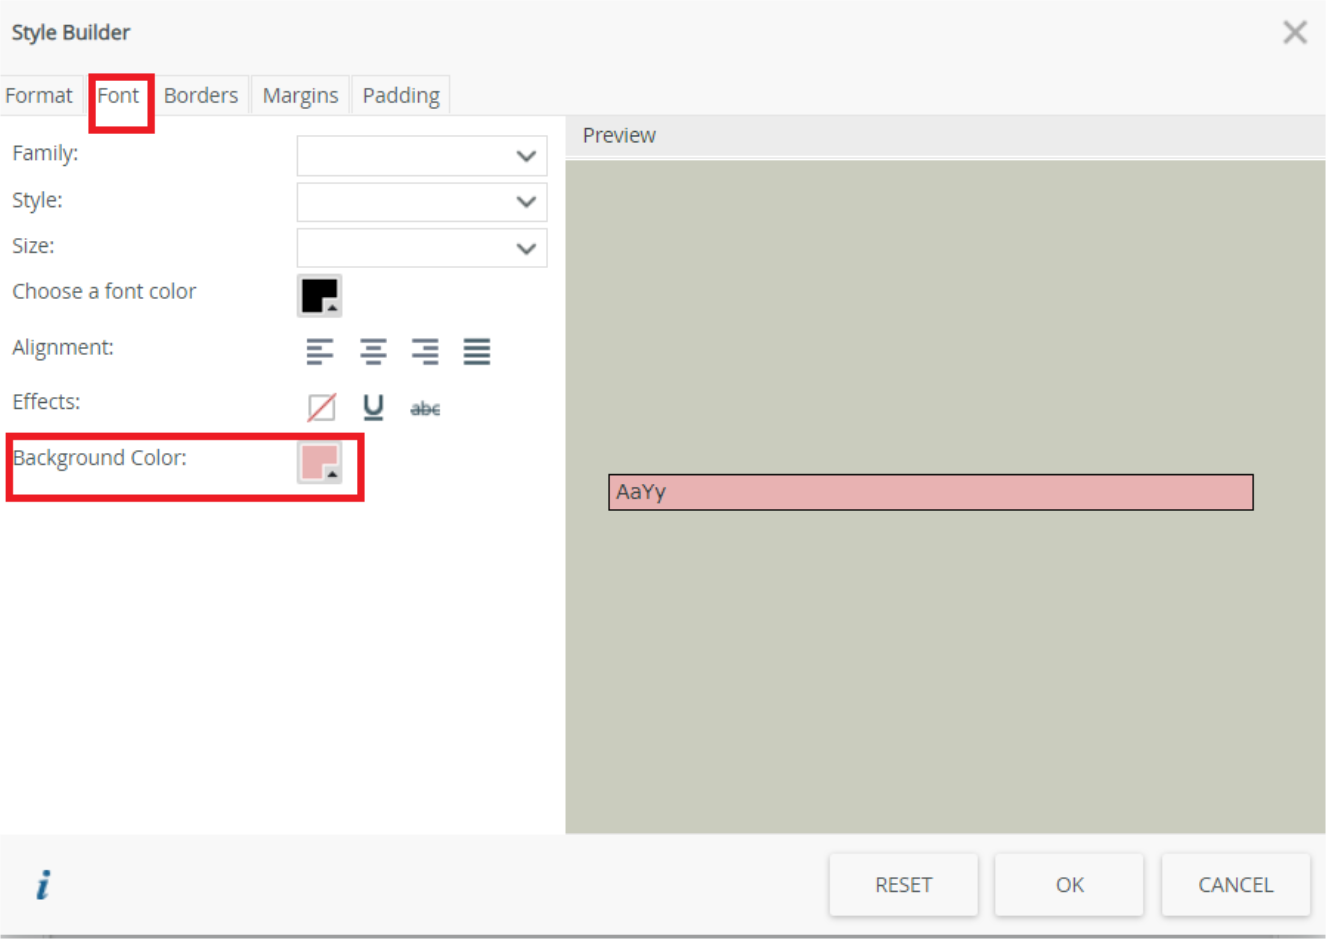
7. After clicking ‘OK’ it will take you to the 'Style Builder' window
8. Click on the ‘Font’ tab and go to ‘Background Color’ to set the background color of your control
9. Use the highlighted tabs to set the ‘Border’ color of your choice
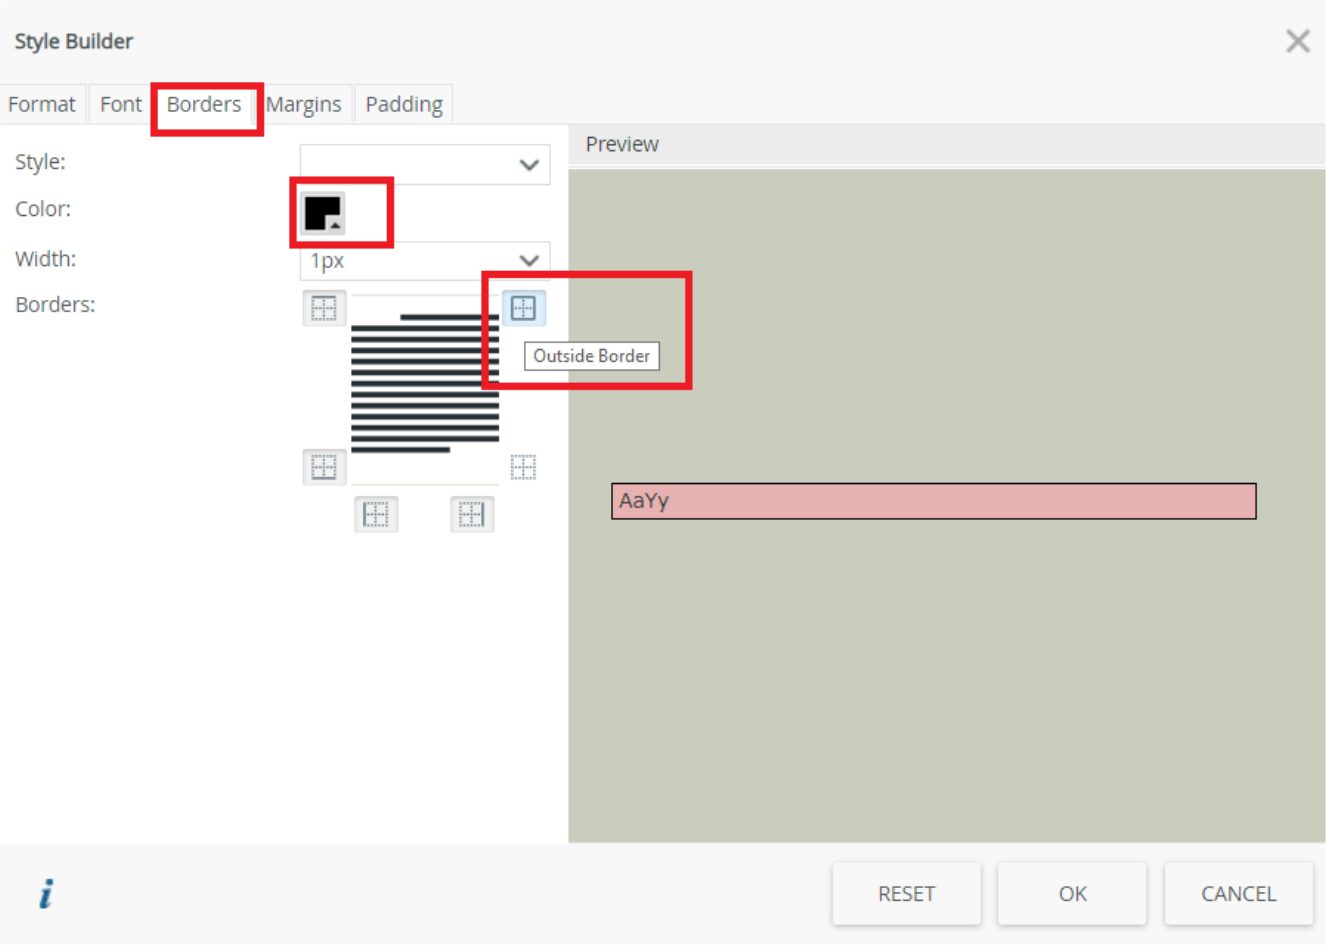
10. Click OK.
