Installing Oracle 11g & 12g and configuring service objects in K2 Blackpearl
KBS100029
PRODUCTObjective
How to install and configure K2 Blackpearl & Oracle 11g or 12g.Before You Begin
- K2 blackpearl & Smartforms 4.7 (Installer)
- Oracle 11g or 12g (Installer)
- Java SDK (Installer)
- Sqldeveloper (Installer)
How-to Steps
Step 1
- Download and install – jdk-8u45-windows-x64.exe
http://www.oracle.com/technetwork/java/javase/downloads/java-archive-javase8-2177648.html
Step 2
- Download and extract "OracleXE112_Win64"
- Run setup.exe under "...OracleXE112_Win64DISK1"
http://www.oracle.com/technetwork/database/enterprise-edition/downloads/112010-win64soft-094461.html


- Click Next
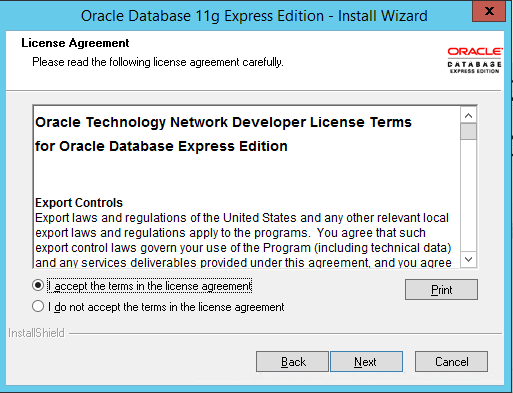
- Agree to the Licence Agreement
- Click Next
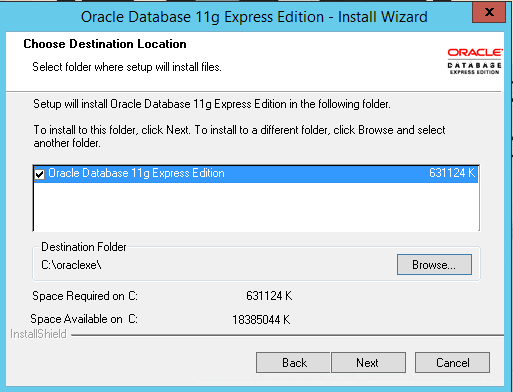
- Select the location to install Oracle on the Server “C:oracleexe”
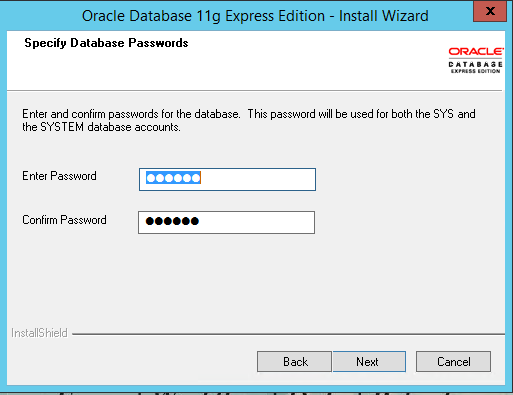
- Create a password for the Oracle Instance
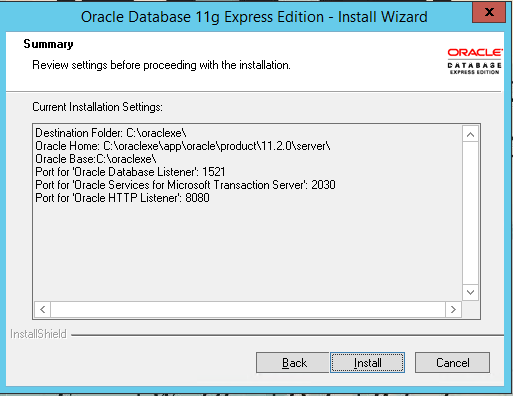
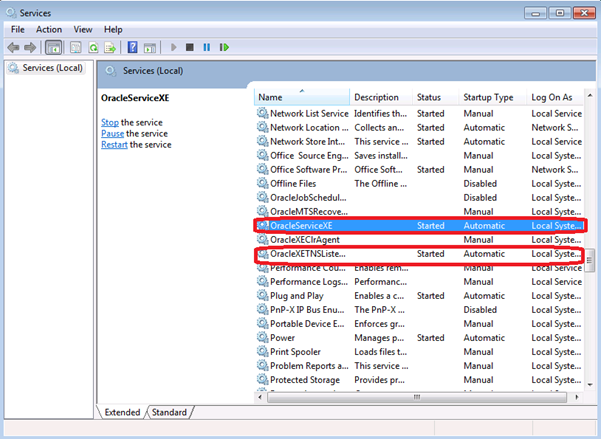
- A summary of the installation of Oracle Install appears.
This takes between 10 -15 minutes depending on the environment.
Step 3
- Download and extract the file "sqldeveloper-4.1.0.19.07-no-jre" from:
http://www.oracle.com/technetwork/developer-tools/sql-developer/downloads/sqldev-downloads-41-2592723.html
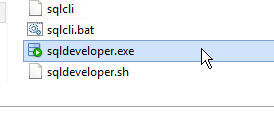
Run sqldeveloper.exe under "...sqldeveloper-4.1.0.19.07-no-jresqldeveloper"
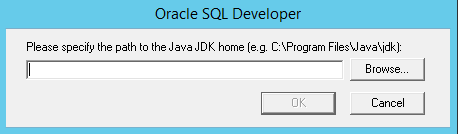
Specify which Java JDK location was installed on your local environment. (Make a note of this when installing Java JDK.)
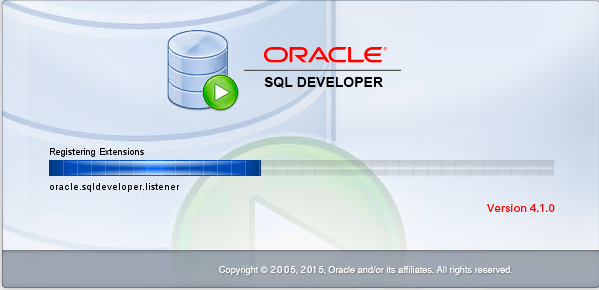
- When it has completed, the Oracle SQL Developer interface will appear.
Step 4
When you create a new connection on Oracle, take note:
- The default Connection Name is “XE”
- The default Username is “system”
- The Password created in an earlier step.
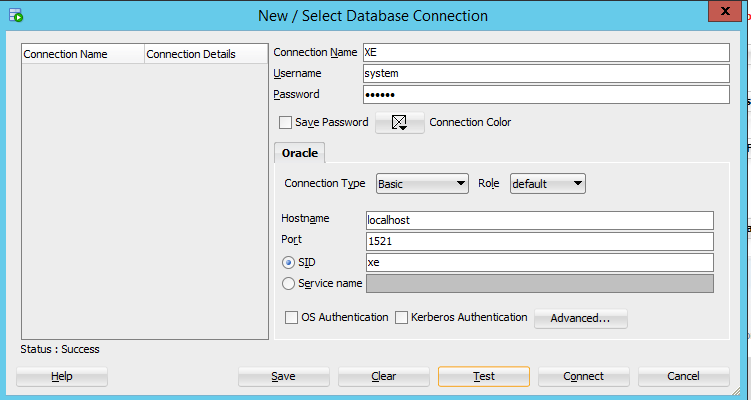

To run a new Query:
- Go to the Main Screen and click on the XE instance. (Below is an example.)
- Create a new connection as the SYSTEM user with the password "k2pass" (as above).
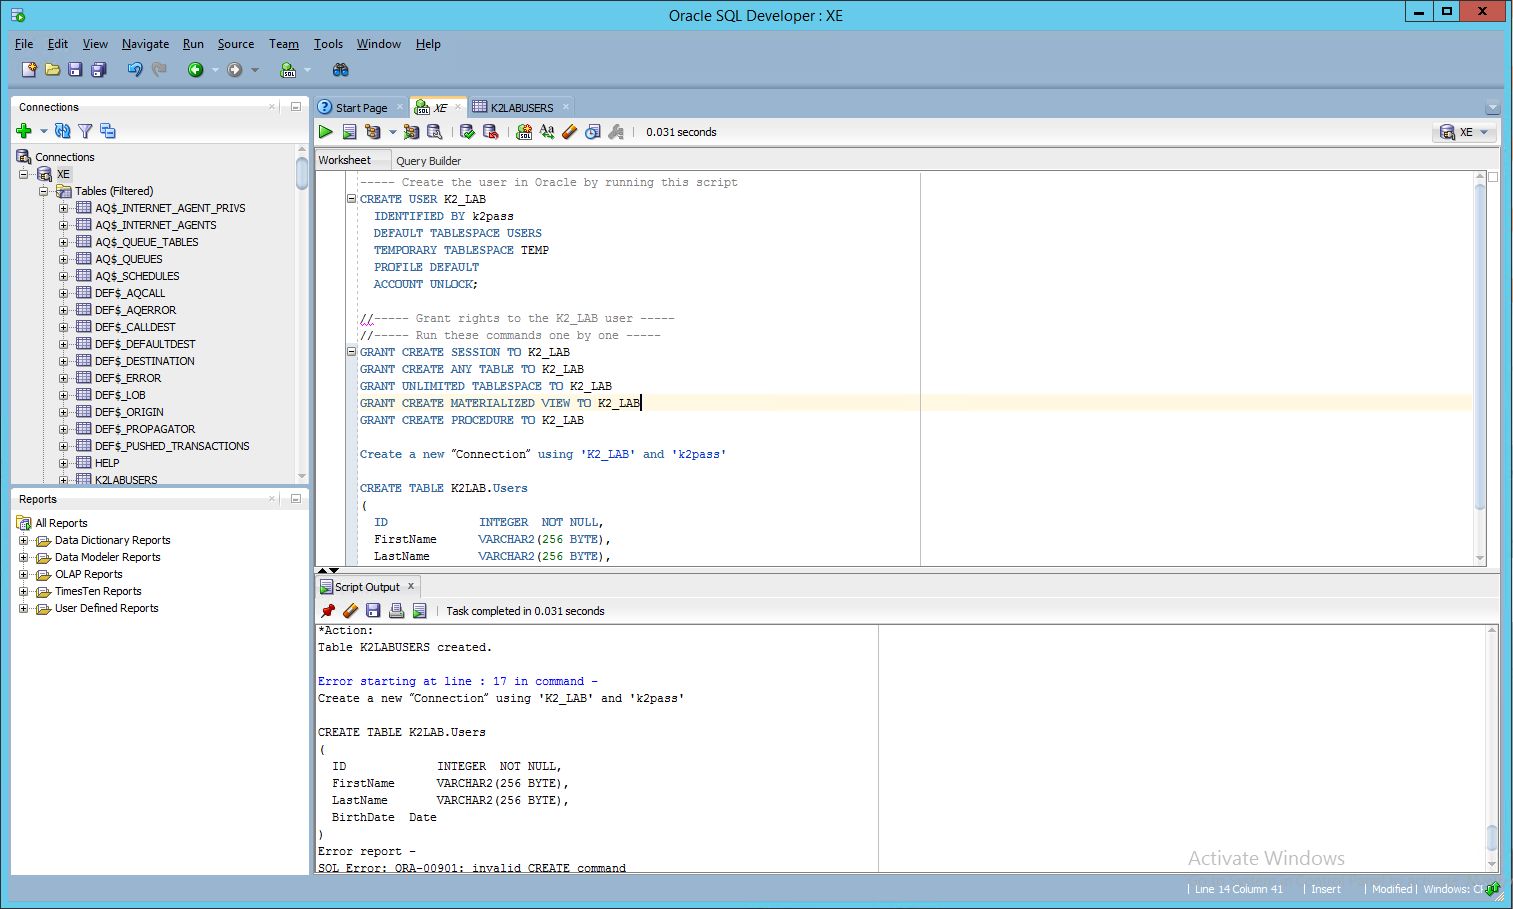
Perform the following as the "SYSTEM" user:
- Create the user in Oracle by running this script:
CREATE USER K2_LAB
IDENTIFIED BY password
DEFAULT TABLESPACE USERS
TEMPORARY TABLESPACE TEMP
PROFILE DEFAULT
ACCOUNT UNLOCK;
//----- Grant rights to the K2_LAB user -----
//----- Run these commands one by one -----
GRANT CREATE SESSION TO K2_LAB
GRANT CREATE ANY TABLE TO K2_LAB
GRANT UNLIMITED TABLESPACE TO K2_LAB
GRANT CREATE MATERIALIZED VIEW TO K2_LAB
GRANT CREATE PROCEDURE TO K2_LAB
- Create a new “Connection” using “K2_LAB” and “password:”
//----- Create tables
CREATE TABLE K2_LAB.YOURTABLENAME
(
ID INTEGER NOT NULL,
FirstName VARCHAR2(256 BYTE),
LastName VARCHAR2(256 BYTE),
BirthDate Date
);
Step 5
- Next you need to reconfigure the K2 Blackpearl component.
Step 6
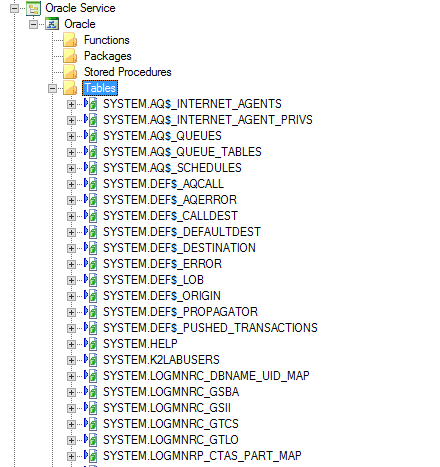
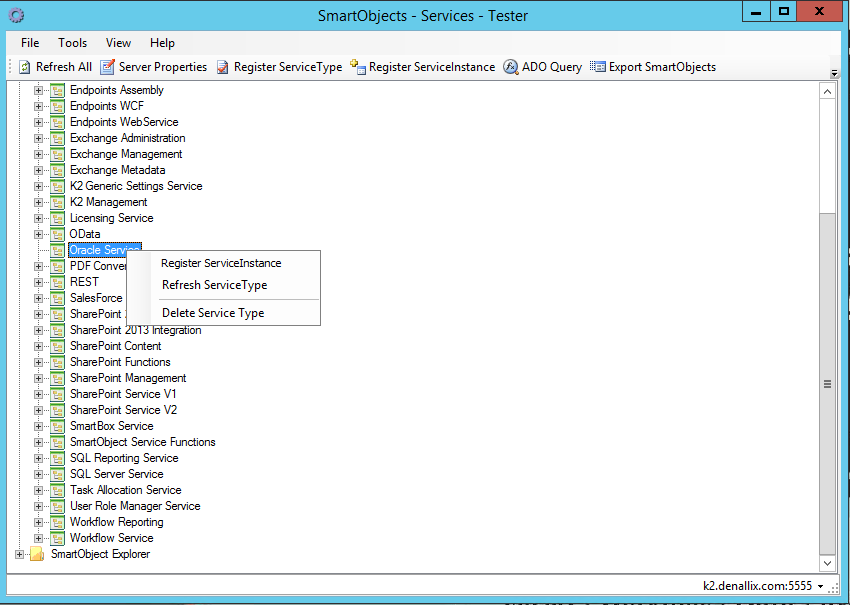
- Open the SmartObject tester Tool (C:Program Files (x86)K2 blackpearlBinSmartObject Service Tester.exe)
- Expand the ServiceObject Explorer and navigate to the Oracle Service instance. Right-click and select Register a new service Instance.
Next you need to add in the Connection String for Oracle:

Below is an example of how the Oracle Service Instance is configured - this is just with the Connection String added.
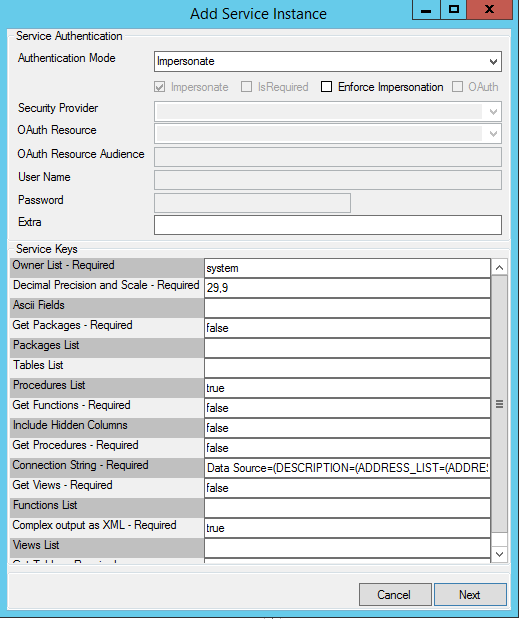
After configuring this, click Next and the service instance will be configured to create SmartObjects from Oracle.
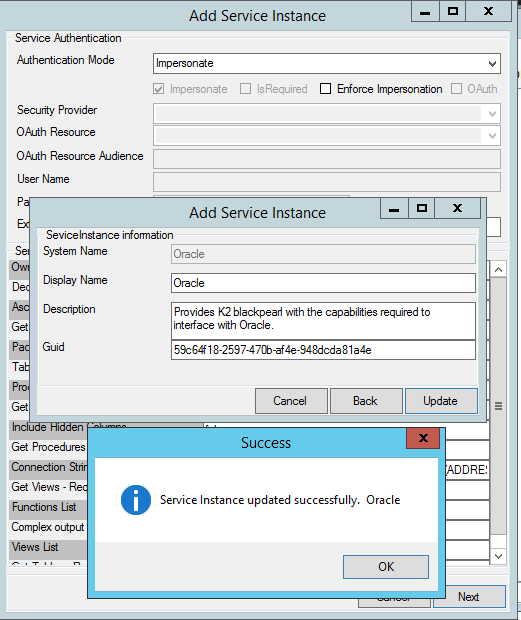
A message appears that states: Service instance updated successfully.
Click OK.