

A Dynamics 365 workflow process can be used to automate the sending of envelopes based on assigned events or statuses.
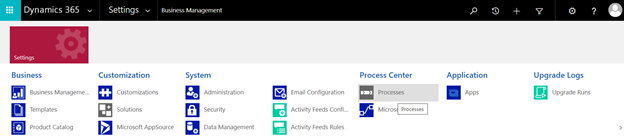
To create a process using a Dynamics 365 workflow, first, click Settings. Next, under the Process Center column, click Processes:
Next, on the Process page, click New in the ribbon:

A dialog window will display. Populate the appropriate values for the required fields and click OK:
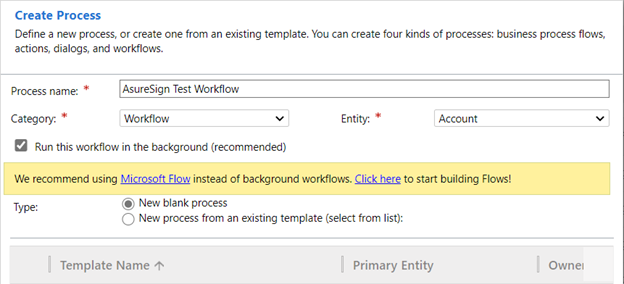
- Process name: - give it an appropriate name to describe your process.
- Category: - Set this to ‘Workflow’
- Entity: - Select the entity from which an envelope will be created
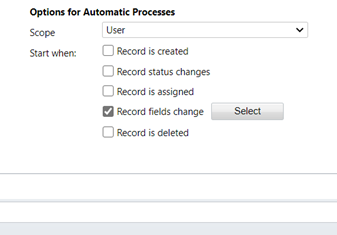
Once you've clicked OK, you will be redirected to the envelope settings window. Here you will need to specify the Automatic Processes options that will trigger the workflow process. Check the Record fields change and click Select to select the field that will trigger the workflow:
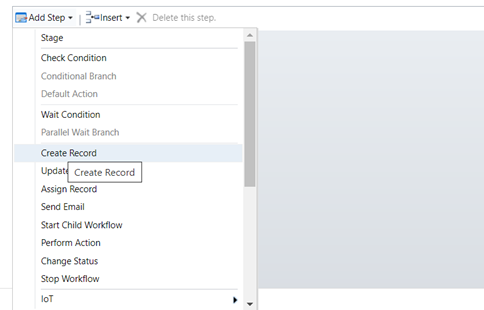
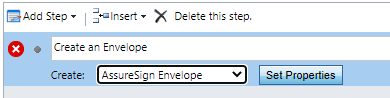
Next, click the dropdown arrow next to Add Step and click Create Record:
A step will be added to the workflow as shown below. Populate the Name of the step, set the Create: field to "AssureSign Envelope" and click Set Properties.
A new view will display called "Create AssureSign Envelope as shown below. Populate the values and click Save and Close.
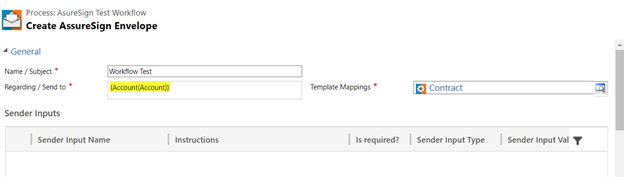
- Name / Subject: Give the workflow step an appropriate name
- Regarding / Send to: This will pre-populate for you
- Template Mappings: Select the template mapping that will apply for this workflow step
Note: Make sure that the template mapping is associated with the entity where you are running the workflow. Additionally, ensure the Template Mapping selected has the appropriate template fields mapped with CRM records and AssureSign sender inputs. Verify the template mapping has the parameter set to ‘Submit envelope automatically.’
Finally, activate the newly created workflow process.
After activating the workflow process, you can test the process by opening a record associated with the process entity and update the field that was defined in the ‘Options Automatic Processes’ step.
Once the field is updated, go to the Timeline section, and click the more menu. Then, click Refresh Timeline.

After refreshing, the envelope will now display on the entity Timeline.
