

Topic
Nintex Promapp: How-to doc meant to provide step by step instructions to assist in configuring SSO with Microsoft Azure AD
Instructions
- Login to your Microsoft site - login.microsoftonline.com
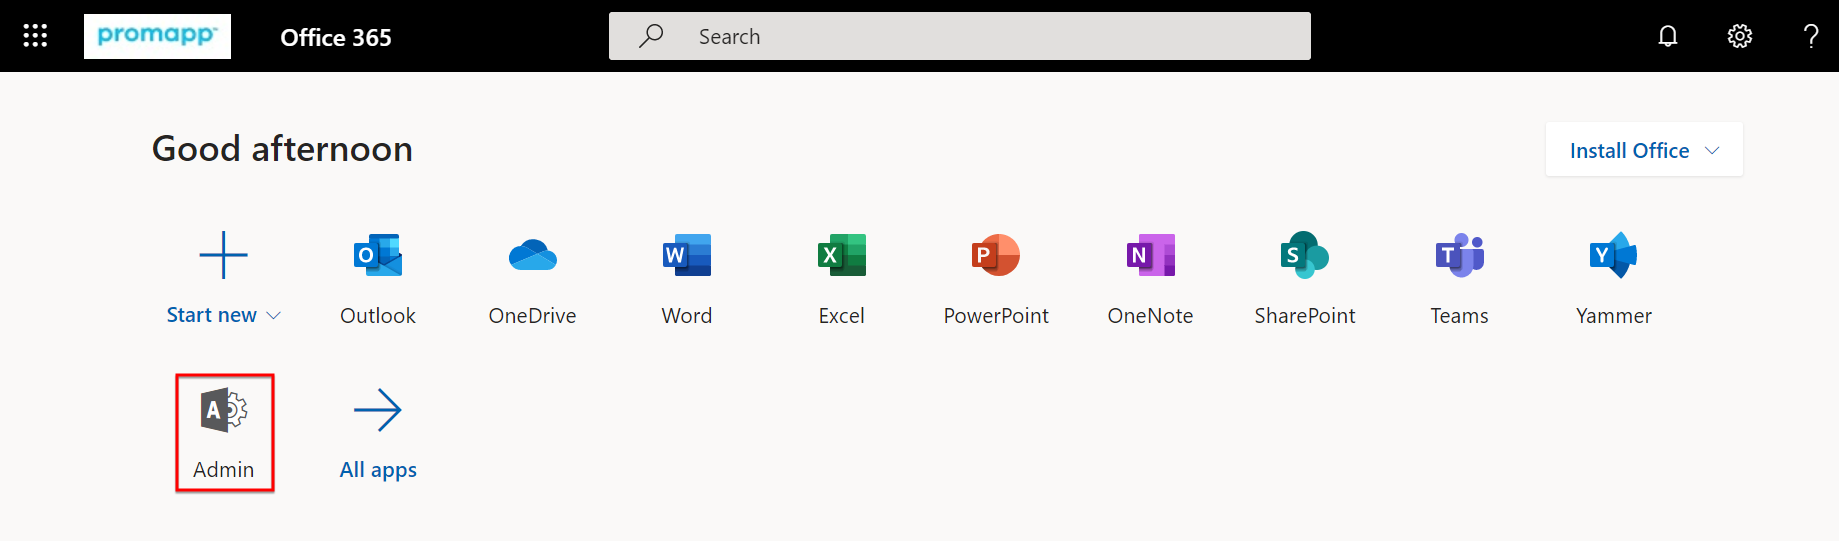
- Select “Admin” in the Apps Section
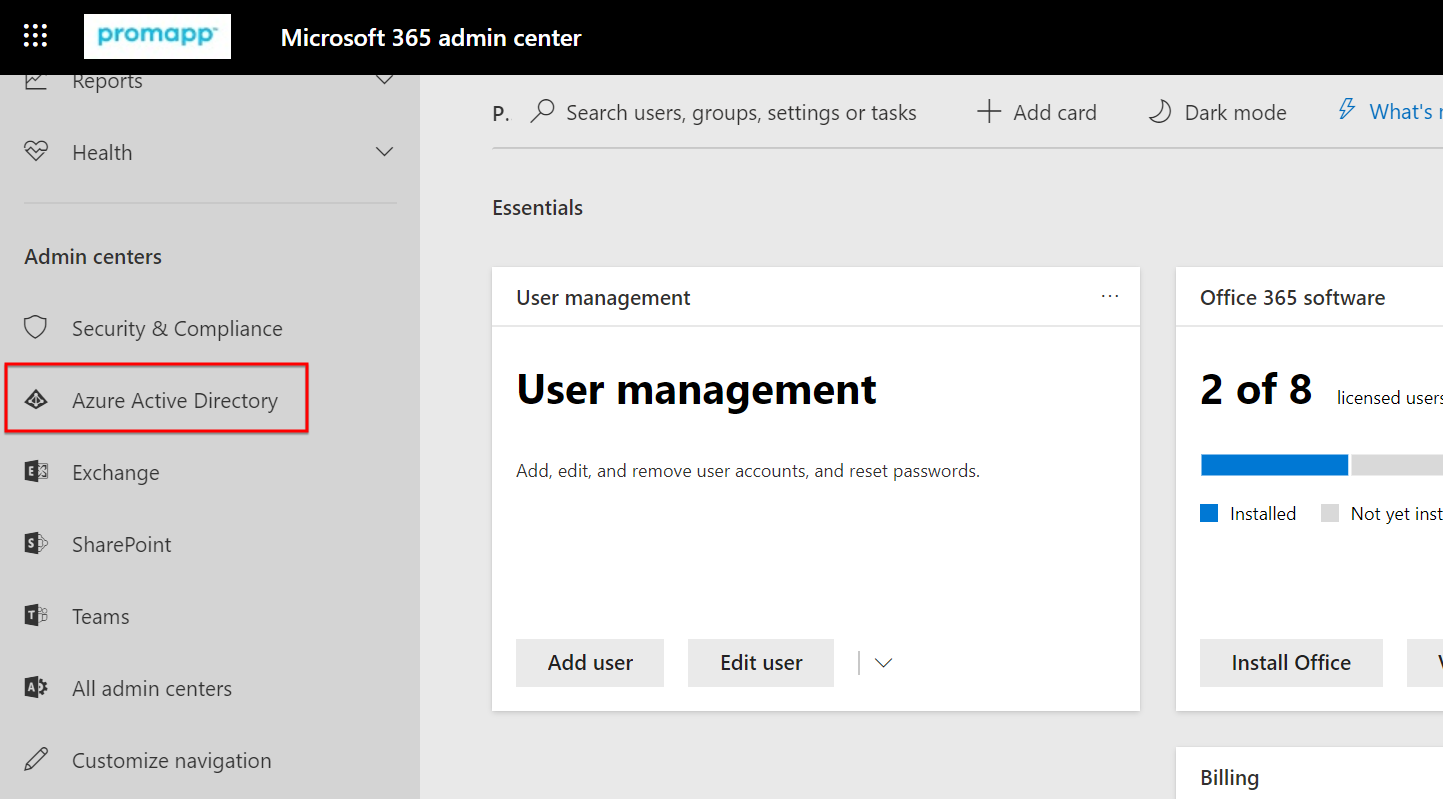
- On the Left Side of the page, expand Admin Centers and select Azure Active Directory
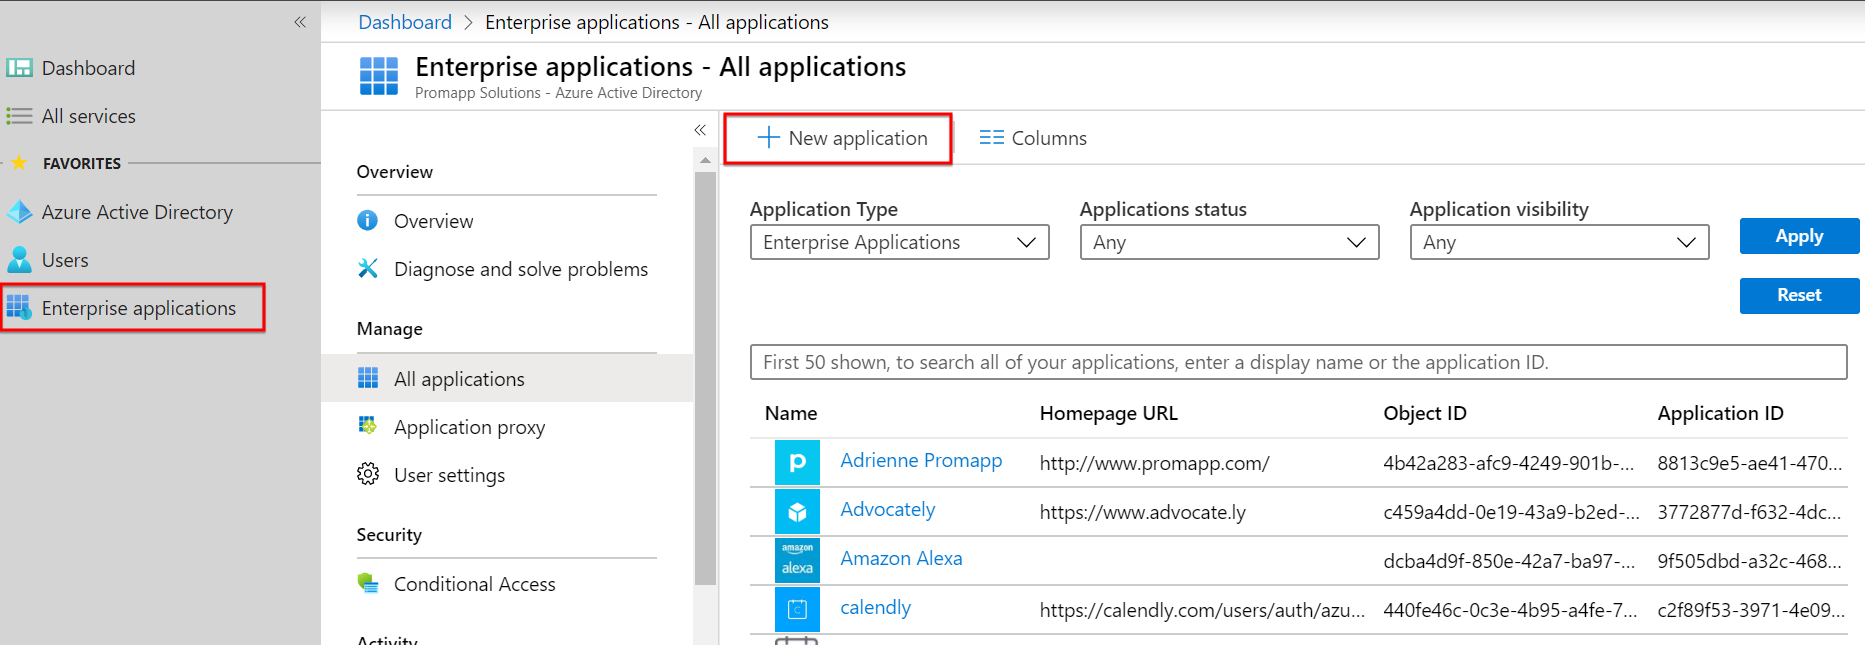
- On the left, select “Enterprise applications”
- Select “New Application”
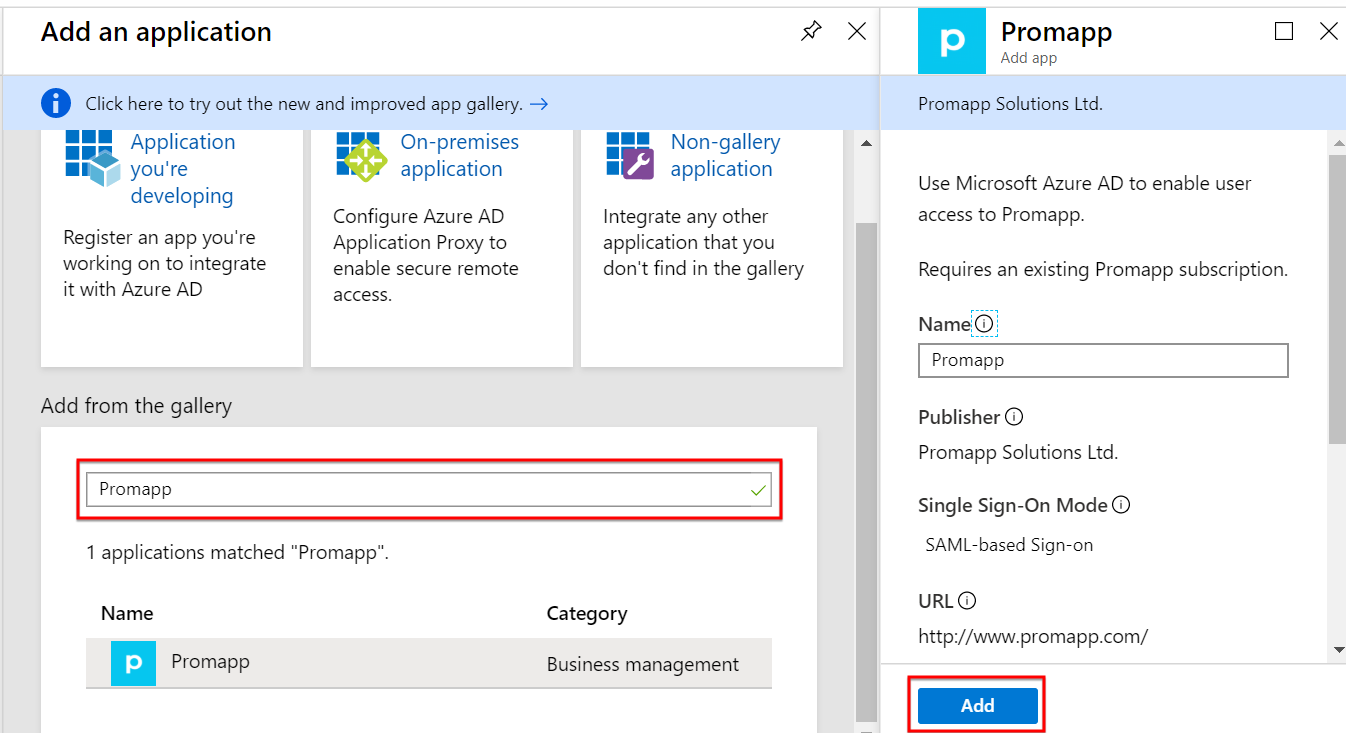
- Search and Select Promapp. Select “Add”
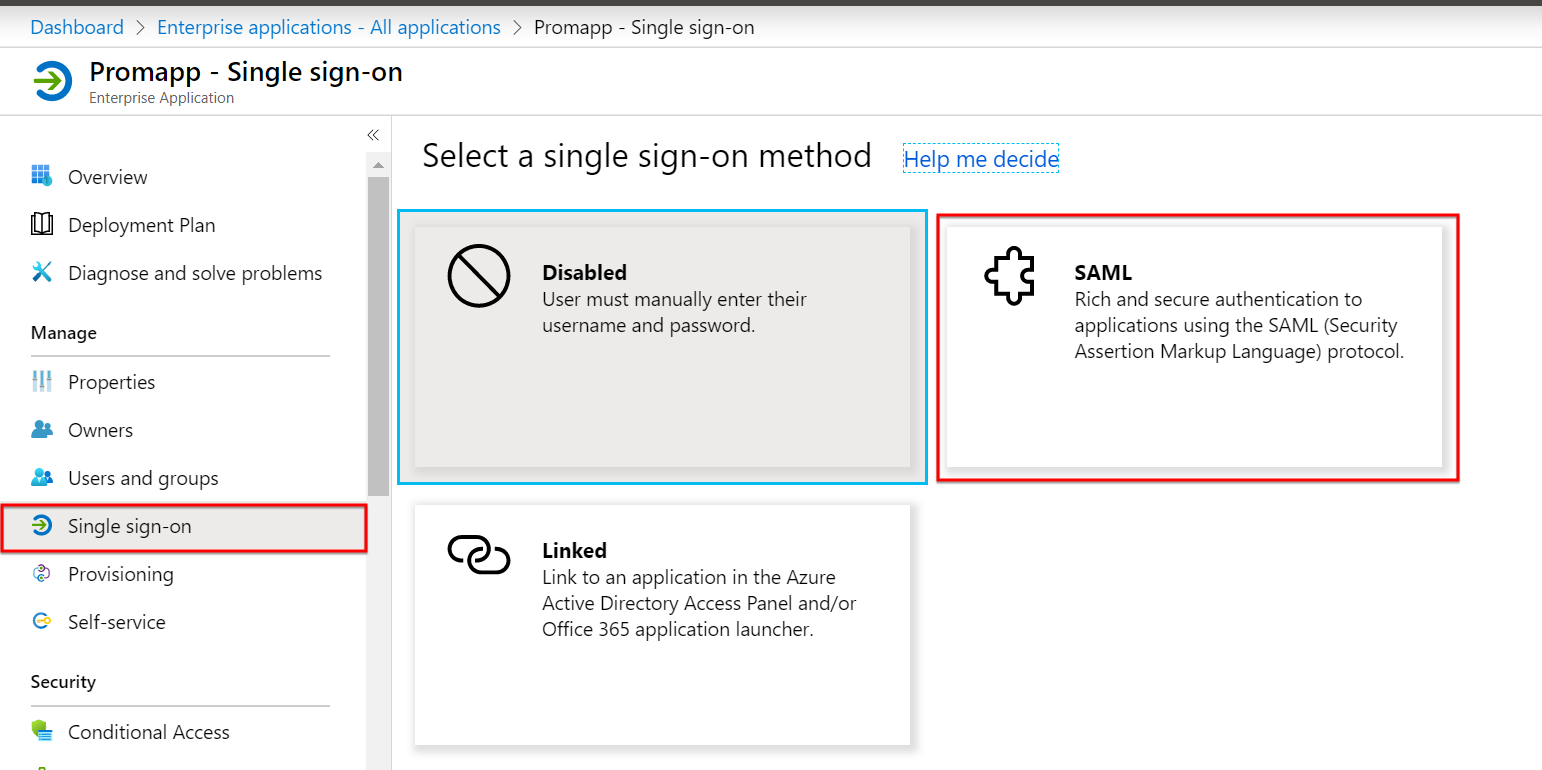
- Select Single sign-on
- Select SAML
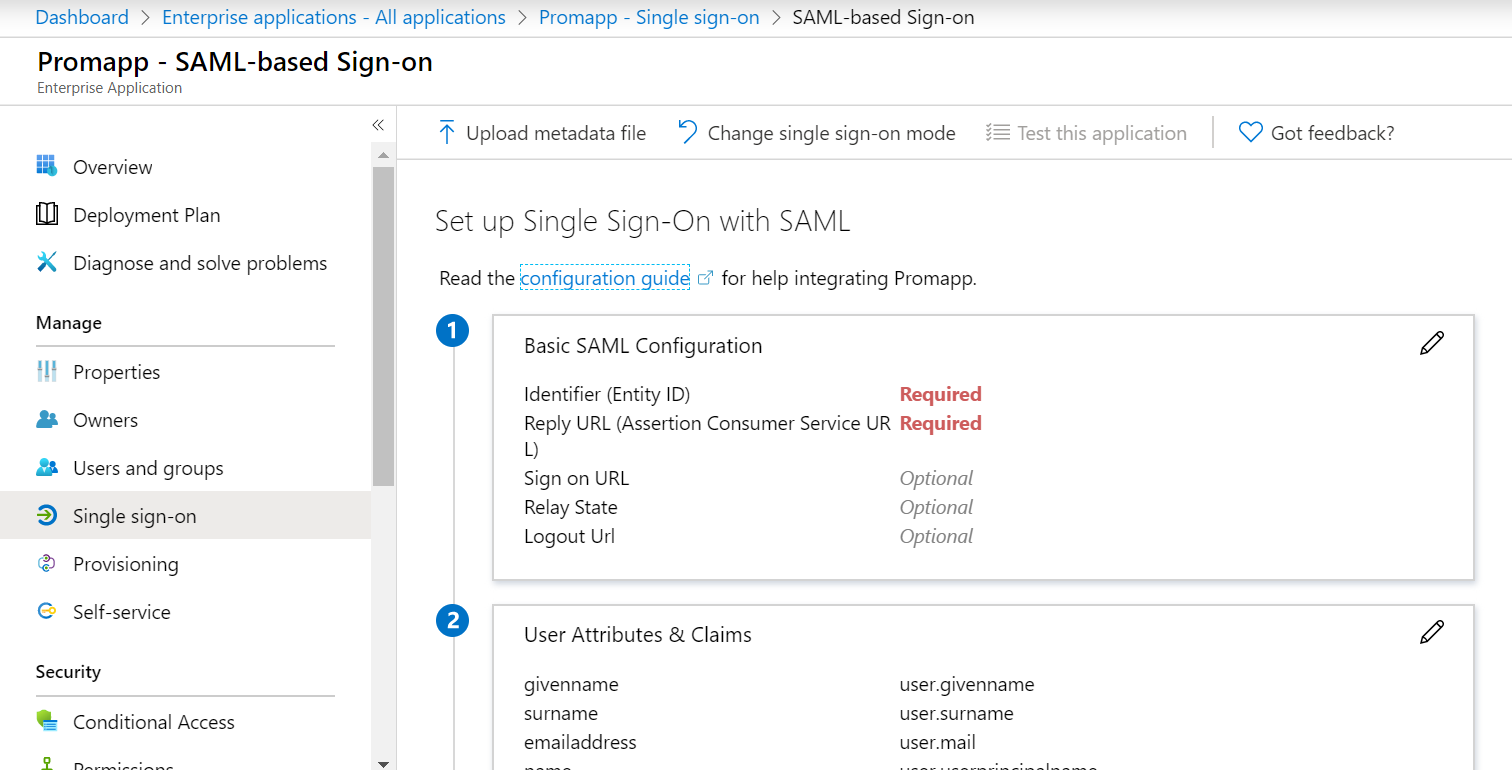
- You’ll be taken to a screen that looks like this and select the Pencil to edit section 1
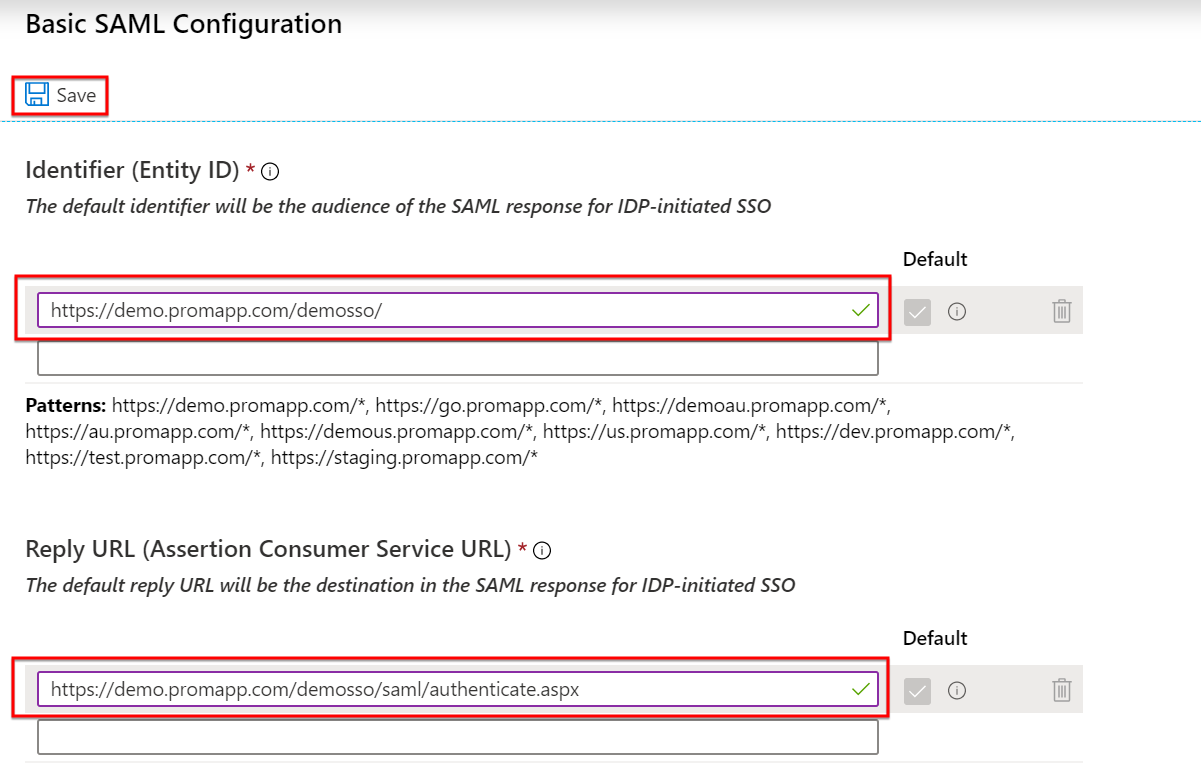
- Identifier (Entity ID) will be your Nintex Promapp site URL with “/” on the end
- Reply URL (Assertion Consumer Service URL) will be your site URL with “/SAML/Authenticate.aspx” on the end
- Select the Save Icon
- Scroll Down to Steps 3, 4, and 5. Download “Certificate (Base64)”
- Open this Download in a Notepad. Highlight and Copy everything between “---Begin Certificate---“ and “----End Certificate---“
- Navigate to your Nintex Promapp Site.
- Admin à Configure
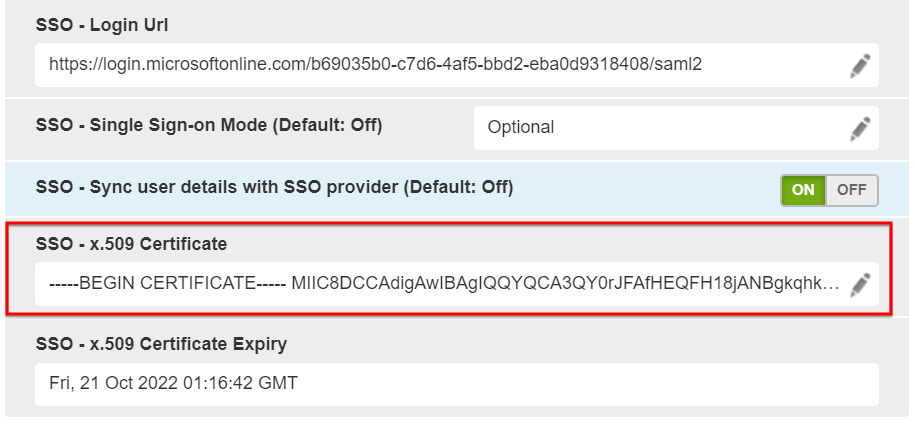
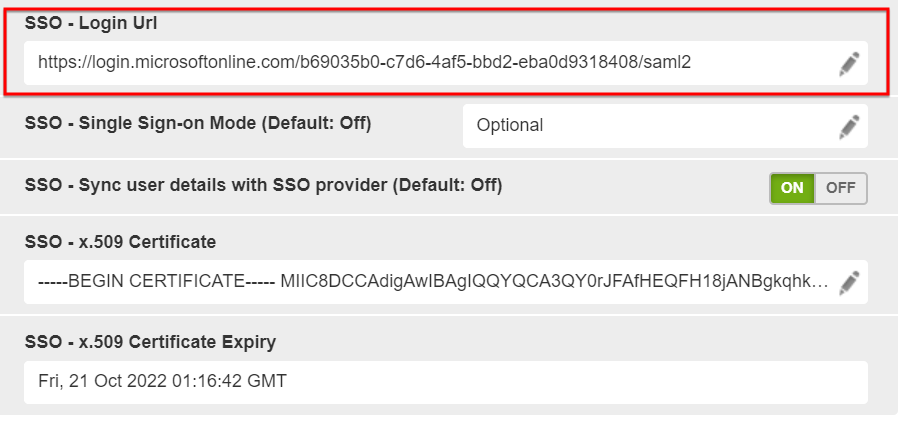
- In “Security Settings” à Find field “SSO – x.509 Certficate” and paste what you copied from your Notepad
- Navigate back to Microsoft Azure
- Under step 4, Copy the Login URL
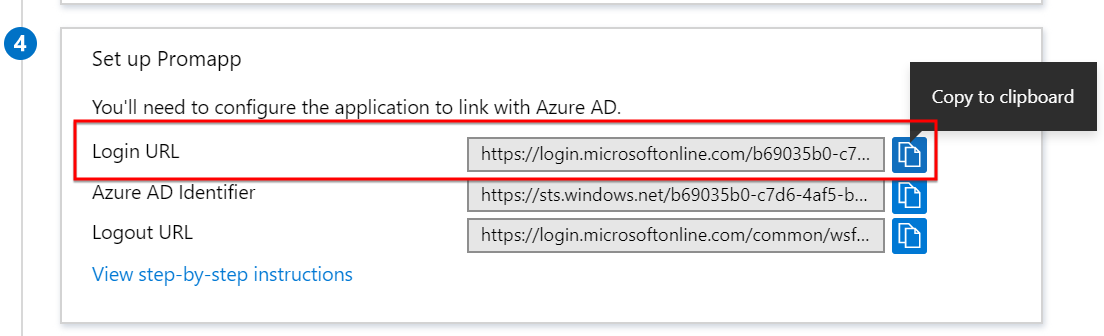
- Navigate back to your Nintex Promapp Site…Admin à Configure à Security à Find the “SSO – Login URL field and Paste what we just copied
Additional Information
Enabling the “Sync user details with SSO provider” feature will allow users in your Azure environment to Login to Nintex Promapp for the first time and a “User” will automatically be created in Promapp for this person.
If “Sync user details with SSO provider” is disabled then the Promaster will need to create a User in Nintex Promapp prior to that same User attempting to login via SSO.
Nintex Promapp login names should match their User Principal Name.
You can update Nintex Promapp user names (if need be) by exporting the user list and changing them in the csv file and importing the list again.
