List item attachments are not available from a task form – even one customized with Nintex Forms. Providing all pertinent information (including related documents) to complete an approval task from a single form, can go a long way toward making the user experience as seamless as possible for approvers.
This post walks through meeting this requirement by leveraging a custom action created by Nintex Technical Evangelist, Vadim Tabakman. But, what if you don’t have access to deploy a custom action to your SharePoint environment? The following solution produces a similar outcome, without the need for any custom actions.
The Workflow
Get Attachments
First, use the Call web service action to get all attachments from the current item and store the URLs to a multi line of text variable.

Next, use the Query XML action to parse through the web service result and get a collection of attachment URLs.

Start an HTML Table
The collection of URLs needs to be formatted in a user friendly way for the task form. So, use a Build string action to start an HTML table. Store the beginning of the HTML table to a multi line of text variable. The rest of the table will be dynamically built out based on the attachments collected.

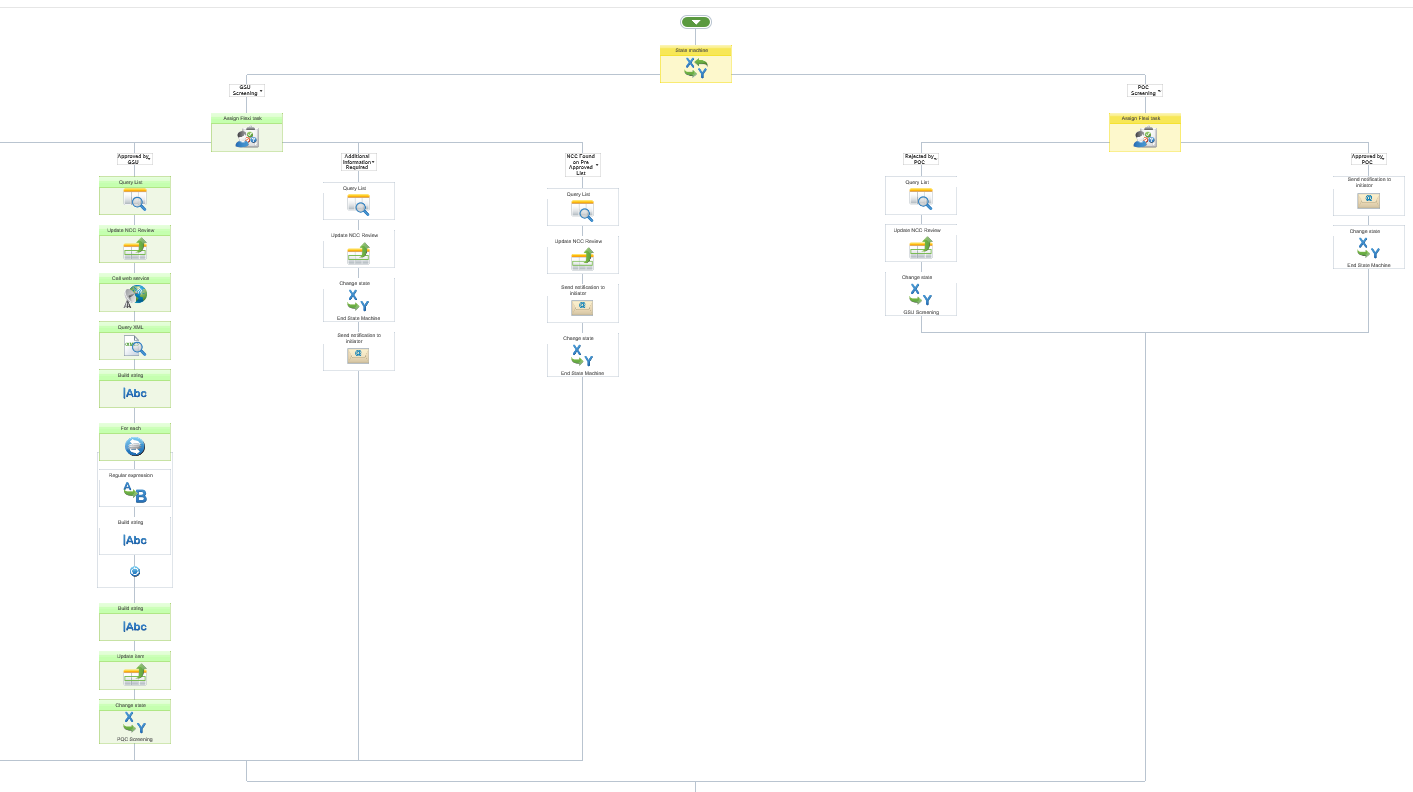
Loop Through the Collection of URLs
Use a For each action to loop through each URL in the collection and dynamically build out the rows in the HTML table.

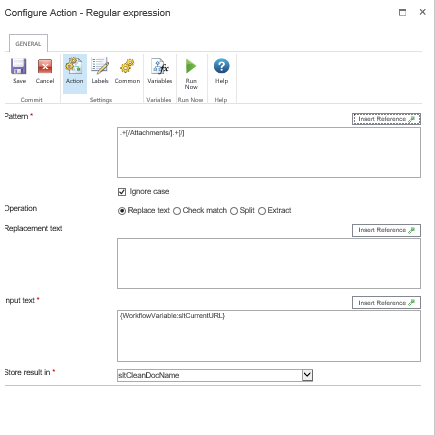
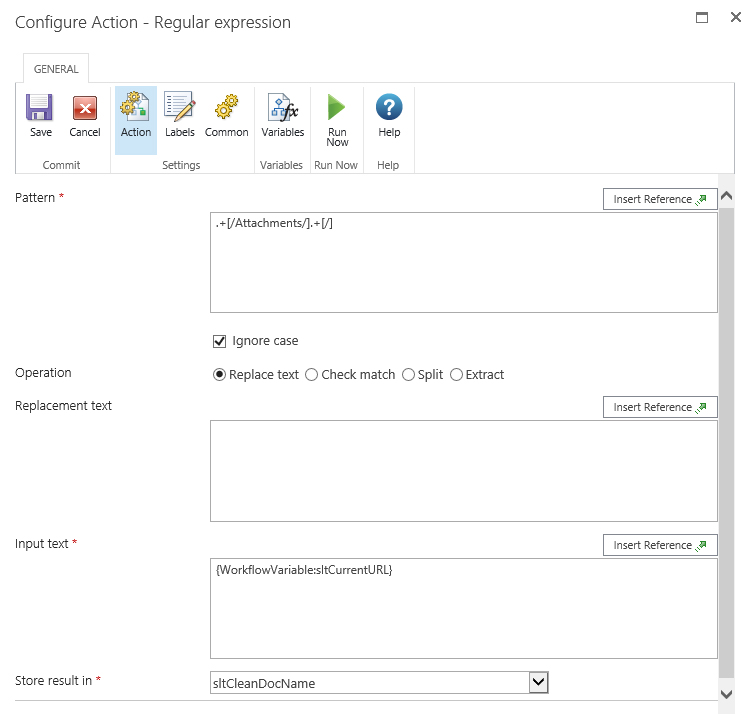
Get Each Document Name
Use a Regular expression action to get the clean file name from each URL and store to a single line of text variable. This will be used to replicate the way that attachments are displayed on a list item form by default, where the document name is the clickable text that you see.
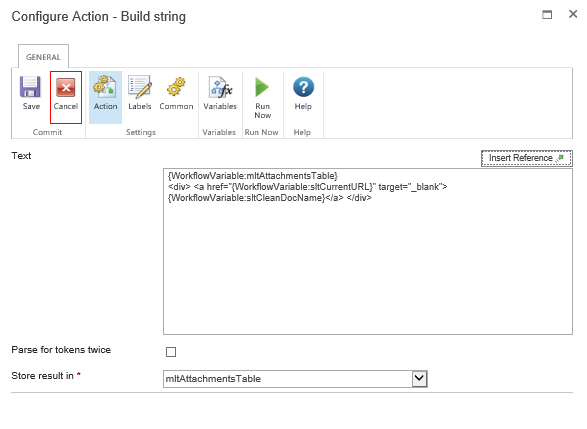
Add a Row to the Table
The last step within the For each action, is to add a row to the HTML table using another Build string action.

Close the HTML Table
Just outside of the For each action, use one more Build string action to close out our HTML table.

Populate List Column
Create a new multi line of text column on the list and use the Update item action to populate that column with the value that was collected during the workflow.

Task Form Configuration
Within the task action configuration in Nintex Workflow, open the Nintex Forms designer and add the Attachments HTML list column onto the form and then update the following two configuration settings:
- Expand the Appearance section and set Enabled = No
- Expand the Advanced section to set the Control Mode = Display

The Final Task Form

Check out the full solution details here: https://nicoleprestby.wordpress.com/2017/12/19/add-list-item-attachments-to-task-form-using-nintex-workflow-and-forms/