
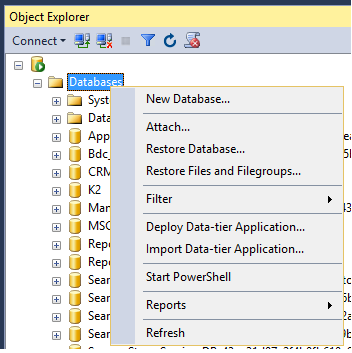
1. In SQL Server Management Studio create a new Database
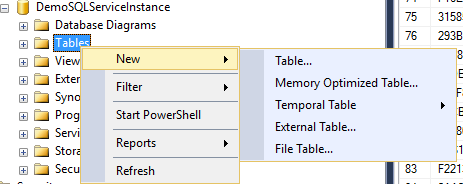
2. Create a new table within Database
3. Add a new Column and then “Set Primary Key”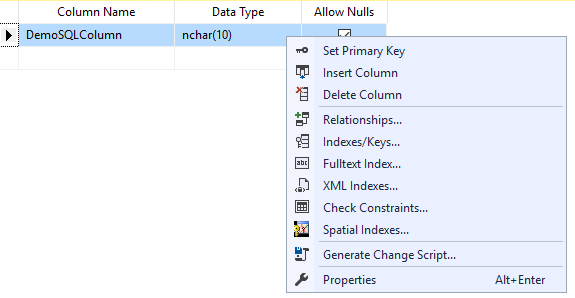
Note: If you don’t set a primary key, you will get an error when trying to create smartobject.
4. Apply proper Permissions for the Database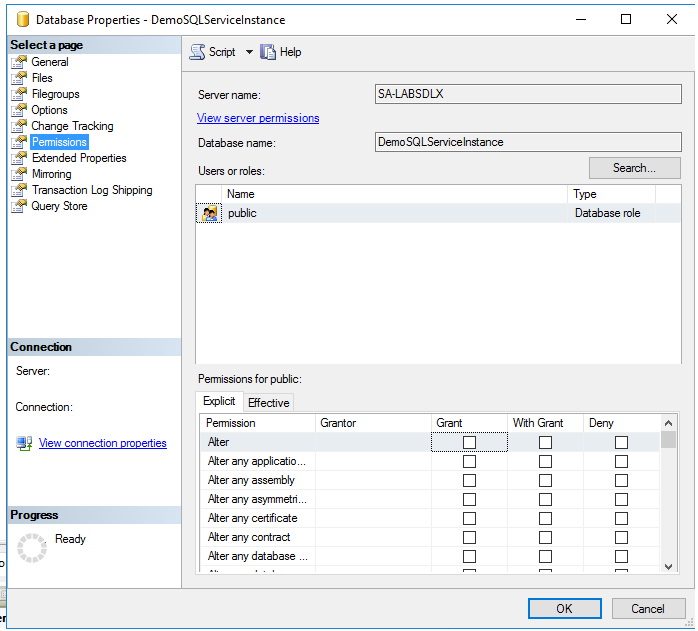
Note: If you don't have the proper permissions, you wont be able to connect to DB.
5. In K2 Management under “Integration” find "Service Instances"
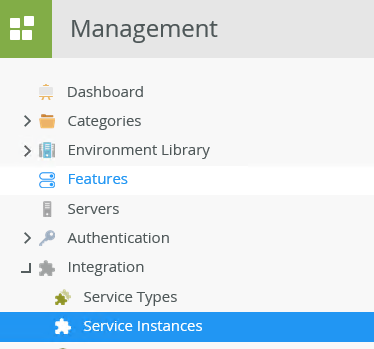
Note: This is where you will create a new Instance for SQL Service Instance.
6. Create New Services Instance for SQL Service Instance
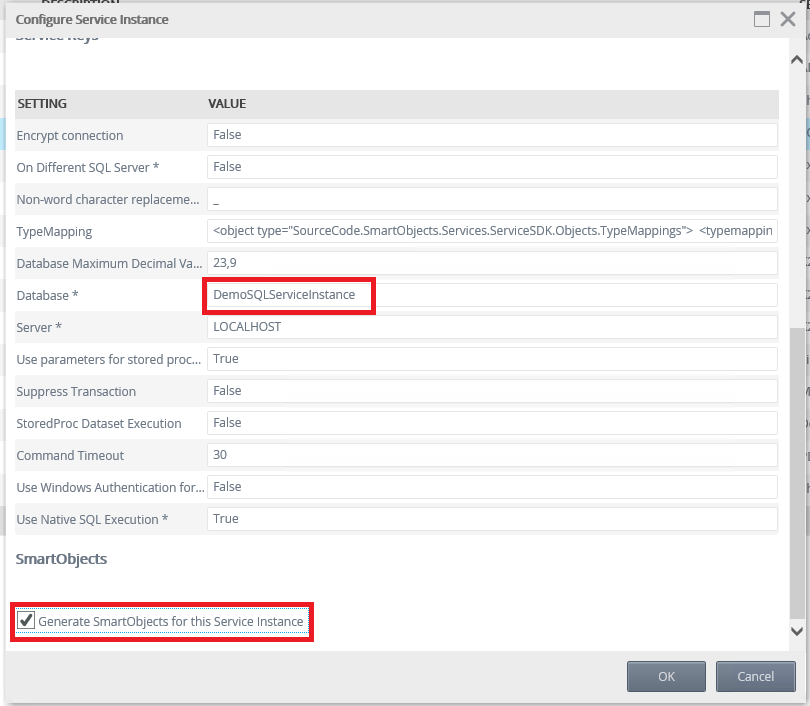
Note: Database * should be the name of the SQL Database you are referencing. Also make sure “Generate SmartObjects for this Service Instance” is checked.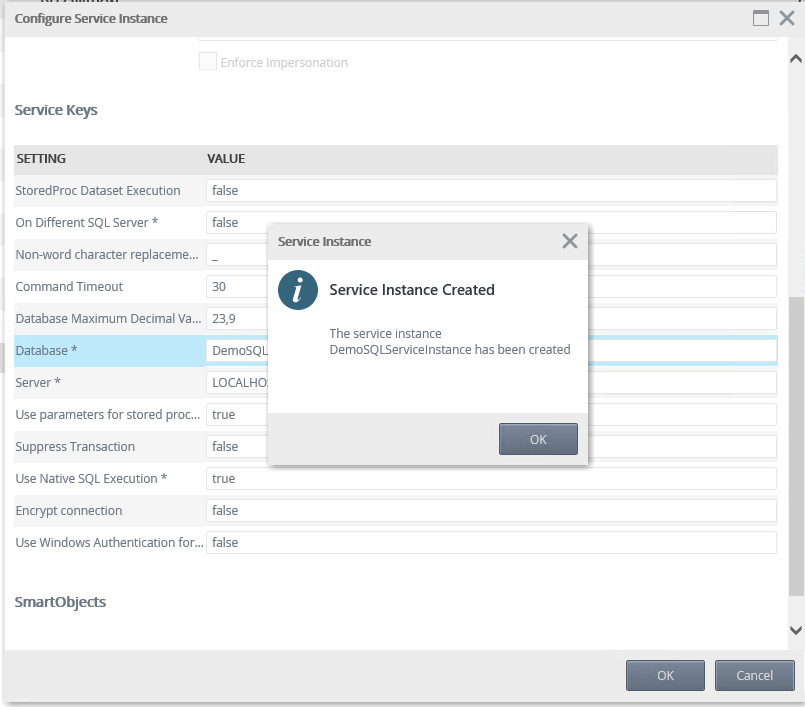
Note: If all settings are correct the above message should appear.
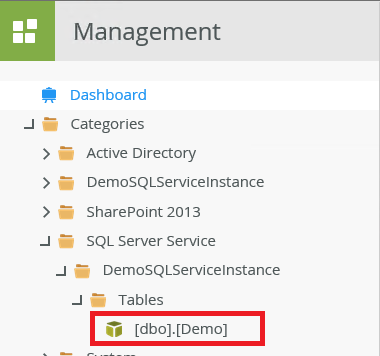
7. Check to make sure new SmartObject was created in SQL Instance folder in Management
8. Test to see if you can execute "List" to display your column with no error 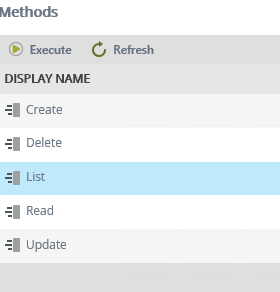
Note: You can add a value to the column as well to test to see if your value appears.
From here, you can then attach or modify it however you would like to work with the project that you are creating it for.

