

Automate Site Collection Activation
Requirements
-
- Dedicated site collection to build solution against
-
- K2 App should be in the App catalog (This should already be in place with onboarding)
Additional Info
This should work both for K2 Five (on-premise) and K2 Cloud (online) as well as for both SharePoint on-premise and online in any configuration.
The steps below have been taken from an on-premise installation, but similar would apply for K2 Cloud and SharePoint Online. Just replace the URL of the K2 Server with the K2 Cloud KUID URL as per:
-
- Target Site (Site collection to be activated)
-
- K2 Server URL (i.e. https://KUID.onk2.com)
-
- K2 SmartForms Runtime URL (i.e. https://KUID.onk2.com/runtime/runtime)
Solution Details
General:
-
- Makes use of a SharePoint List to store the Site Collection URL to be activated, the K2 Server URL and the status of activation.
-
- The workflow should use SharePoint Events, this will the workflow to be automatically started when a new entry is added to the list.
-
- If you use a K2 form this will be much harder to auto populate.
-
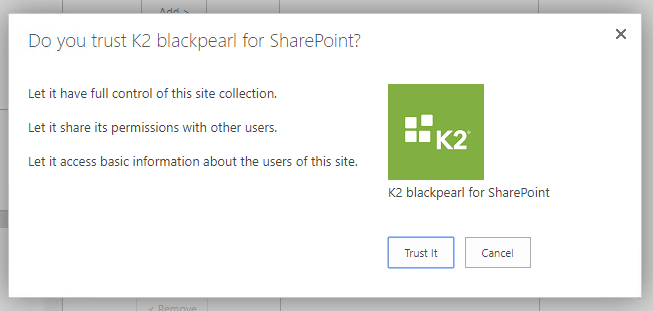
- You can add the Site Collection entry manually to the “Manage App Deployments” section in the K2 for SharePoint App but shouldn’t be necessary. This step cannot be automated because there will be a Trust Consent loop but from my test this will not be needed, the app will be automatically deployed to the site collections as they use the same app catalog.
- You can add the Site Collection entry manually to the “Manage App Deployments” section in the K2 for SharePoint App but shouldn’t be necessary. This step cannot be automated because there will be a Trust Consent loop but from my test this will not be needed, the app will be automatically deployed to the site collections as they use the same app catalog.
-
- You will need to use a SharePoint List Template and have the SharePoint List already created. Here I’ve created it with the name “Automate Activation List”:
- You will need to use a SharePoint List Template and have the SharePoint List already created. Here I’ve created it with the name “Automate Activation List”:
-
- From this List, in the Ribbon bar, you must click the “K2 Application” button and select “Data” + “Workflow”. If you use K2 Forms, this will be much harder to auto populate. Make sure you select “When the following events occur” and put a checkbox in “An item was added” so the Workflow will start when a new item has been added to the List, as per:
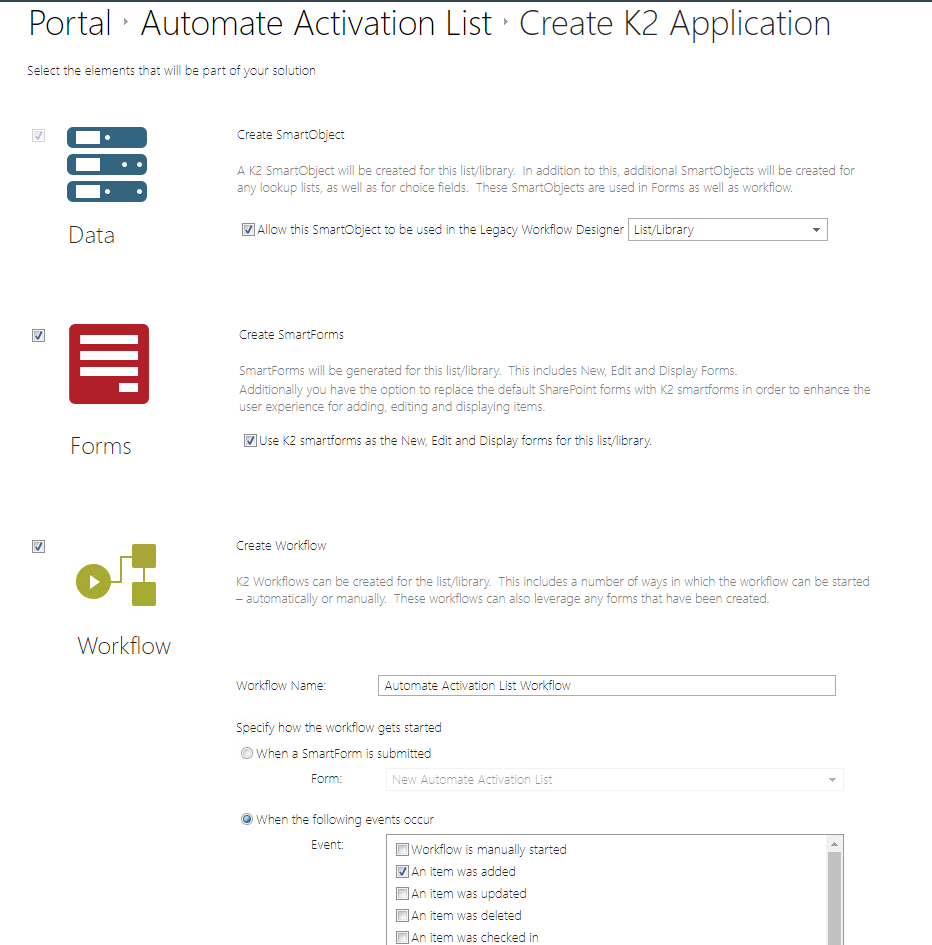
- From this List, in the Ribbon bar, you must click the “K2 Application” button and select “Data” + “Workflow”. If you use K2 Forms, this will be much harder to auto populate. Make sure you select “When the following events occur” and put a checkbox in “An item was added” so the Workflow will start when a new item has been added to the List, as per:
-
- In the workflow, under “Basic”, drag and drop a “SmartObject Method” into the canvas:
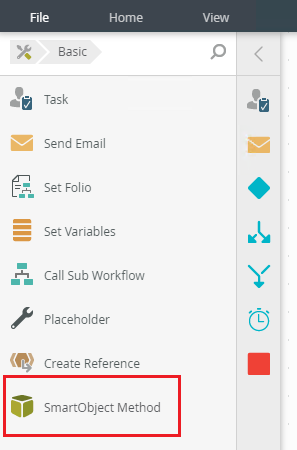
- In the workflow, under “Basic”, drag and drop a “SmartObject Method” into the canvas:
-
- Edit the SmartObject Method and from the drop-down to select a SmartObject, choose “Browse”:
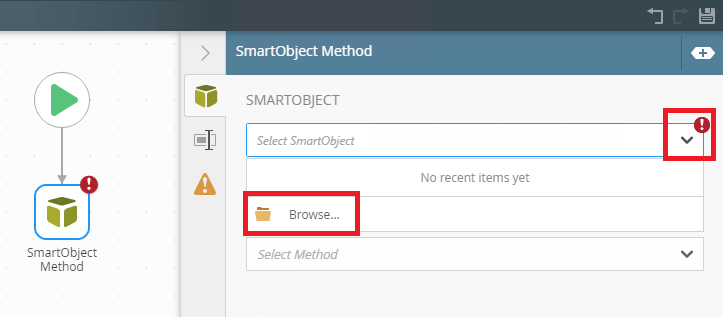
- Edit the SmartObject Method and from the drop-down to select a SmartObject, choose “Browse”:
-
- Browse to the category “System” > “SharePoint 2013 Integration” > Choose the SmartObject “SharePoint Integration Helper Methods”:
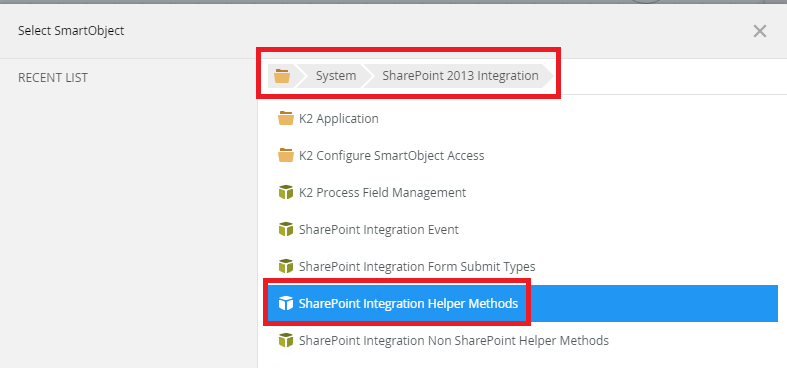
- Browse to the category “System” > “SharePoint 2013 Integration” > Choose the SmartObject “SharePoint Integration Helper Methods”:
-
- For the Method choose “Ensure Site Collection Info” then drag and drop the existing reference for “Target Site URL” into the “Site Collection” required property field. Finally, select “Do not map outputs” for the output mappings:
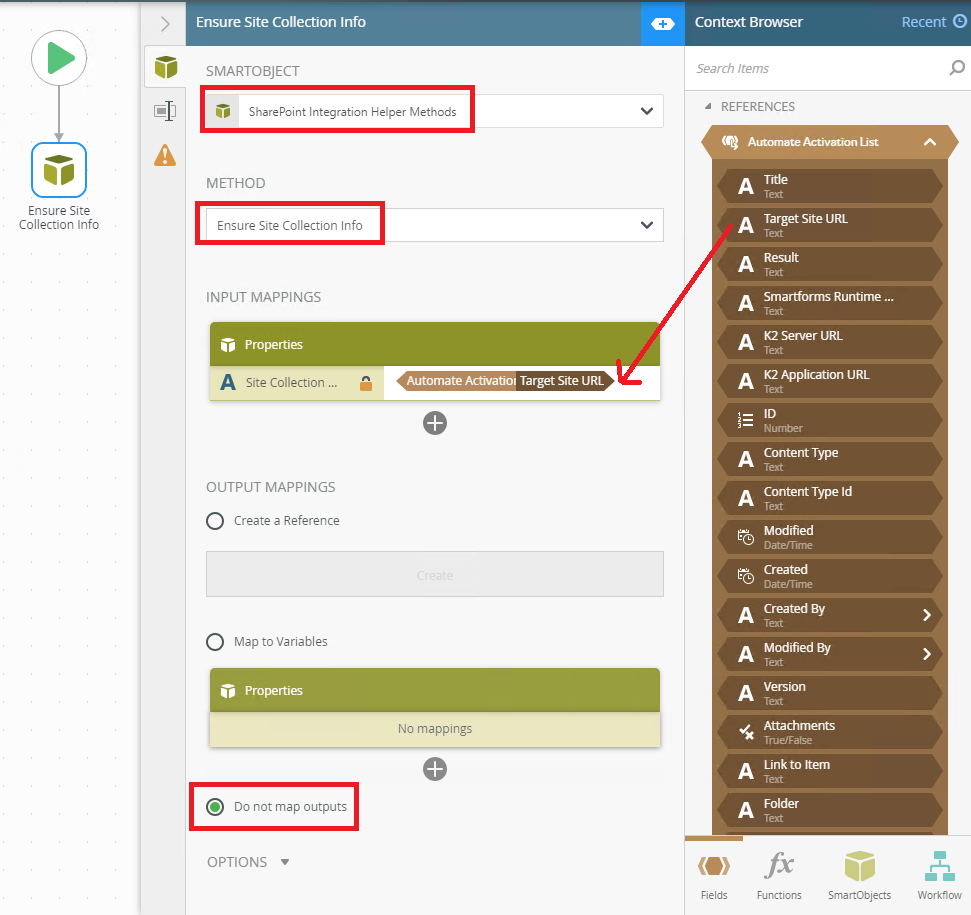
- For the Method choose “Ensure Site Collection Info” then drag and drop the existing reference for “Target Site URL” into the “Site Collection” required property field. Finally, select “Do not map outputs” for the output mappings:
-
- Drag and drop a new “SmartObject Method” into the canvas, link it with a line, choose the same SmartObject as before – “SharePoint Integration Helper Methods” – but for the method this time choose “Activate Site Collection”. Configure the properties as in the screenshot:
Application Site > K2 Application URL
SiteURL > Target Site URL
K2 Server URL > K2 Server URL
SmartForms Runtime URL > SmartForms Runtime URL
Management SmartObjects Only > False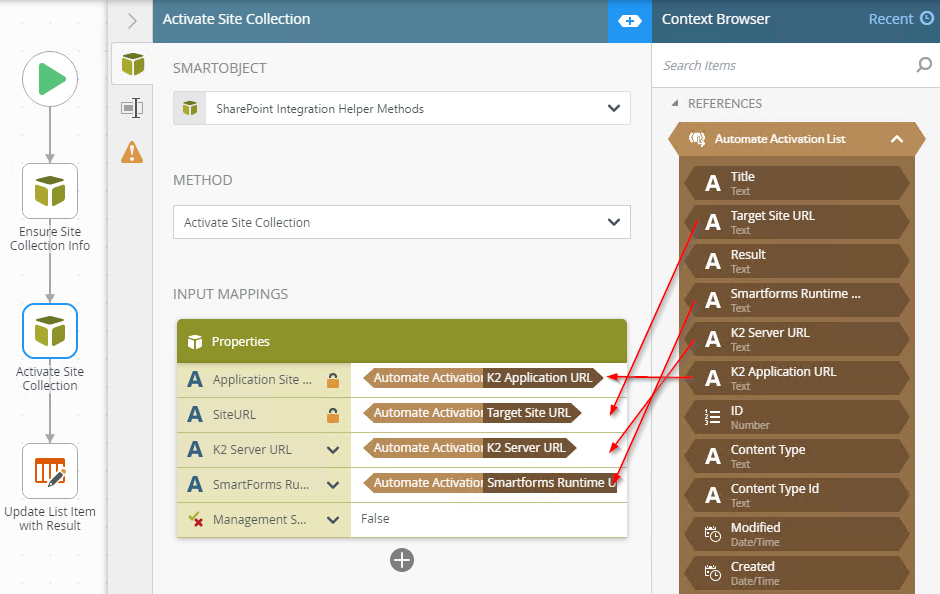
- Drag and drop a new “SmartObject Method” into the canvas, link it with a line, choose the same SmartObject as before – “SharePoint Integration Helper Methods” – but for the method this time choose “Activate Site Collection”. Configure the properties as in the screenshot:
-
- For the Output Mappings, choose “Map to Variables” and create a new Variable / Data Field called “ResultOutput” and map that to the “Result”:
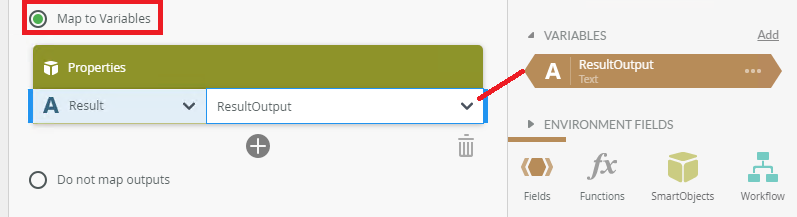
- For the Output Mappings, choose “Map to Variables” and create a new Variable / Data Field called “ResultOutput” and map that to the “Result”:
-
- Drag and drop a new Event into the canvas under “SharePoint > List Items > Update List Item”:
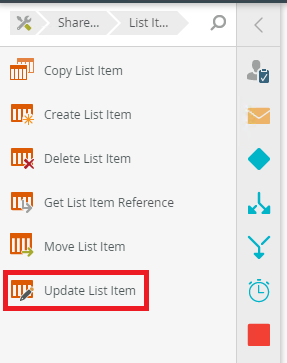
- Drag and drop a new Event into the canvas under “SharePoint > List Items > Update List Item”:
-
- Choose “Pick List Item” and choose the current list from the drop-down “Automate Activation List”. Then in the Properties, add a new property and choose “Result”. Drag and drop the previously created variable “ResultOutput” into the “Result” property:
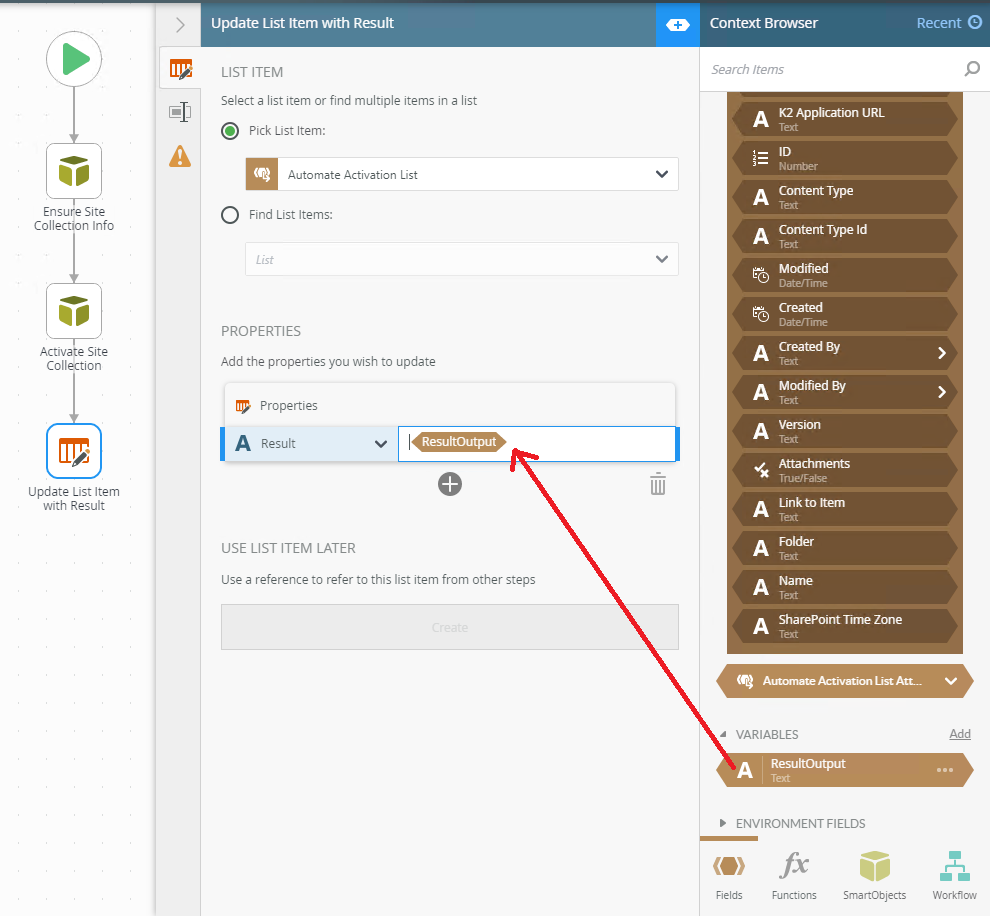
- Choose “Pick List Item” and choose the current list from the drop-down “Automate Activation List”. Then in the Properties, add a new property and choose “Result”. Drag and drop the previously created variable “ResultOutput” into the “Result” property:
-
- Save and deploy the workflow.
- Save and deploy the workflow.
-
- Exit the Workflow Editor by clicking on “Close” and going back to the SharePoint List.
- Exit the Workflow Editor by clicking on “Close” and going back to the SharePoint List.
-
- Go to your App Catalog and open the K2 for SharePoint App. In the URL, copy the first part until “K2forSharePoint” and paste that into Notepad:
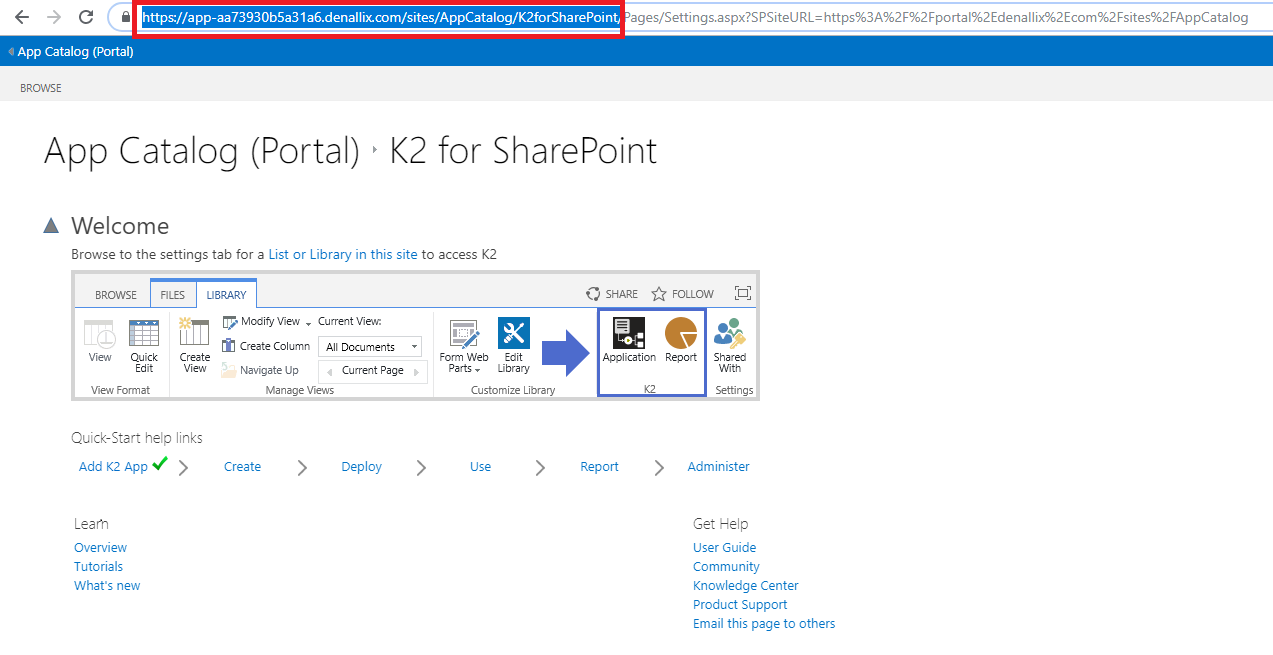
- Go to your App Catalog and open the K2 for SharePoint App. In the URL, copy the first part until “K2forSharePoint” and paste that into Notepad:
-
- Go to the Site Collection where you want to activate the K2 for SharePoint App and copy the Site Collection URL:
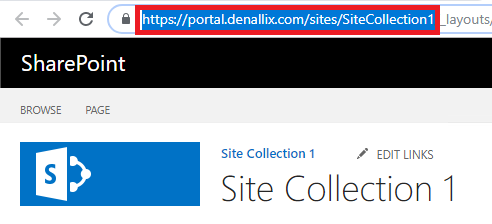
- Go to the Site Collection where you want to activate the K2 for SharePoint App and copy the Site Collection URL:
-
- Go back to your “Automate Activation List” and paste the values into the fields where applicable:
-
- Title – can be any title you want.
-
- Target Site URL – the URL of the Site Collection you want to activate.
-
- Result – leave blank.
-
- SmartForms Runtime URL – this is the SmartForms Runtime URL that you can find in your K2 Management site.
For K2 Cloud it will use your KUID, e.g. https://KUID.onk2.com/Runtime/Runtime
- SmartForms Runtime URL – this is the SmartForms Runtime URL that you can find in your K2 Management site.
-
- K2 Server URL – this is the same as the SmartForms Runtime URL minus the /runtime/runtime part at the end (could in theory be automatically created in the workflow).
For K2 Cloud it will use your KUID, e.g. https://KUID.onk2.com
- K2 Server URL – this is the same as the SmartForms Runtime URL minus the /runtime/runtime part at the end (could in theory be automatically created in the workflow).
-
- K2 Application URL – this is the URL you copied earlier from the K2 for SharePoint App in the App Catalog site.
- K2 Application URL – this is the URL you copied earlier from the K2 for SharePoint App in the App Catalog site.
-
- Go back to your “Automate Activation List” and paste the values into the fields where applicable:
-
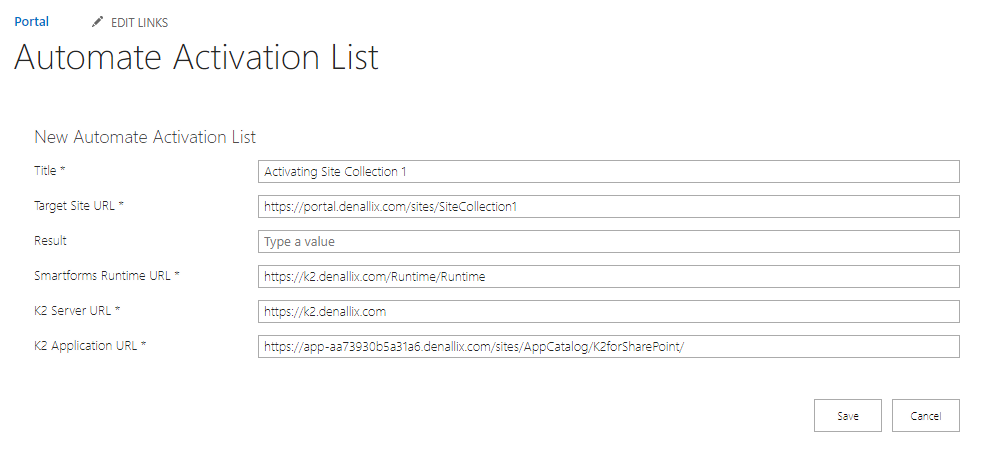
- After creating the entry in the SharePoint List “Automate Activation List”, it should look something like this:

- After creating the entry in the SharePoint List “Automate Activation List”, it should look something like this:
-
- This should start a new instance of the workflow you deployed earlier, you can have a look if this is the case by going to K2 Management and checking the workflow instances. Also keep a look out if this runs into an error for some reason:

- This should start a new instance of the workflow you deployed earlier, you can have a look if this is the case by going to K2 Management and checking the workflow instances. Also keep a look out if this runs into an error for some reason:
-
- After the workflow is complete, it should have updated the List Item “Result” with “Success”. You can refresh the List and see this clearly:

- After the workflow is complete, it should have updated the List Item “Result” with “Success”. You can refresh the List and see this clearly:
-
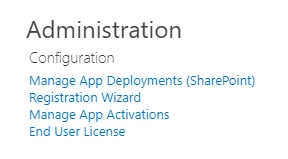
- If this has been done, you can confirm this by going back to the App Catalog site, opening the K2 for SharePoint App, then choose “Manage App Activations” and seeing if the entry has been added to the list:
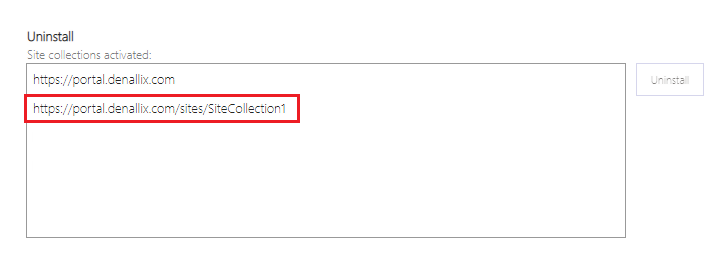
- If this has been done, you can confirm this by going back to the App Catalog site, opening the K2 for SharePoint App, then choose “Manage App Activations” and seeing if the entry has been added to the list:
-
- Your Site Collection should be activated now, and you should be able to interact with it through SmartObjects.
You can find the "Automate Activation List.stp" Site Template attached to this article as well.
I've also recorded a quick video to explain this issue, please see below:
