

How to Deploy a K2 Solution to Multiple Lists or Libraries
KB001763
PRODUCTYou'll learn how to take a K2 solution from one list or library in SharePoint and deploy it to a different list or library that has the same structure. This article uses a library as the example but the same principle applies to a SharePoint list.
Scenarios
Below are two scenarios that detail how deploying a solution across multiple lists or libraries can be achieved.
You develop a K2 solution with Forms, SmartObjects, Views and Workflows for one SharePoint document library that can reused across multiple libraries. You use K2 Package and Deployment to package the solution from the first library and deploy it to the rest of the libraries. Each library has the exact same structure.
Follow the steps below:
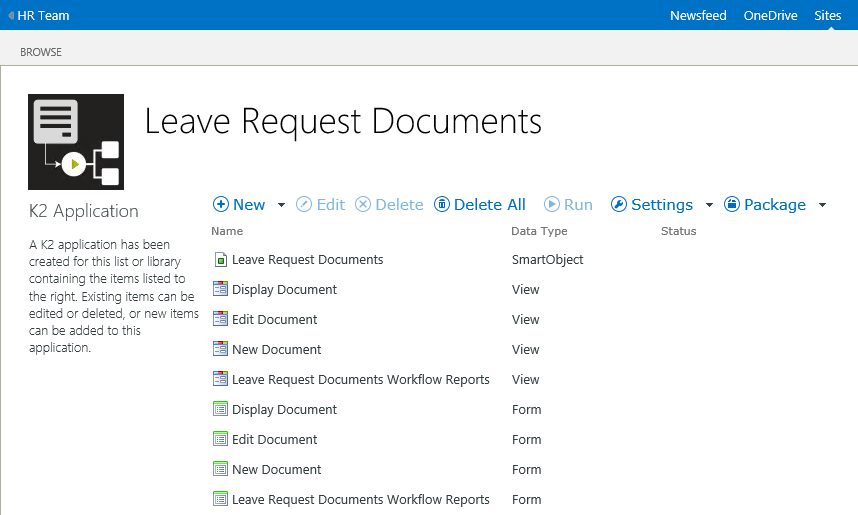
- Create the K2 solution using the first (source) document library.
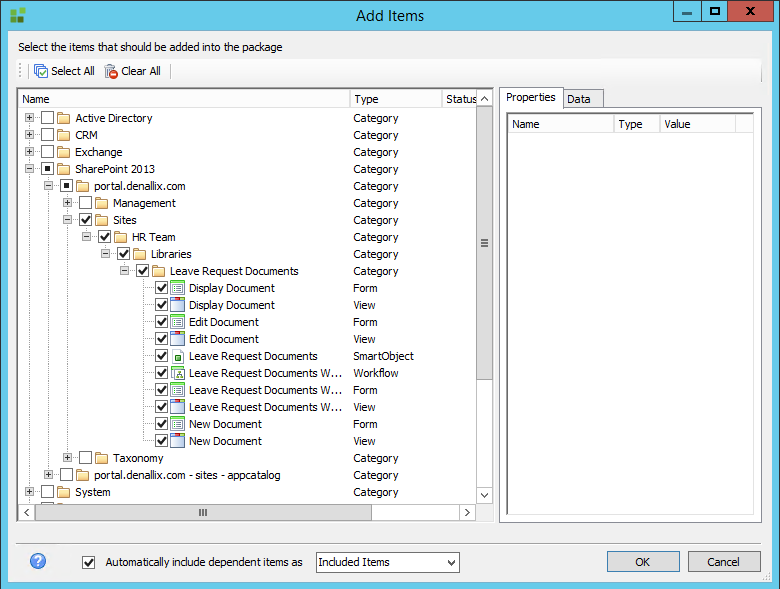
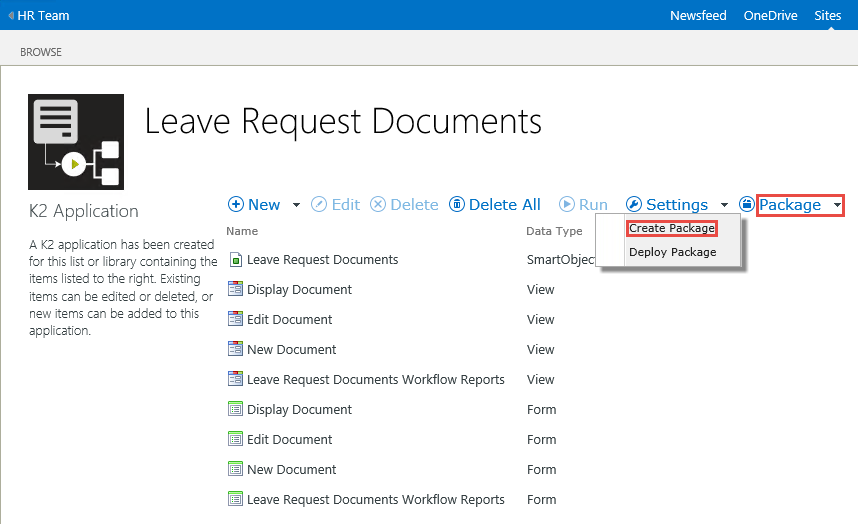
- Create a package of the solution via K2 Package and Deployment or K2 for SharePoint Package and Deployment (including all dependent K2 artifacts).
- Deploy the package to the target library via PowerShell or K2 Package and Deployment . This can be automated by provisioning the document library via a K2 workflow and then deploying the package to provisioned library.

Note: - Ensure that the target library is the exact structure as the packaged library.
- Each new library that you deploy the original package to contains a new instance of the artifacts from the source library - they are not shared. For example, you have a different workflow for every target library.
For detailed steps on creating and deploying a K2 package, see the Create and Deploy a K2 Package section.
You need a SharePoint site with particular lists and libraries as well as K2 integration such as Forms, SmartObjects, Views and Workflows that can be reused across other SharePoint sites . You use the Save As Template feature in SharePoint along with K2 Package and Deployment.
| Note: It is important to note that saving a site via the Save As Template feature requires manual configuration with K2 4.6.11 and earlier. See KB001619 for more information. |
For K2 4.7, follow these steps:
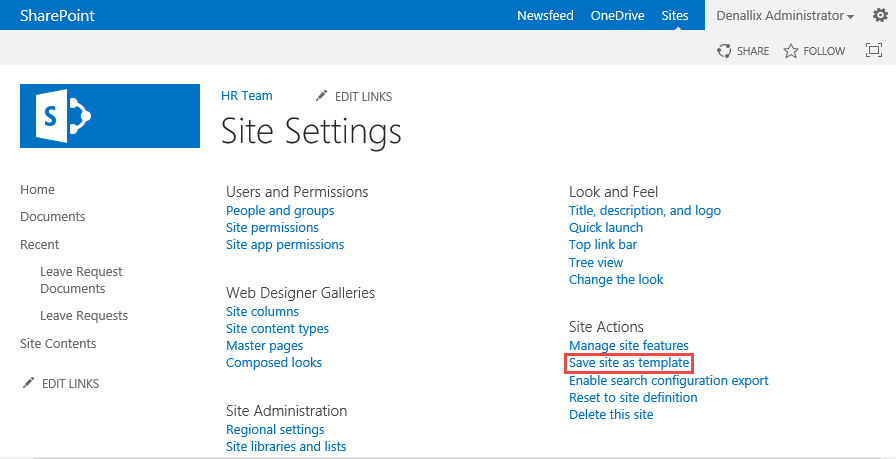
Save the site as a site template.| Note: Make sure that 3rd party apps are removed prior to creating the site template as this may prevent you from creating the site template. |
- Open the site and navigate to Site Settings > Site Actions, select the Save Site as Template option.
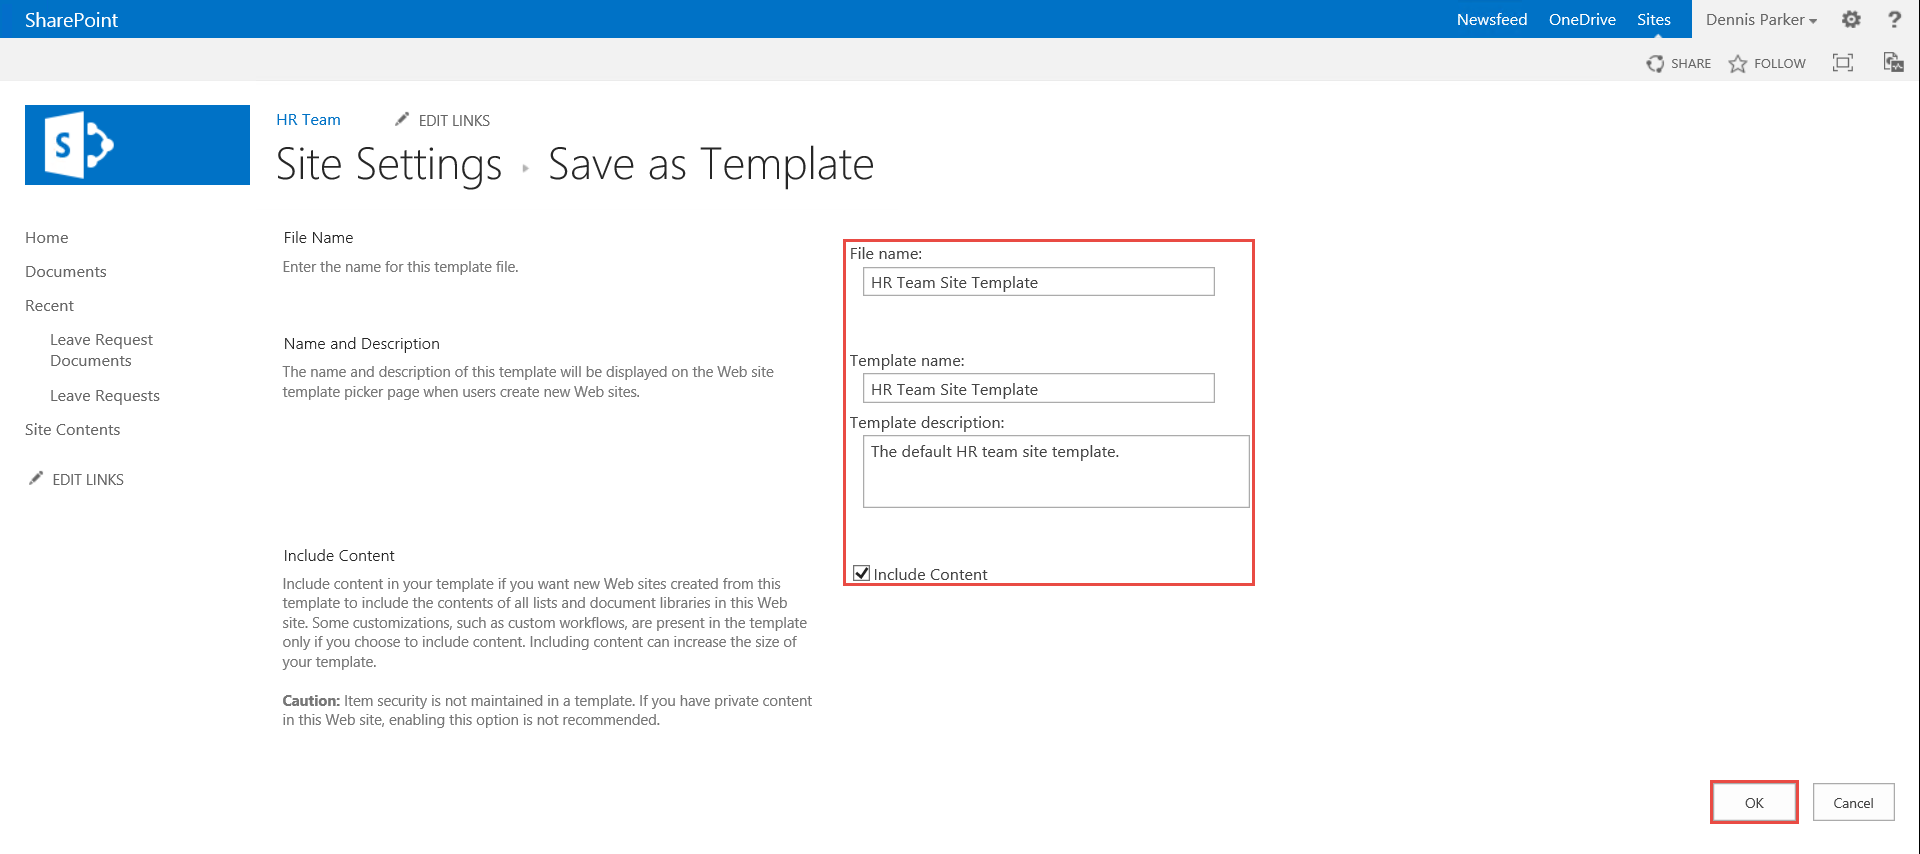
- On the Save as Template page, enter a File name, Template Name, Template description, check the Include Content check box (if applicable) and click OK.
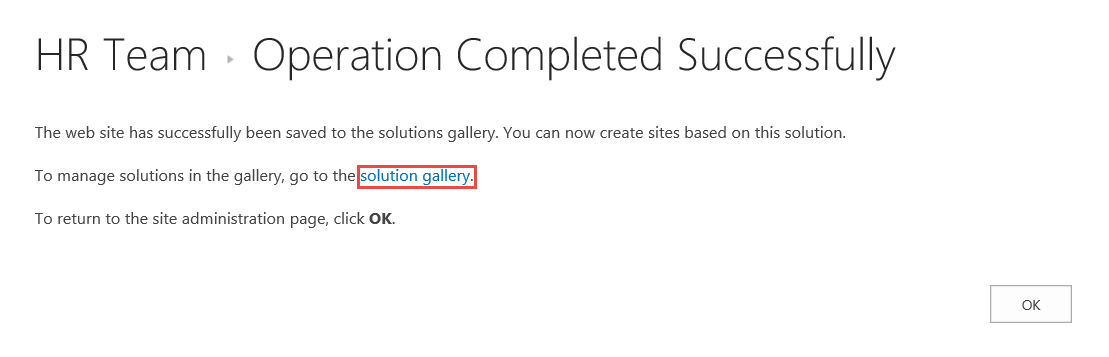
- On the [Site Name] > Operation Completed Successfully page, click the solution gallery link, to view and download the site template.
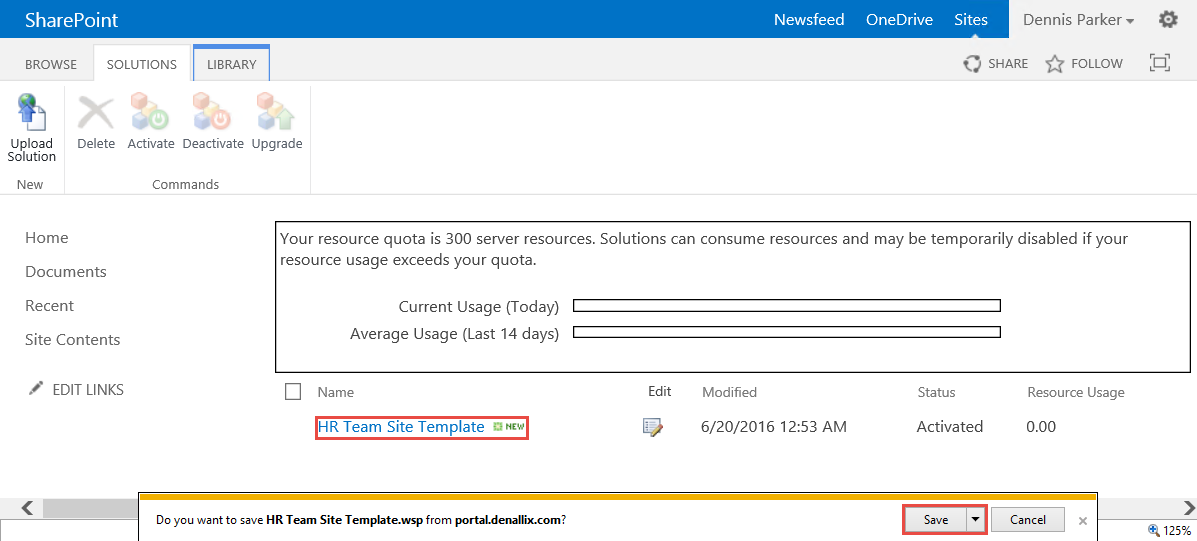
- On the solutions gallery page, click the site template link to download the template. Click the Save button on the download dialog.
- Upload the site template to a site collection where you need a new site based on the template. For more information on how to do this see Upload the site template file to solutions gallery (MSDN).
- Once the site template is uploaded and activated, navigate to the top level site a site collection.
- On the site collection top level site, navigate to the Site Contents page and click the new subsite option to create a new subsite.

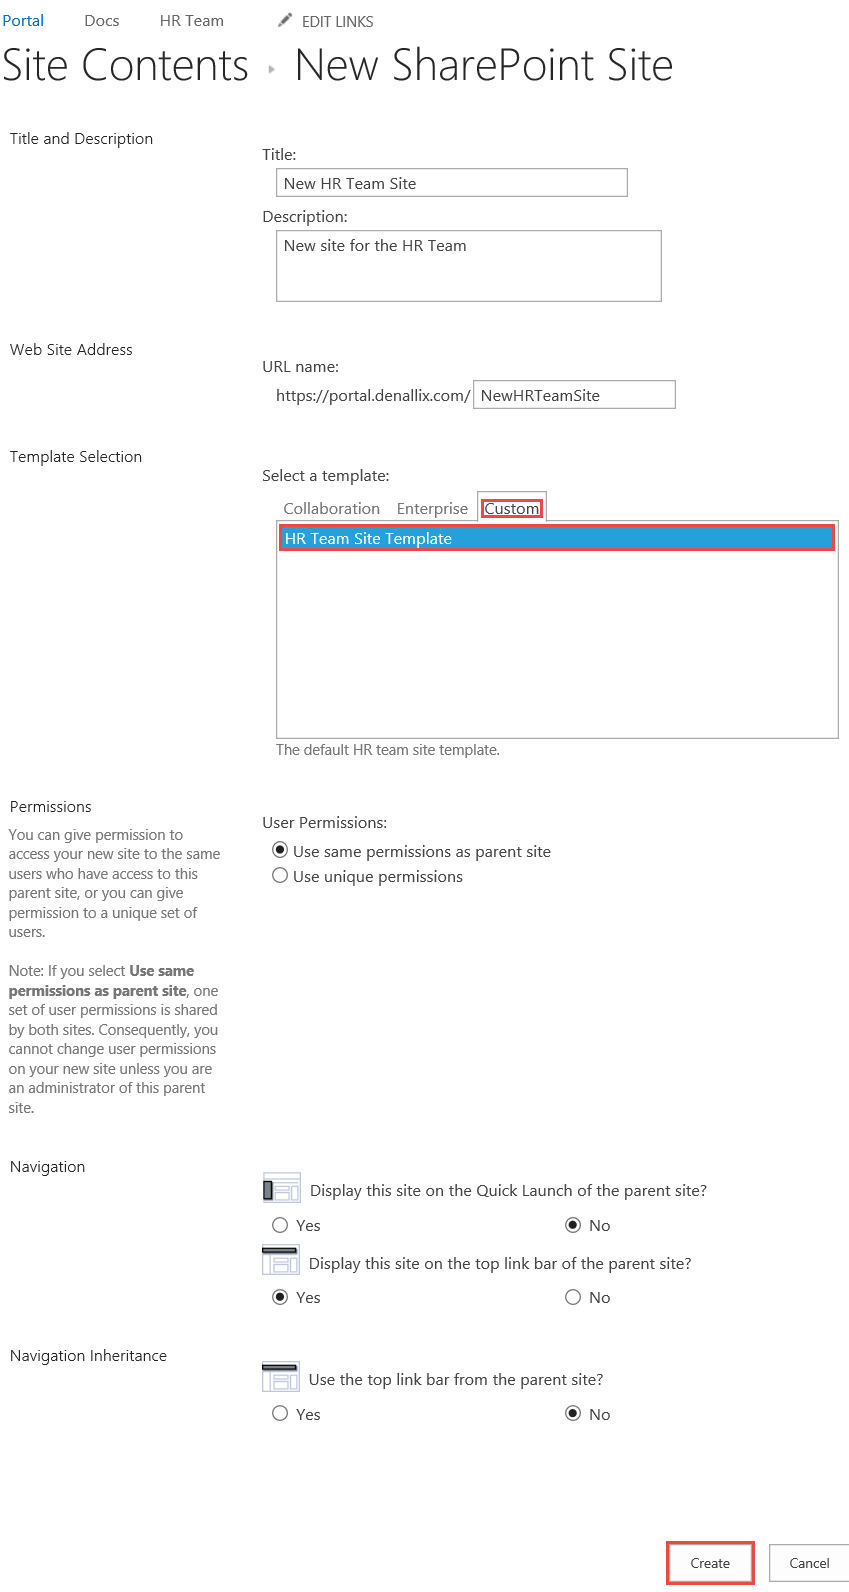
- On the Site Contents > New SharePoint Site page, provide a Title, Description and Web Site Address. In the Template Selection section, click the Custom tab and select the site template. Specify the settings for Permissions, Navigation and Navigation Inheritance sections and click the Create button.
- The new subsite based on the site template is created.
Note: - If K2 is deployed to the site collection on which the new site is created, K2 activation takes place automatically on the new site for SharePoint 2013 (on-premises) sites. It may take some time for this to occur based on the load of the SharePoint farm. You can manually activate K2 from the app catalog if necessary.
- The K2 artifacts (views, forms, workflows and reports) must be deployed via K2 Package and Deployment as described in scenario 1.
For detailed steps to create and deploy a K2 package, see the Create and Deploy a K2 Package section.
- Create a package of the K2 solution using the source document library.
- Copy the K2 package to the target SharePoint server.
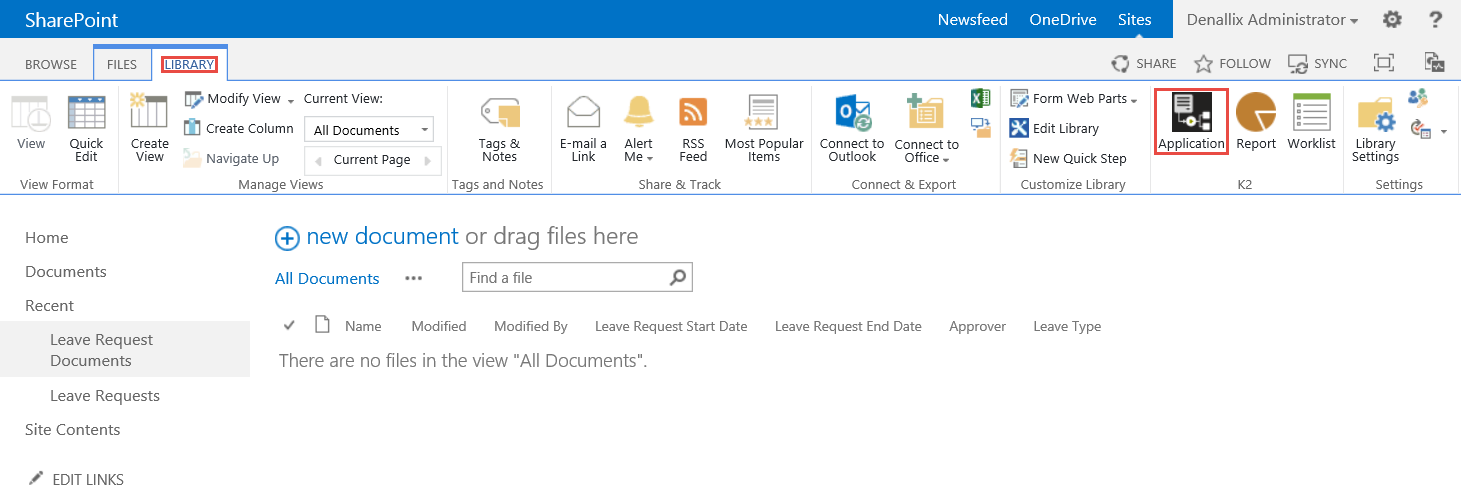
- Go to the Document Library on the newly created subsite, click the Library tab, and then click the Application option.
- On the [Subsite Name] > [ Document Library Name] > Create Application page, click Deploy Solution.

- On the Deploy solution page, click the Click here to browse to package option.
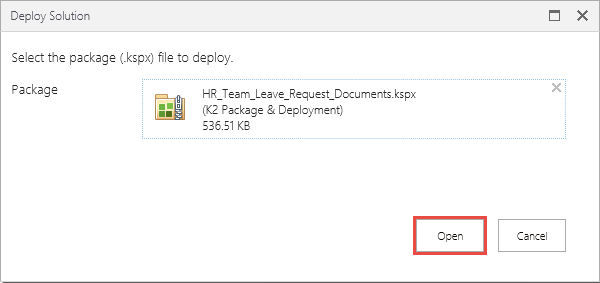
- Select the required package and click Open on the Deploy Solution page.
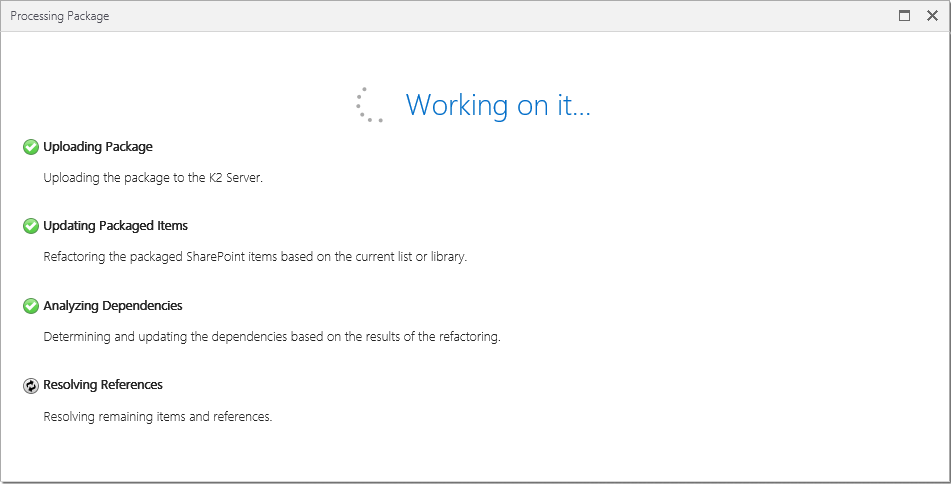
- On the Processing Package page, checks are done to ensure all dependencies and references are present on the target site.
- Configure the destination for each packaged item. Select an item and click the Configure button.
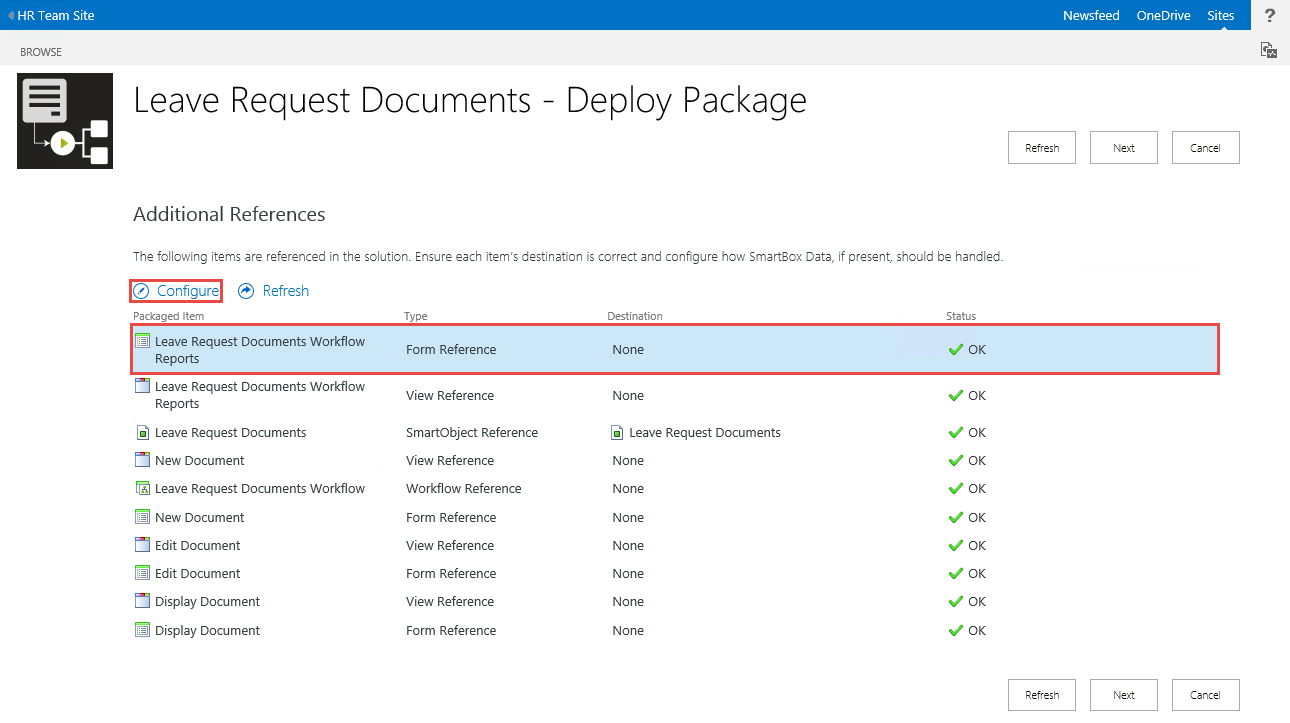
- On Configure [Packaged Item] Reference page, specify the correct item and click OK.
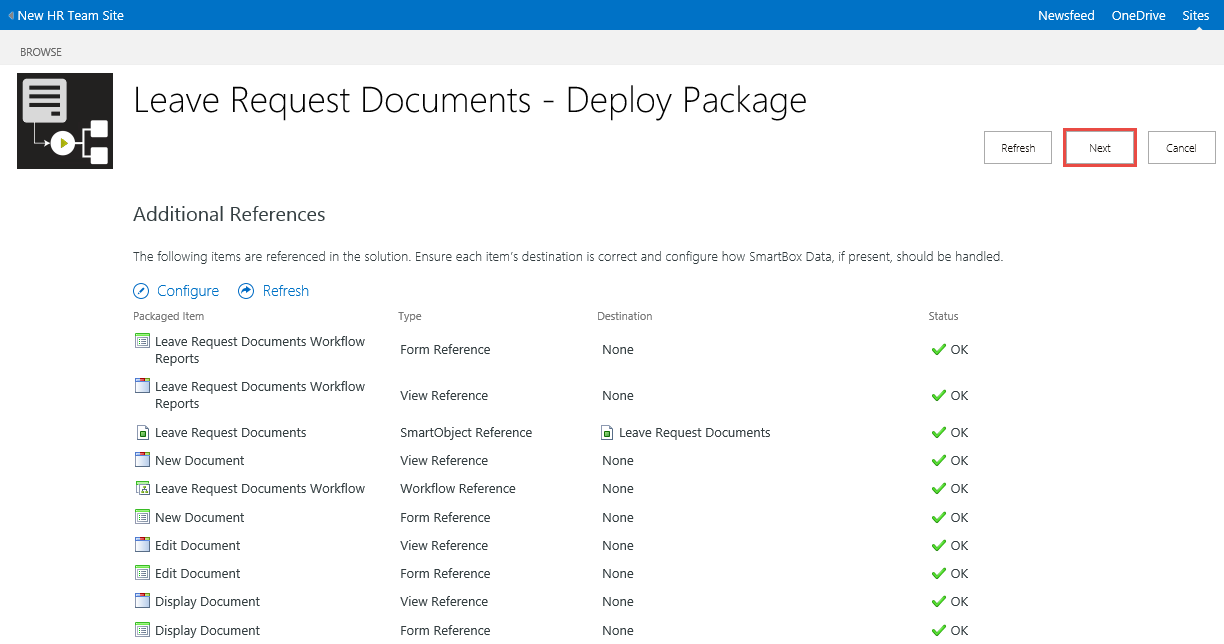
- On the [Document Library] - Deploy Package page, the K2 artifacts can be configured. Click Next.
- Specify the values for each package variable then click Next.
- Click Deploy on the [Document Library] - Deploy Package page.
